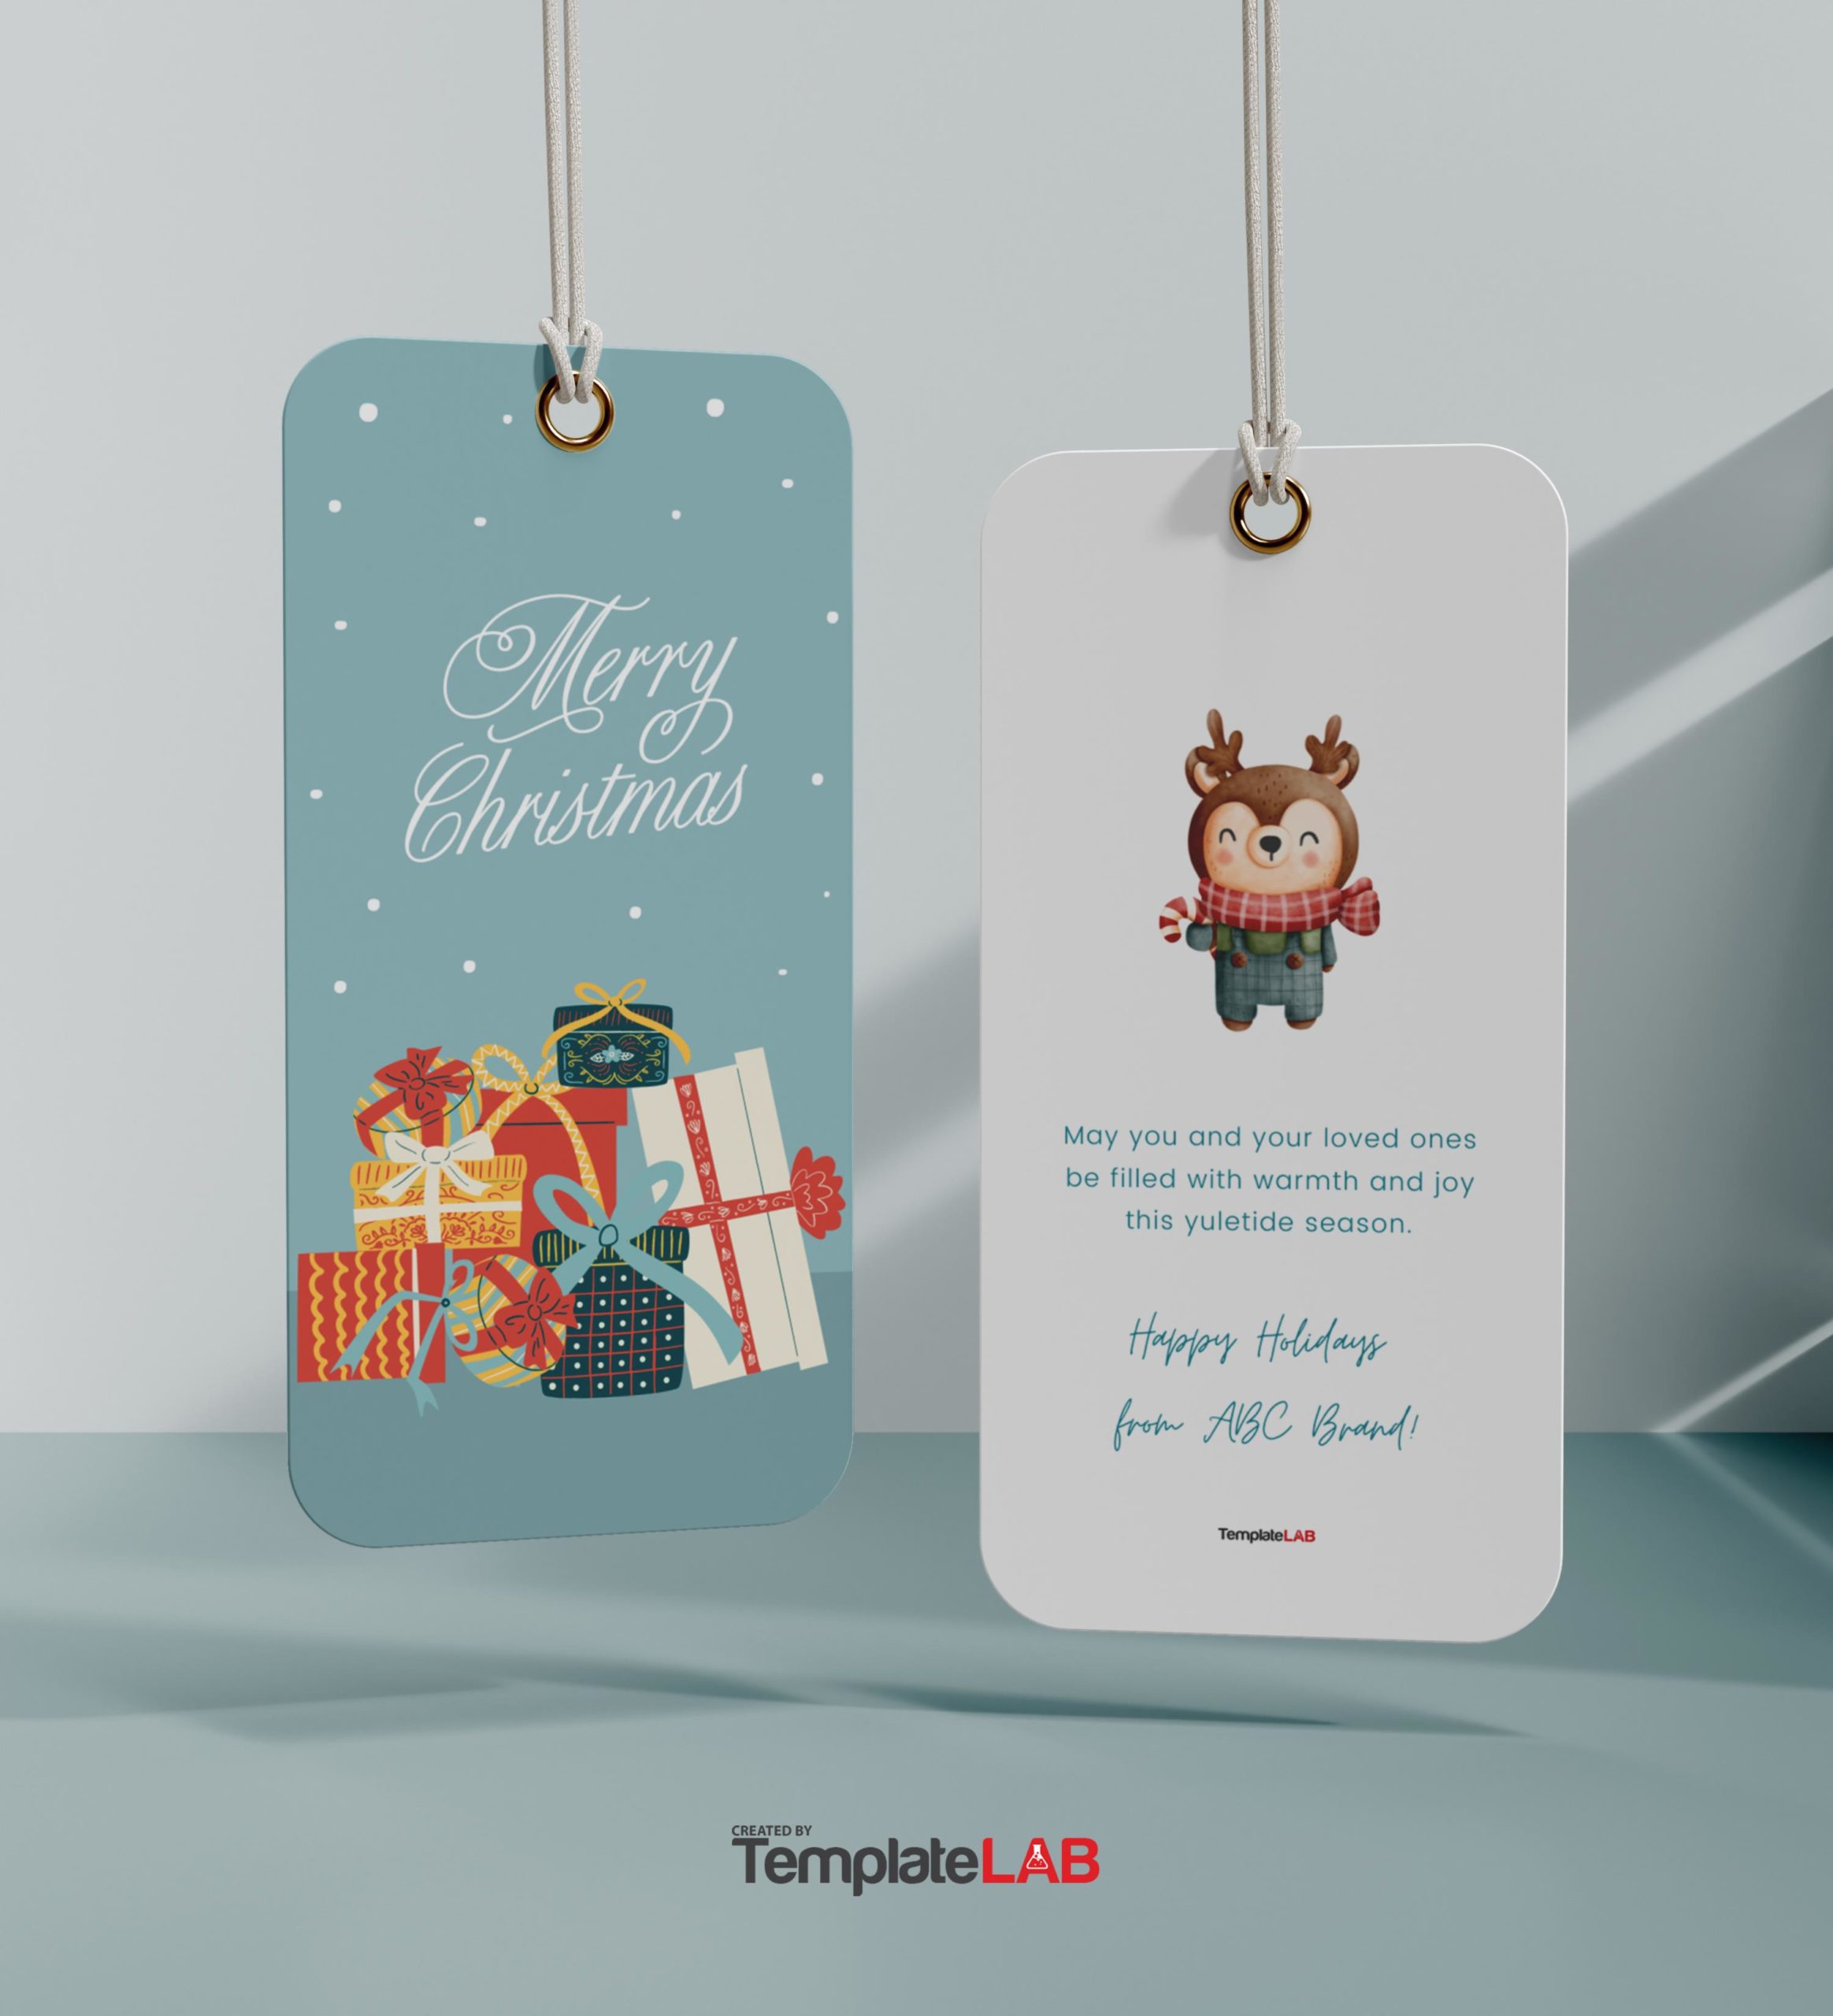
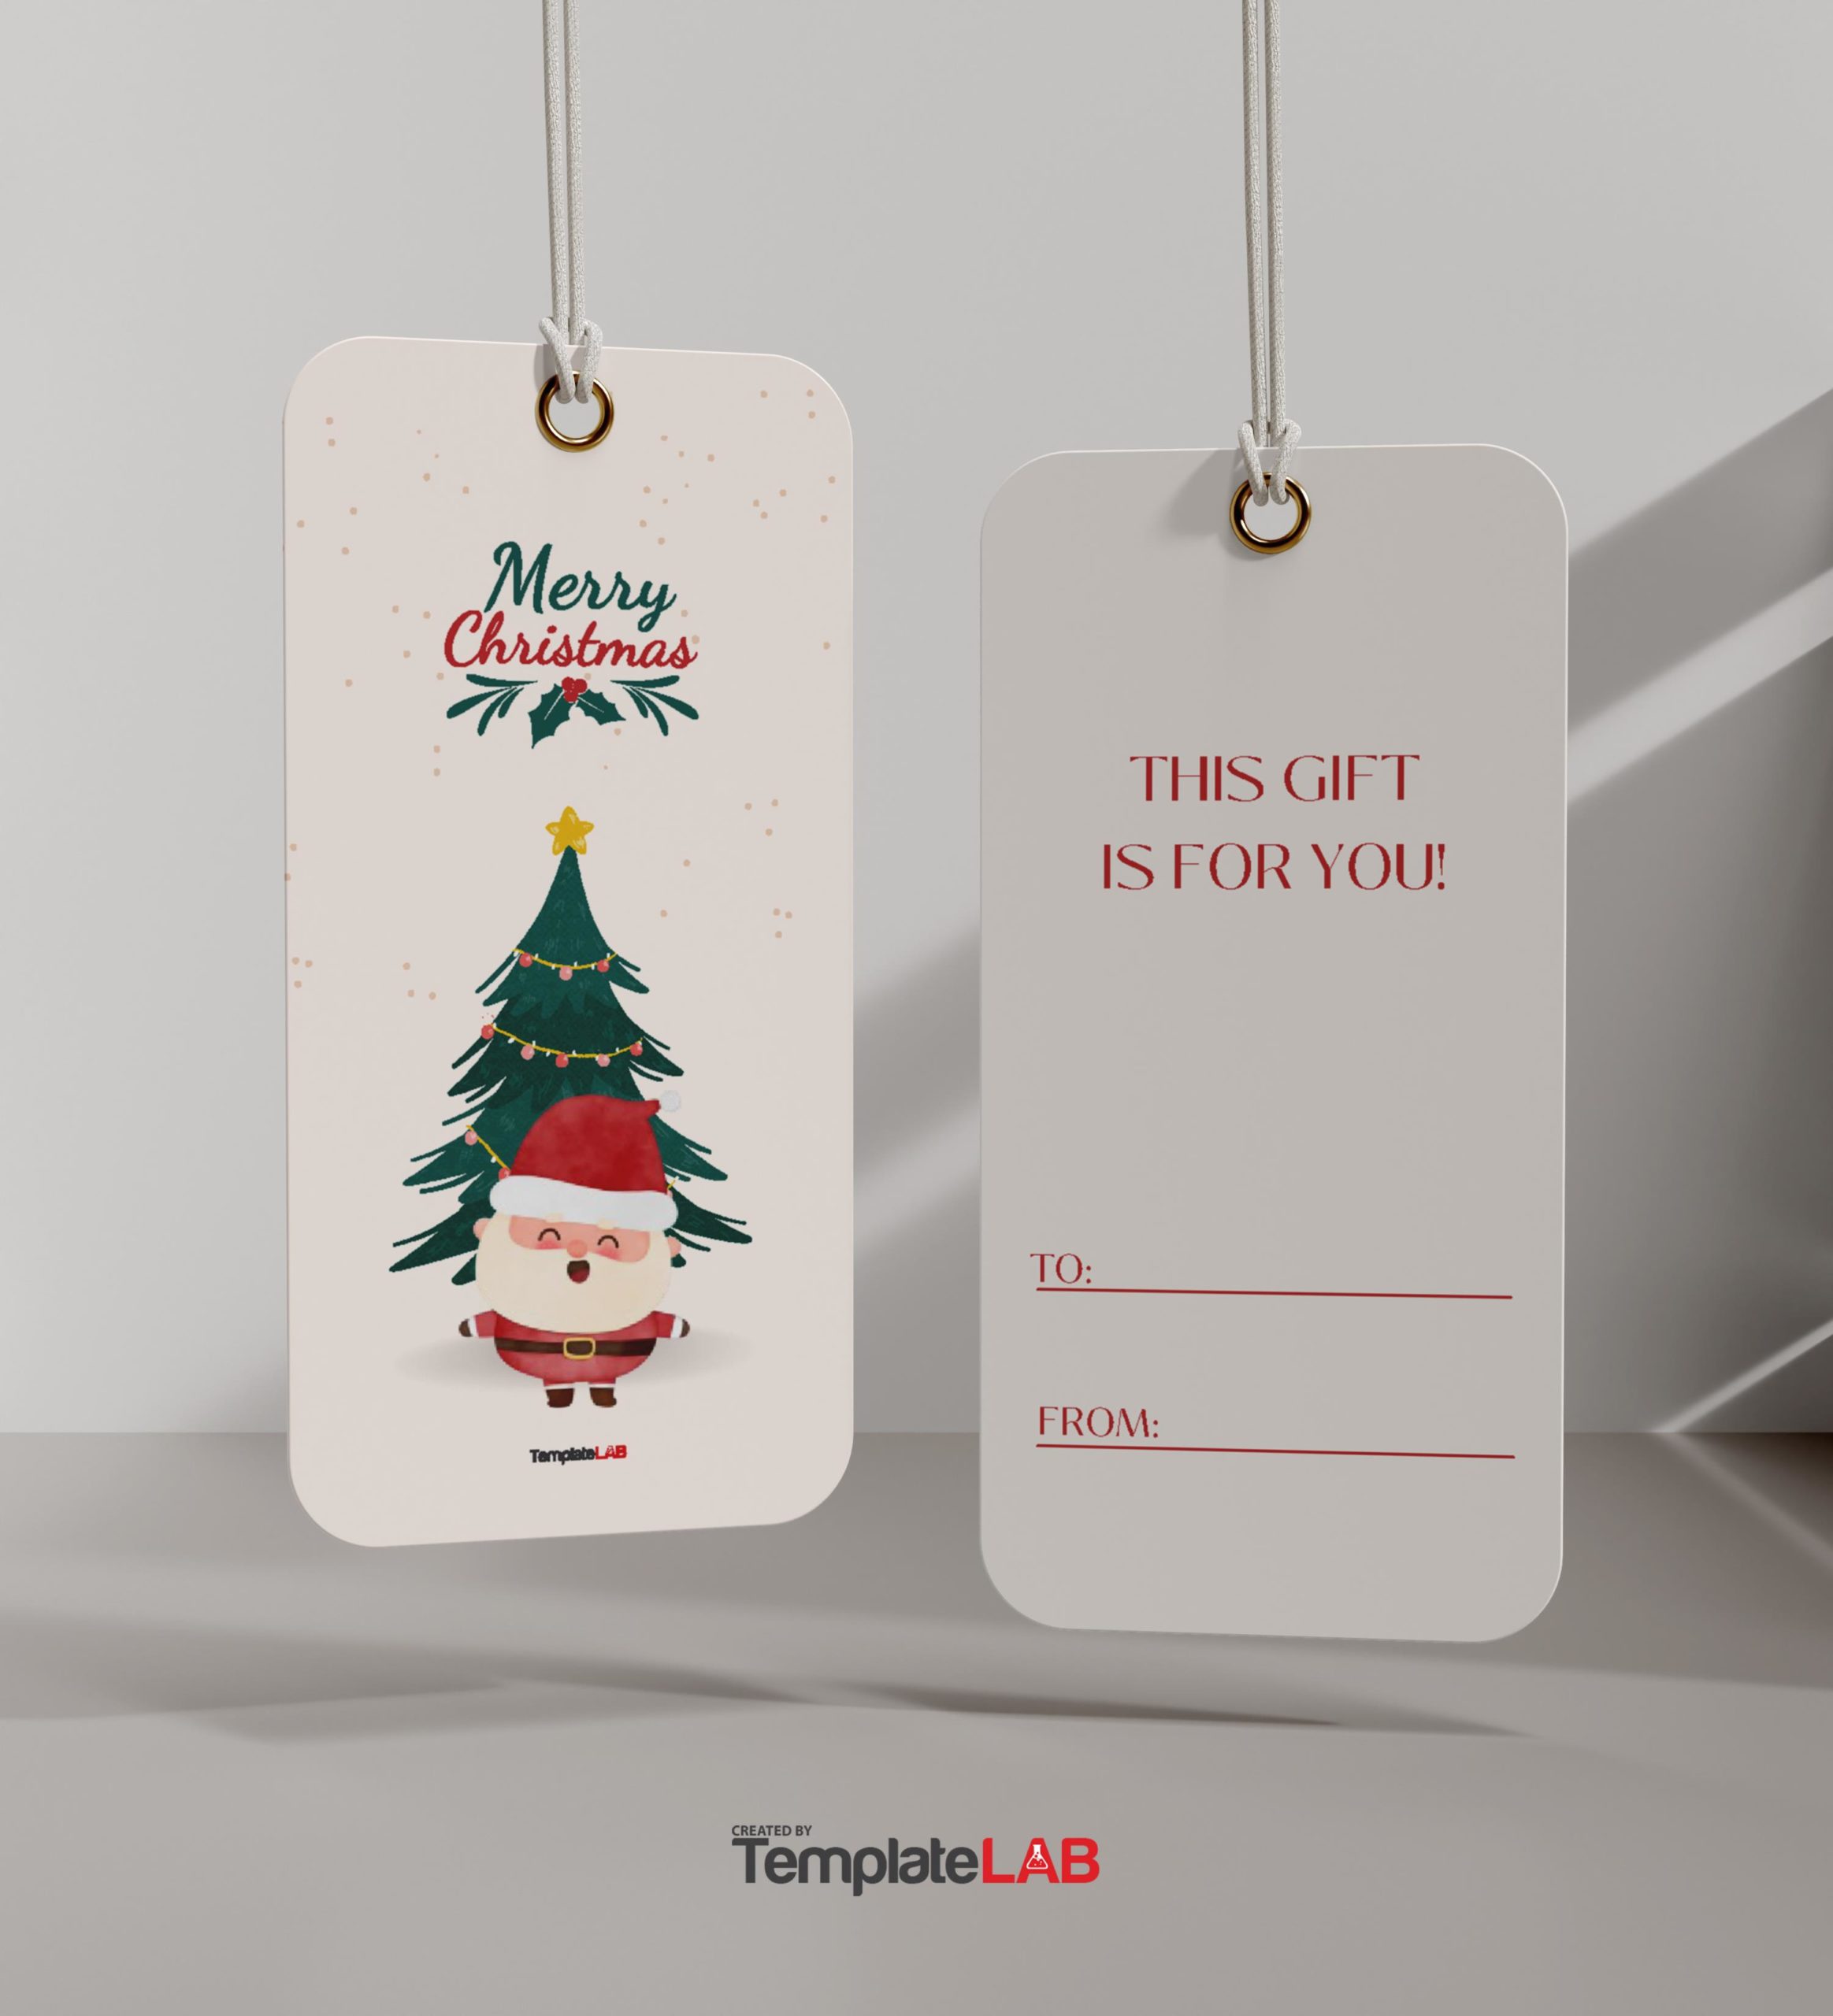
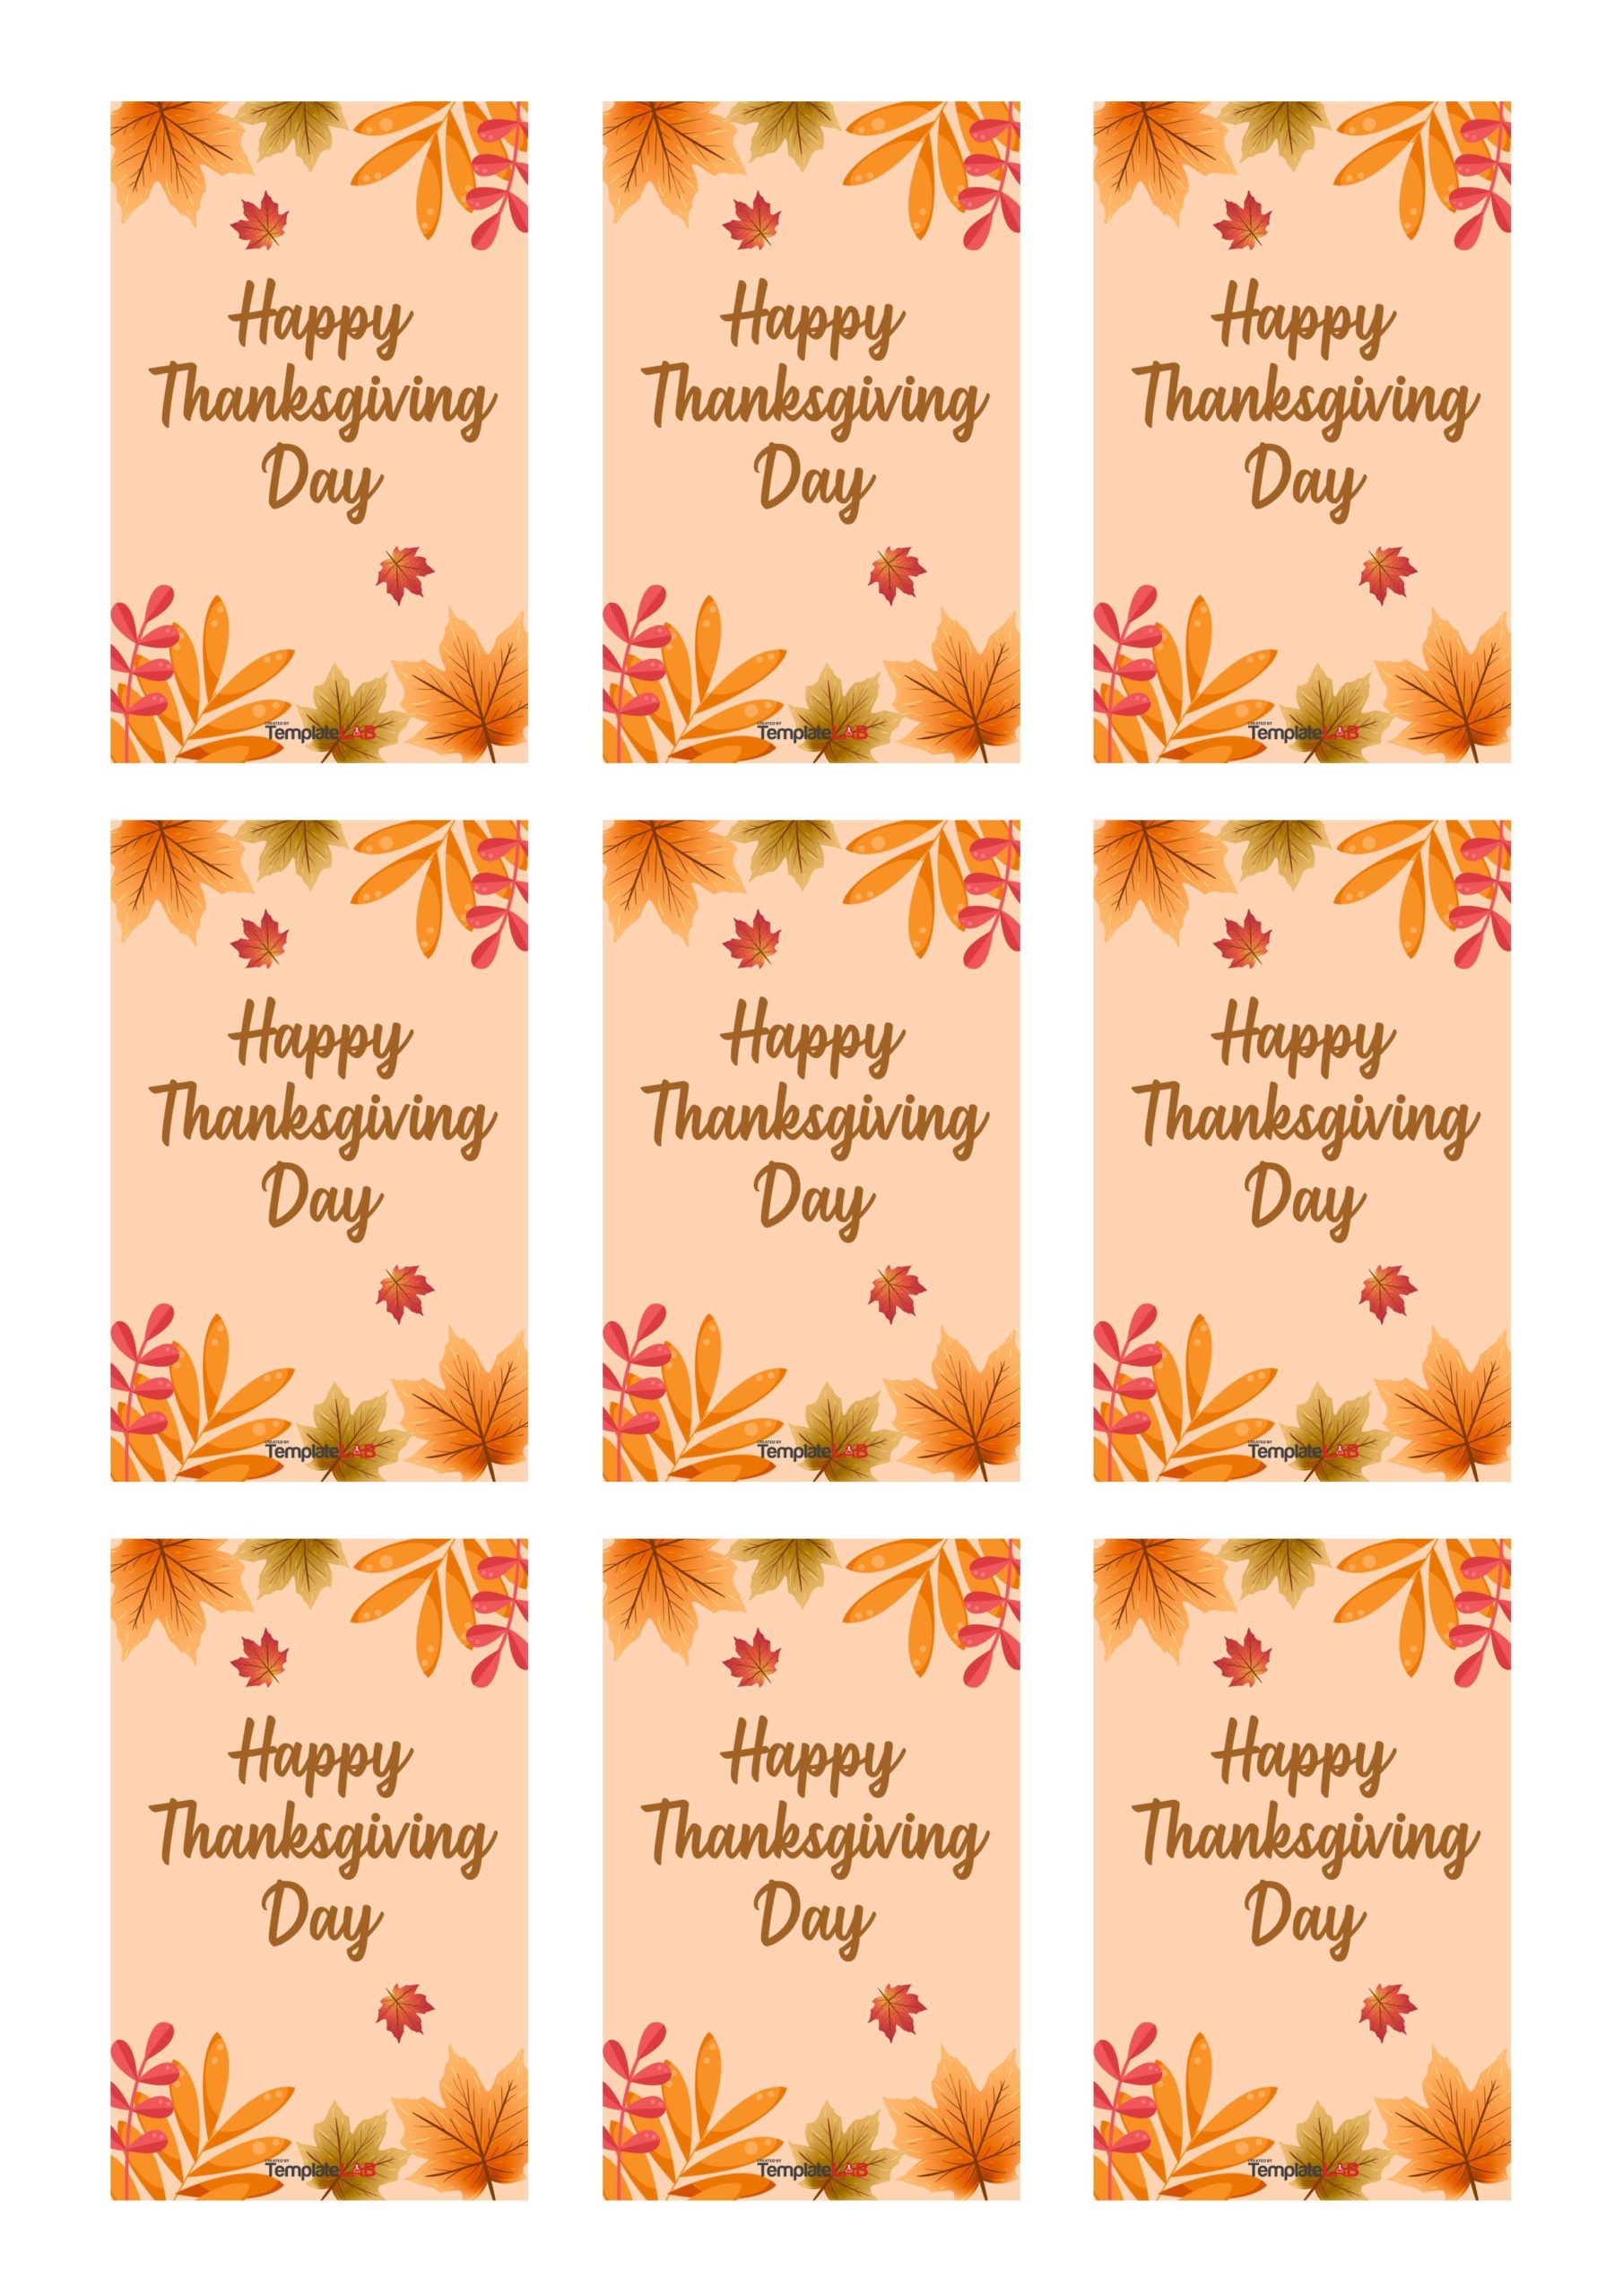
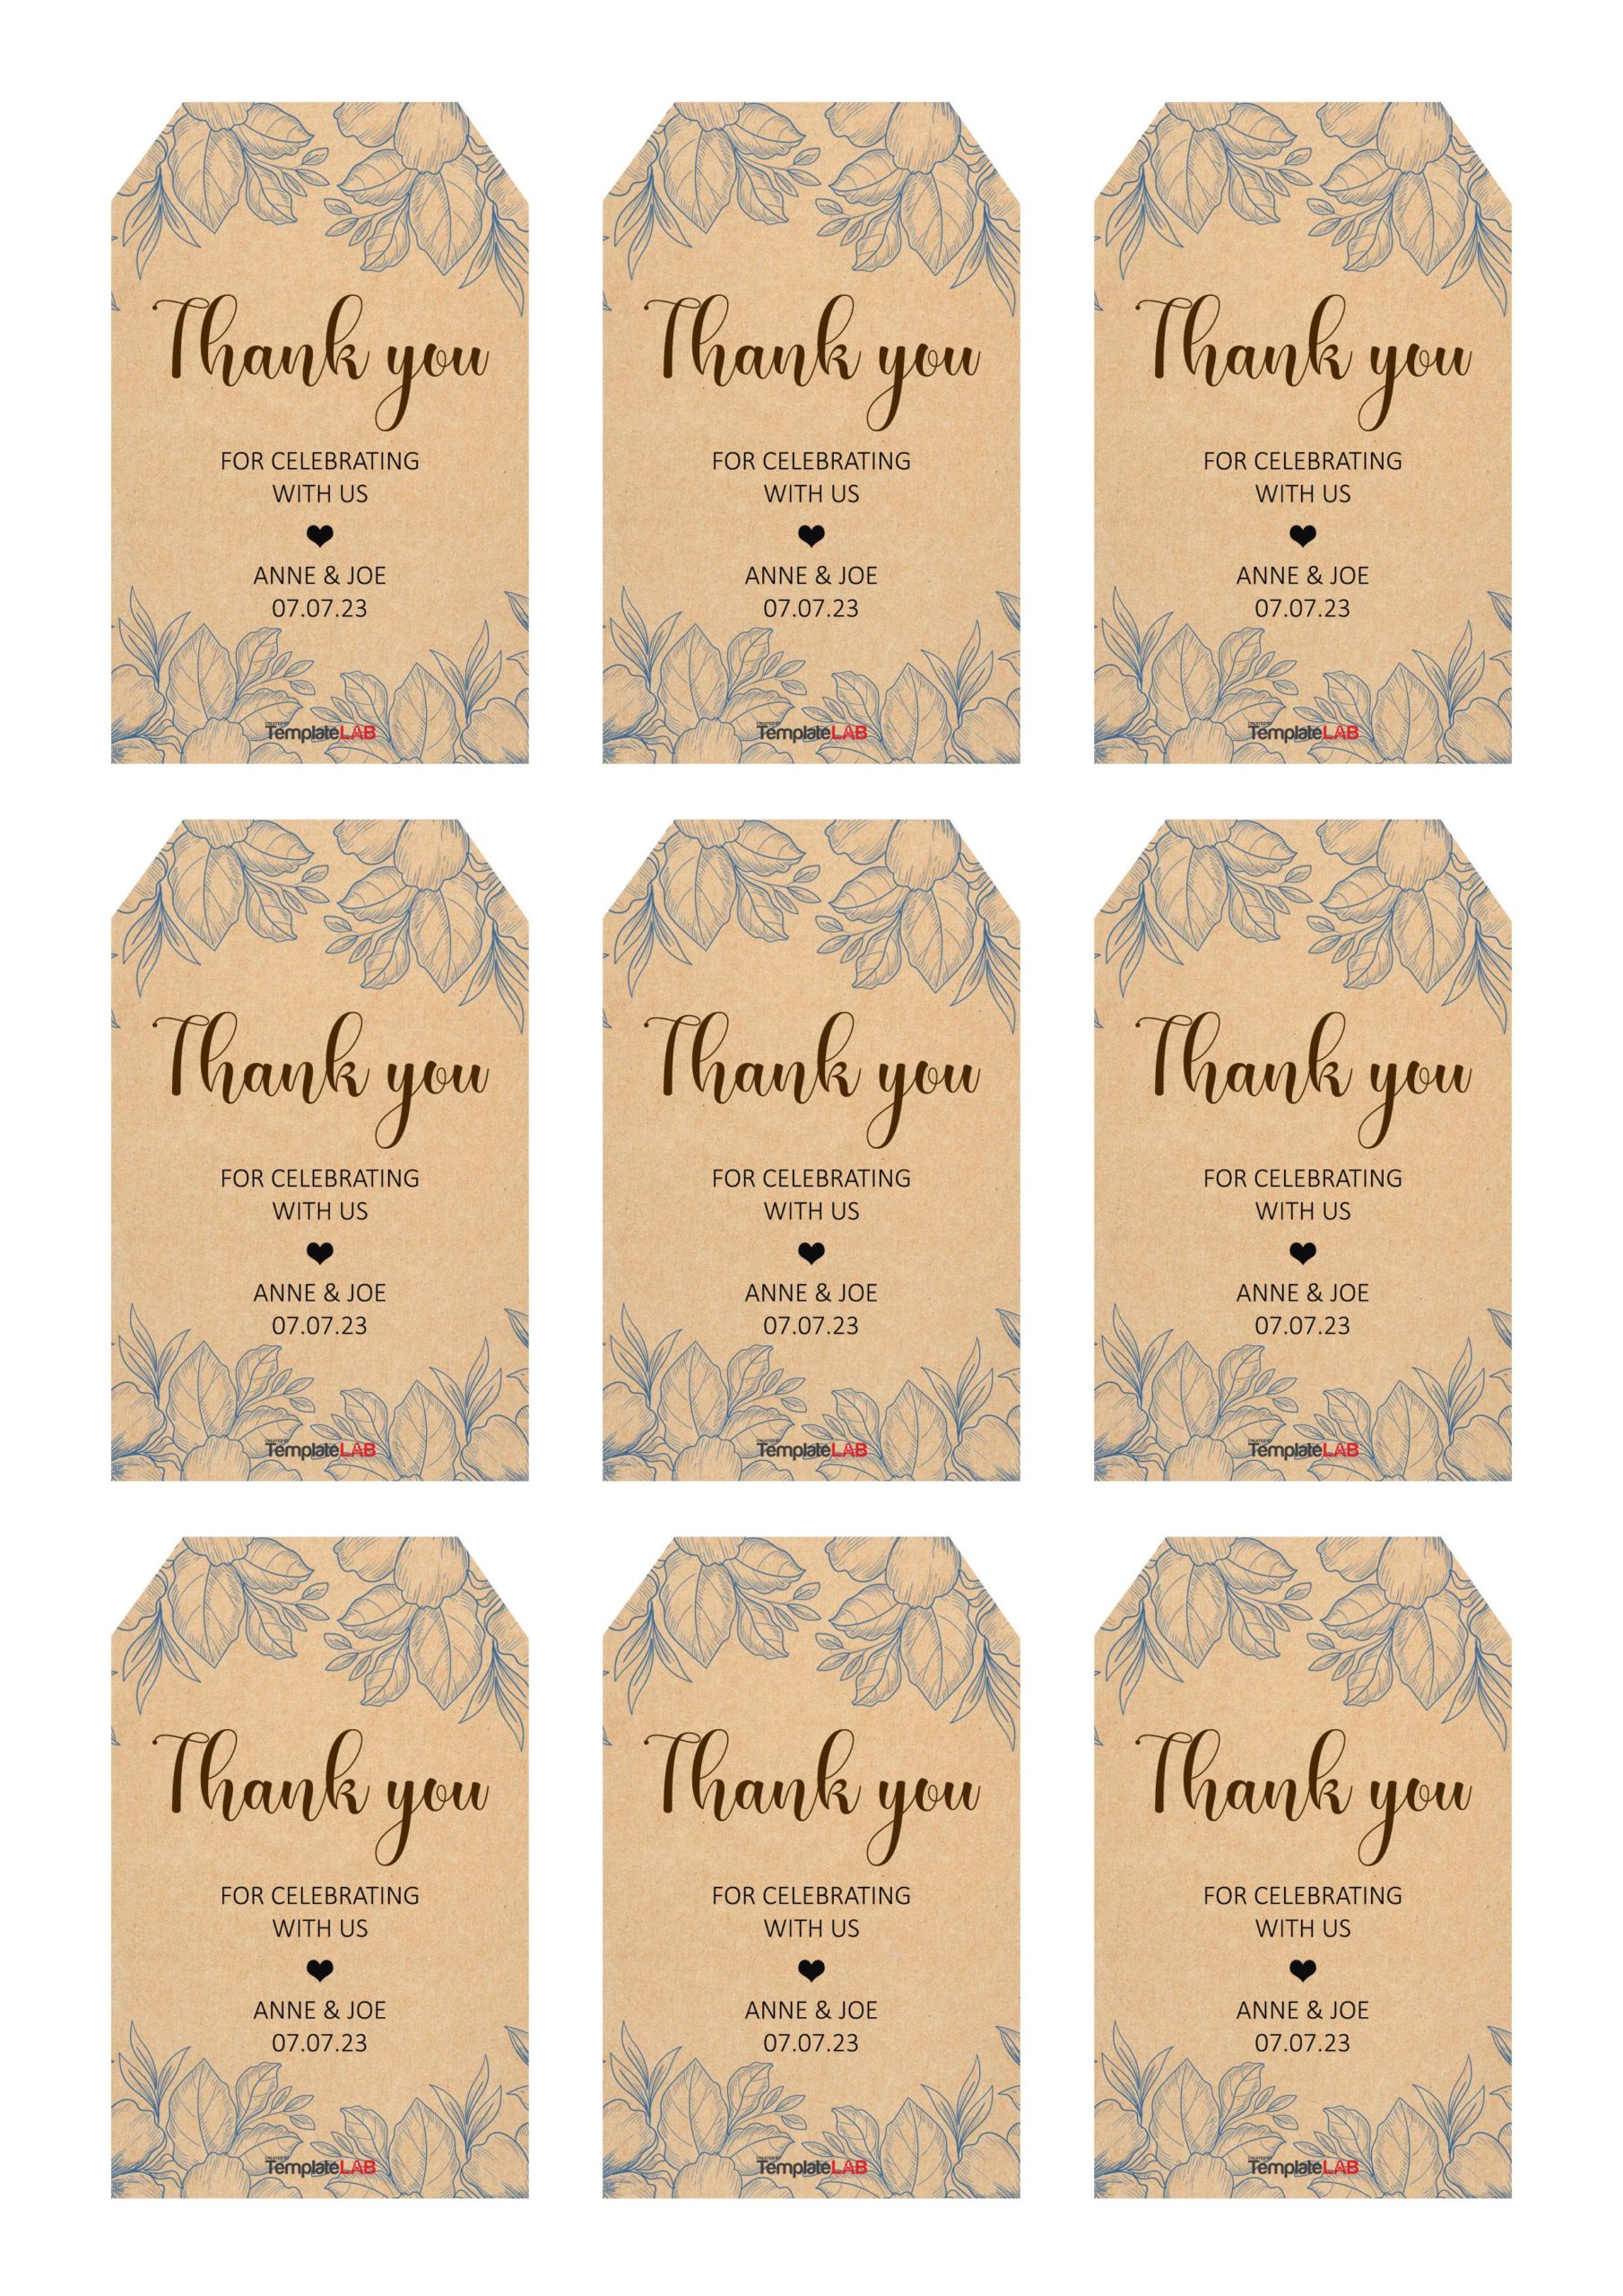
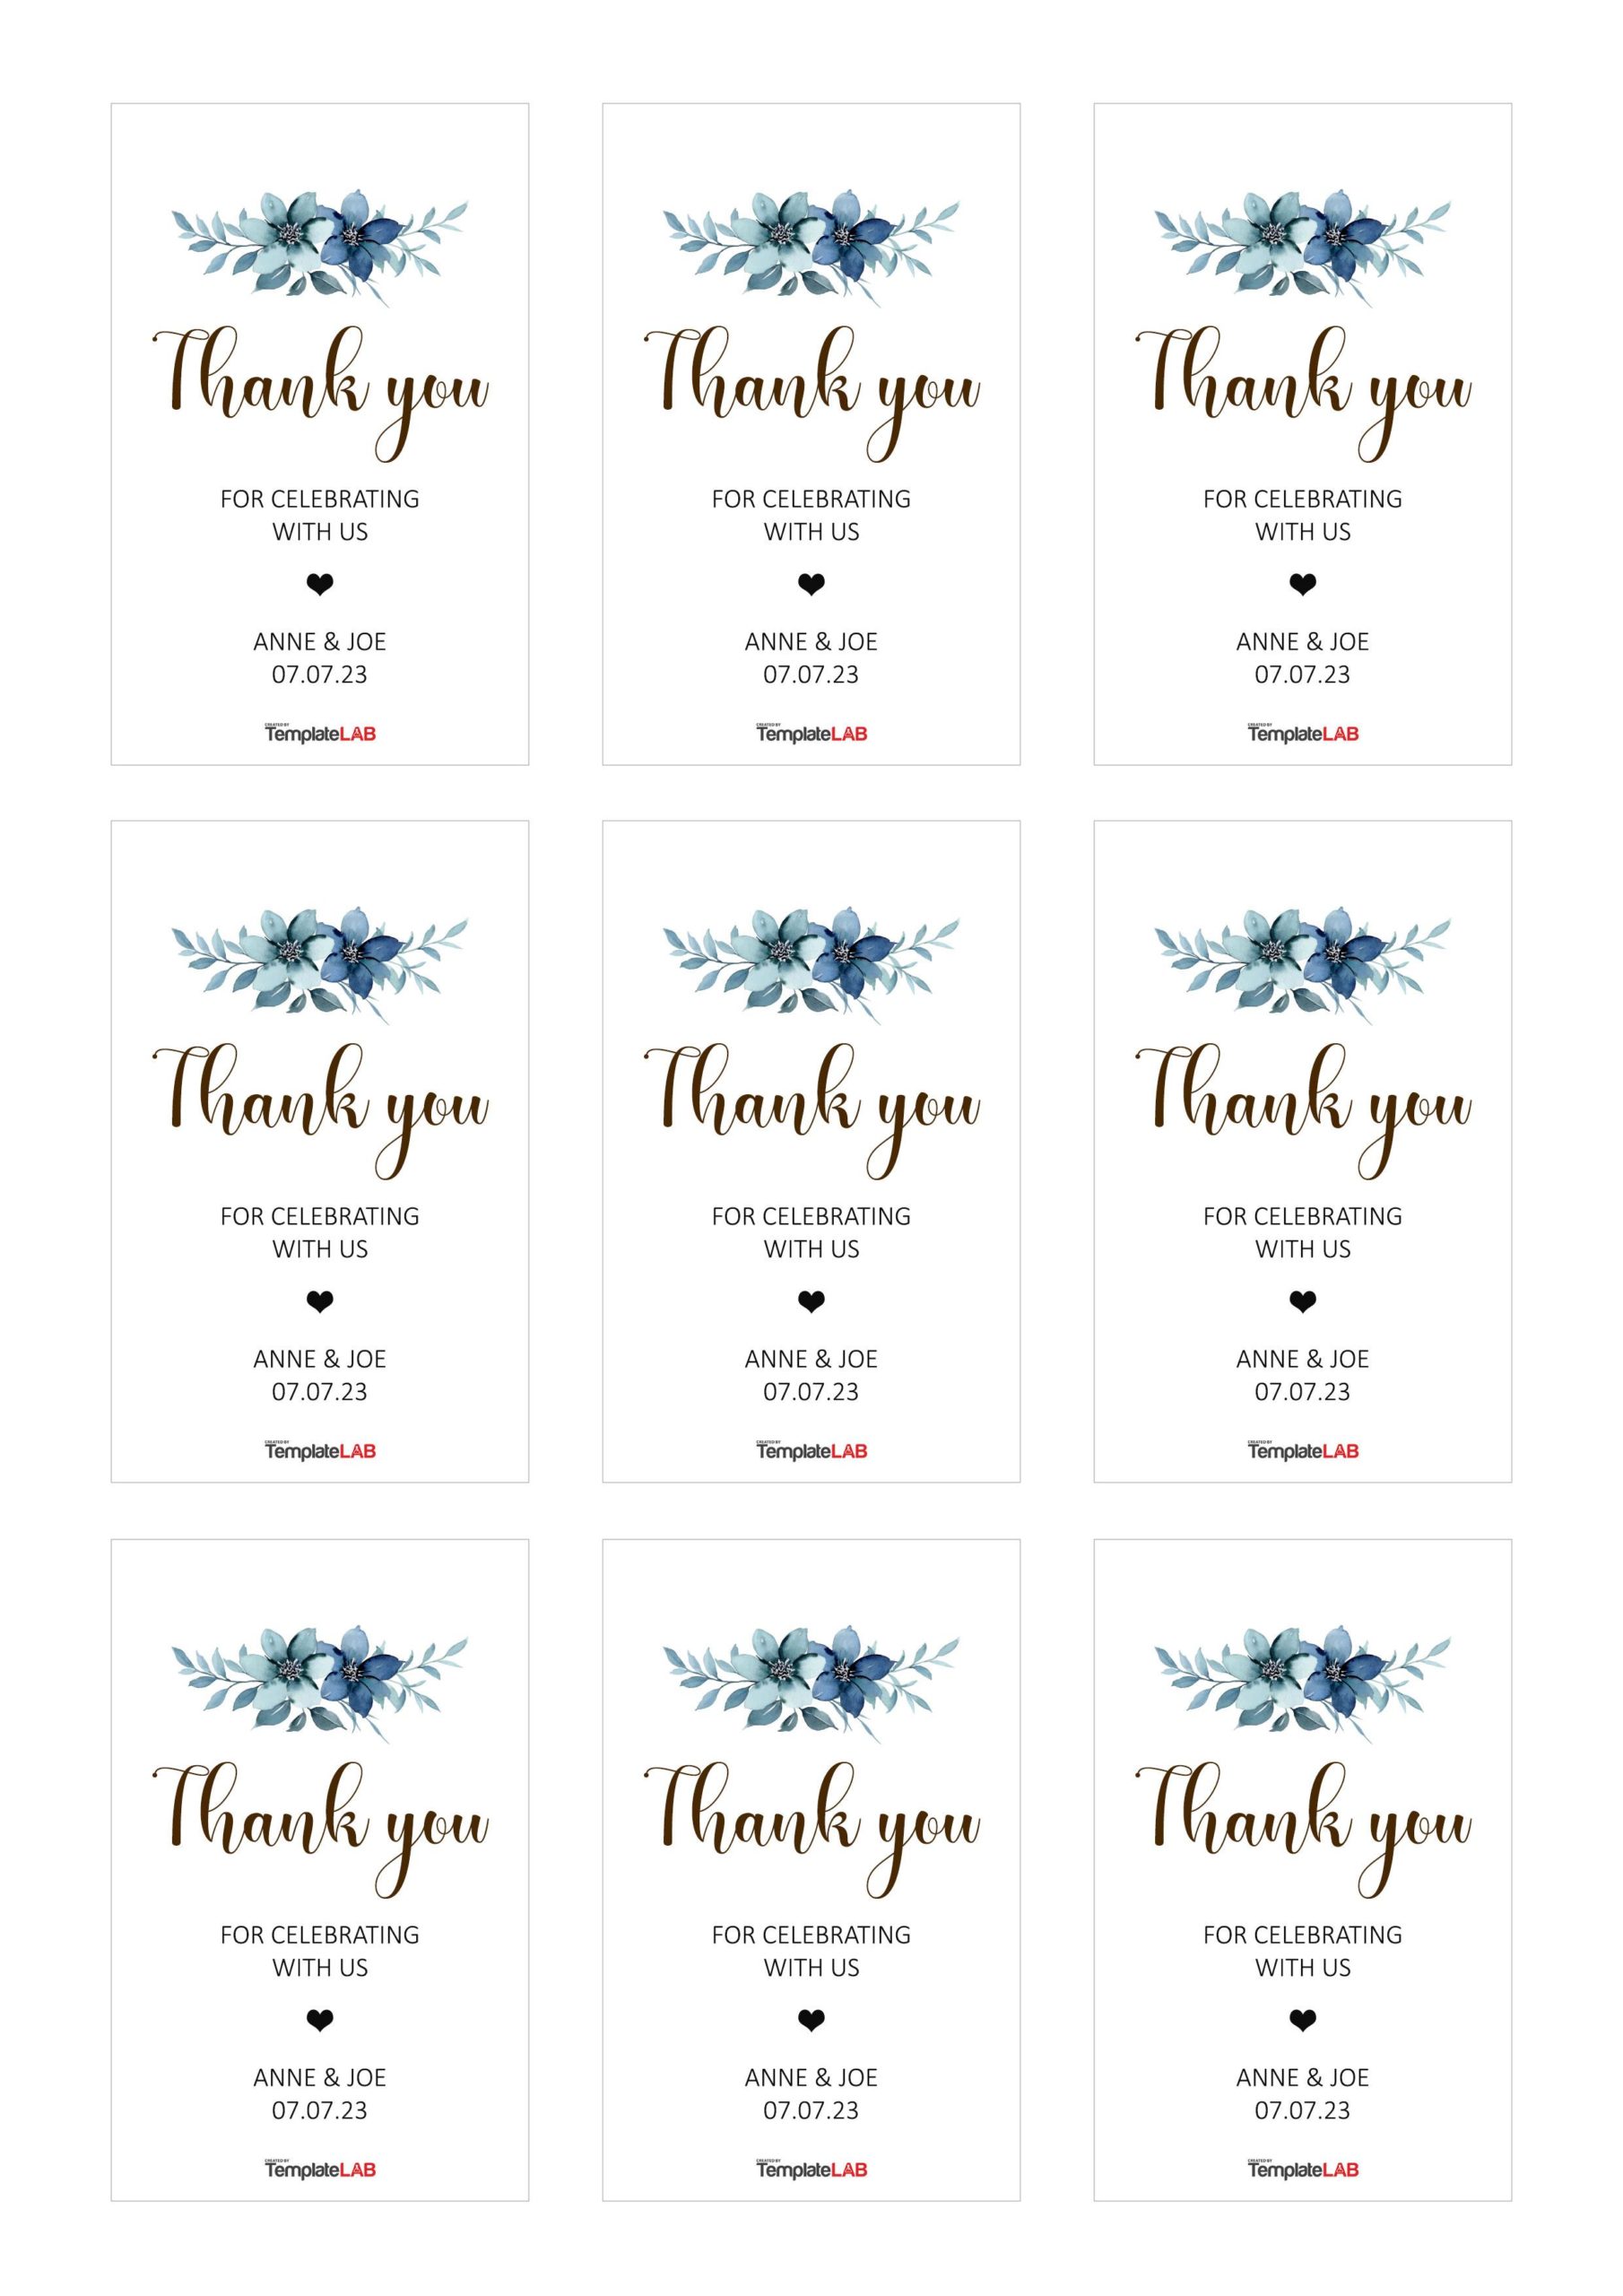
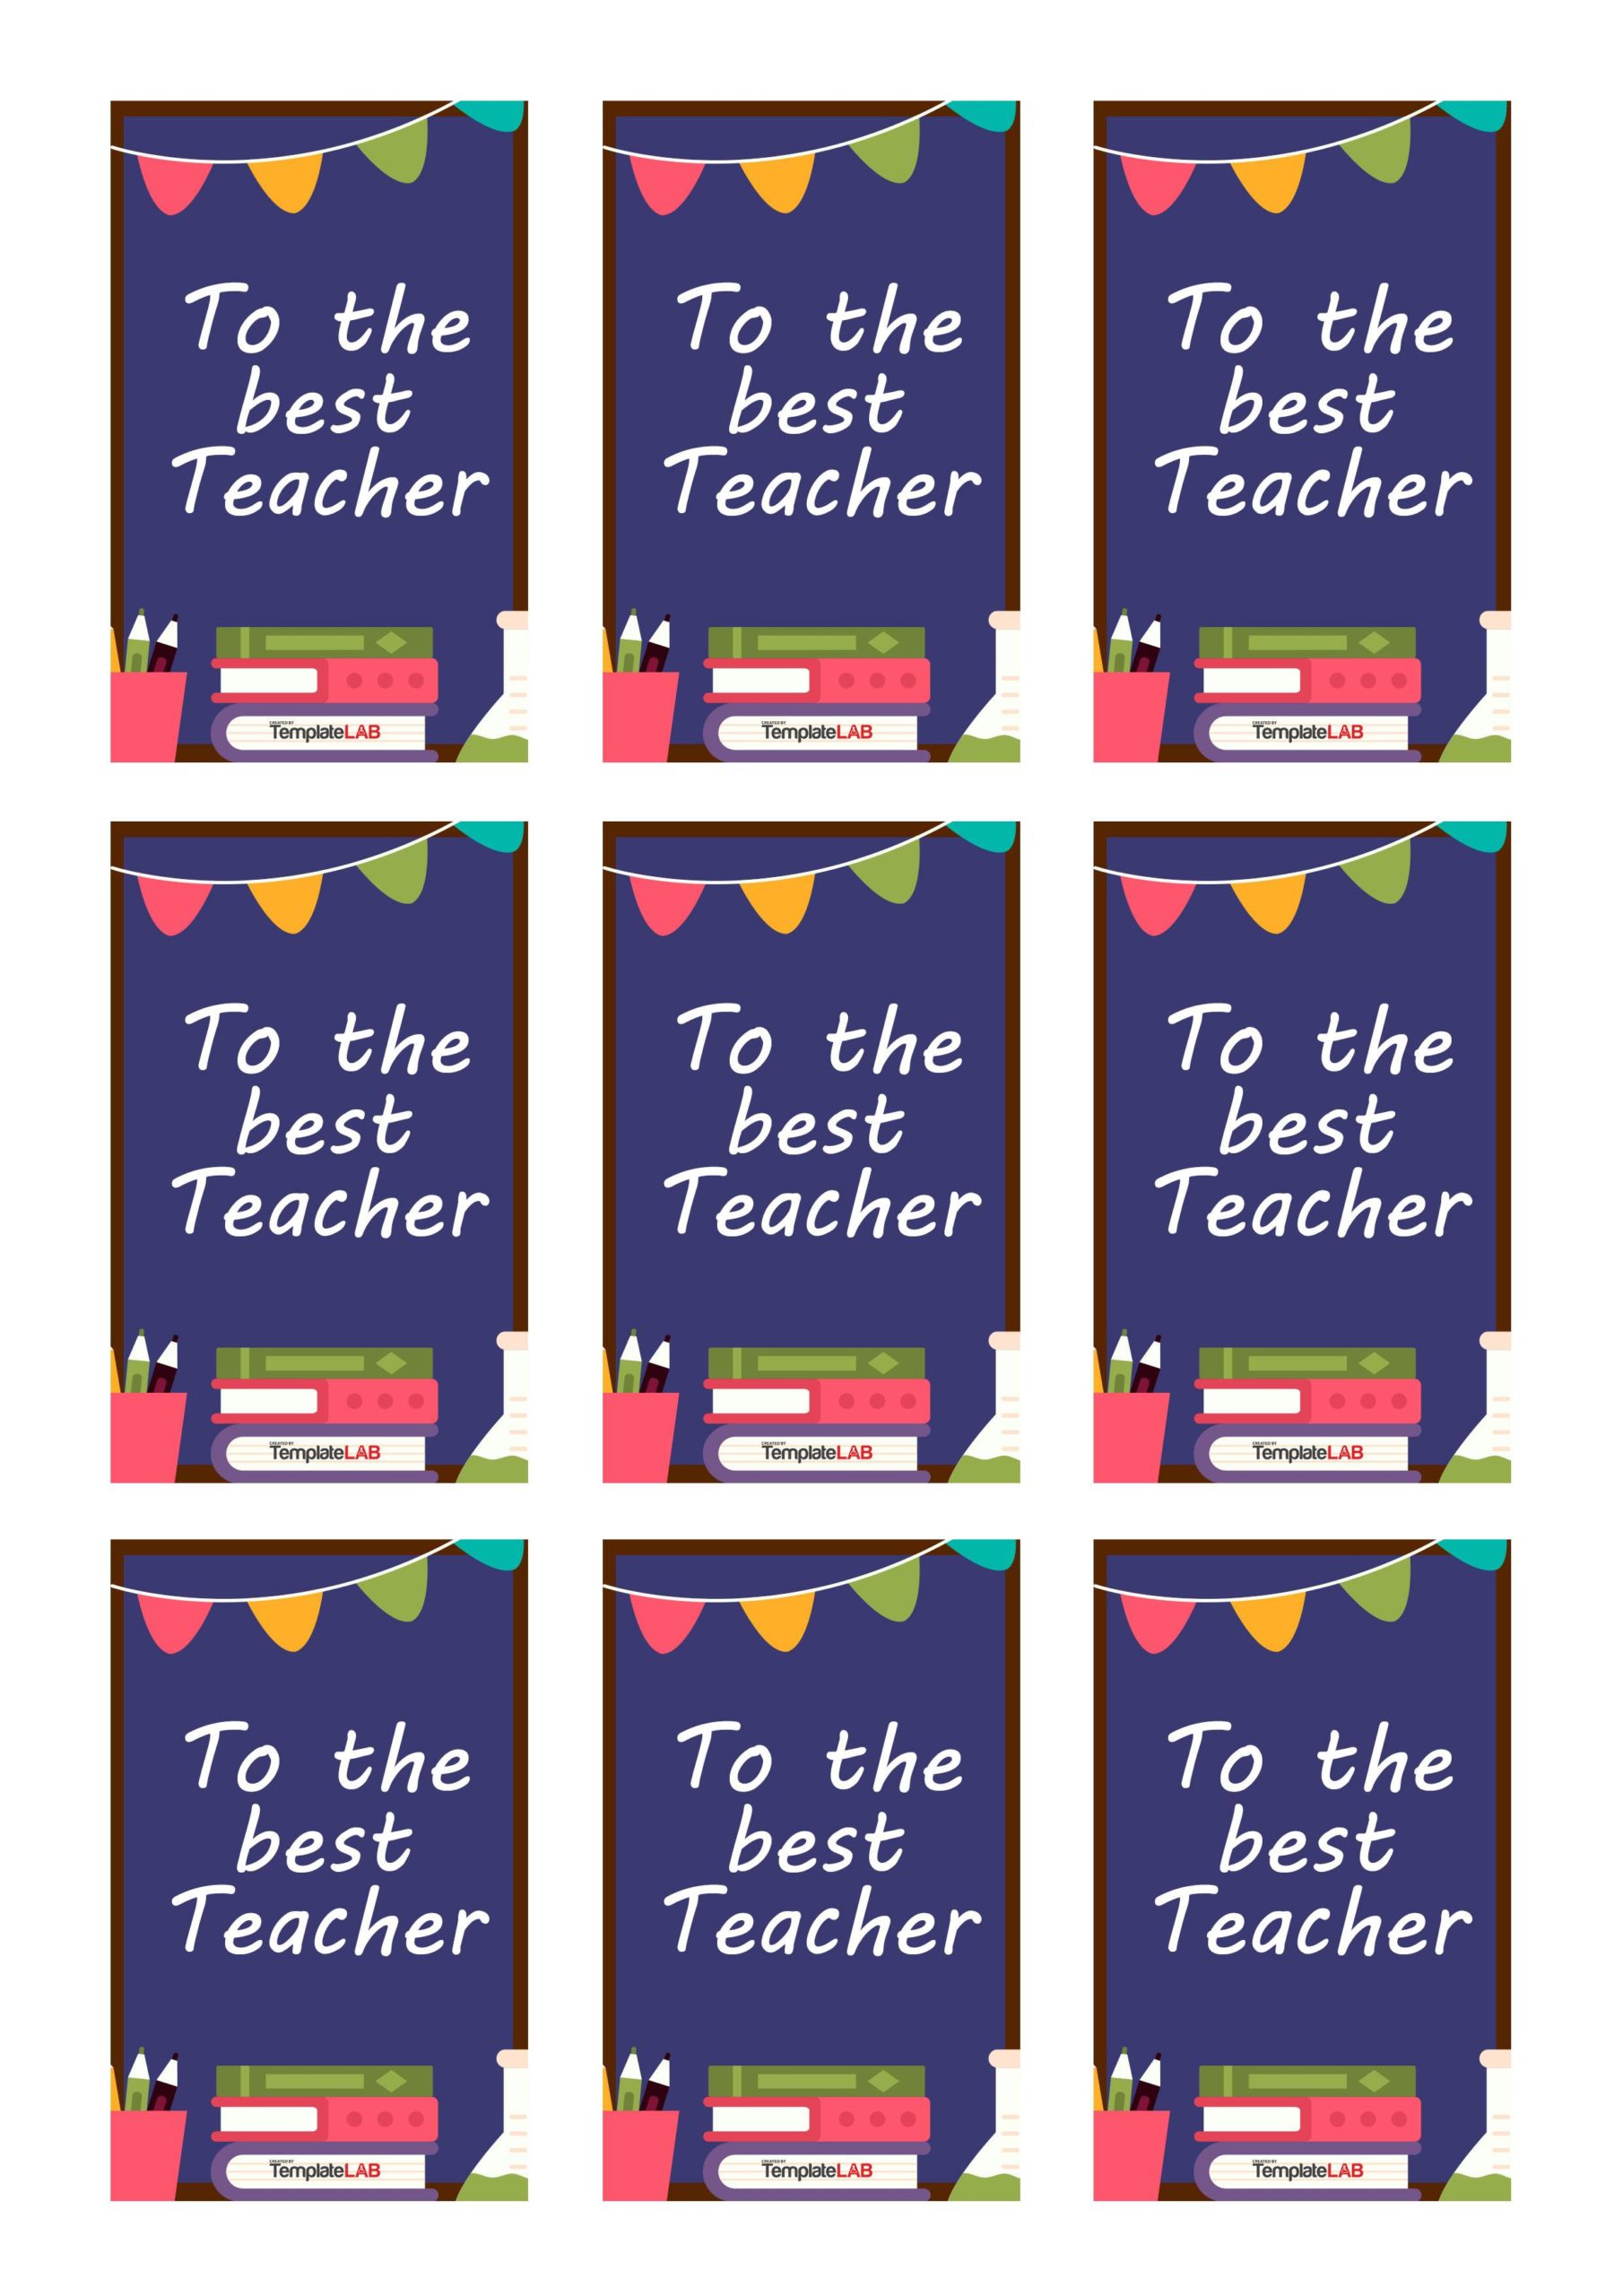
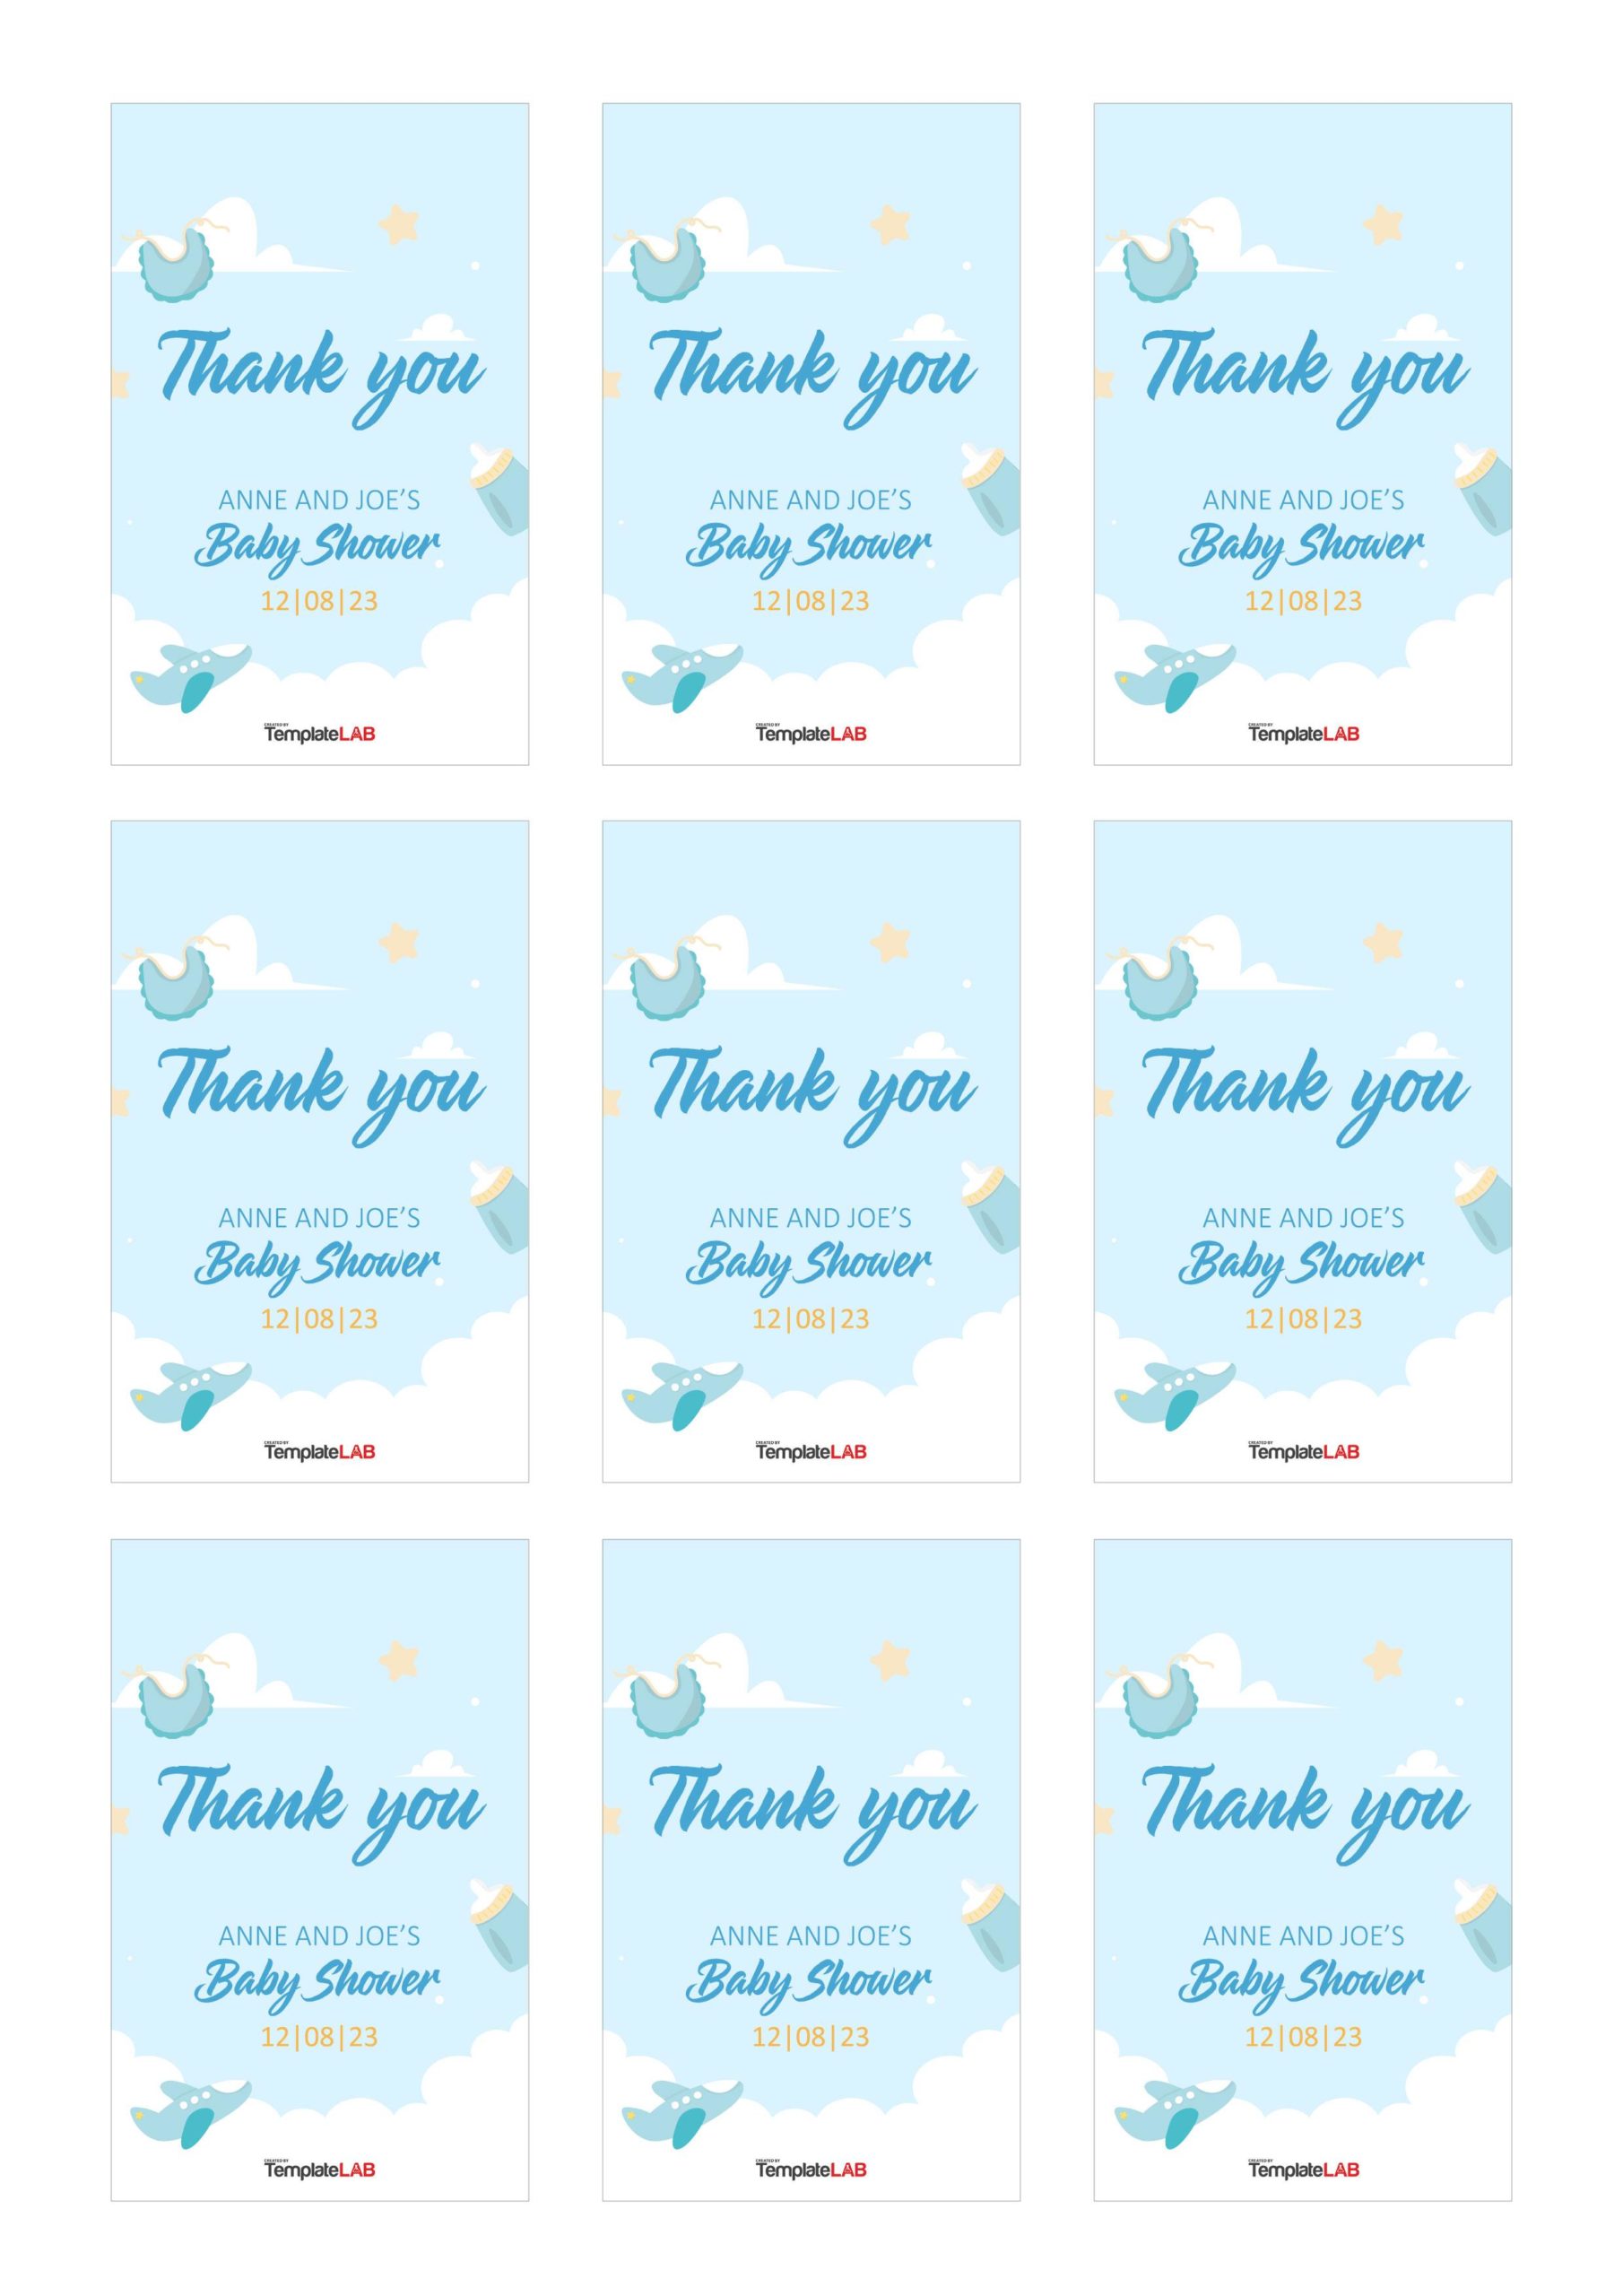
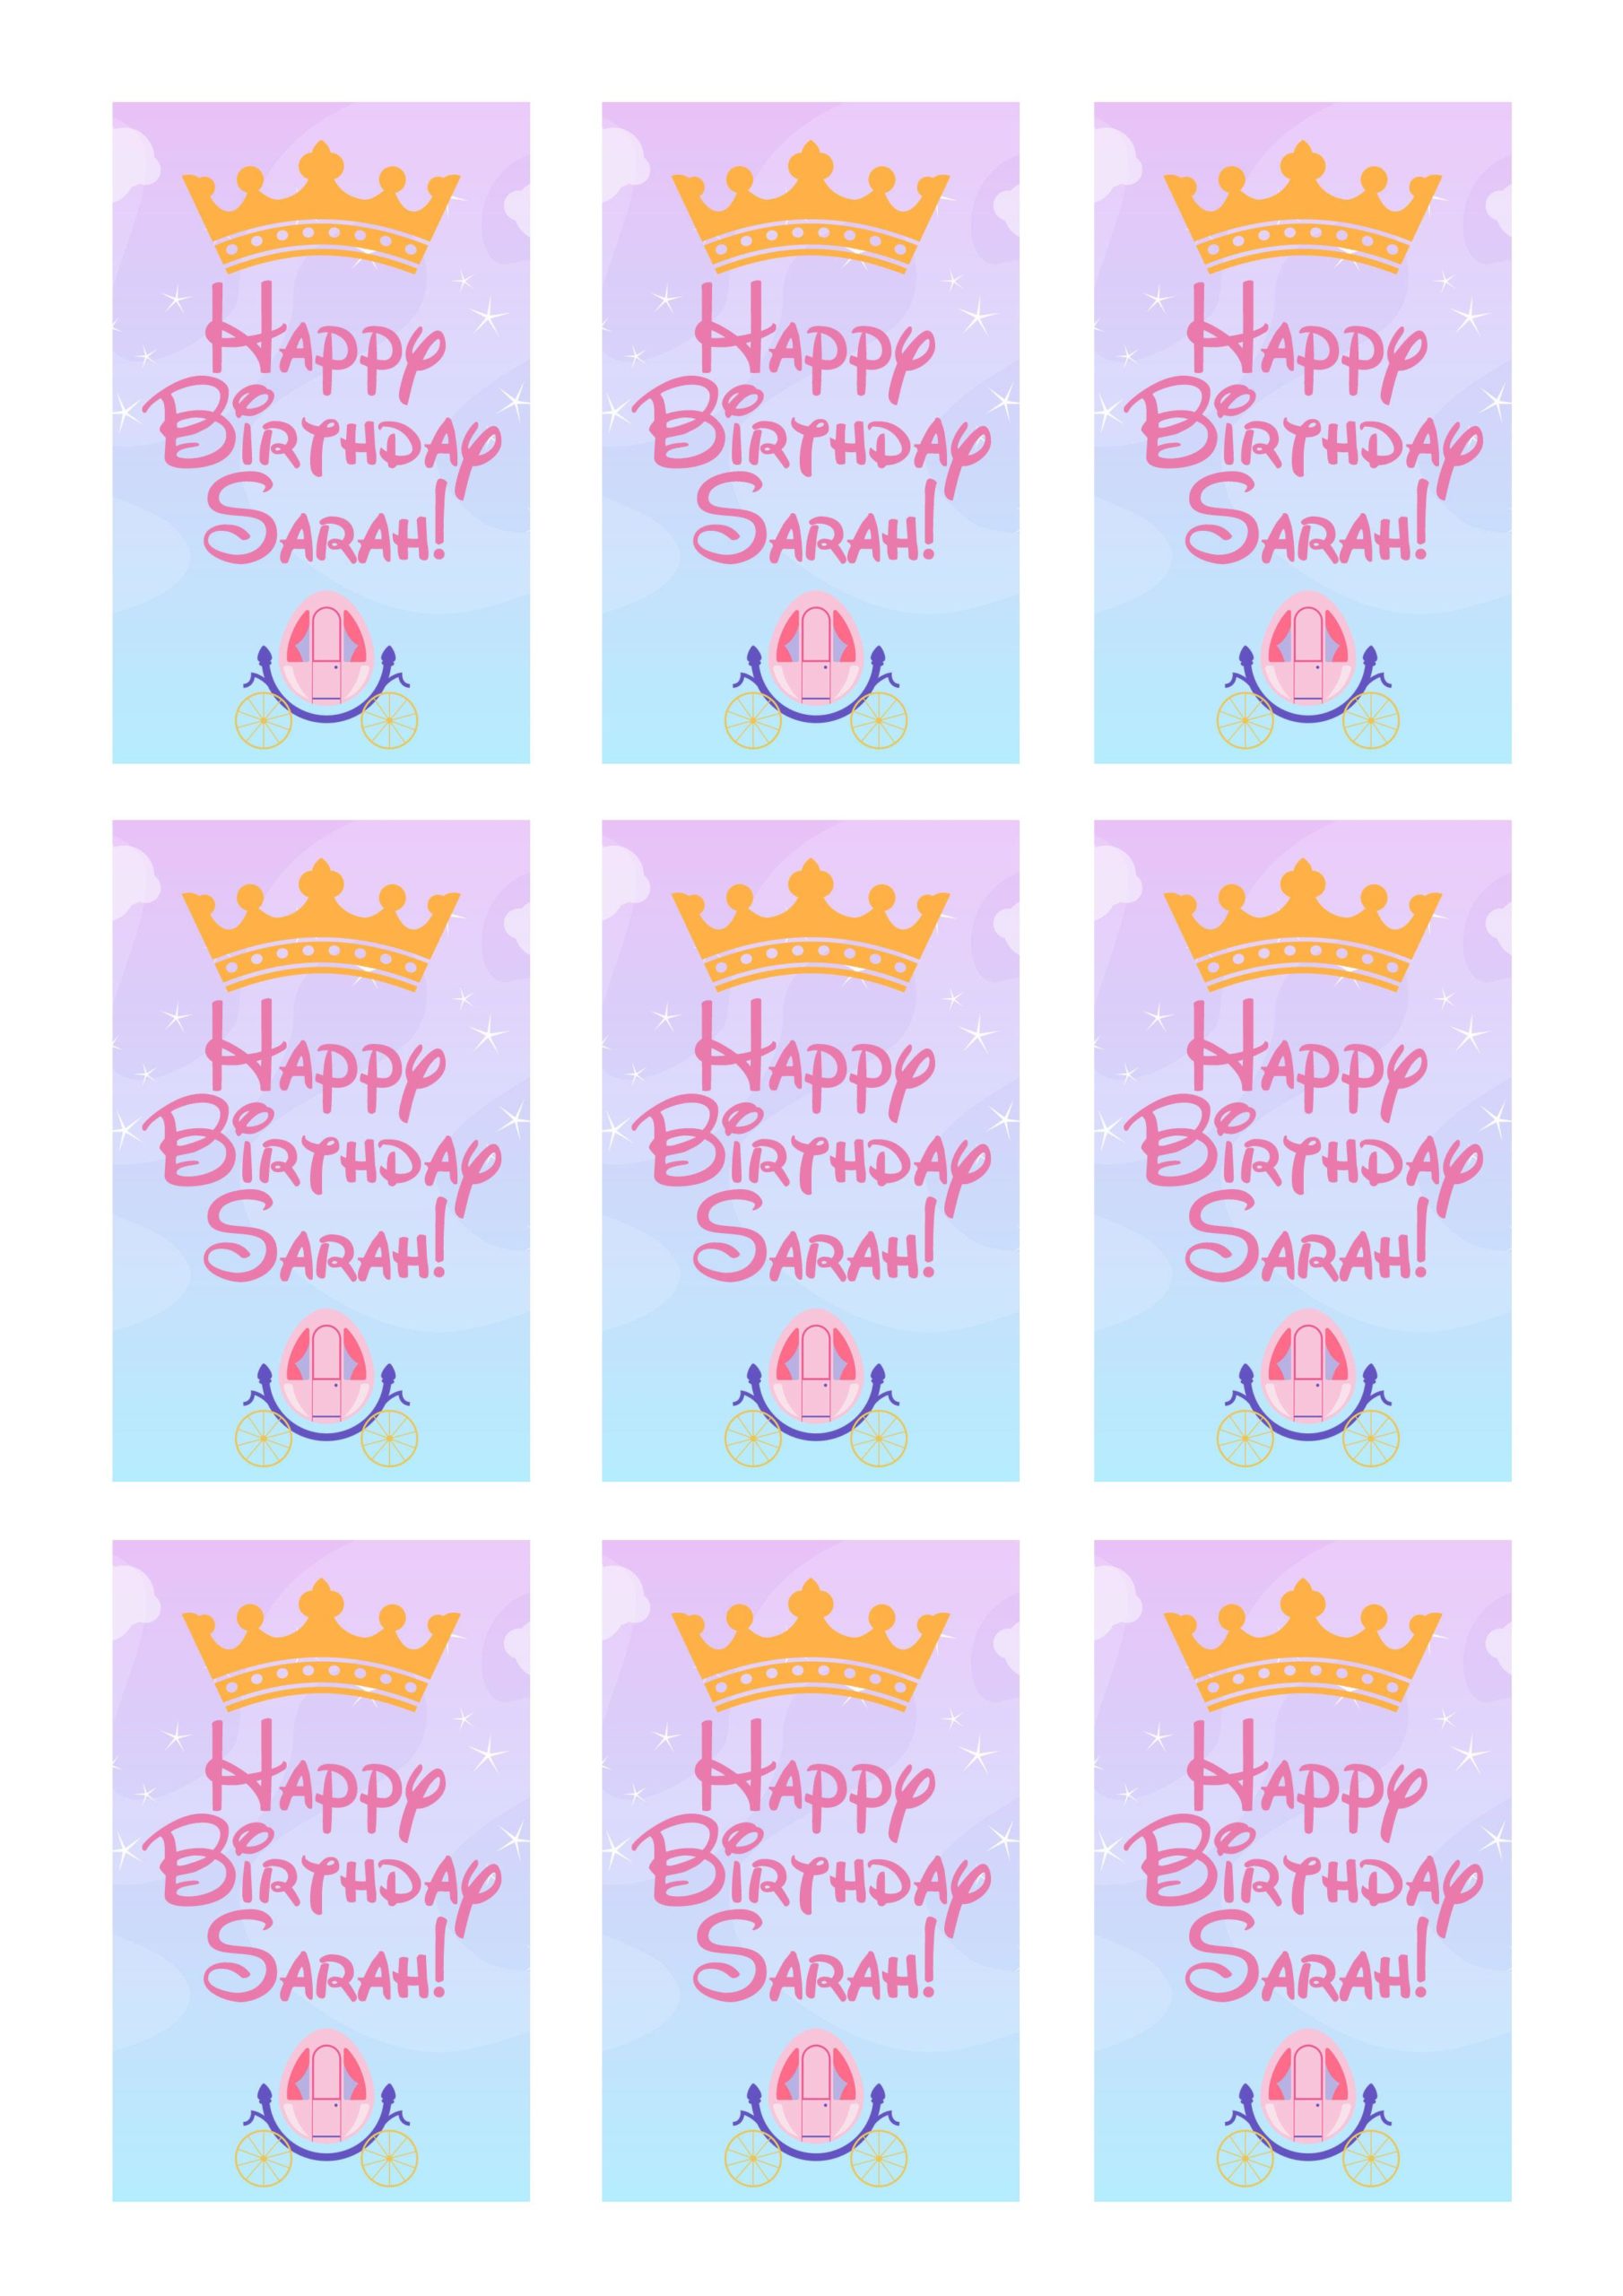
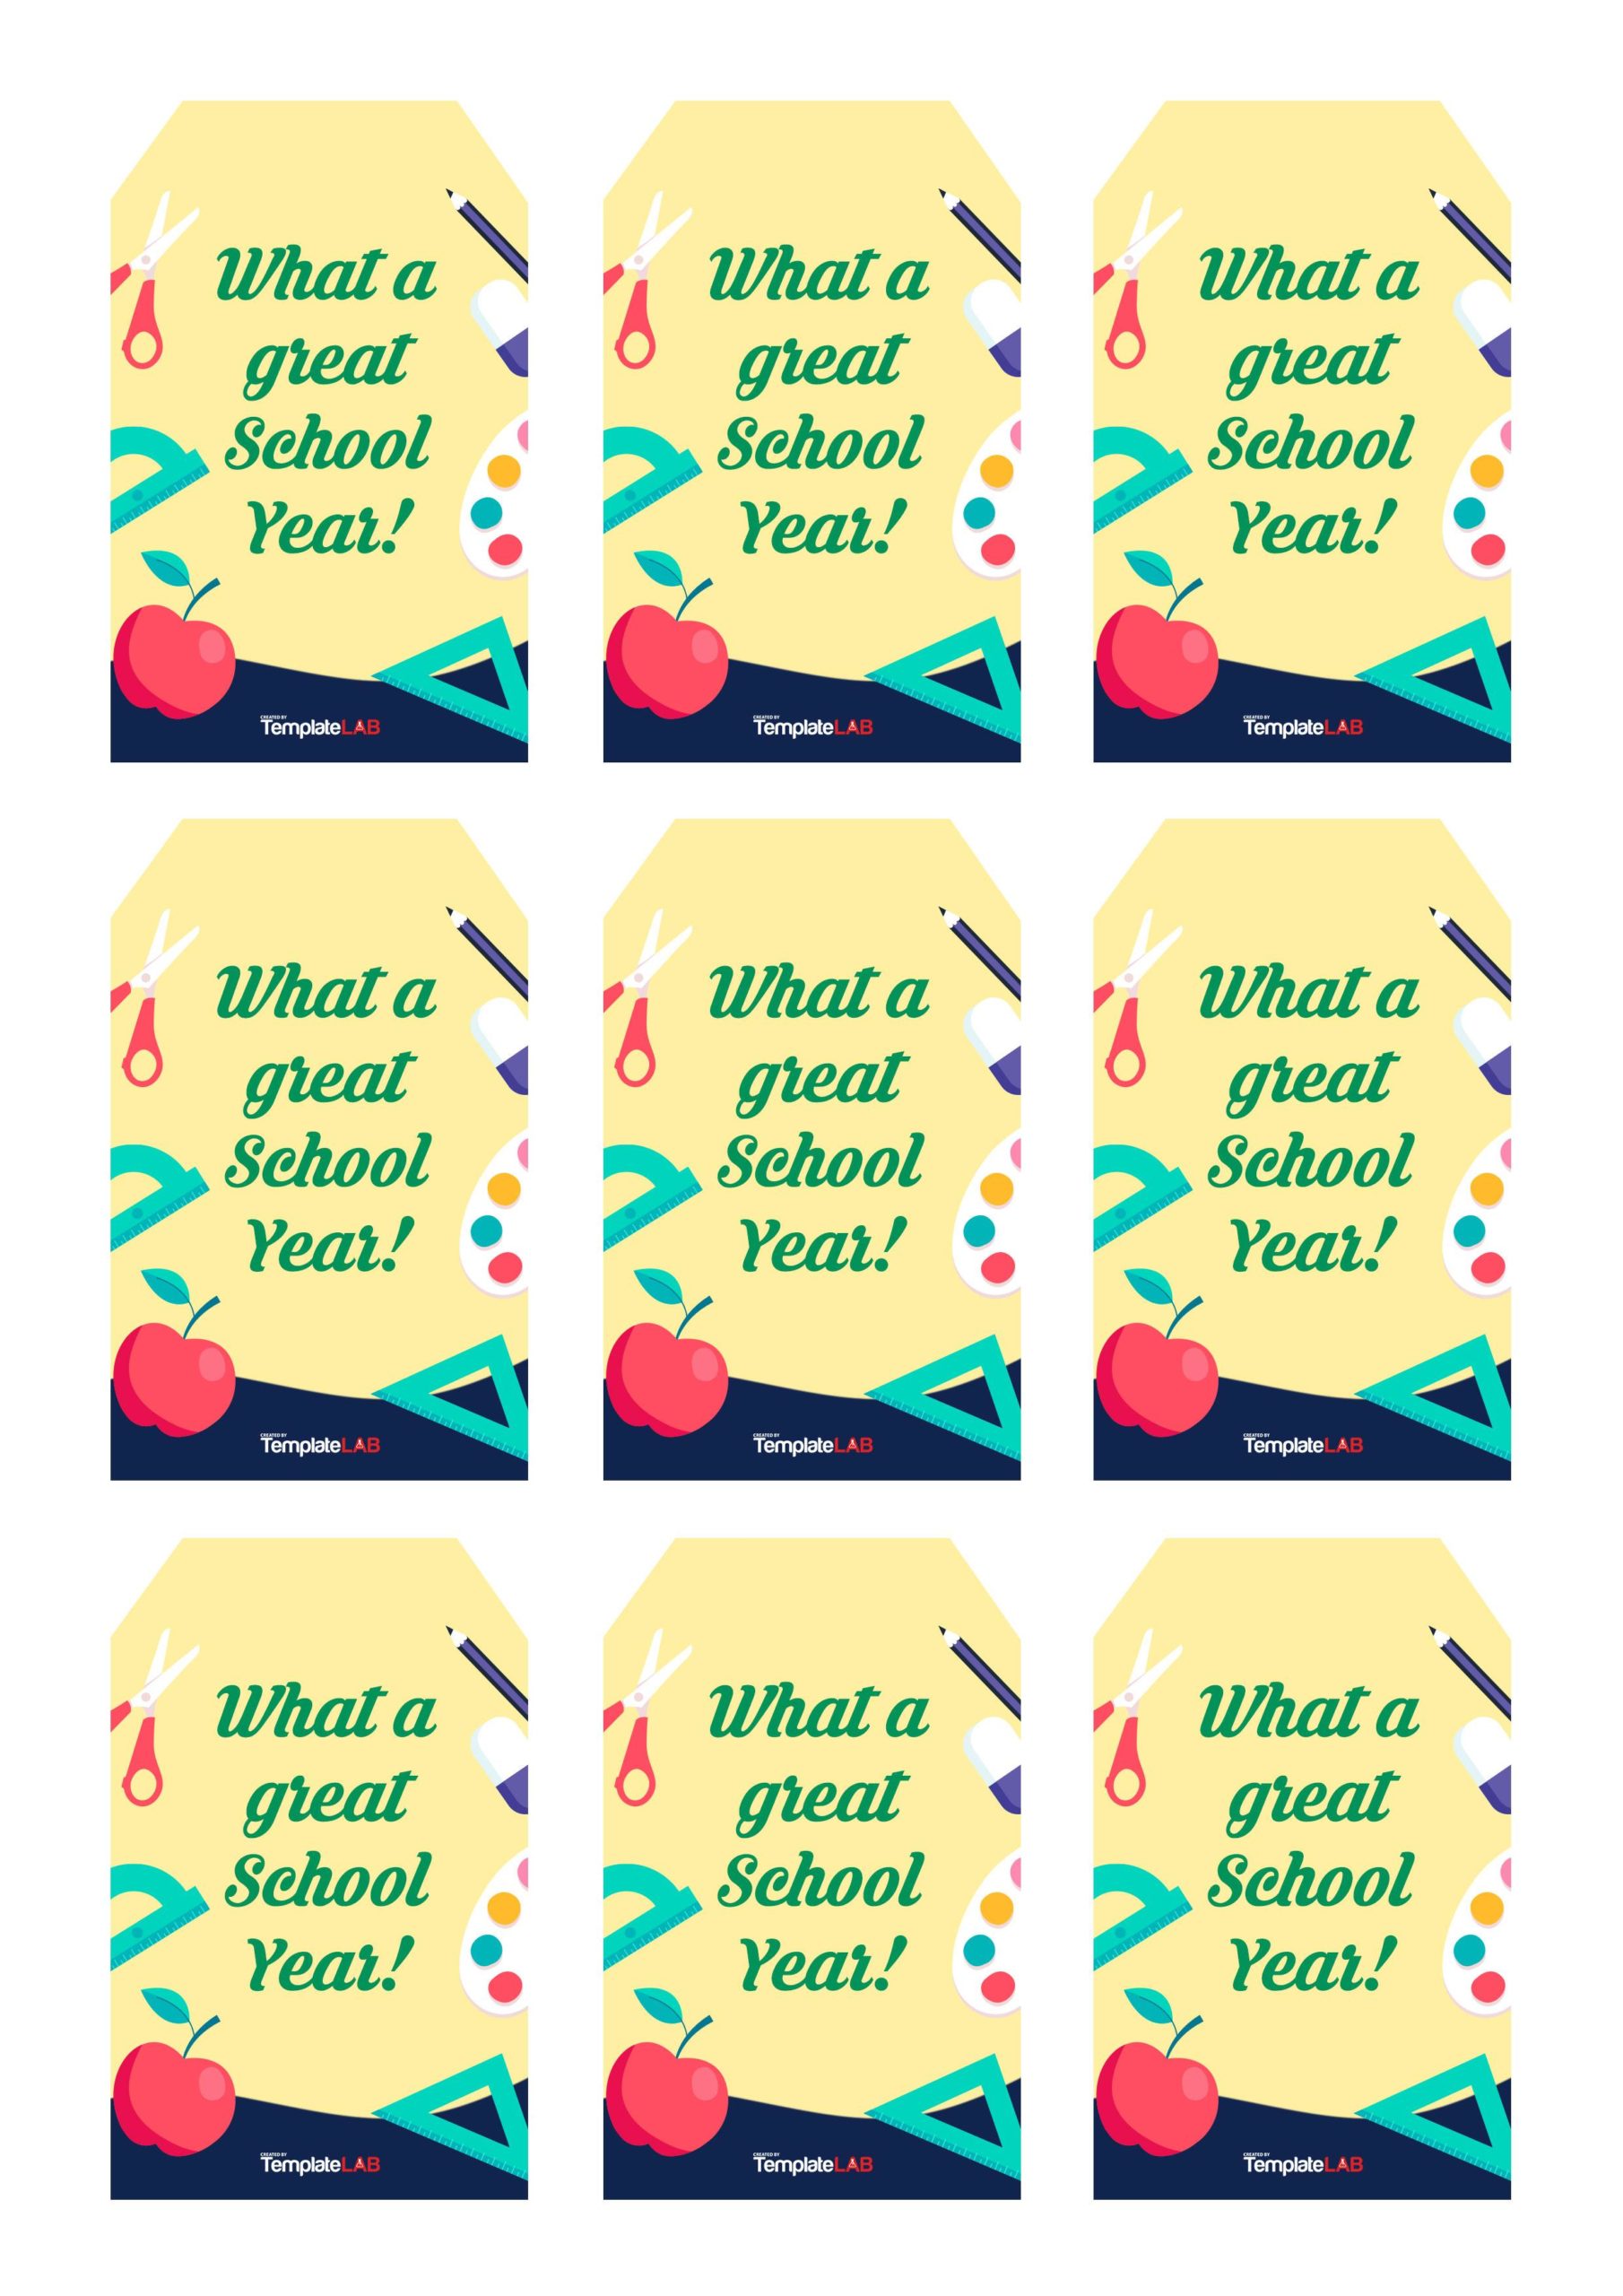
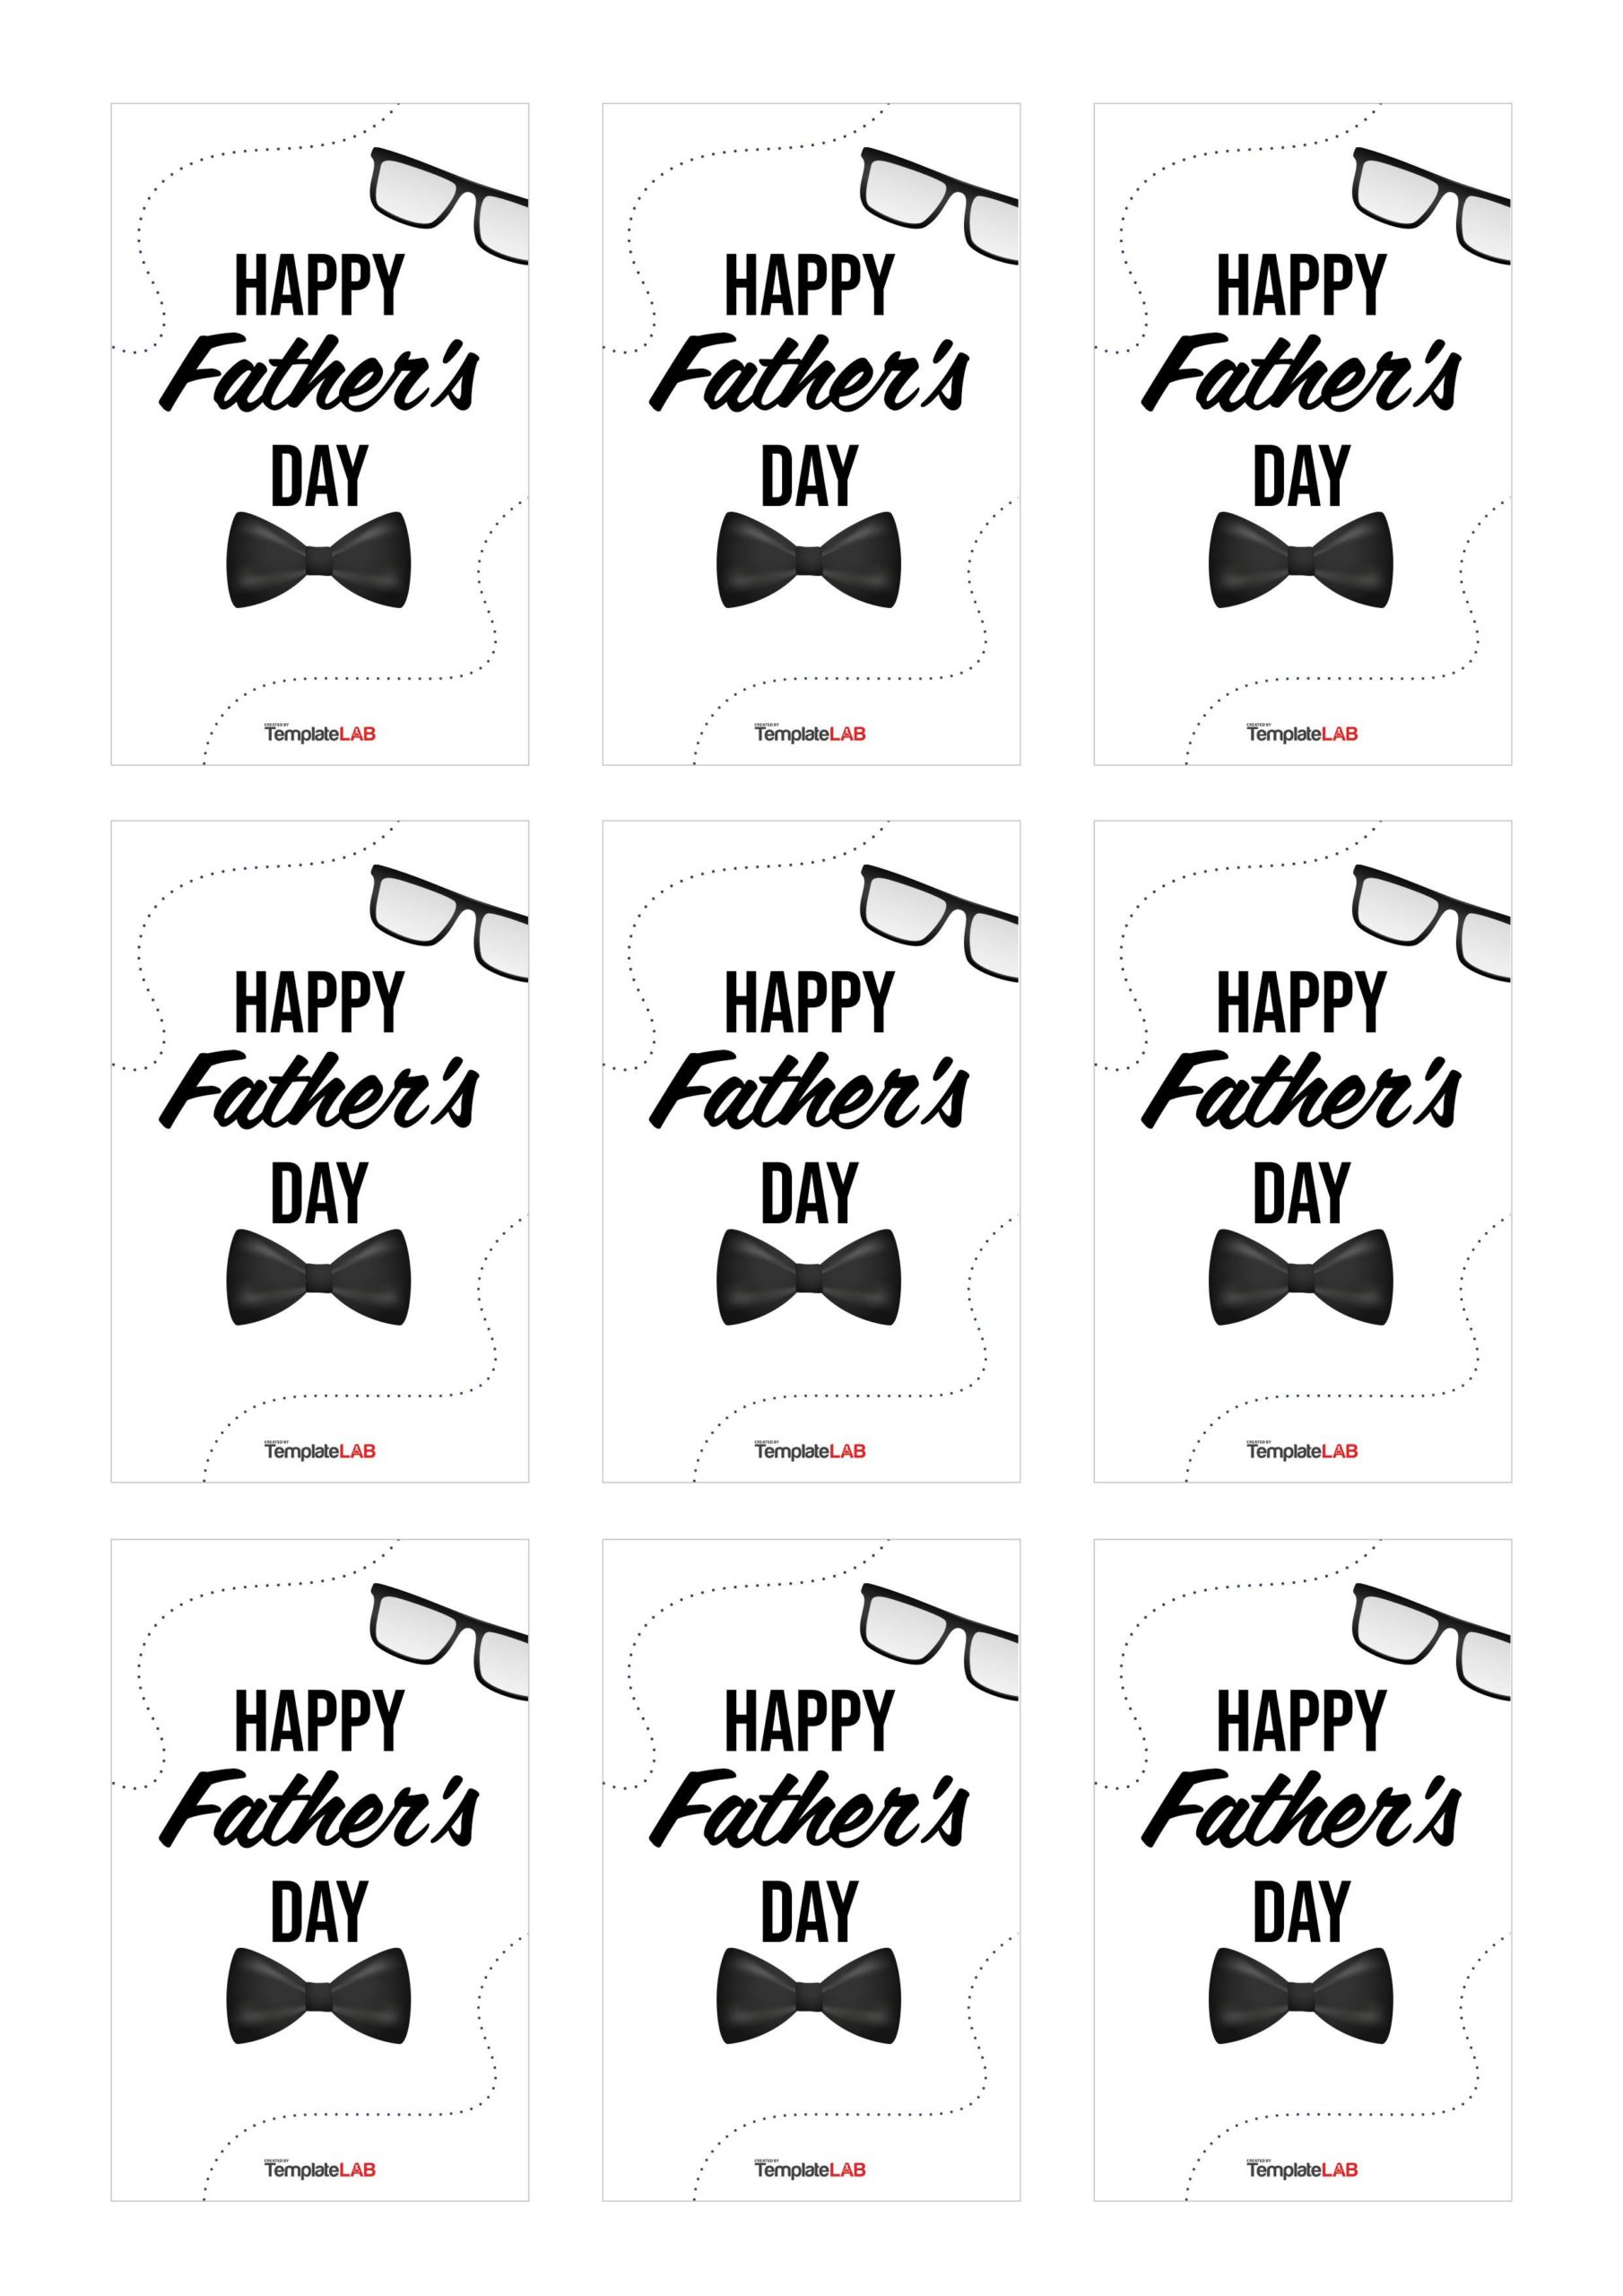
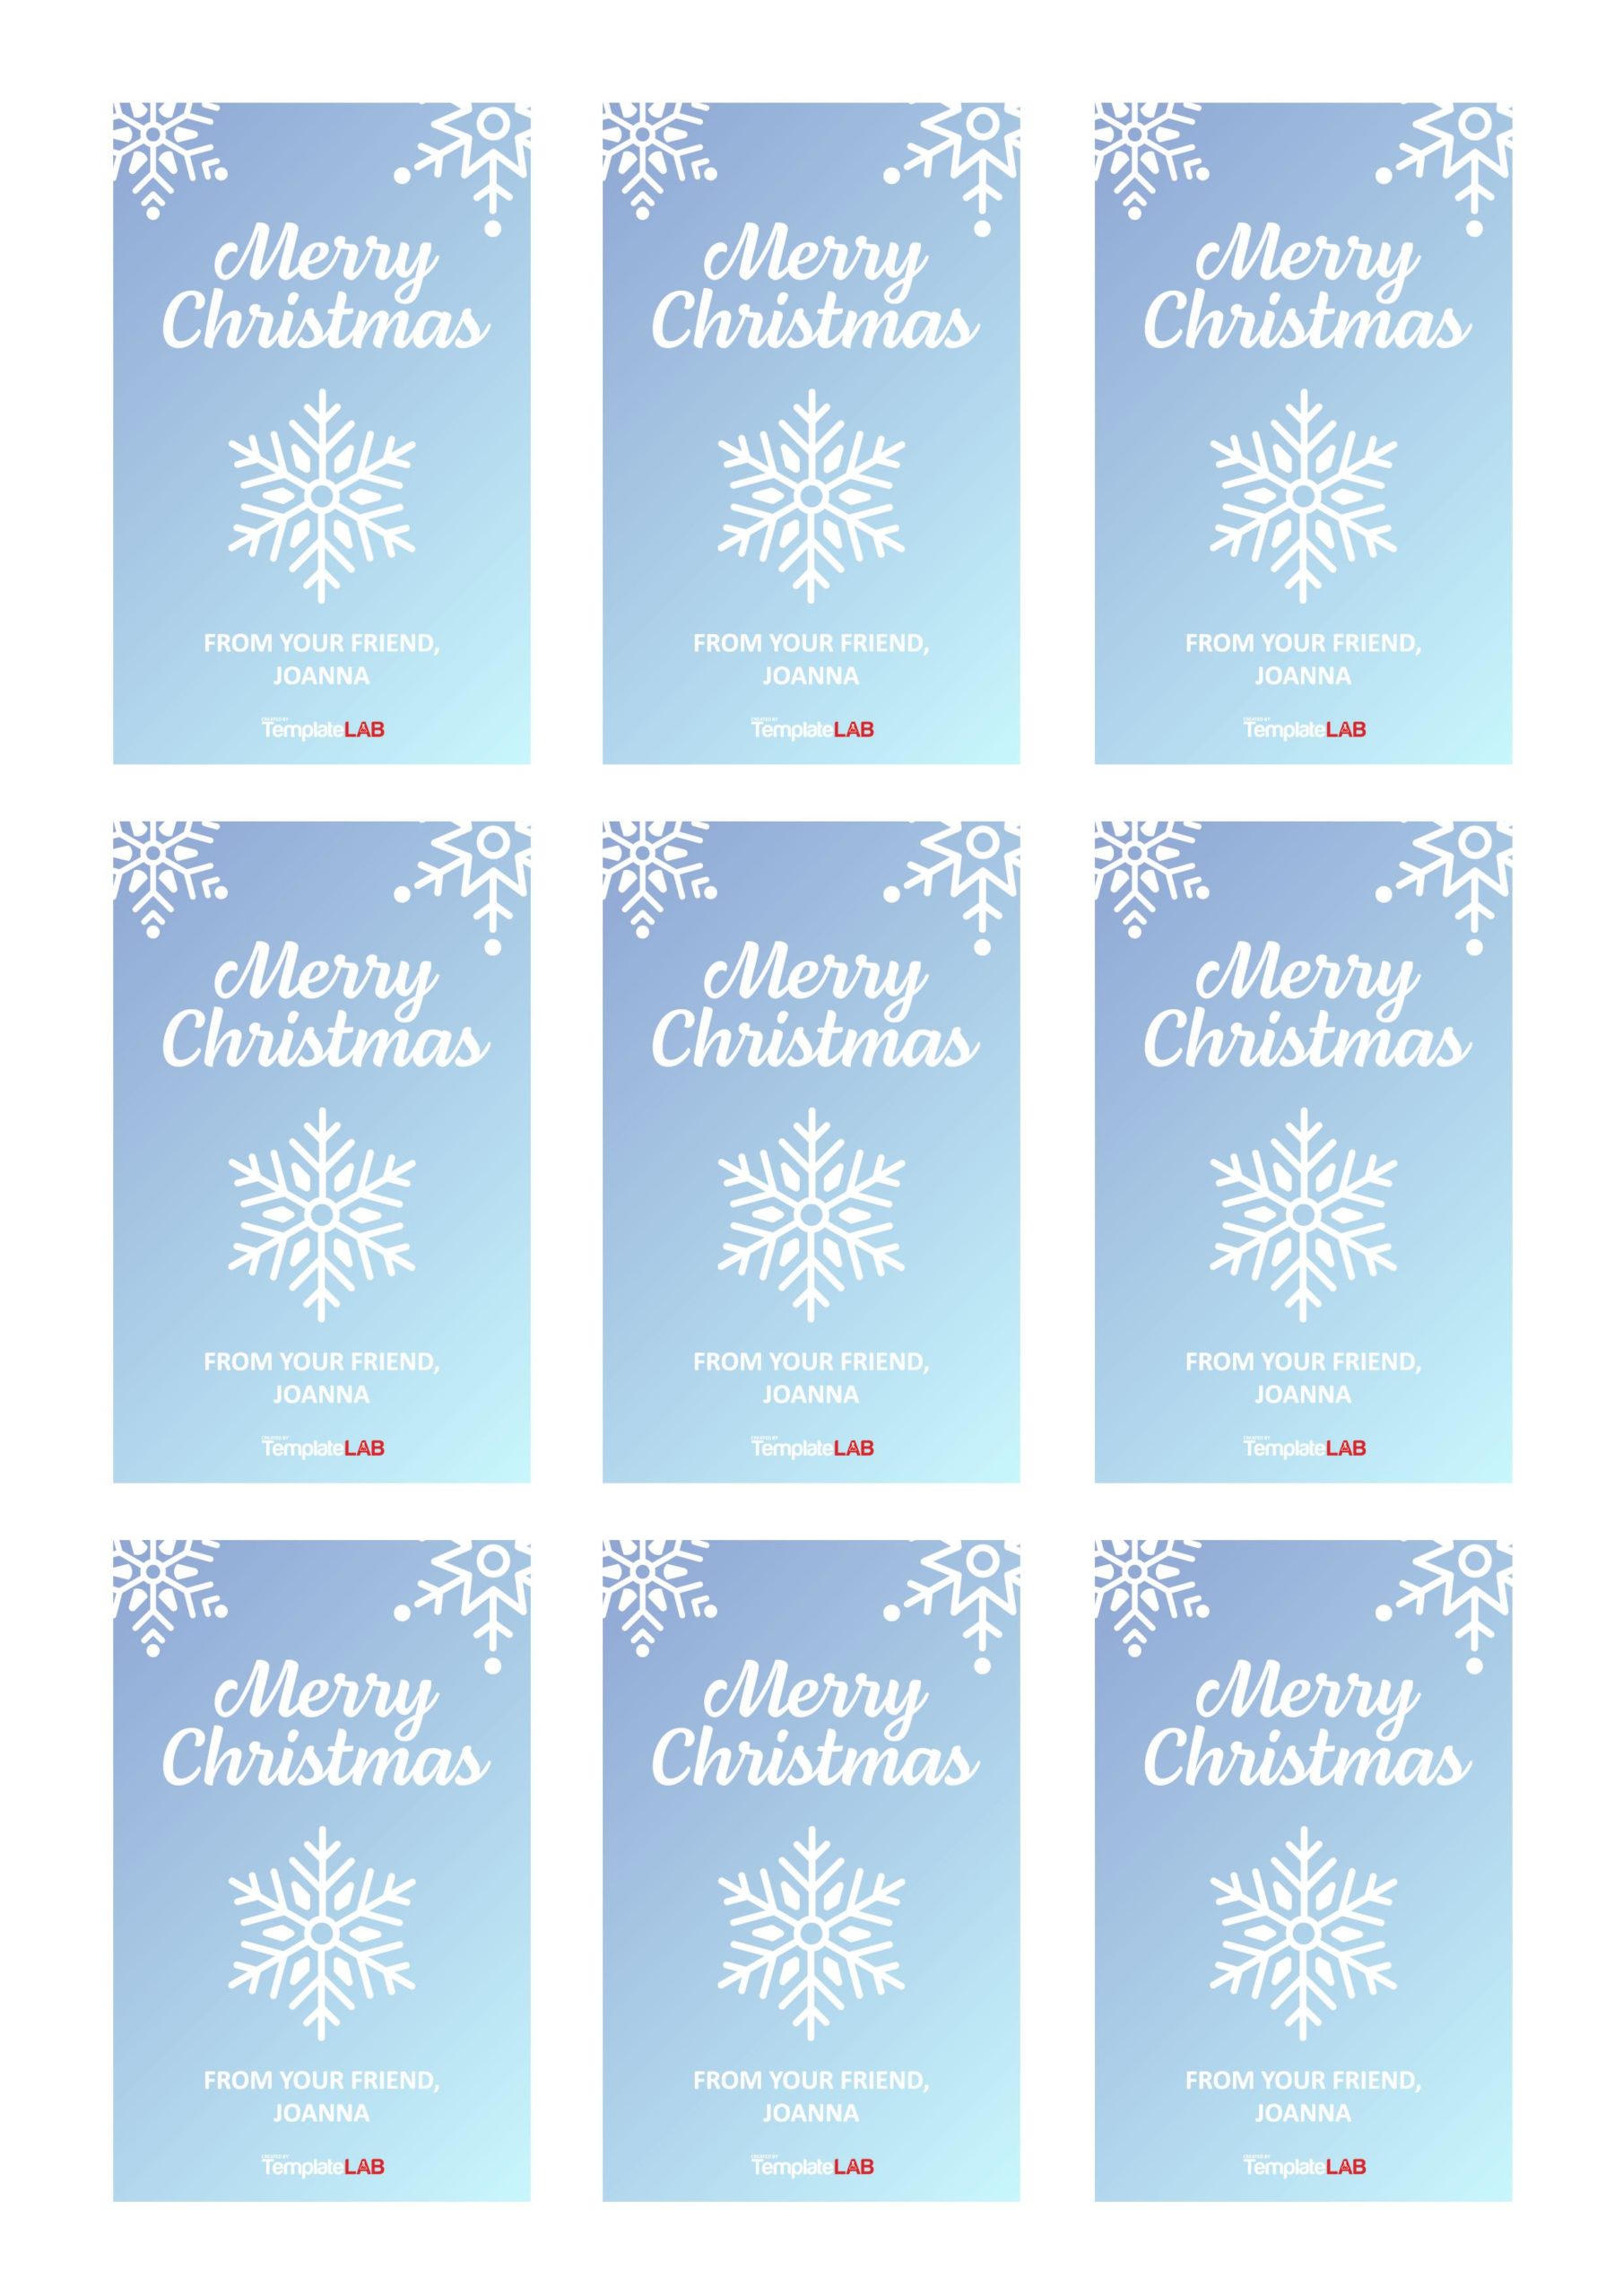
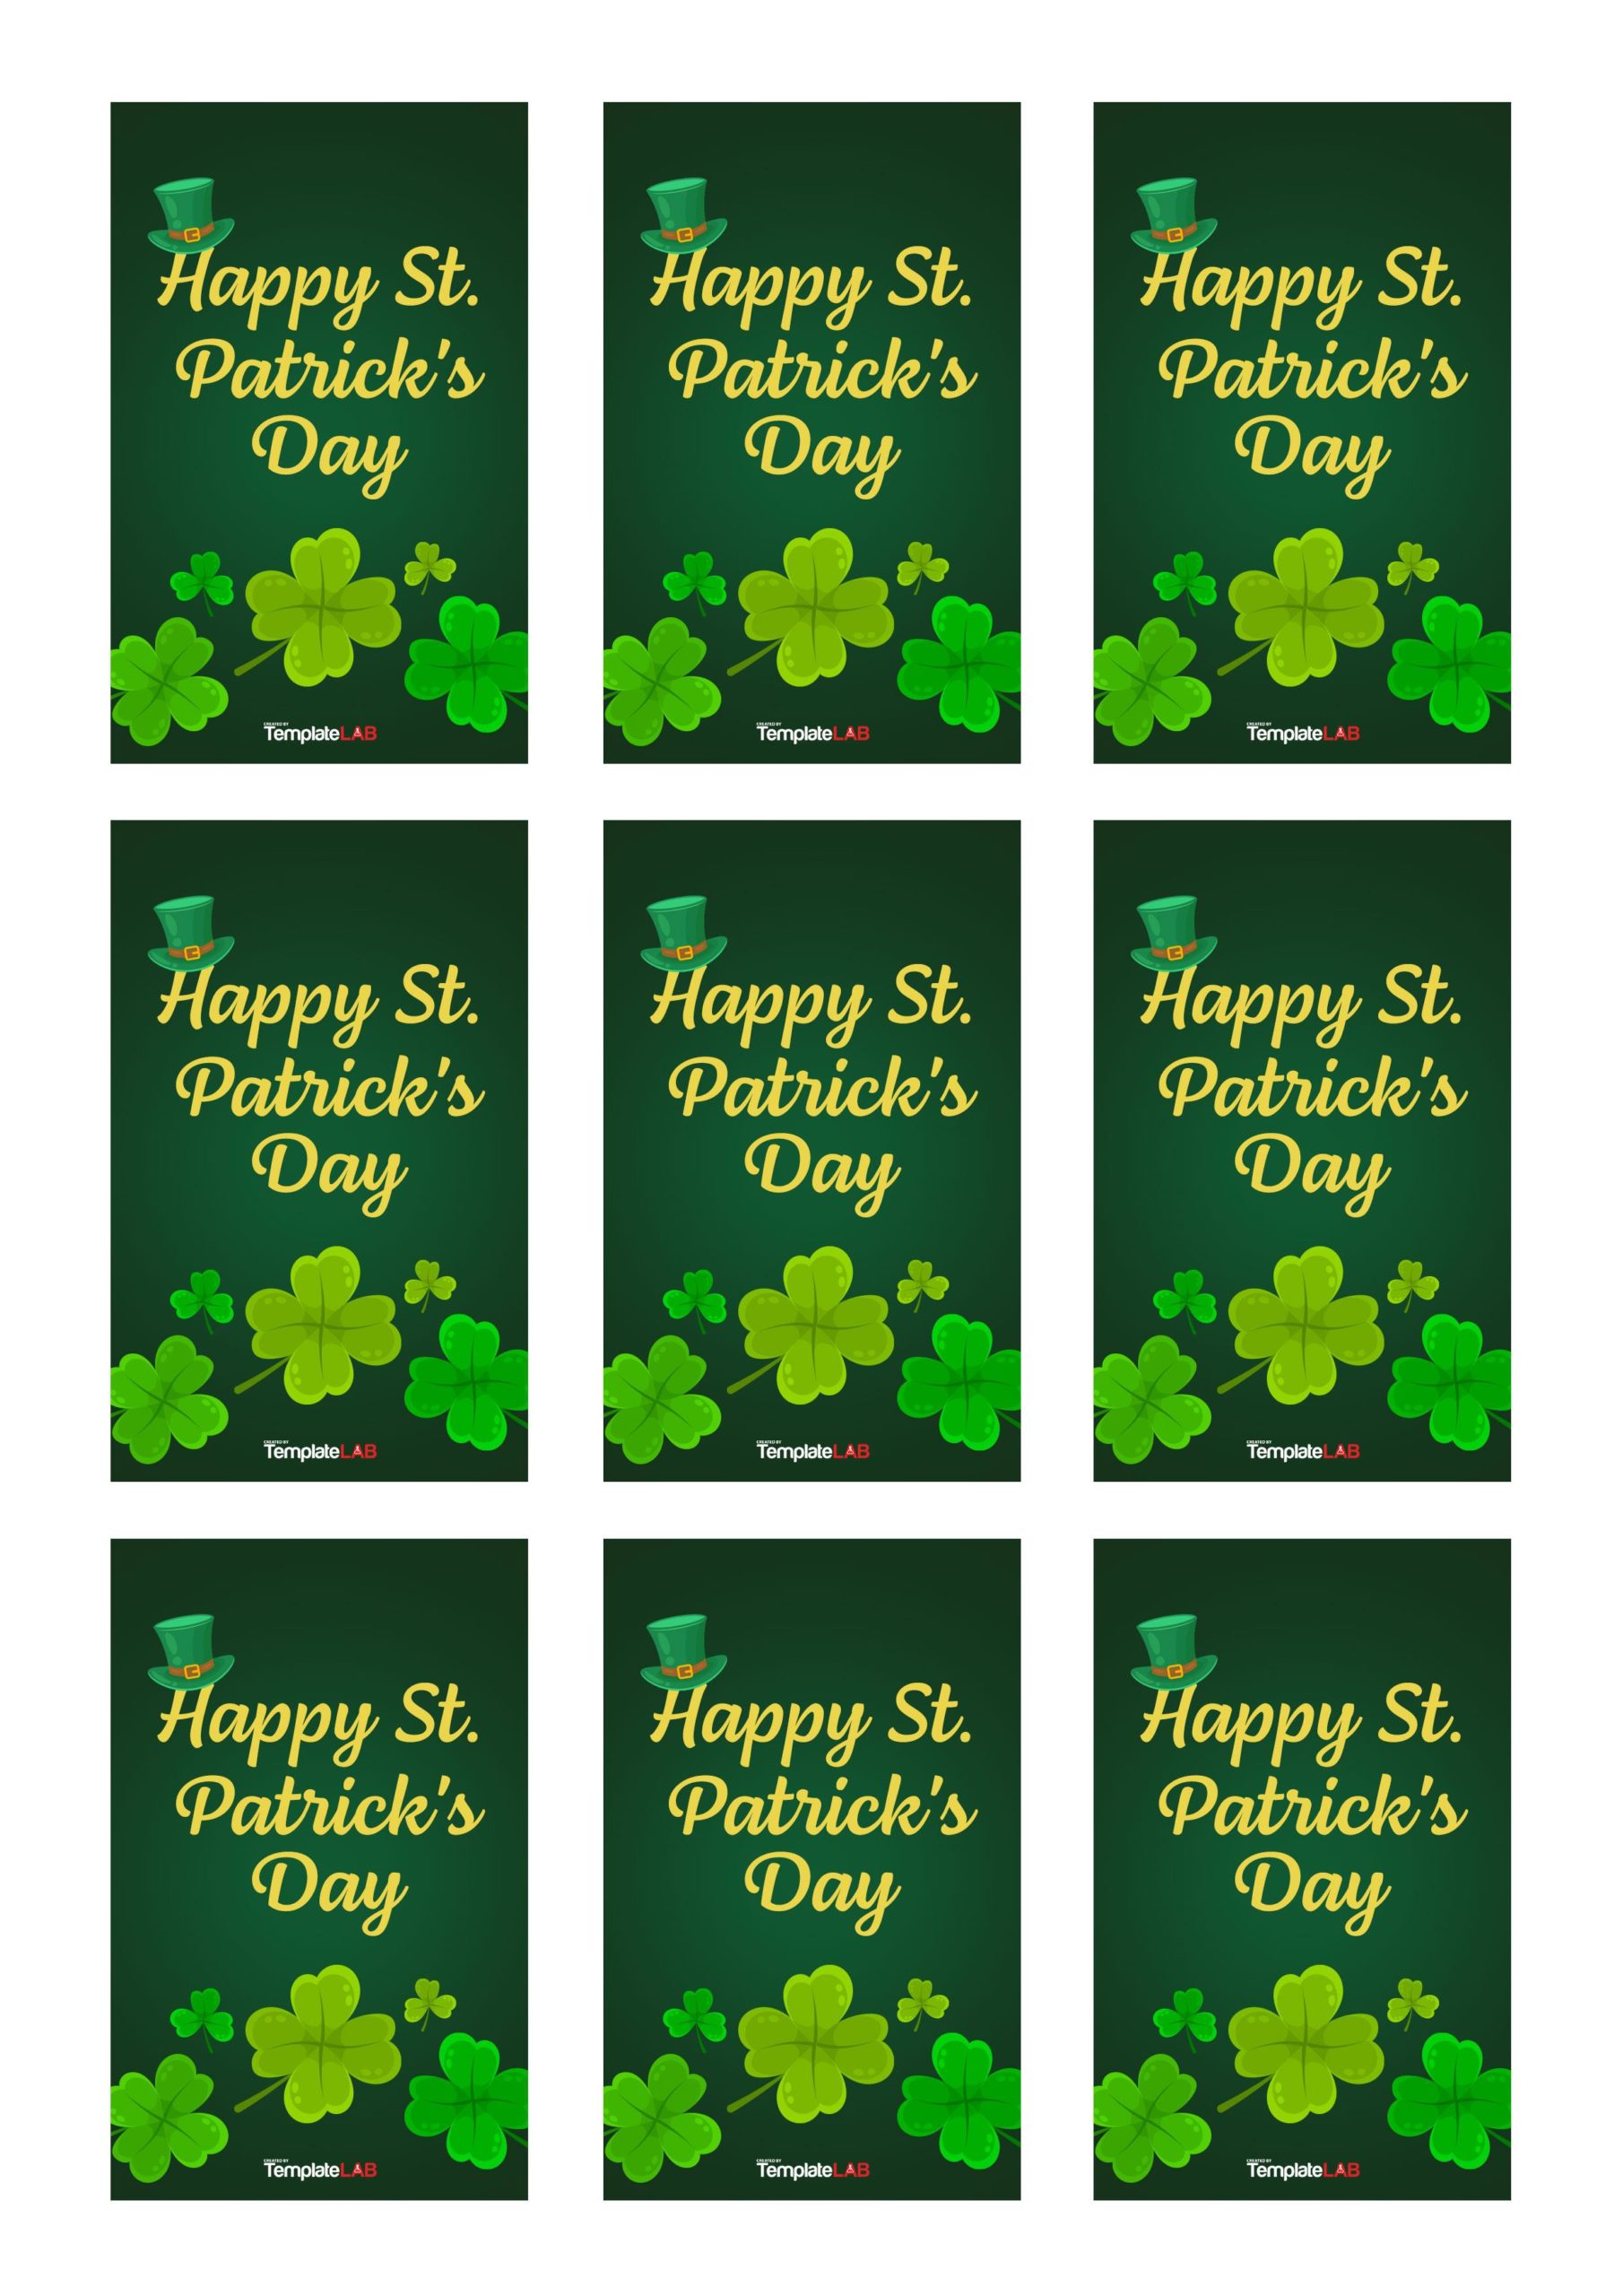
A gift tag offers an excellent finishing touch to a gift. People use them to add a customized message attached to the gift before sending it or handing it over to the recipient. Some people may prefer to buy ready-made gift tags from stores. If you want to include a message written by your hand, DIY gift tags are the best option. They come in a wide range 5of colors, sizes, and shapes relevant to any type of gift. These can be birthdays, weddings, graduation, festive seasons, farewell parties, and many more.
Table of Contents
Gift Tag Templates
What to write on a gift tag
A printable tag template may already have a gift tag message, but you can customize it to include your personalized message. Gift tags are different and can be received by different types of people. You may receive a gift even from people that you never expected could send you a gift. A gift can come from people such as:
- Parents
- Grandparents
- Friends
- Workmates
- Secret admirers
- Girlfriend/boyfriend
- Employer
- Neighbours
The message to write on gift tags depends on who it is coming from and who the recipient is. It matters even the gift tag outline that you choose when considering the recipient. The recipient of the gift is filled with joy before they open it due to the message on the attached gift tag. If all that you want is a general or universal message, there is a wide range of options you can choose. Here are examples:
- “You are special, and you deserve the best. This gift is not much, yet it is the best surprise for me.”
- “You have been very supportive, and you mean a lot to me. This is one big reason I decided to send this little box as an appreciation.”
- “Sharing jovial moments with you meant a lot to us. We hope this small token of love will shower you with endless days of jovial moments.”
- “This little token is to convey my thankful gesture to you. Hope you will love it.”
- “This is our best token of love to you for being the gift to our lives. We hope this little surprise will shine throughout your day.”
When designing a gift label template, you may decide to write a specific message to that special person. For example, when preparing a birthday gift, you can choose a gift tag with a message such as a birthday gift tag to/from to indicate who you are sending to and from who it is coming. The printable tag template can have messages such as the following:
Messages to a close friend of the opposite sex
- “I think about you day and night. Let this token brighten your smile.”
- “I keenly note every little thing that you do, and I appreciate each of them beyond what you may know.”
- “You grow in beauty daily, and I love being with you.”
- “I will never stop appreciating you. Every part of my mind is full of you.”
- “You make every minute of my day brighter. This is my best token just for you.”
- “I appreciate you for making me happy daily since I first met you.”
Gift Label Templates
What is the size of a gift tag?
Gift tags come in all manner of sizes ranging from small tags for smaller gift boxes to large tags for larger gift boxes. You should create a gift tag outline that is proportional to the size of the gift box you are sending. The gift label template may have standard pre-designed gift tags, but you can customize them to fit the size that you want.
The standard gift tags measure 3.5 by 2.5 inches, although some can be up to 5 by 2.5 inches. If the tag is for a small gift box, the best size to set on the printable tag template should be 2 by 1 inch. Some of the gift boxes can be extra huge and may require gift tags measuring 9 by 4 inches or bigger.
When customizing a printable tag template, you may notice the program you are using gives you options for choosing gift tag sizes. One of the options can either be number 8 or 6. It may also give an option for a clothing tag, size 10 tag, and so on.
Choose the correct size from the options or manually enter the dimensions you want your gift tag to be. The main point to consider when creating your gift tag outline is choosing the size that will be proportional to the gift box size you are sending.
Gift Tag Outline
How to tie a tag on a gift bag
A gift tag adds a heartfelt message to a gift, but most people get problems tying them to gift boxes or bags. Sometimes the recipient must know who the gift is from even before they open it to see the contents. For example, it is common to see a gift with a tag written “birthday gift tag to/from.” The recipient gets an idea about who sent them the gift. There are many different ways to tie a gift tag on a gift.
- Tie the gift tag using a string. After creating the gift tag using a gift label template and printing it, the final touches on the tag involves punching a hole at the top center. Even ready-made tags bought from stores have holes. The main purpose of the hole is to insert a string to tie the gift. This is the commonest way people use to tie gift tags on a gift bag. The commonest style to tie the git is tying the string like a ribbon or shoelace. This is not the only way because there are many other ways to tie a gift tag on a gift.
- Stick it with adhesive. It is not a must that you punch a hole on your gift tag after designing it on a printable tag template. Print the correct size that will look proportional to your gift bag or box. Use scissors to cut it to the right size and shape, and then use glue to stick it to the gift box or bag. You can become a little creative and stick a natural flower or a leaf from the garden on the side of the gift tag. It will look gorgeous on the gift bag.
- Prop it on an ice cream stick. The gift bag might contain ice cream, chocolate, or another closely related product. Your gift tag-tying creativity is not limited in any way. An ice cream stick almost reveals to the recipient the type of content to expect once they open the gift bag. Prop the gift tag on an ice cream stick and then stick it on the gift bag. Ensure you raise it a little above the bag to make it easily visible.
- Layer the gift tag. To layer the gift tag, you require at least two or three different types of materials. One of them can be a ribbon, while the other one can be brown or translucent paper. A translucent paper will work better to make the gift tag look amazing. The paper should be laid on top of the gift tag but ensure the tag is larger than the translucent paper. Punch a hole on both papers and tie a ribbon with a matching color. Use another longer ribbon that can go around the bag or box and use it to tie the gift.
- Clipping the gift tag. A simple clip can work wonders on your gift tag. Get a beautiful clip and clip the gift tag on the edge of the gift bag. If you want to be more innovative, a simple cloth peg can be used instead of a clip.
How do you make a gift tag in Word?
It saves you money to use a gift label template in Word to create a customizable gift tag. You get to choose your preferred design on a printable tag template and print it. Follow these steps to create a gift tag in Word.
- Visualize your message. The first step is to think about the message that you want to print on your gift tag. The type of message you print depends on the gift recipient and the purpose. It could be you are sending them a birthday gift, graduation, get well, or Christmas gift. The person can be your child, grandson, parent, friend, or colleague. Visualize a message that will look appropriate to them. If you need to add an image, visualize the best type of image you would want to add to the gift tag.
- Get your images ready. There are different ways you can use to get images for your gift tag. You might have photos on your phone or computer that you believe the recipient will love. Create a folder on your computer and paste them there. You may also prefer to draw your images if you love drawing. Create a simple image that carries an encouraging message. Another option is to search online for the best images you would prefer to use for your gift tag.
- Get a blank Word page ready. Open Word, and once ready, click on the file to open a long drop-down menu. The second item from the top is titled New. Click on it, and several types of pages will display on the right side. Click on the Blank Document to open a blank page. Name the document and then save it.
- Set the border. To set your gift tag border, click on the Design tab. If you count from the File tab, the Design tab is the fourth item to the right. Once you click on it, check the item displayed last to the farthest right indicated as Page Borders. Once you click on it, a dialogue box will open with several menus. On the left edge, click on the small box indicated as Box. Use it to set your page margins.
- Design the gift tag outline. To design the gift tag outline, go to the Insert tab. Check the field indicated as Illustrations and click on Shapes. Choose the gift tag outline shape that you want. The shape you choose determines what your printed tag will look like. This is the shape you will cut with scissors once you print.
- Place your images. Go to the images you pasted in the folder and place them in the tag. To place them, click on Pictures on the same Insert tab and then click on Insert from This Device. Follow the prompts and open your folder to select the image you want to drop on the gift label template. You can use the word tools to change the color of the image and place it in the right place.
- Type the text. To add text to the gift tag outline, draw a text box inside the tag. Type the text and add text design as you wish. You can choose a different font, style, position, and color as you wish.
- Print the gift tag. Since a gift tag is small, you will waste paper if you print only one piece on A4 paper. Before you print, duplicate the gift tag into the number of pieces that will fit on the paper. To duplicate, press and hold the Shift key on your computer. Click on the gift tag to select it. Drag and drop it, and you will create a duplicate. The other method is to press Ctrl+V to create a duplicate. Repeat the process until you fill the page with the duplicates. Prepare your printer and print the tags.
- Cut the pieces. Using scissors or another cutting tool, cut the gift tags along the gift tag outline, ensuring the curves are smooth. At the top center, punch a hole for the string or ribbon. Your gift tags will be ready for use in your gift box or bag. There are different kinds of papers you can use to print gift tags.
The main types mostly used are cardstock or art cards. Any type of paper used to print cards, such as wedding cards, will be a good option. These are papers such as recycled, cotton fiber, linen finish, Vellum, glassine, and board.

