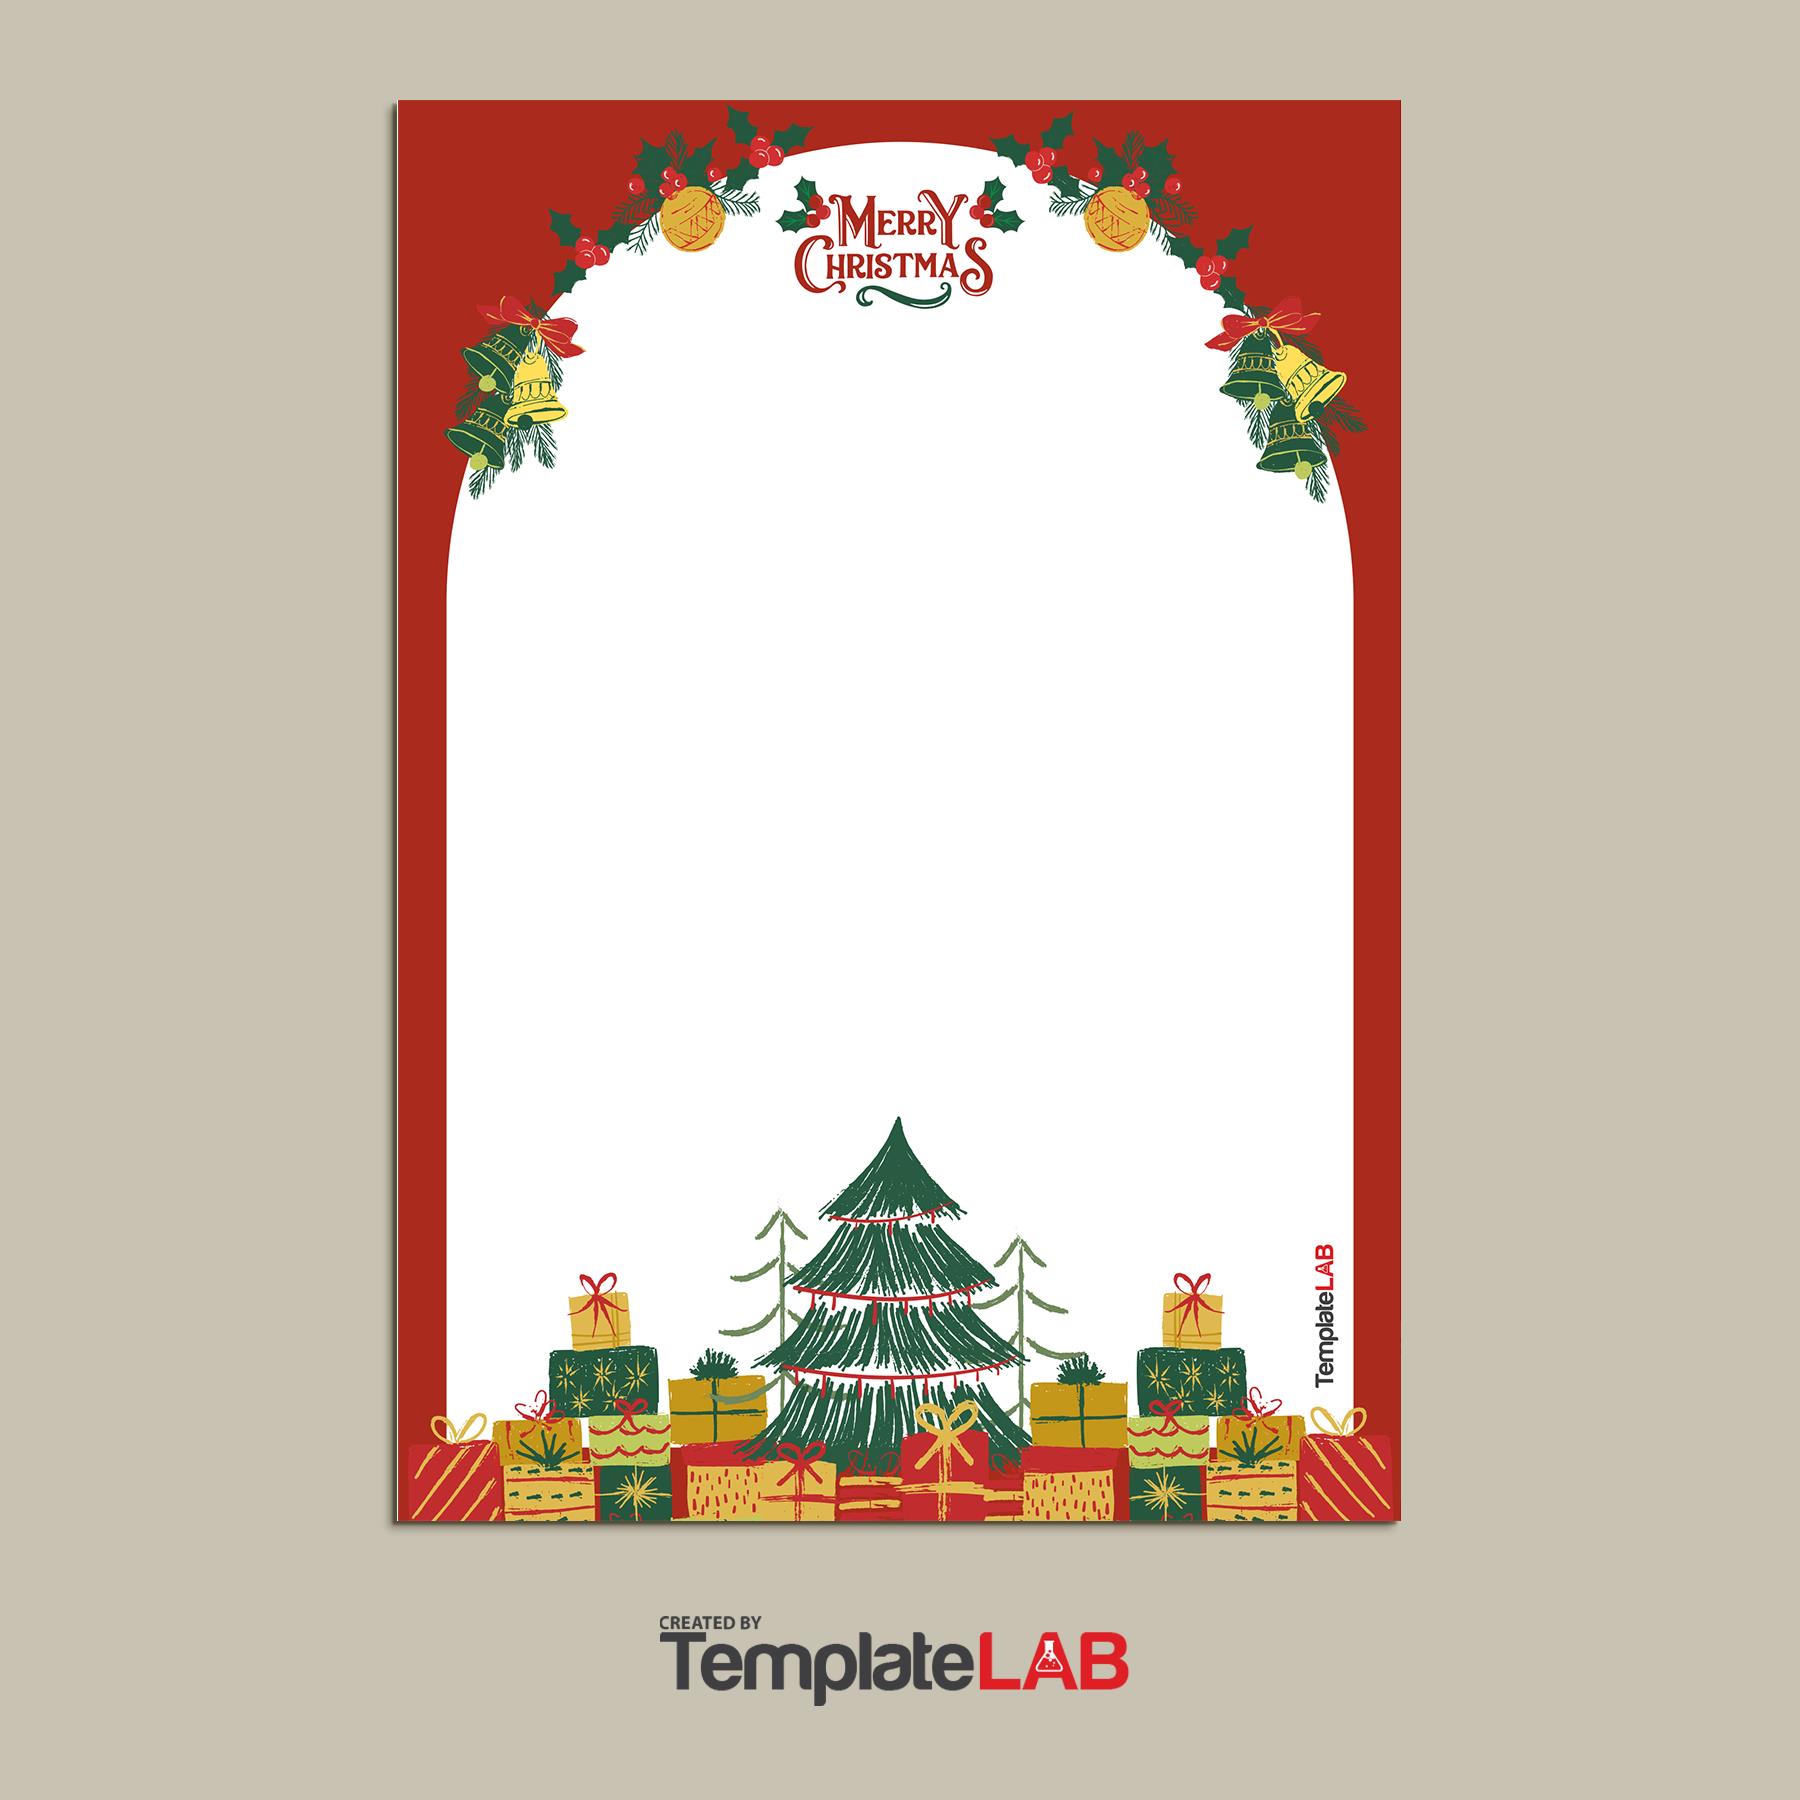
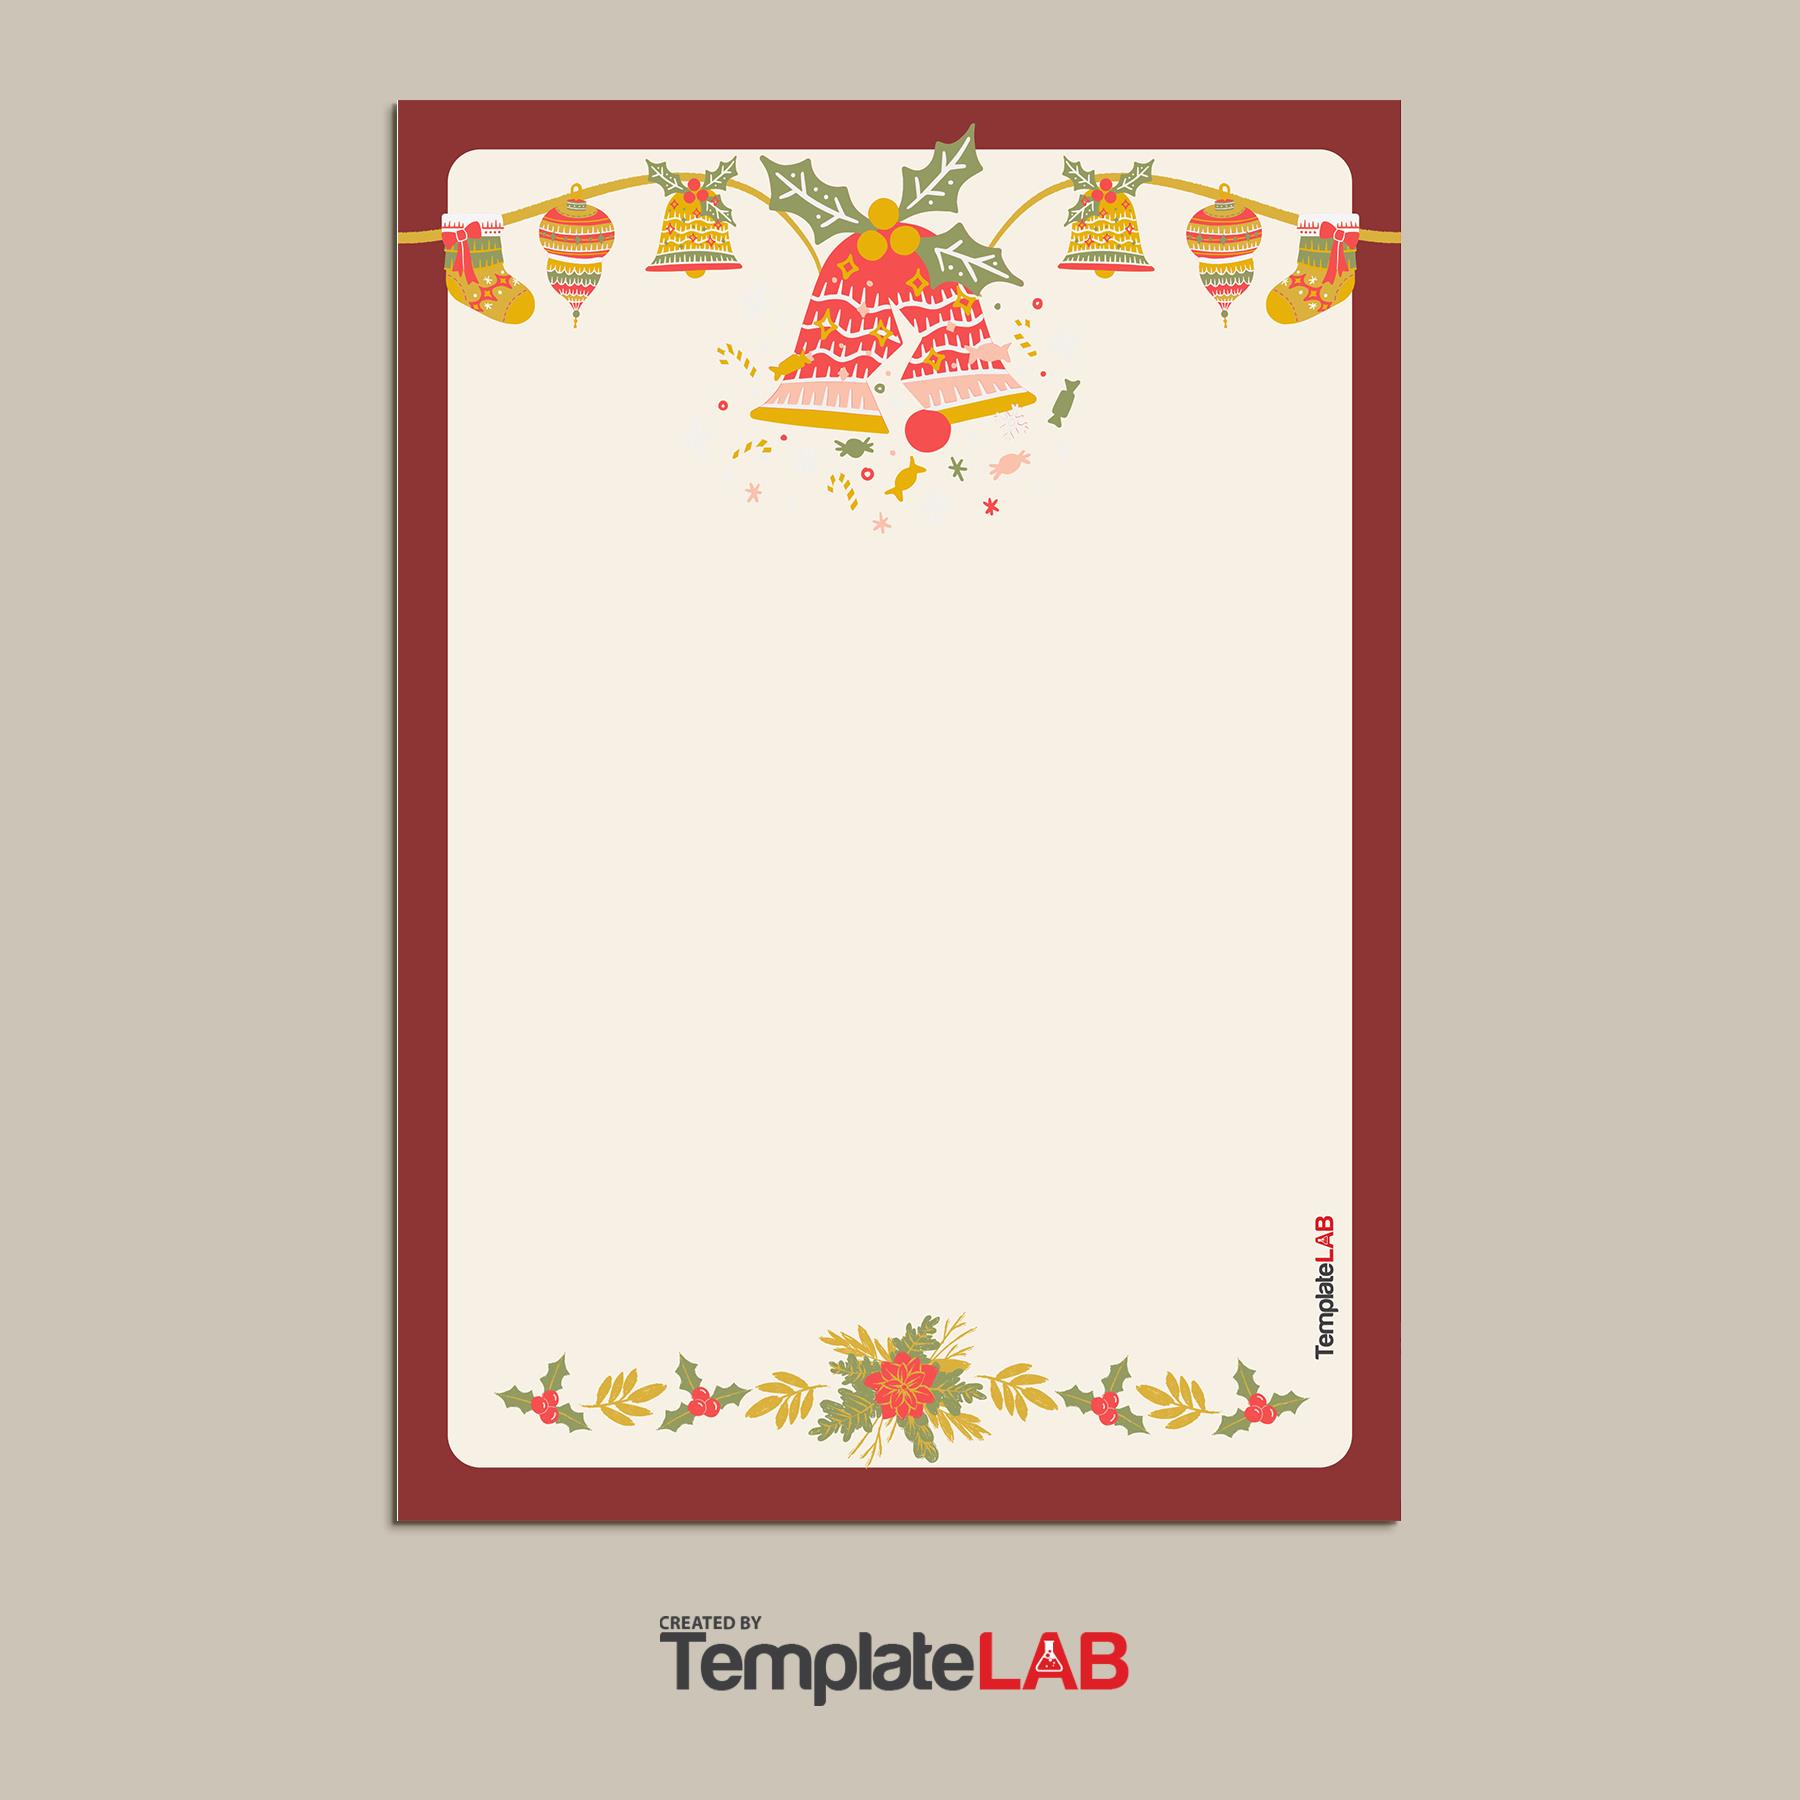
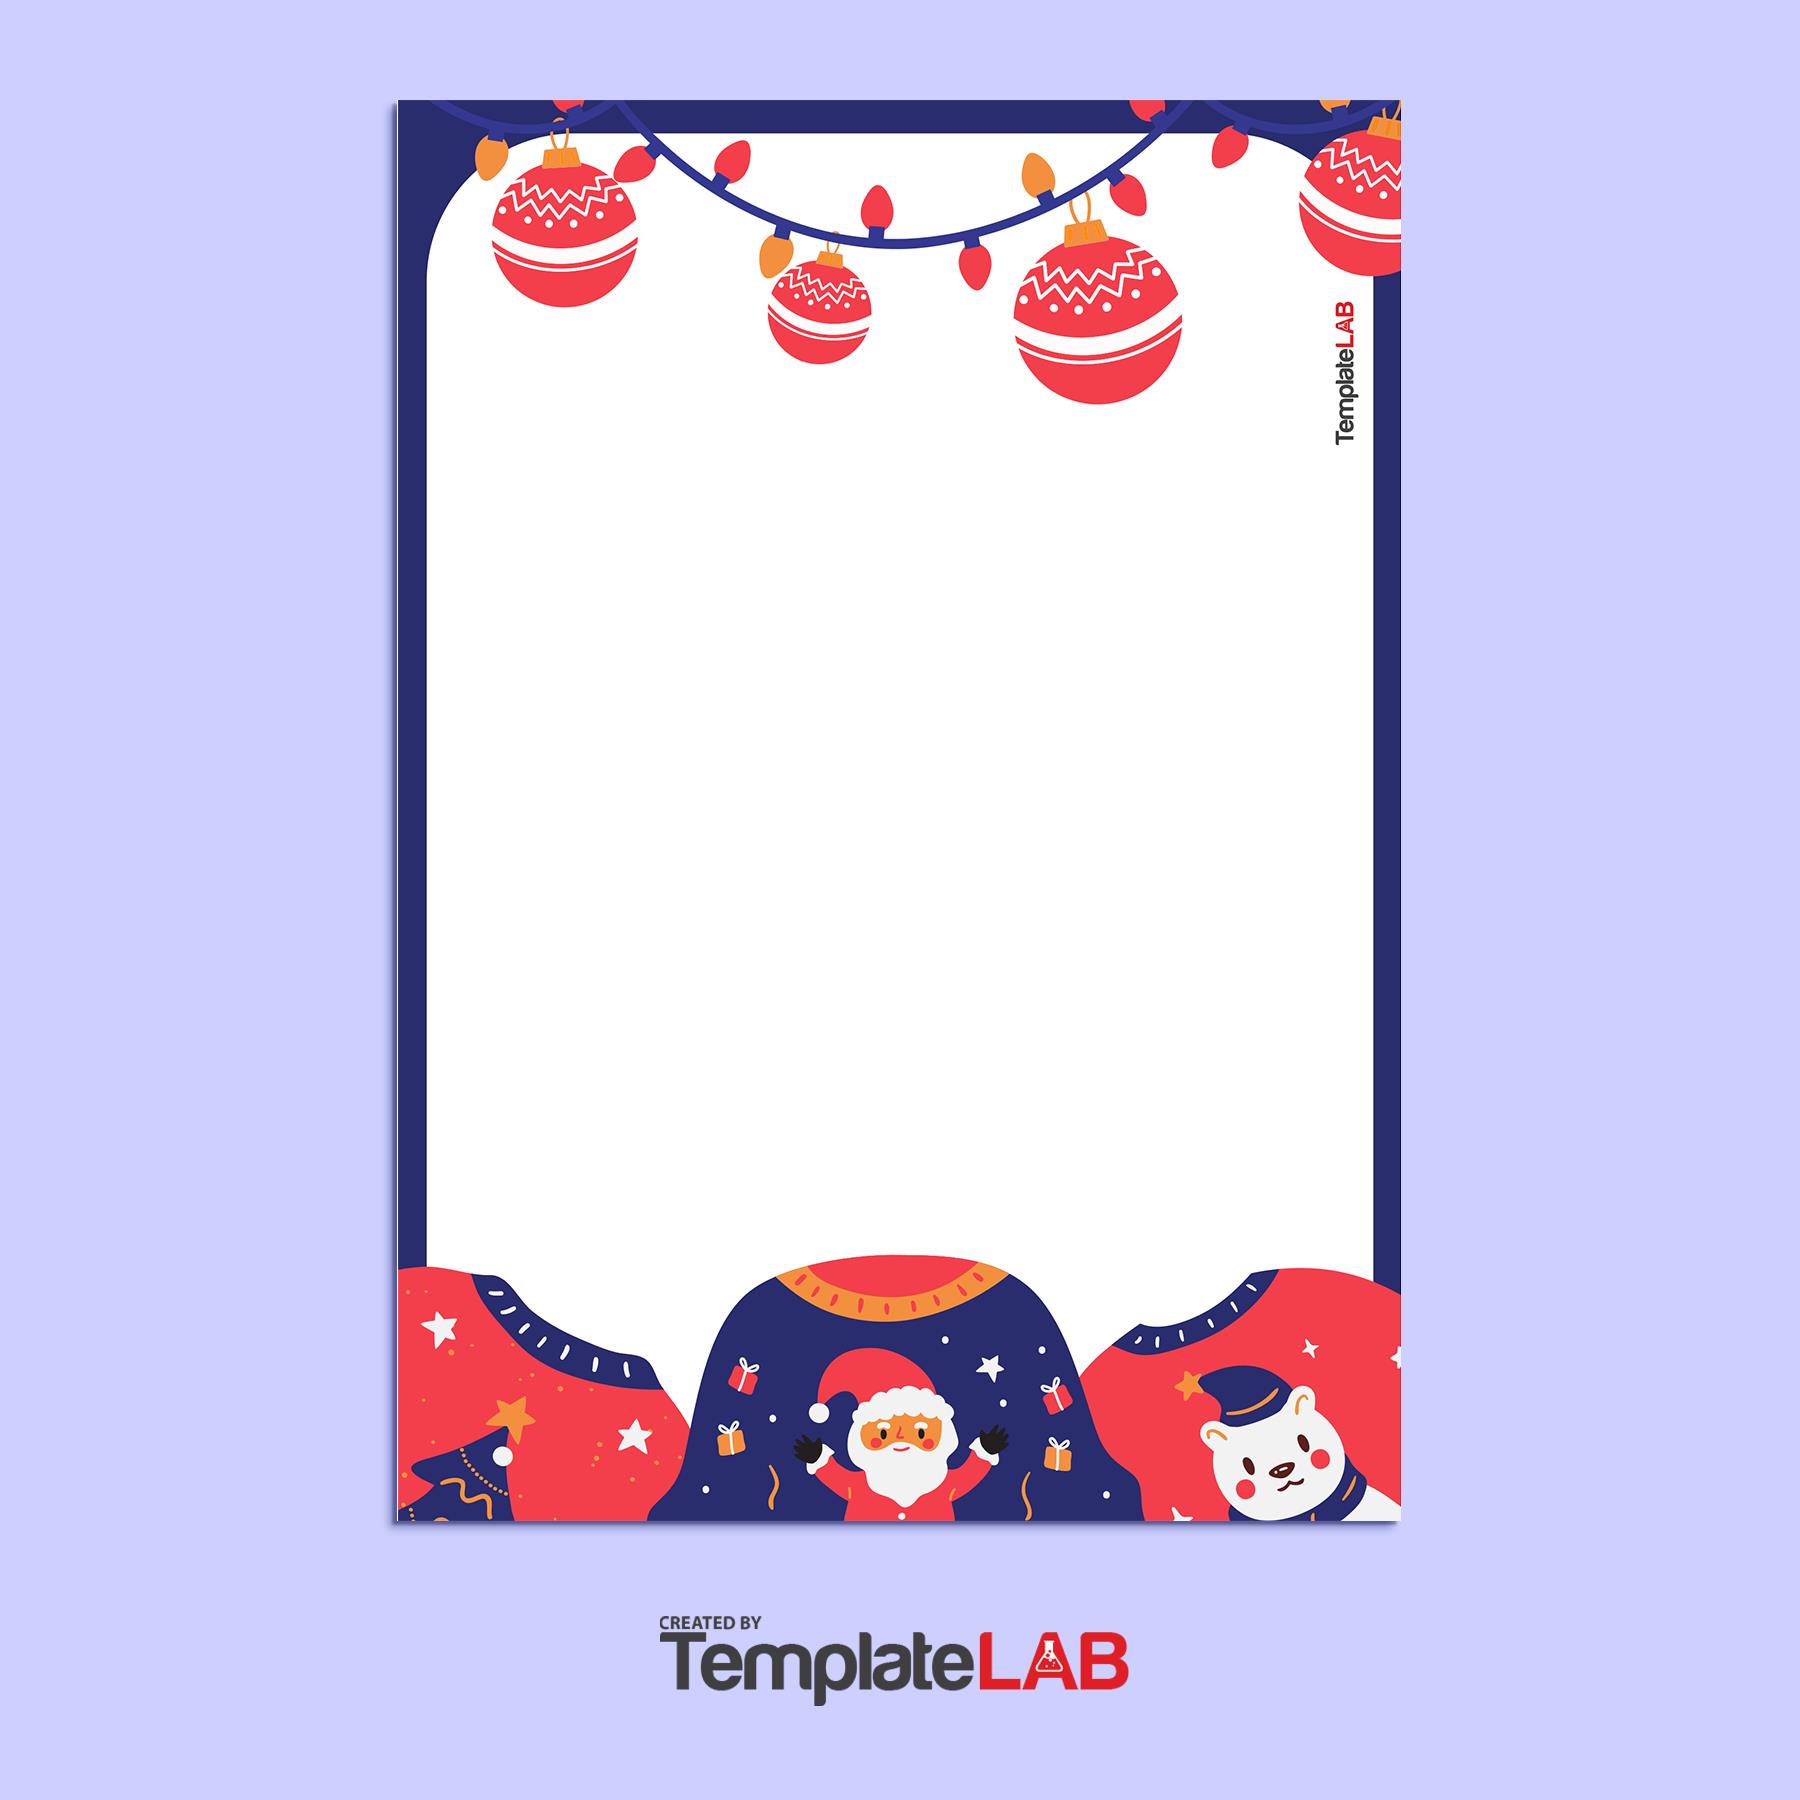
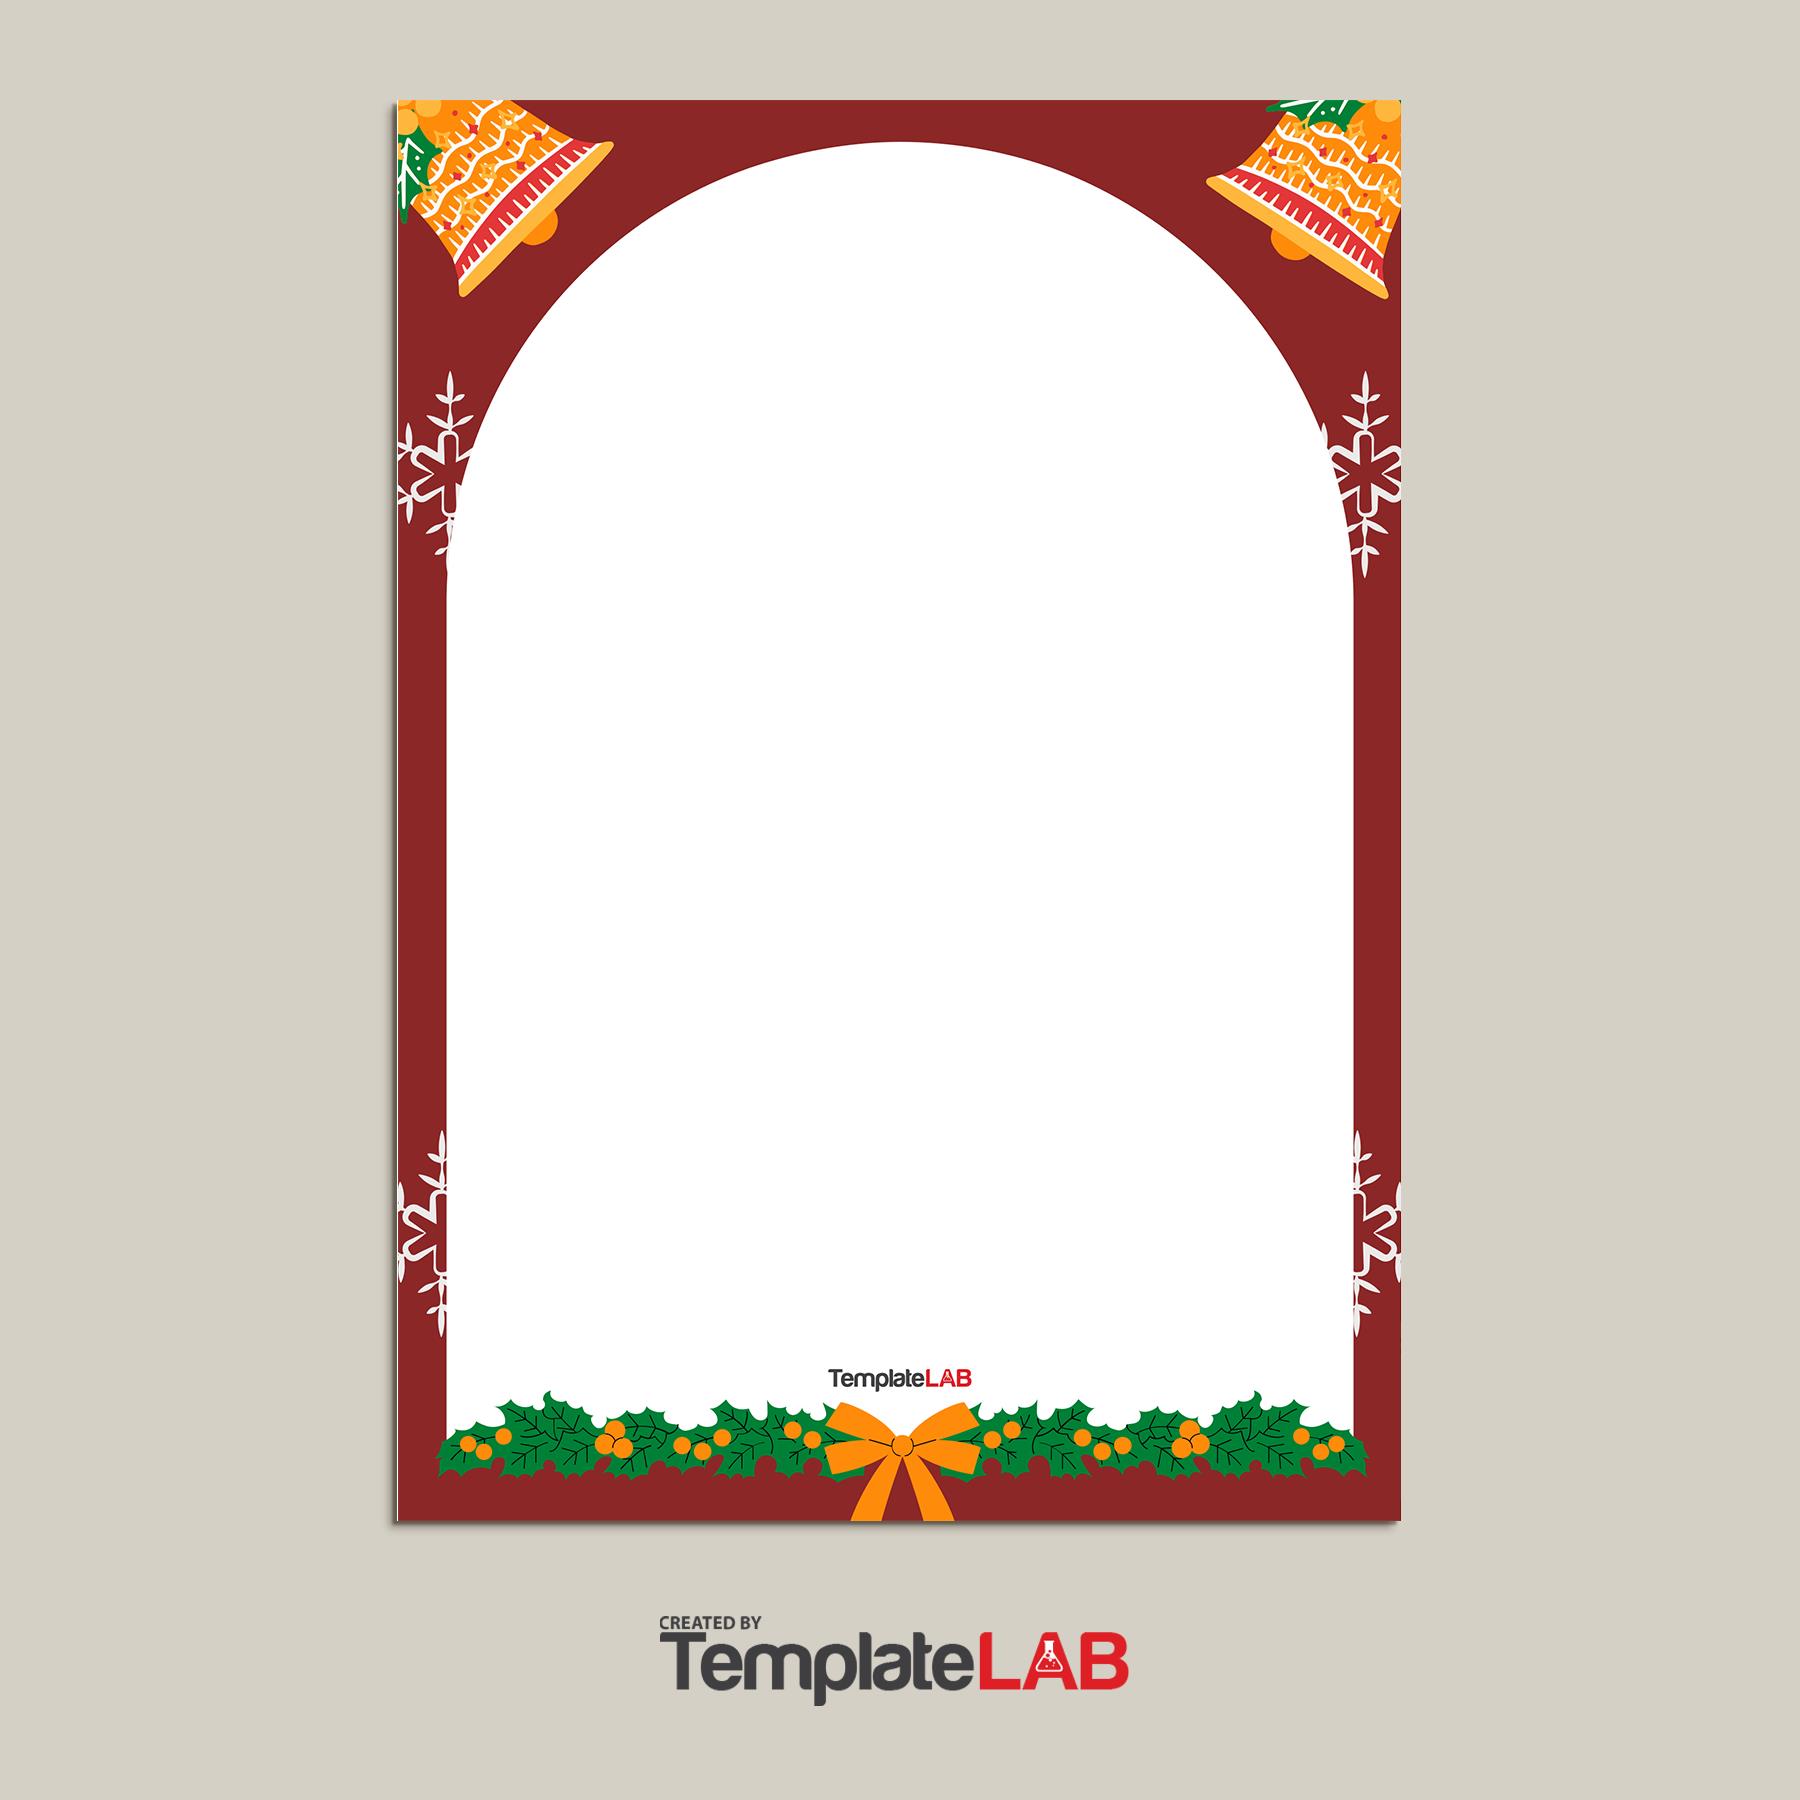
With the festive season fast approaching, what better way to prepare than with the perfect Christmas border template for your personal and professional documents?
There are many different border types that you can make and apply to all your official documents. You can add a Merry Christmas border to letters, invoices, certifications, and even your daily email templates.
Table of Contents
- 1 Christmas Border Templates
- 2 What is a Christmas Border Template
- 3 Christmas Border Designs
- 4 Why are Merry Christmas Borders Important
- 5 What is Included in a Merry Christmas Border Template?
- 6 Christmas Border Clipart
- 7 How to Make a Christmas Border Template Using Microsoft Word
- 8 How to Make a Christmas Border Template Using PowerPoint
- 9 How to Make a Free Christmas Border Template Using Google Docs
- 10 Conclusion
Christmas borders are by far the most enjoyable to make and give your documents a festive and artistic touch. These templates can serve as a starting point for documents with a holiday theme and act as a guide for other document templates during the festive season.
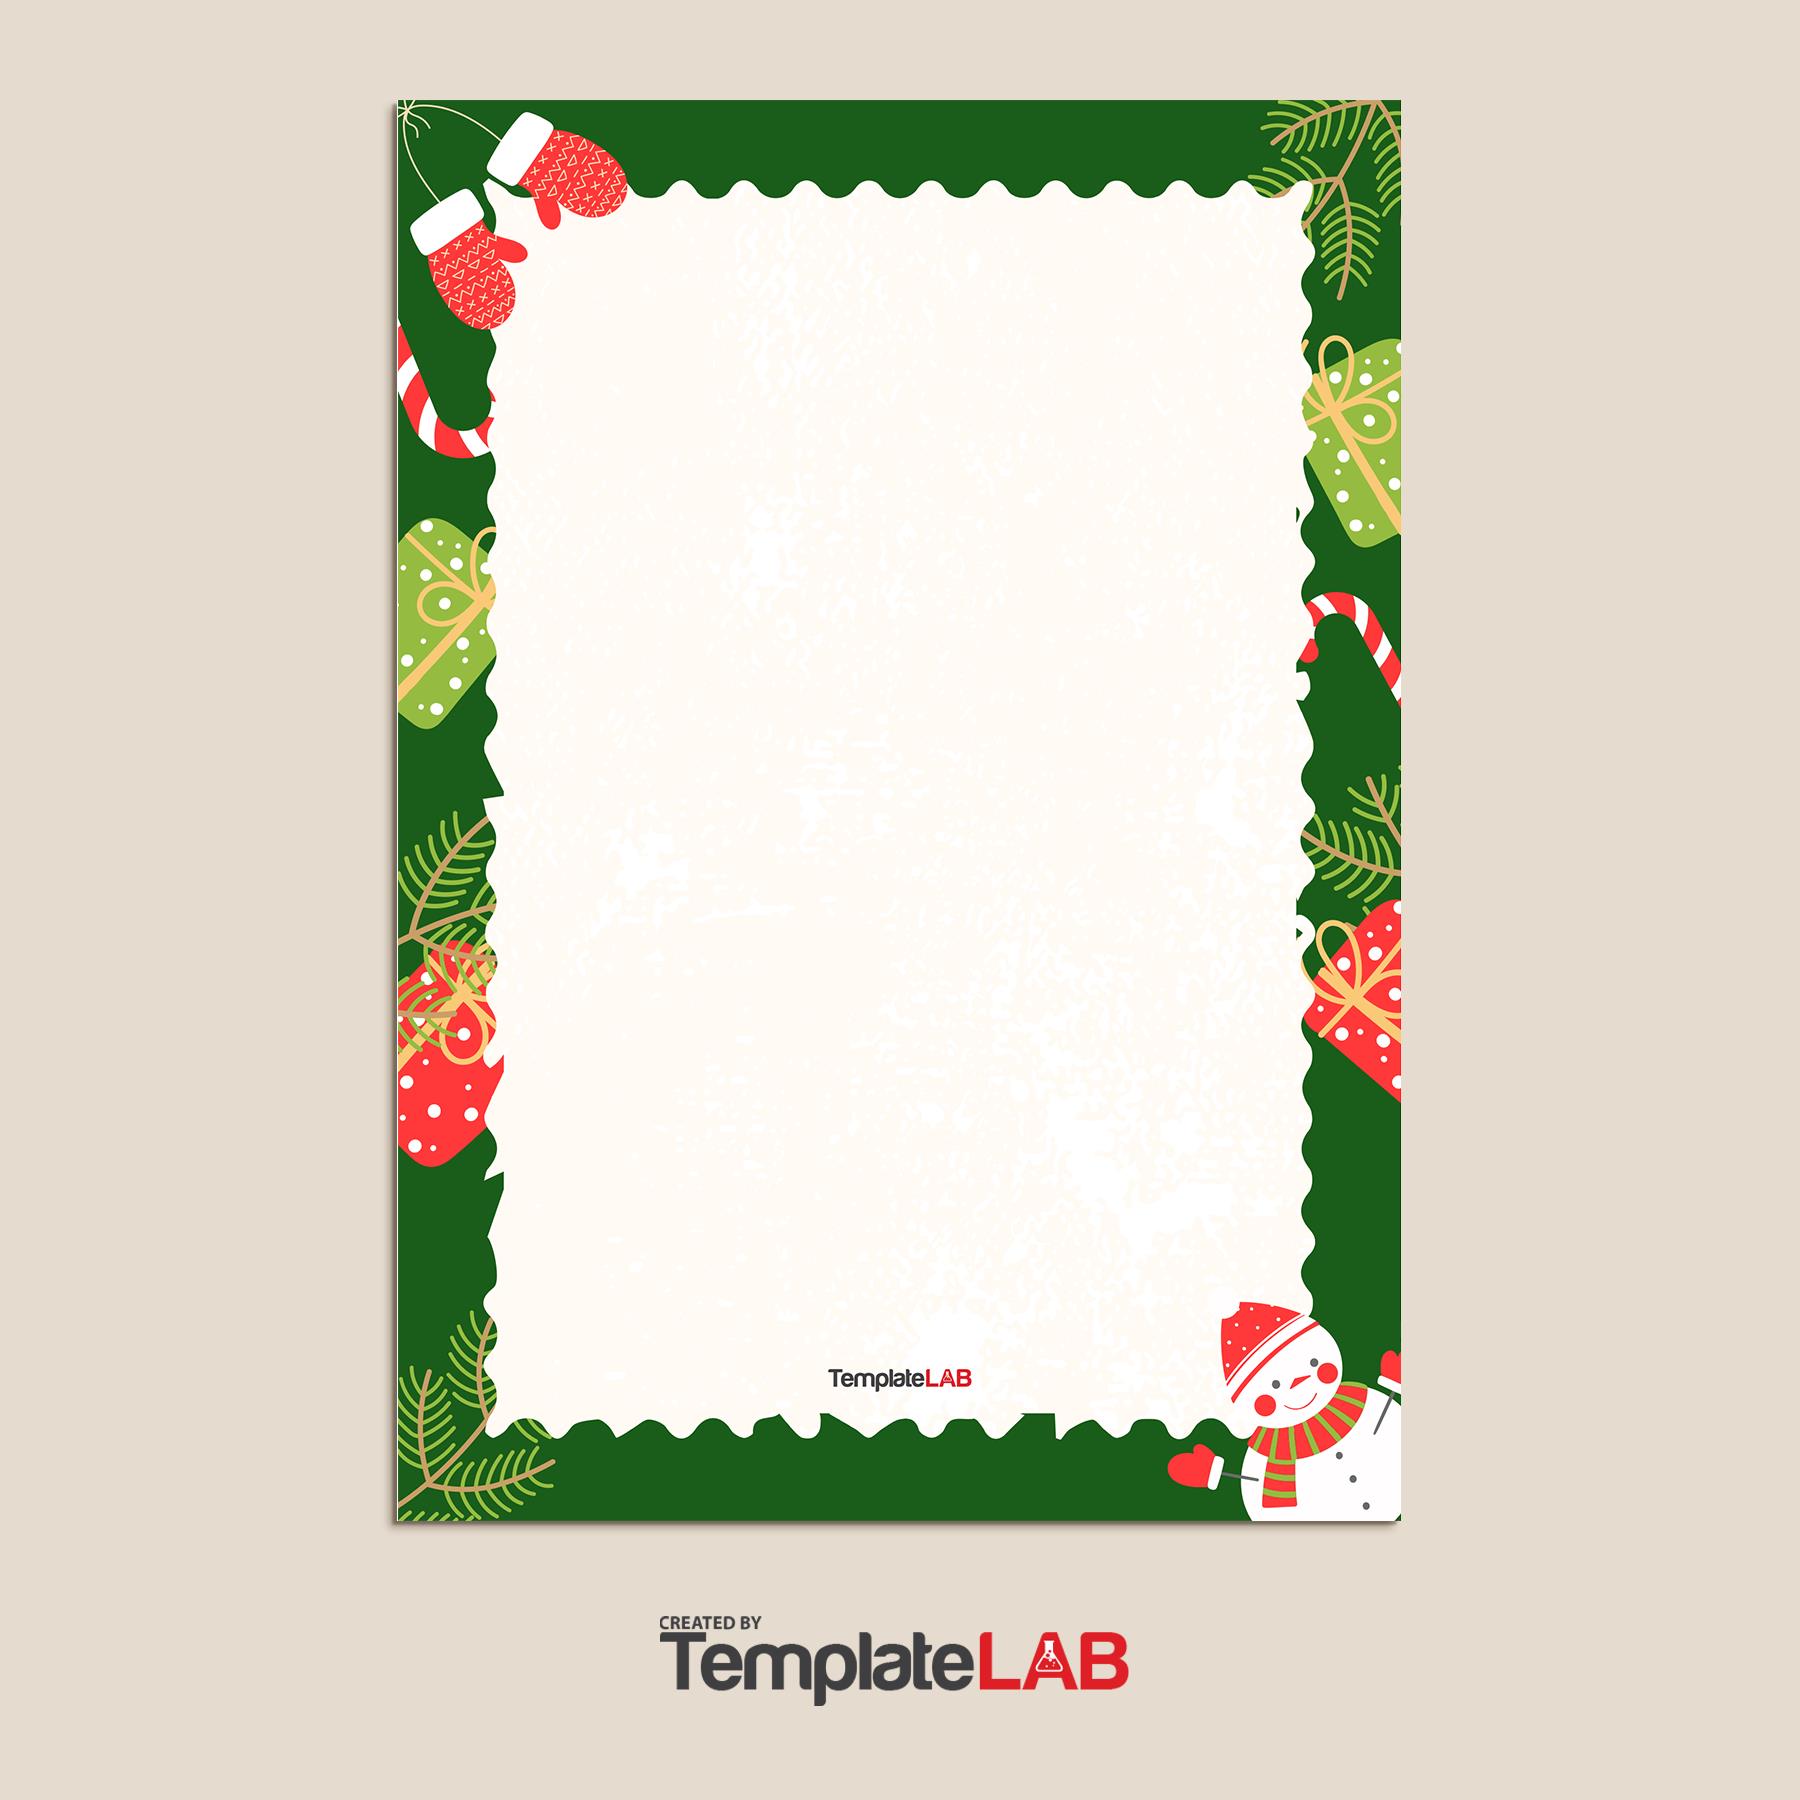
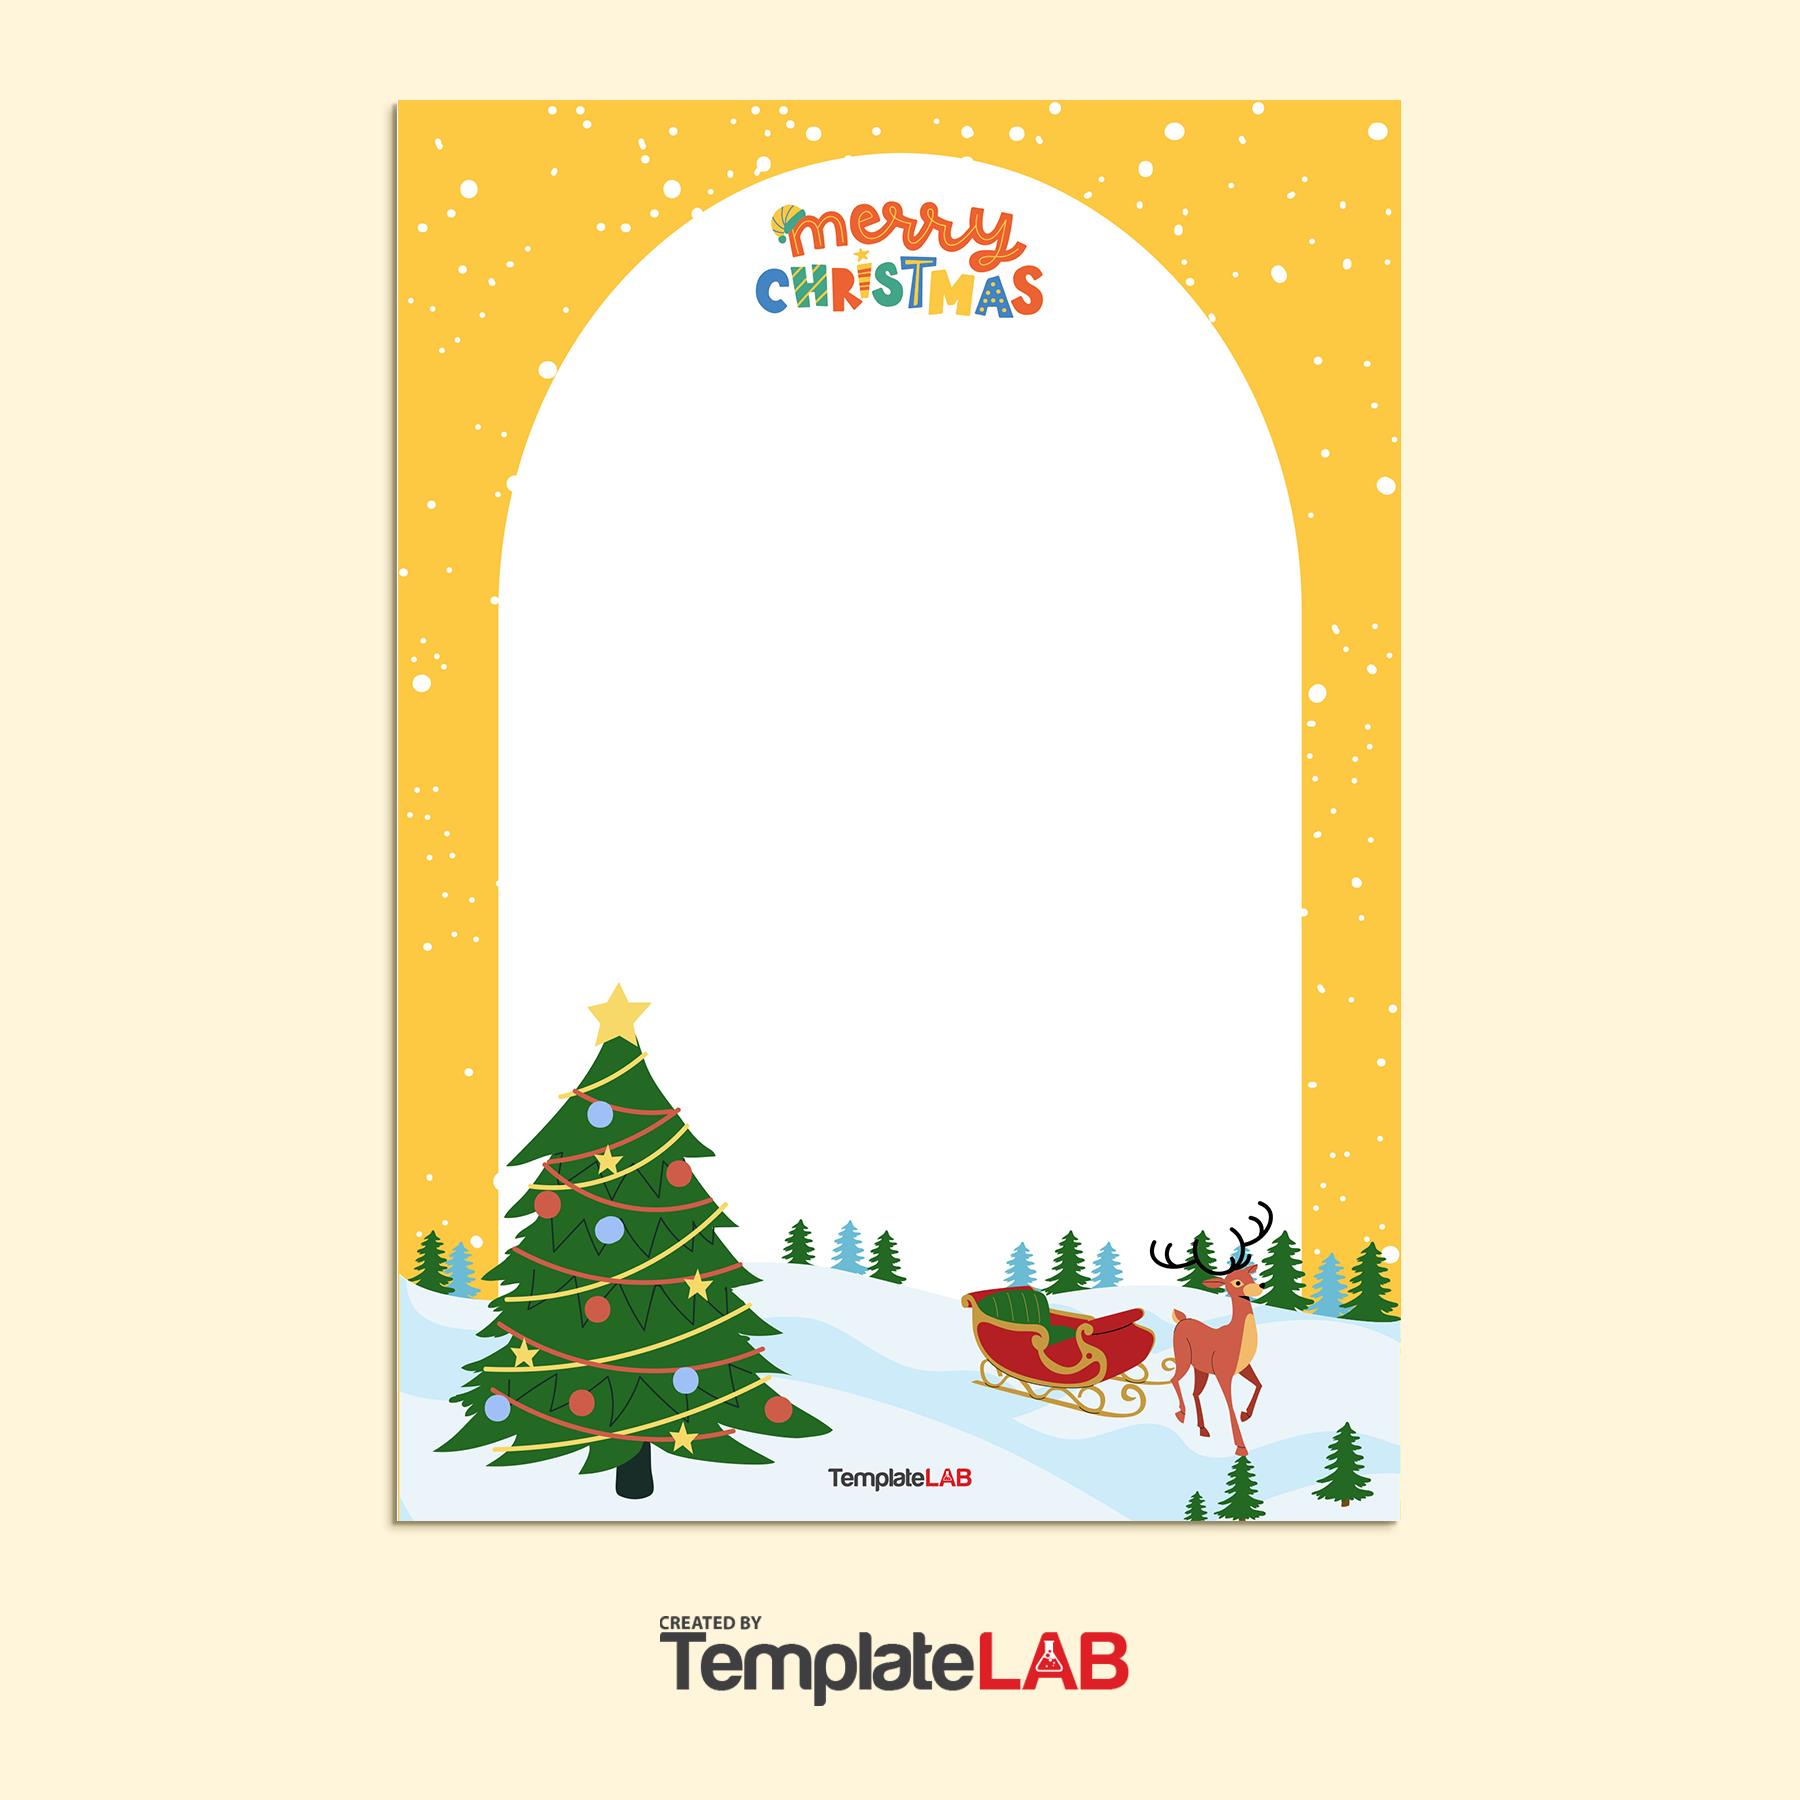
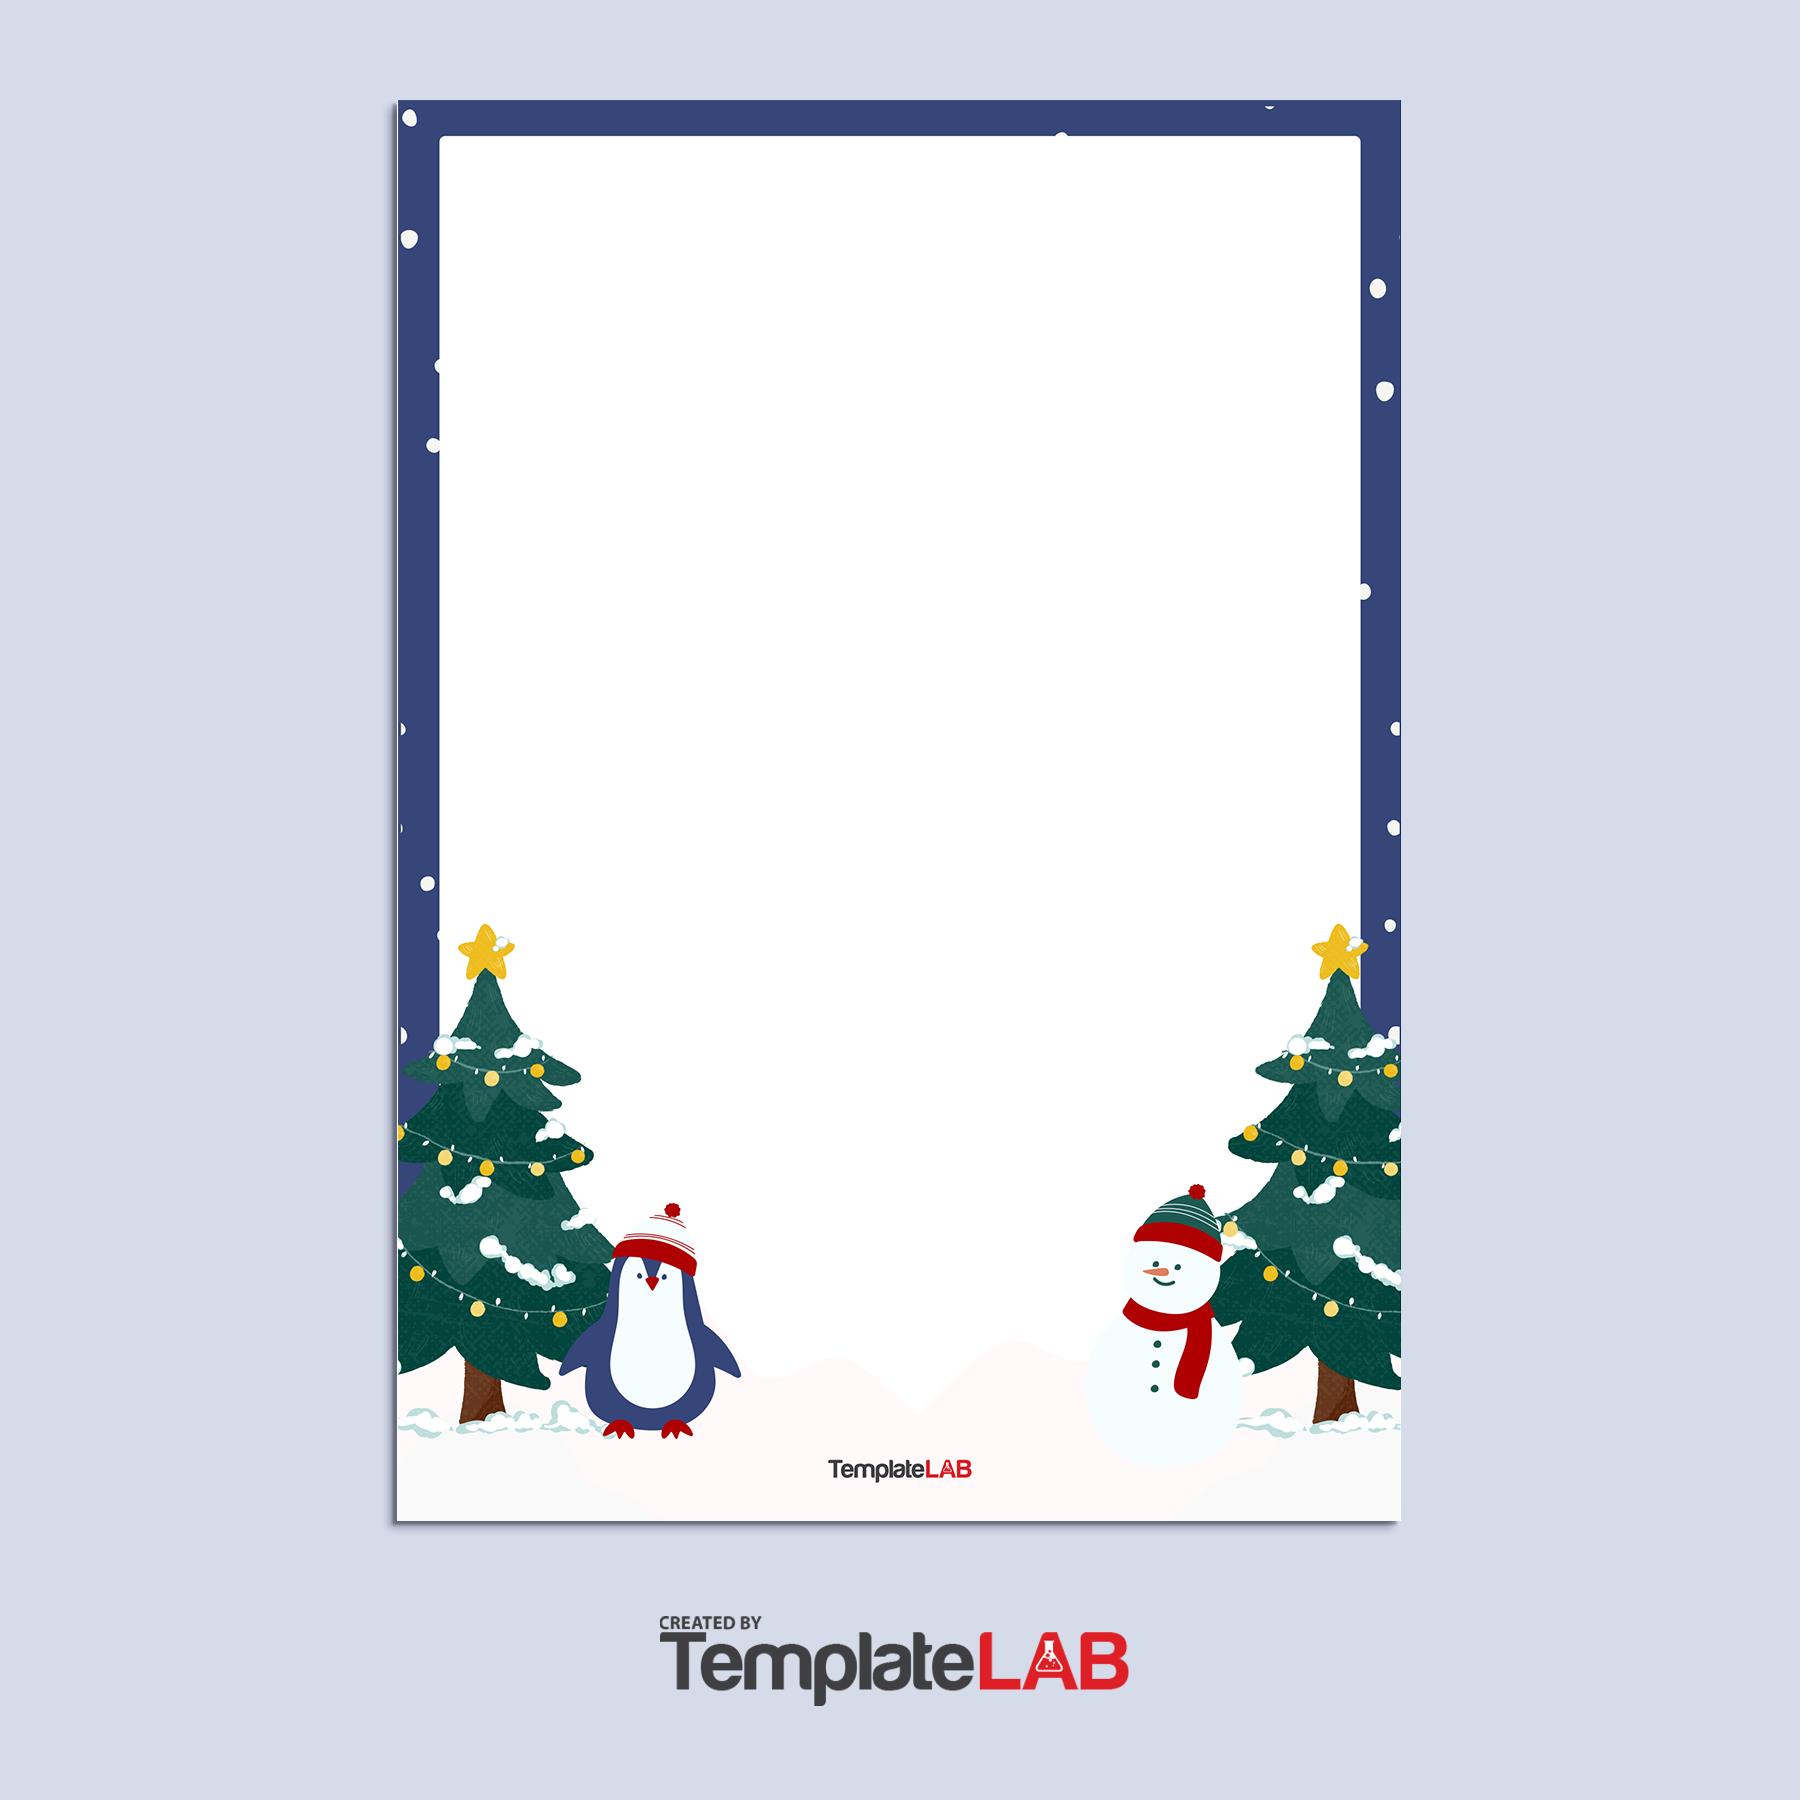
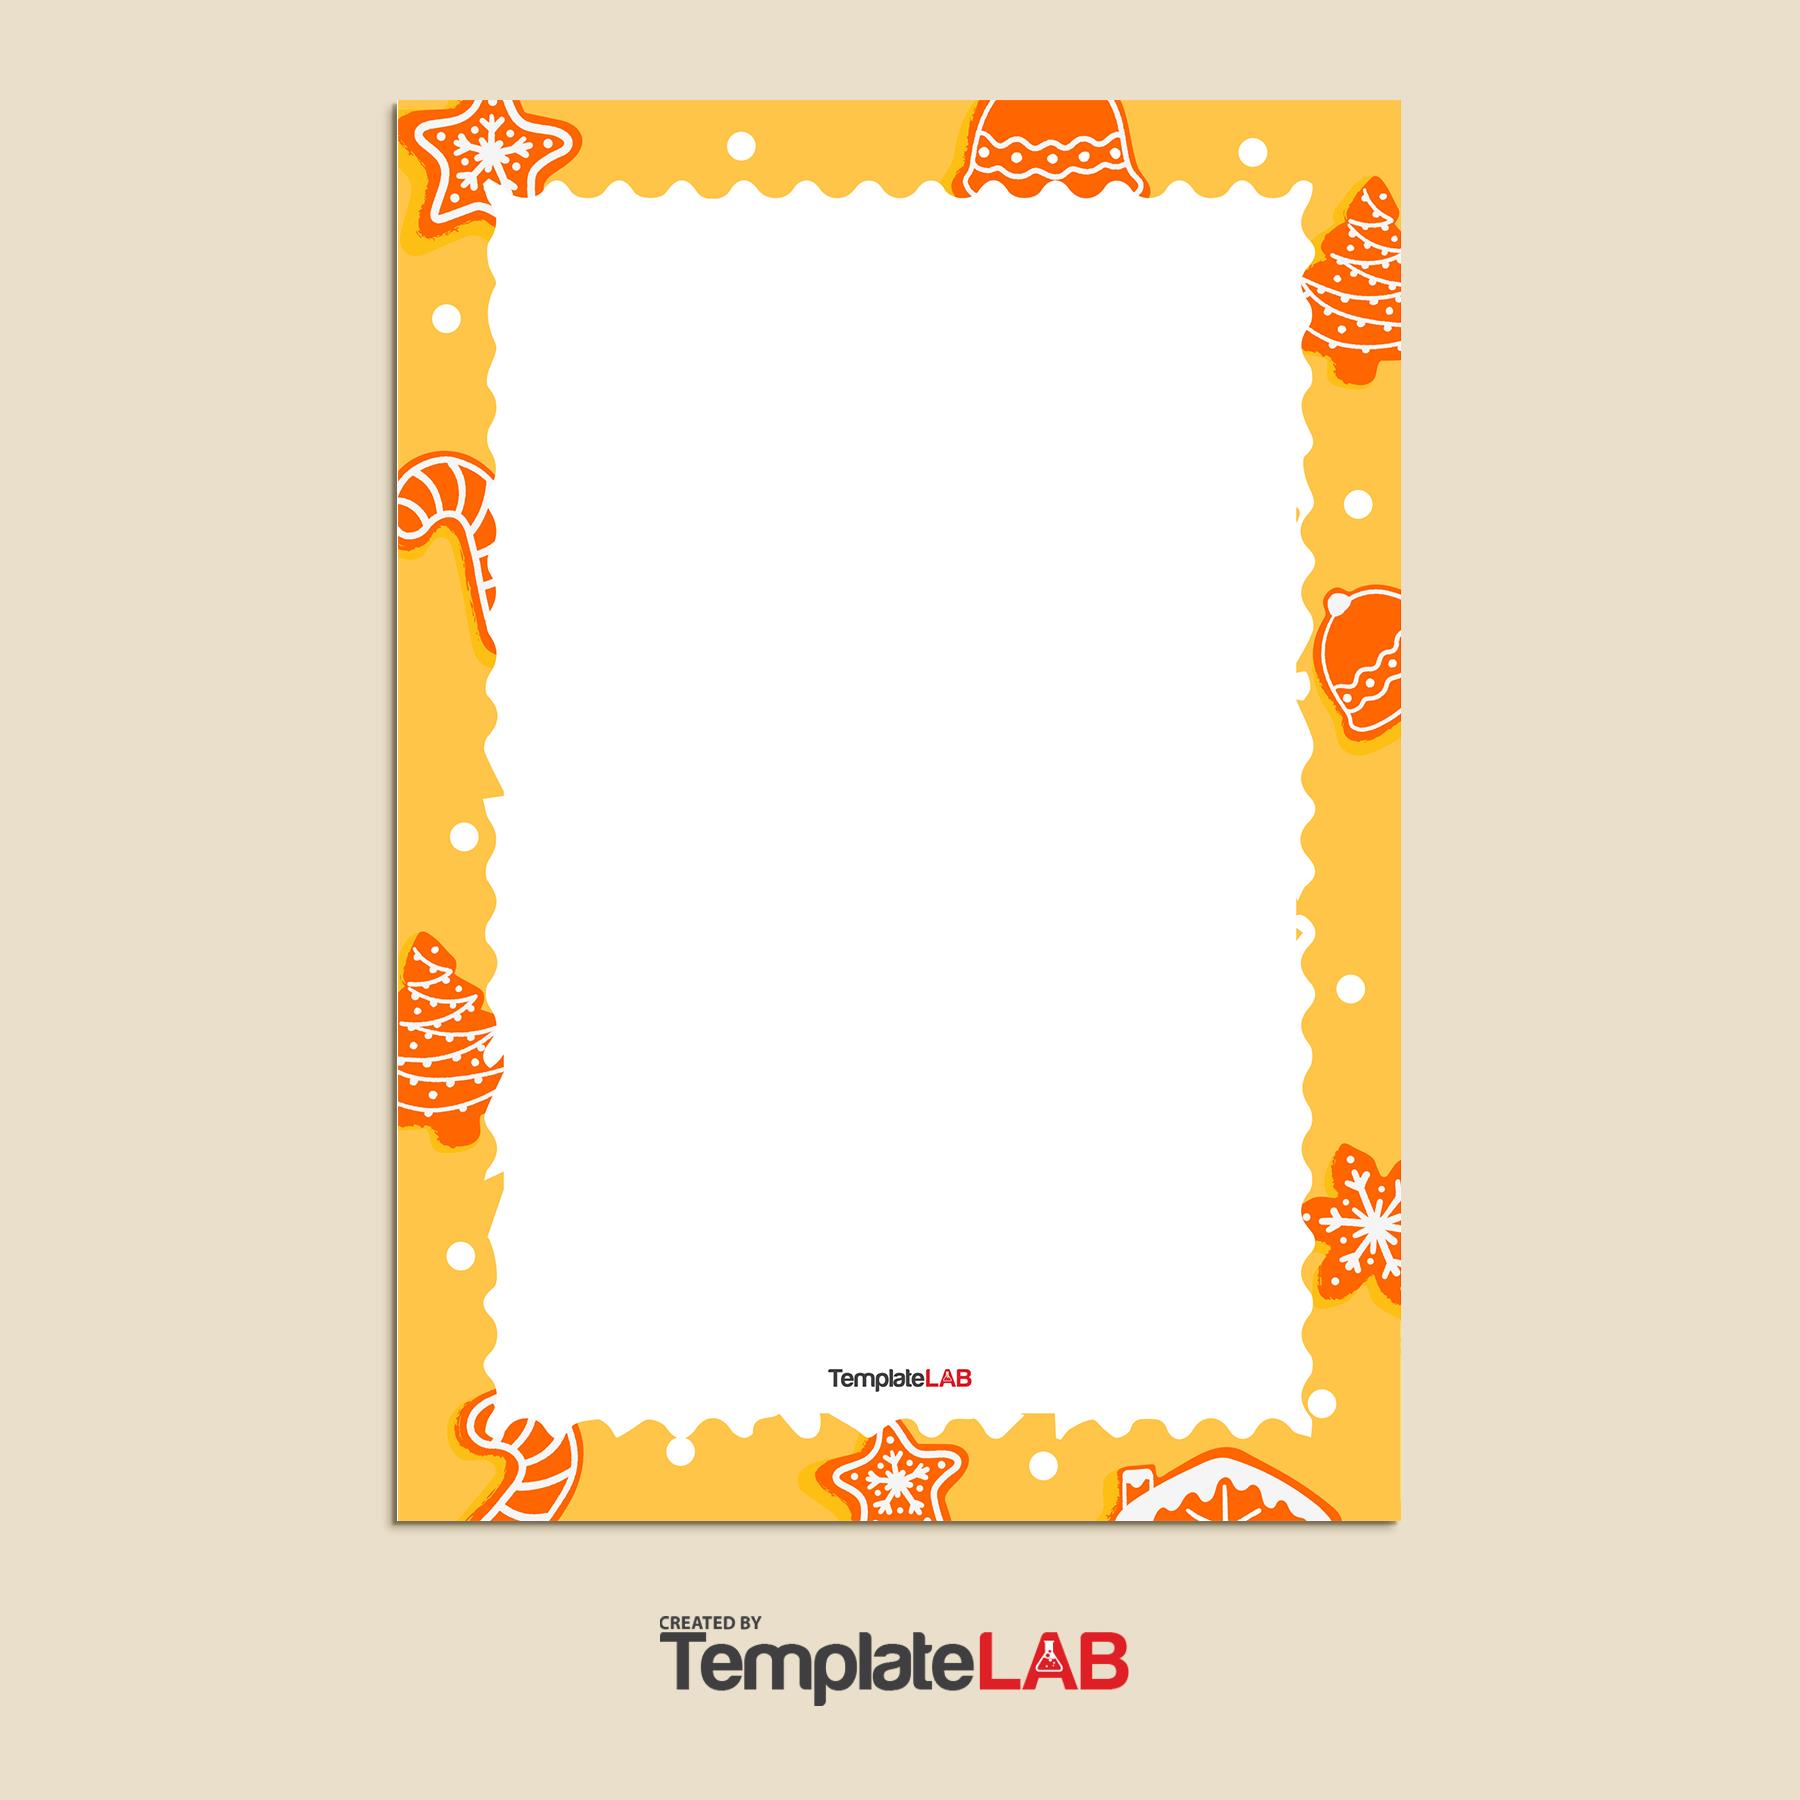
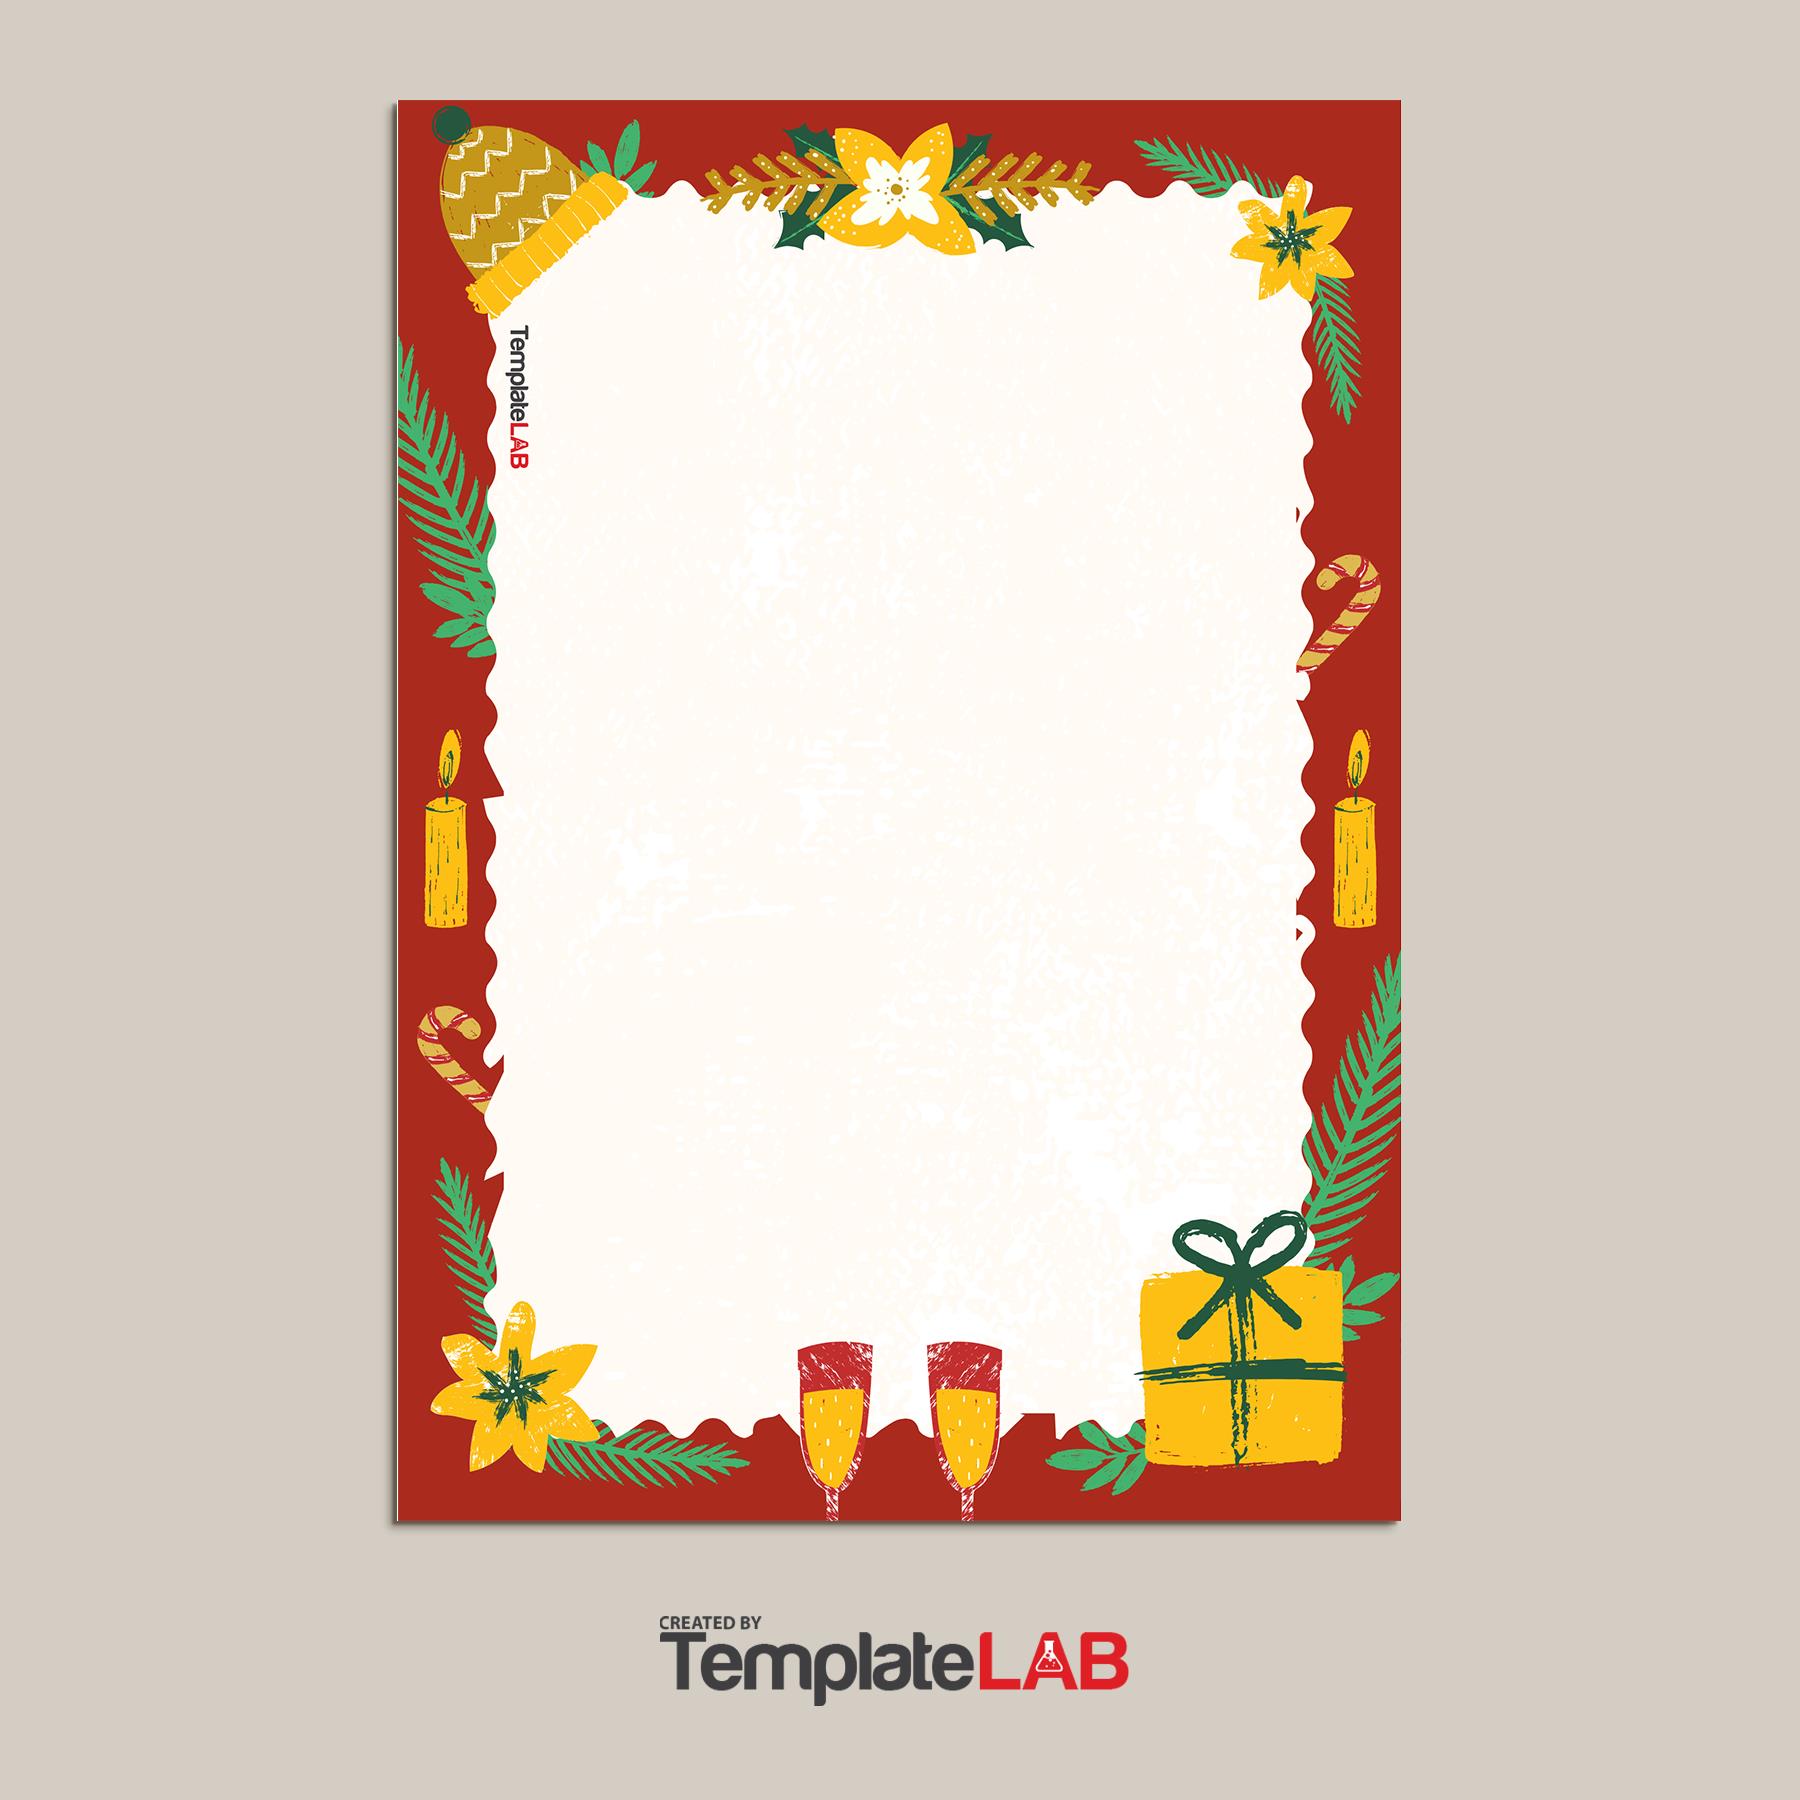
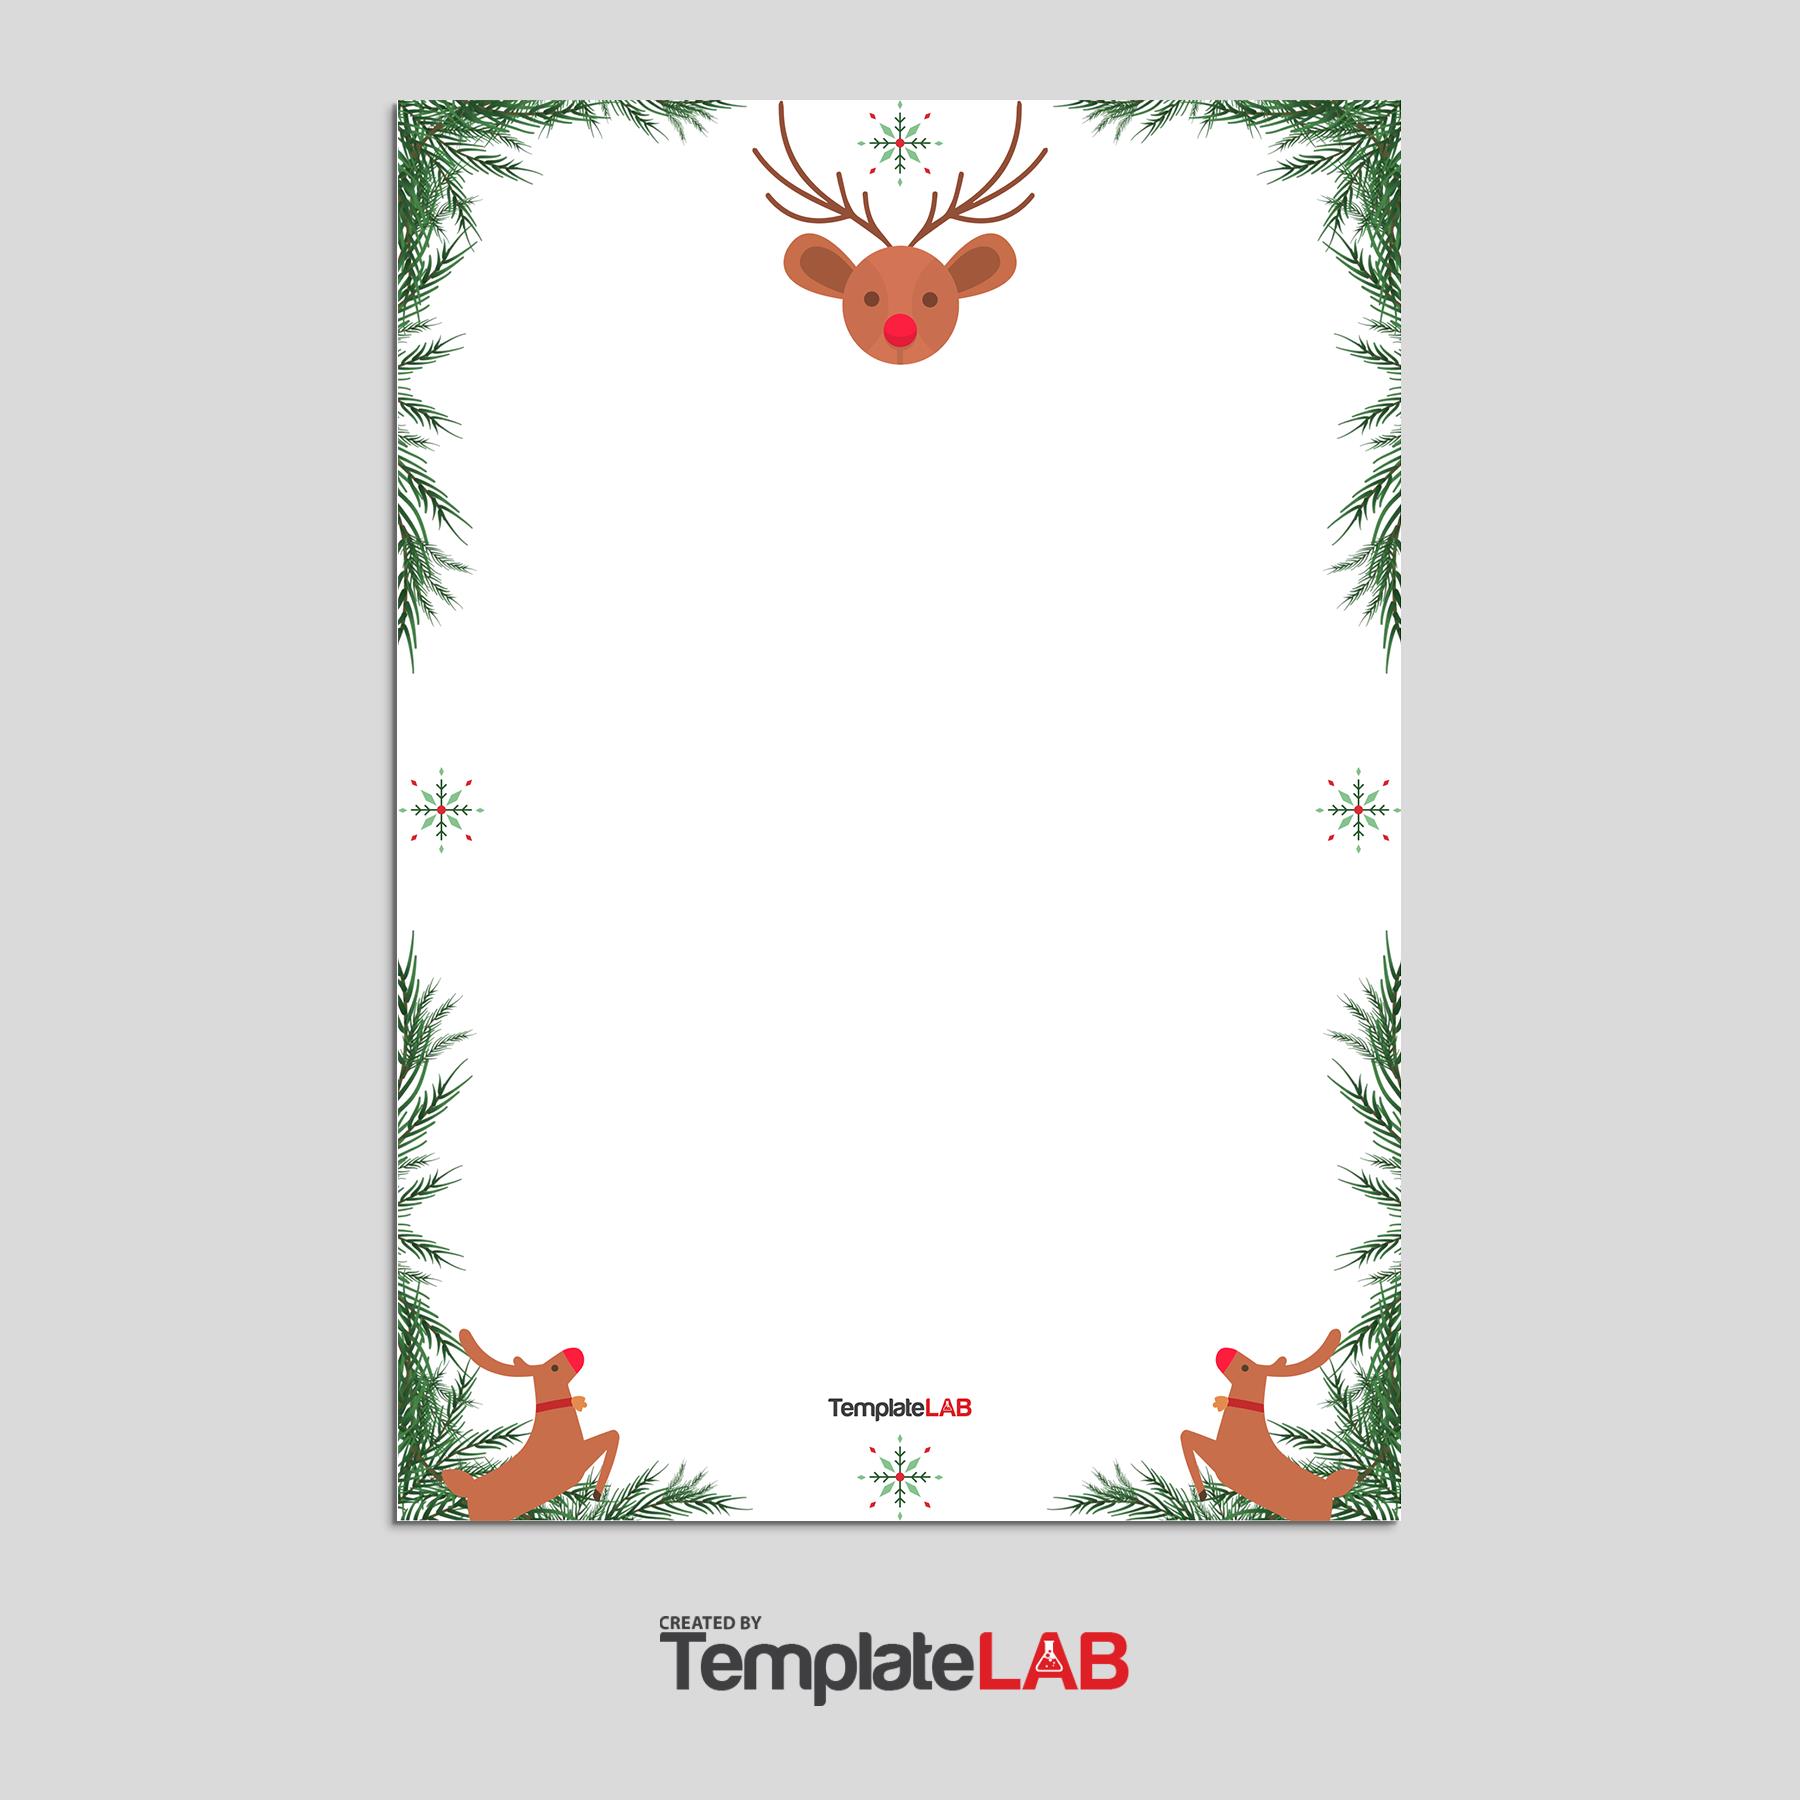
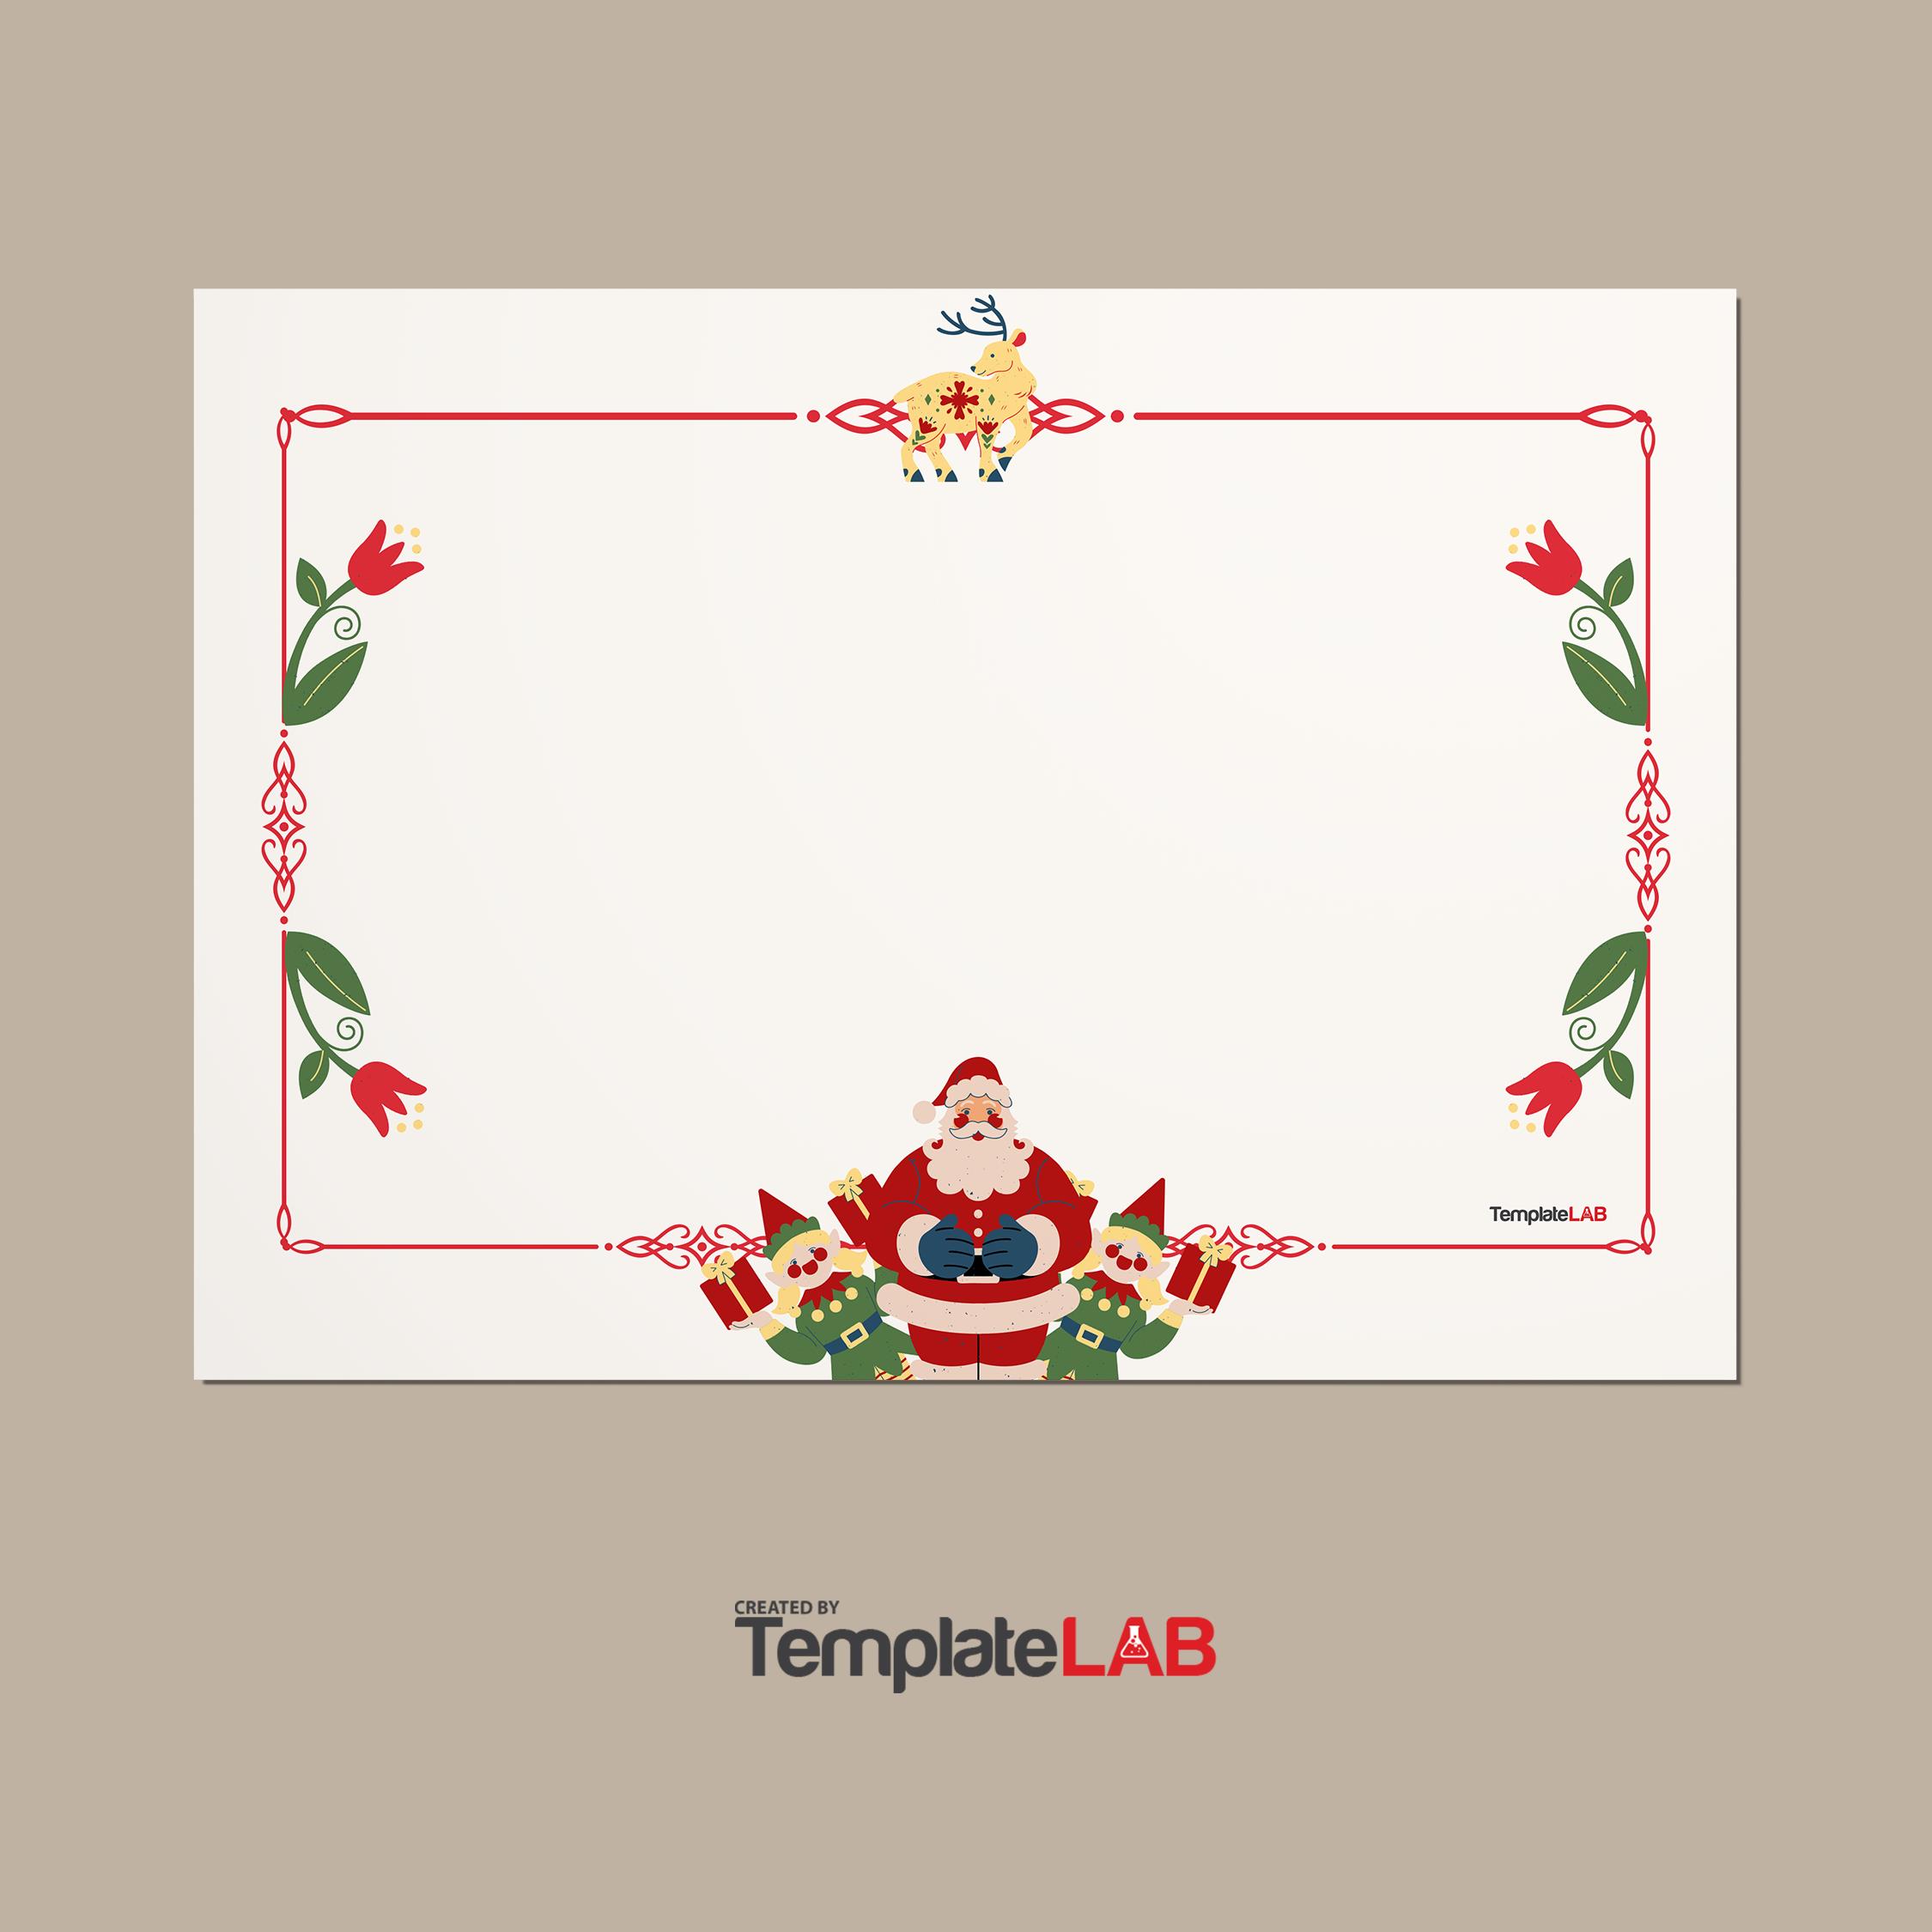
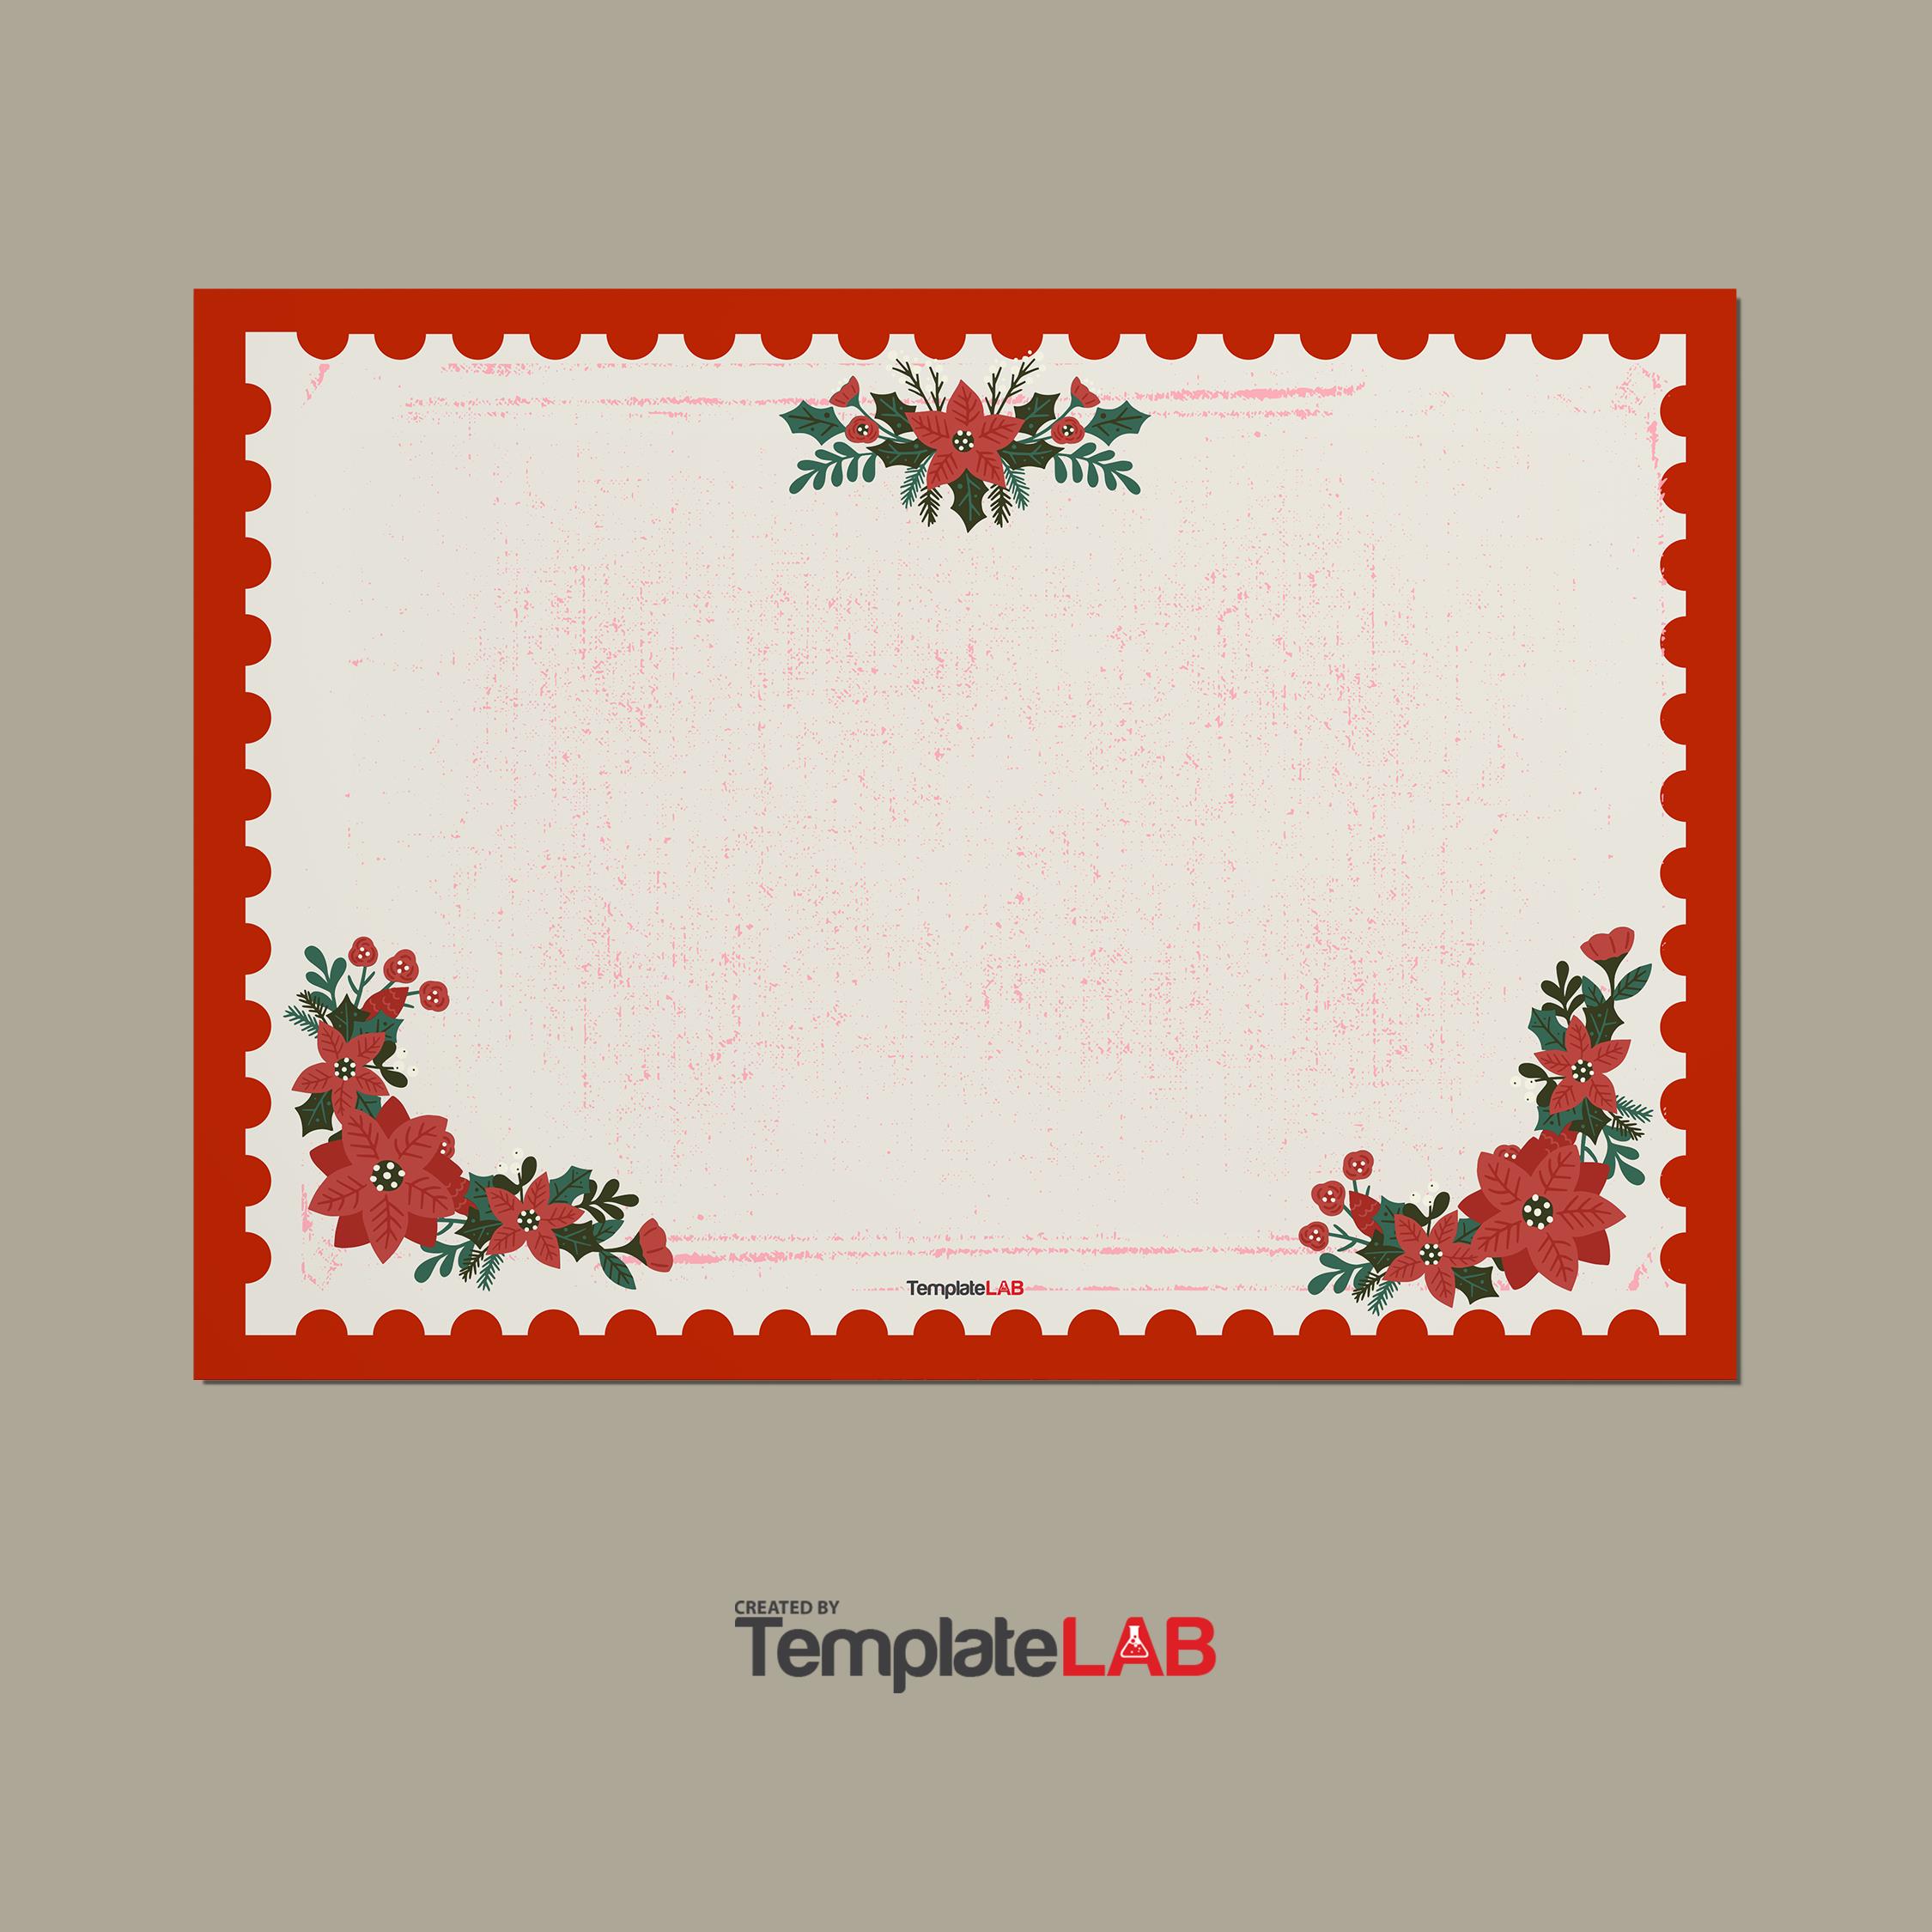
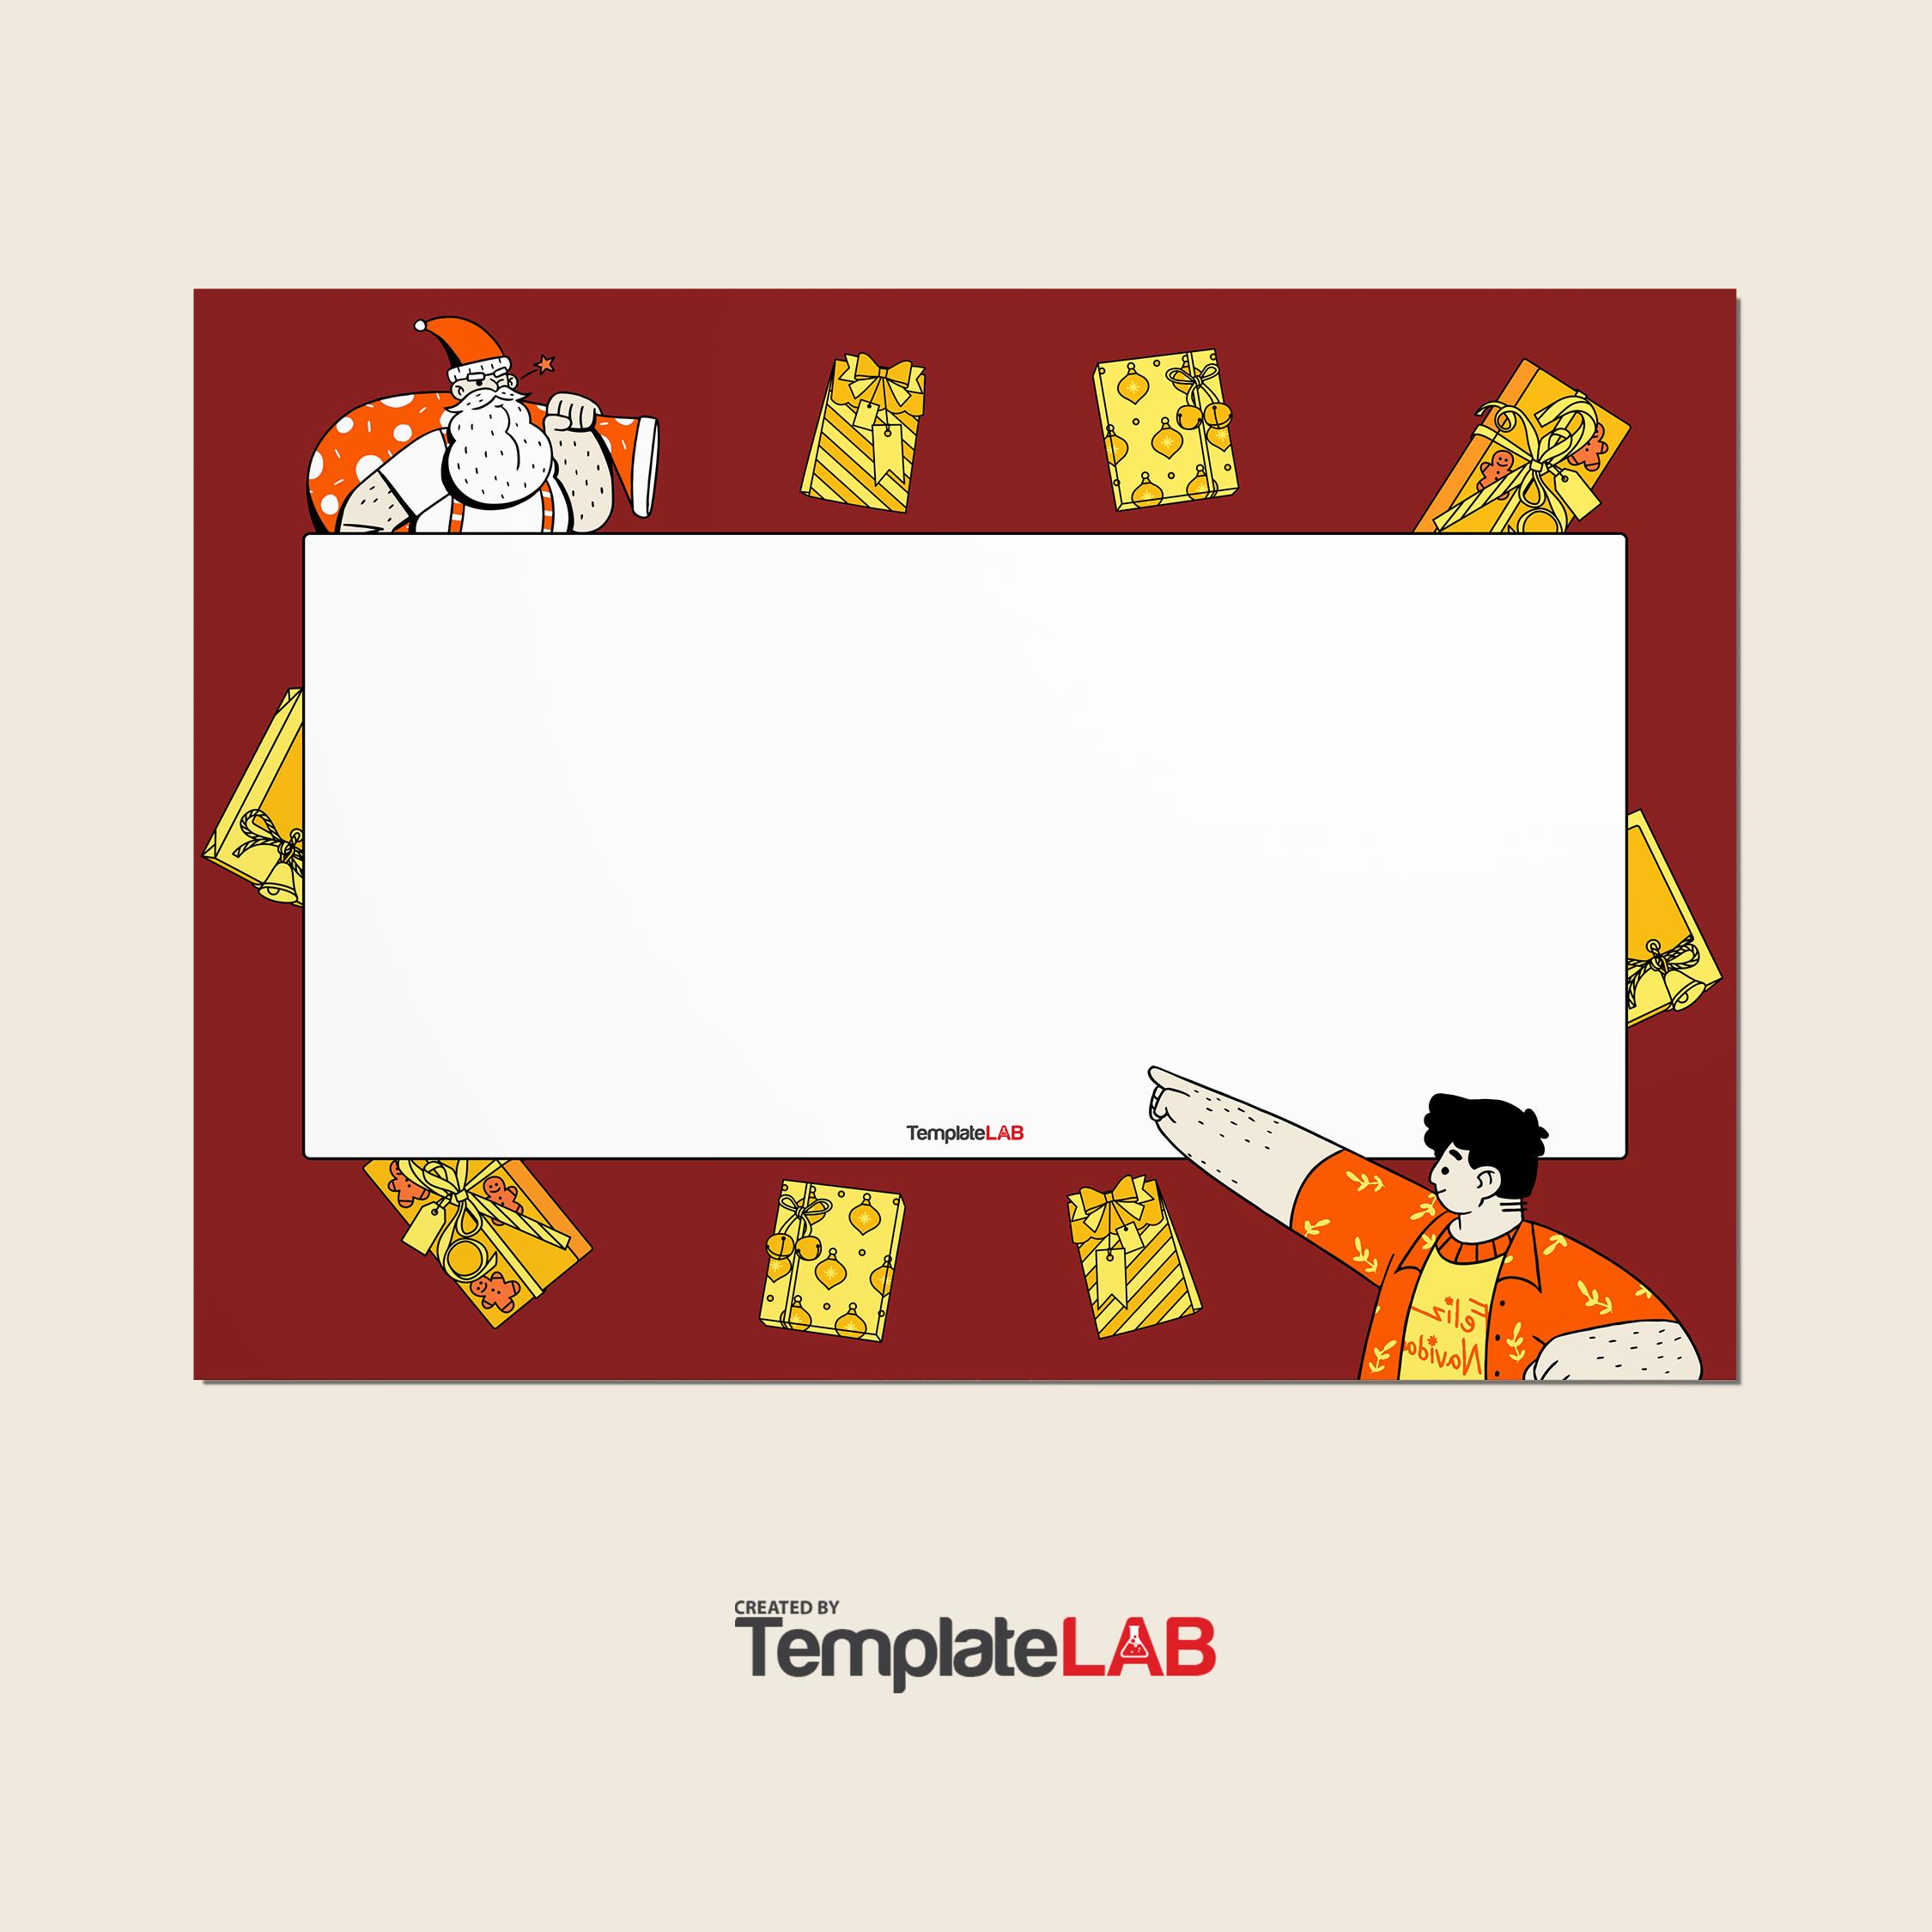
These merry Christmas borders typically include holiday symbols and imagery like Holly, Santa Claus, candy canes, snowflakes, and Christmas lights.
Christmas Border Templates
What is a Christmas Border Template
A Christmas border template is a document that is decorated with a border frame style of your choice. It is a ready-to-use single page that you can apply to all sorts of documents, including:
- Invoices to clients
- Emails between employees and clients
- Invitations for end-of-year functions
- Christmas cards
- Paychecks for employees
- Posters for events
- Worksheets for kids
Apart from the business side of a Christmas border template, you can also apply these templates to your personal life in the following ways:
- Send letters to relatives and friends.
- Children can use these to address a letter to Santa.
- Use them for your scrapbooking endeavors.
- Utilize them in your holiday papercraft creations.
- Put them in stockings or on top of Christmas gifts.
Christmas Border Designs
Why are Merry Christmas Borders Important
Christmas-themed frames and borders are rather simple to tell apart from other borders. They typically include visuals and are colorful, vibrant, and festive. These are most frequently connected to Christmas.
You may use these borders in a variety of contexts, including on emails, certificates, invoices and letterheads. Here are some other ideas for using Merry Holiday borders:
- Invitations to Christmas parties. Invite your loved ones or staff over for a Christmas celebration. Use festive invites with festive borders to achieve the most appealing invite.
- Christmas coloring page. These come in a huge variety, including awards, drawing papers, bunting banners, and more.
- A letter from or to Santa. Make your youngster a letter template. Request that your child address a letter to Santa. Additionally, create a card for “Santa” to send to your youngster.
- Christmas cards you can print. To spice up your holiday cards, add a border. They will appear cheery and festive as a result.
- Christmas game printables. Online game downloads are available. Use the borders you created to recreate them in a Christmas-themed manner.
- A letter of appreciation for Christmas gifts. To the individuals in your life, express your gratitude. You can express your gratitude for their presents by writing them a letter with Christmas clip art borders.
- Worksheets for Christmas. Giving your youngster worksheets with free Christmas borders that you downloaded online will make studying more enjoyable.
- Holiday stationery. Personalize your own stationery. It is suitable for the holiday season. Create fun, vibrant borders for it.
Christmas borders and frames can be used in a wide variety of ways. Each of these approaches will definitely include a fun component.
What is Included in a Merry Christmas Border Template?
Once you understand how to use them, you can start creating your own borders and frames. You can design them as straightforward or complex as you like. Several options are available if you want to use photographs or clipart as your border.
The most popular pictures and icons Christmas themed borders are:
- Santa, his cap, his outfit, and a white chimney.
- Snowfall scene with frosty snowmen, snowflakes, and flurries.
- Top hat with bells.
- Holly frame with leaves, ribbons and red berries.
- Christmas trees, holiday decorations, toys, and lights.
- Candles and other Christmas ornaments.
- Angels, stars, and sacred icons like the snowman.
- Reindeer with Santa Sleigh.
- Arctic wildlife donning scarves and caps for Christmas.
Actually, there are a ton of pictures to pick from. The picture you select to make your border will depend on what you’ll use the border for and how much white area you’ll need in the middle of your template.
Christmas Border Clipart
How to Make a Christmas Border Template Using Microsoft Word
Once you’re ready to start creating your own Christmas clip art borders, grab your laptop, computer, or tablet and get creative.
To create a Christmas border template using Microsoft Word, first, ensure that it’s installed on your device. Once you’ve located the program, open it and start a new document.
Here are a couple of steps to help you get started using Microsoft Word:
- Create a new document – If you don’t have the time to create a Christmas border template from scratch, you can browse the free templates Word has to offer.
- Choose your document format – This includes the paper size (if you’re planning on printing the template), margins around the document, and the orientation. When creating certificates, cards, and other printouts, you can utilize a landscape orientation. However, you can also use a portrait orientation if you’re making worksheets, stationery, and letters.
- Launch your browser and navigate to the search engine of your choice – Find some free Christmas clipart, then copy a picture. If you’d like, you can use other photos and arrange them in a pattern around the border.
- Resize the image – After pasting it into your document. Border images typically don’t take up much room because they tend to be quite small.
- Copy the image multiple times – Continue doing this until your document has your Christmas image pasted all over it. Finally, put a border around it to finish.
- Once you’ve encircled the entire page, choose each image and merge them together – With lots of different methods for creating the perfect border, this one is by far the easiest.
- Finish off – Once you master it, you can construct various festive borders. Use a variety of fonts, colors, and graphics to achieve this.
How to Make a Christmas Border Template Using PowerPoint
- Open PowerPoint and click on “new slide”
- Set the page dimensions and margins.
- Launch a browser search.
- Choose a border by searching for Christmas clip art borders.
- Make sure the border is free before you copy it, then paste it into your document.
- To add a festive Christmas border to your letter, resize the border to fit your document.
- Add a text box, then begin entering your letter. You can also use other fonts, sizes, and colors.
- It’s that easy! You only need a little imagination to produce joyful and festive templates.
How to Make a Free Christmas Border Template Using Google Docs
Google Docs is a great way to create and store your Christmas border template. For starters, you’ll be able to access it from any device and edit it with a few simple clicks.
Here are a couple of steps to achieve the perfect Christmas border template using Google Docs:
- Open your browser and type in “Google Docs”.
- Click on a new or “blank” page.
- Click on “format” and “paragraph and styles”, and click “borders and shading”.
- Choose the width and thickness of your border.
- Once your border lines are in place, you can use these as a guide for where you’ll insert your clip art or images.
- You can then click “Insert” and add any relevant clip art images that you want on your border.
- From there, you can play around with your inserts and create the border that works for you.
Conclusion
Having a ready-to-use Christmas border template is the best way to keep festivities high and set the tone for a fun and joyful season. By creating your own Christmas border template, you can add a unique touch to all your personal and professional documents. With the few simple steps above, you can have a Christmas border template in no time.

