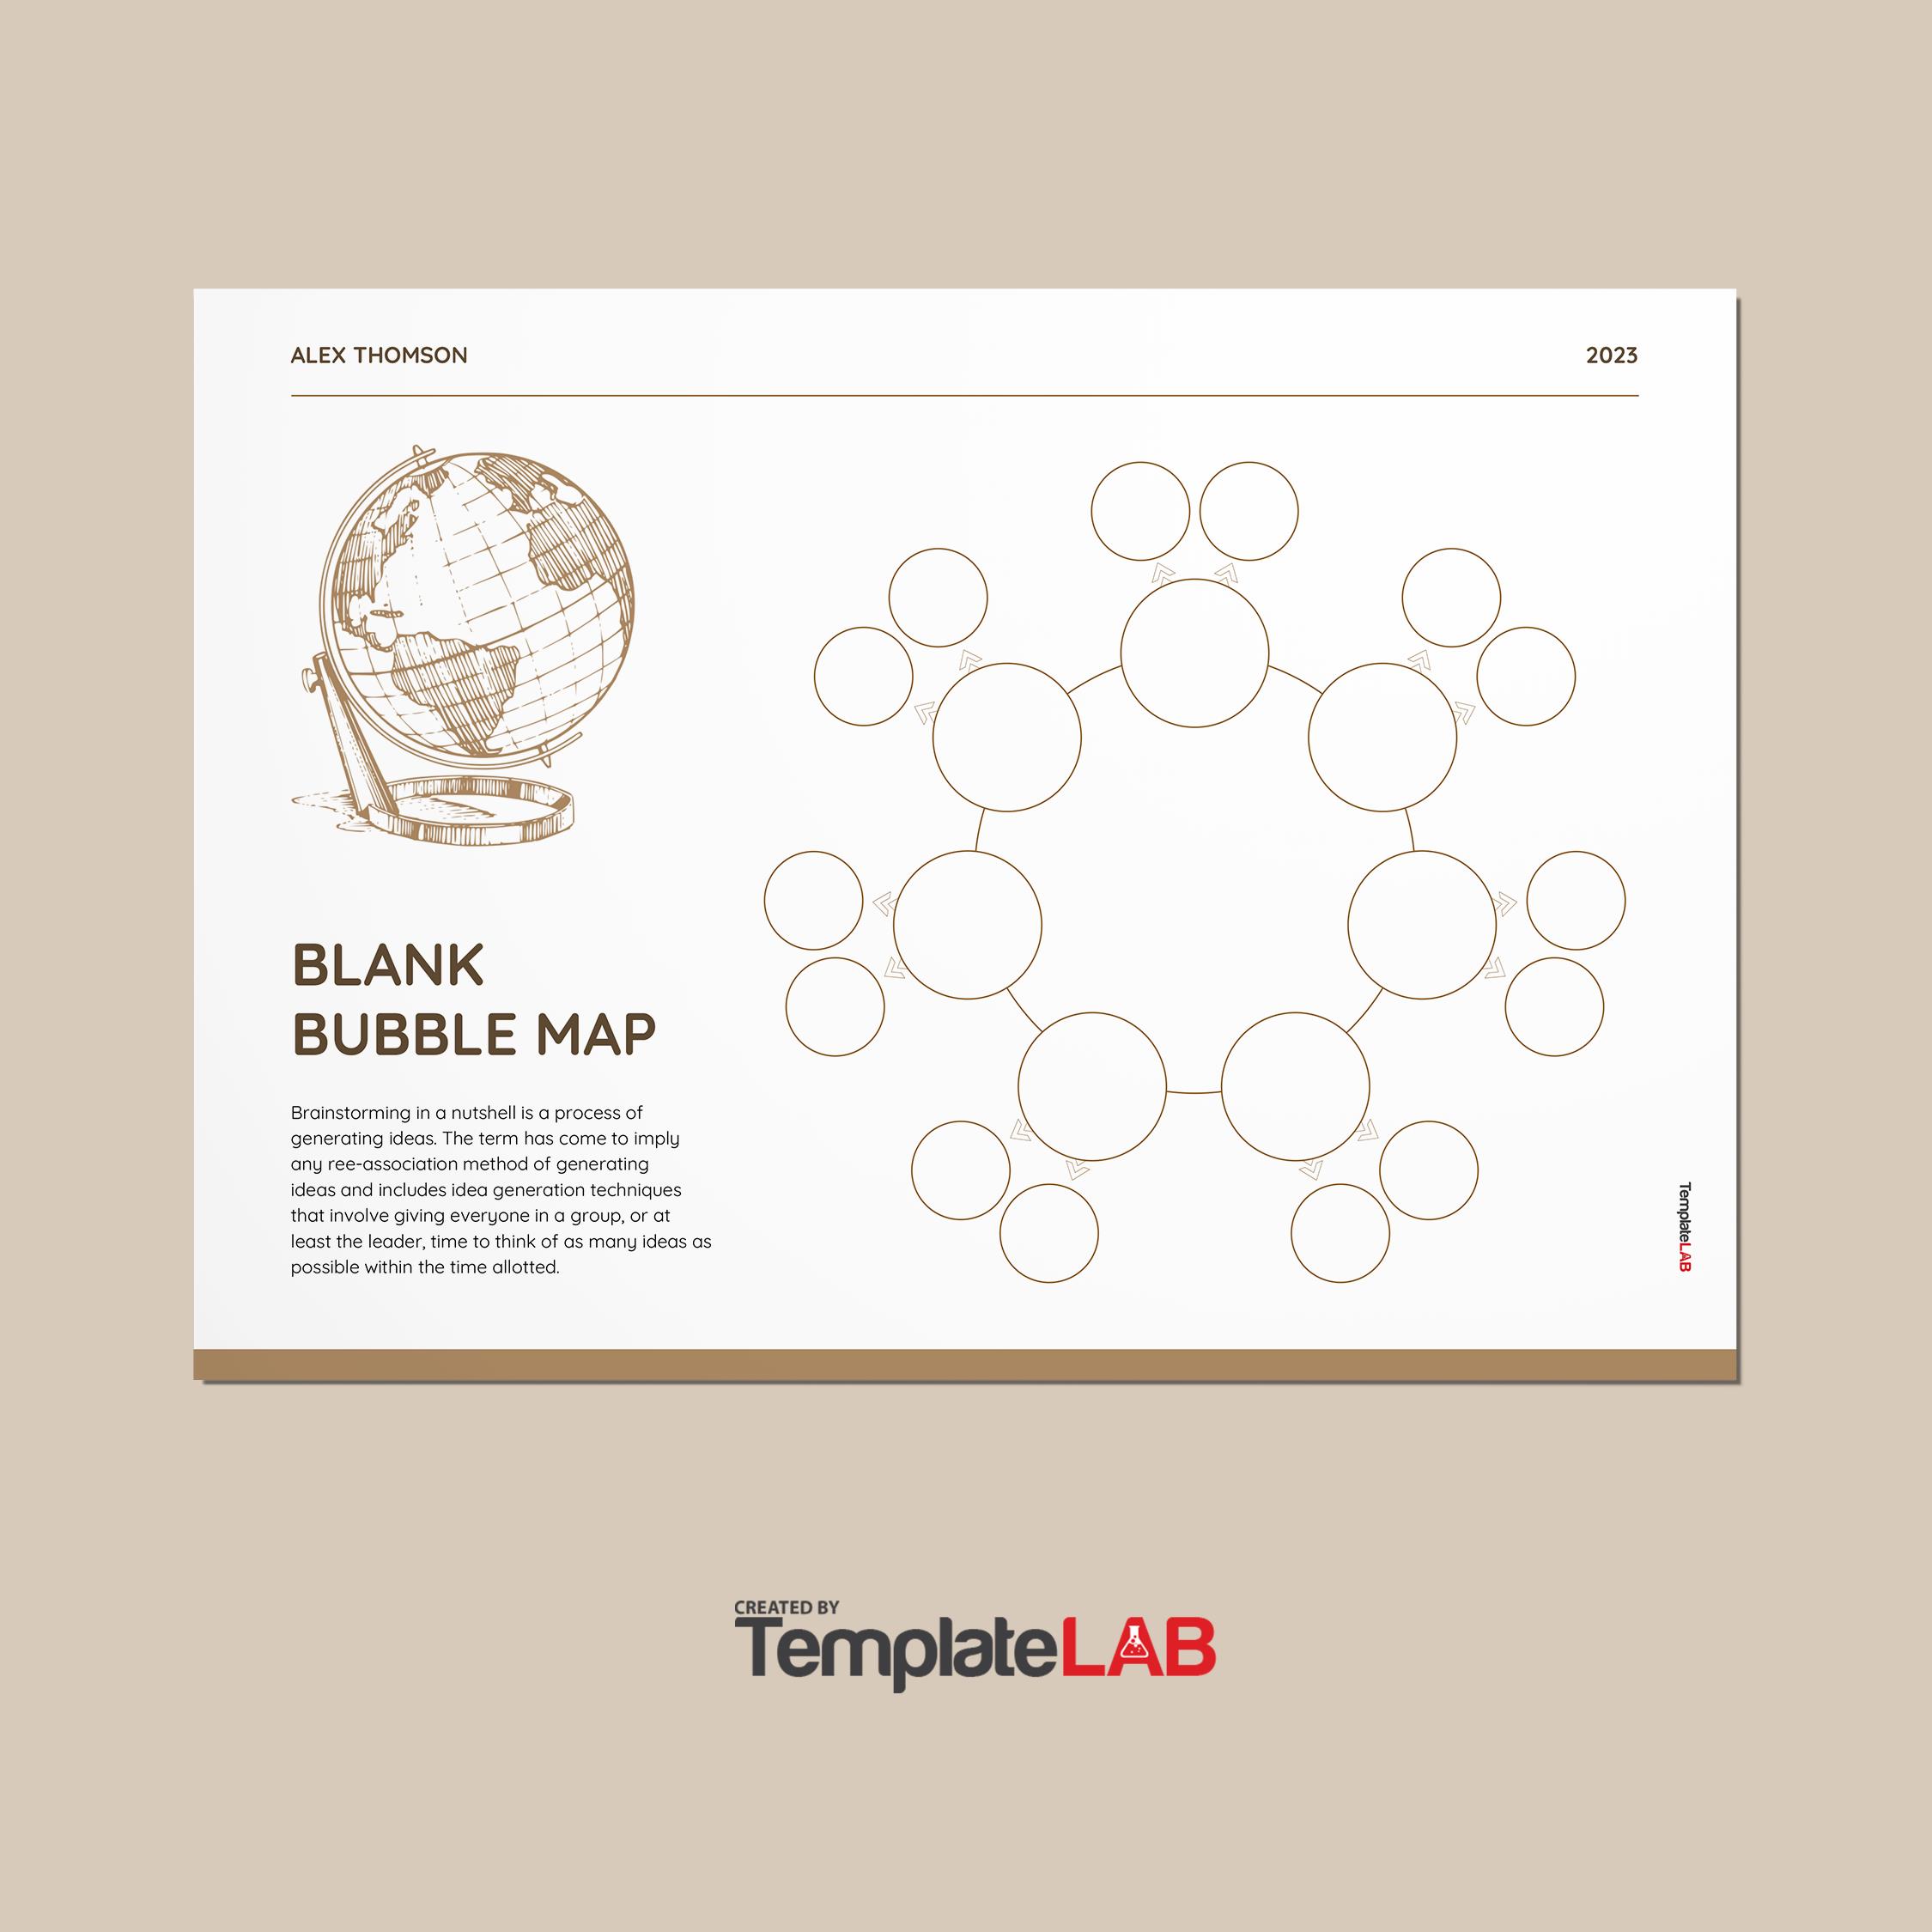
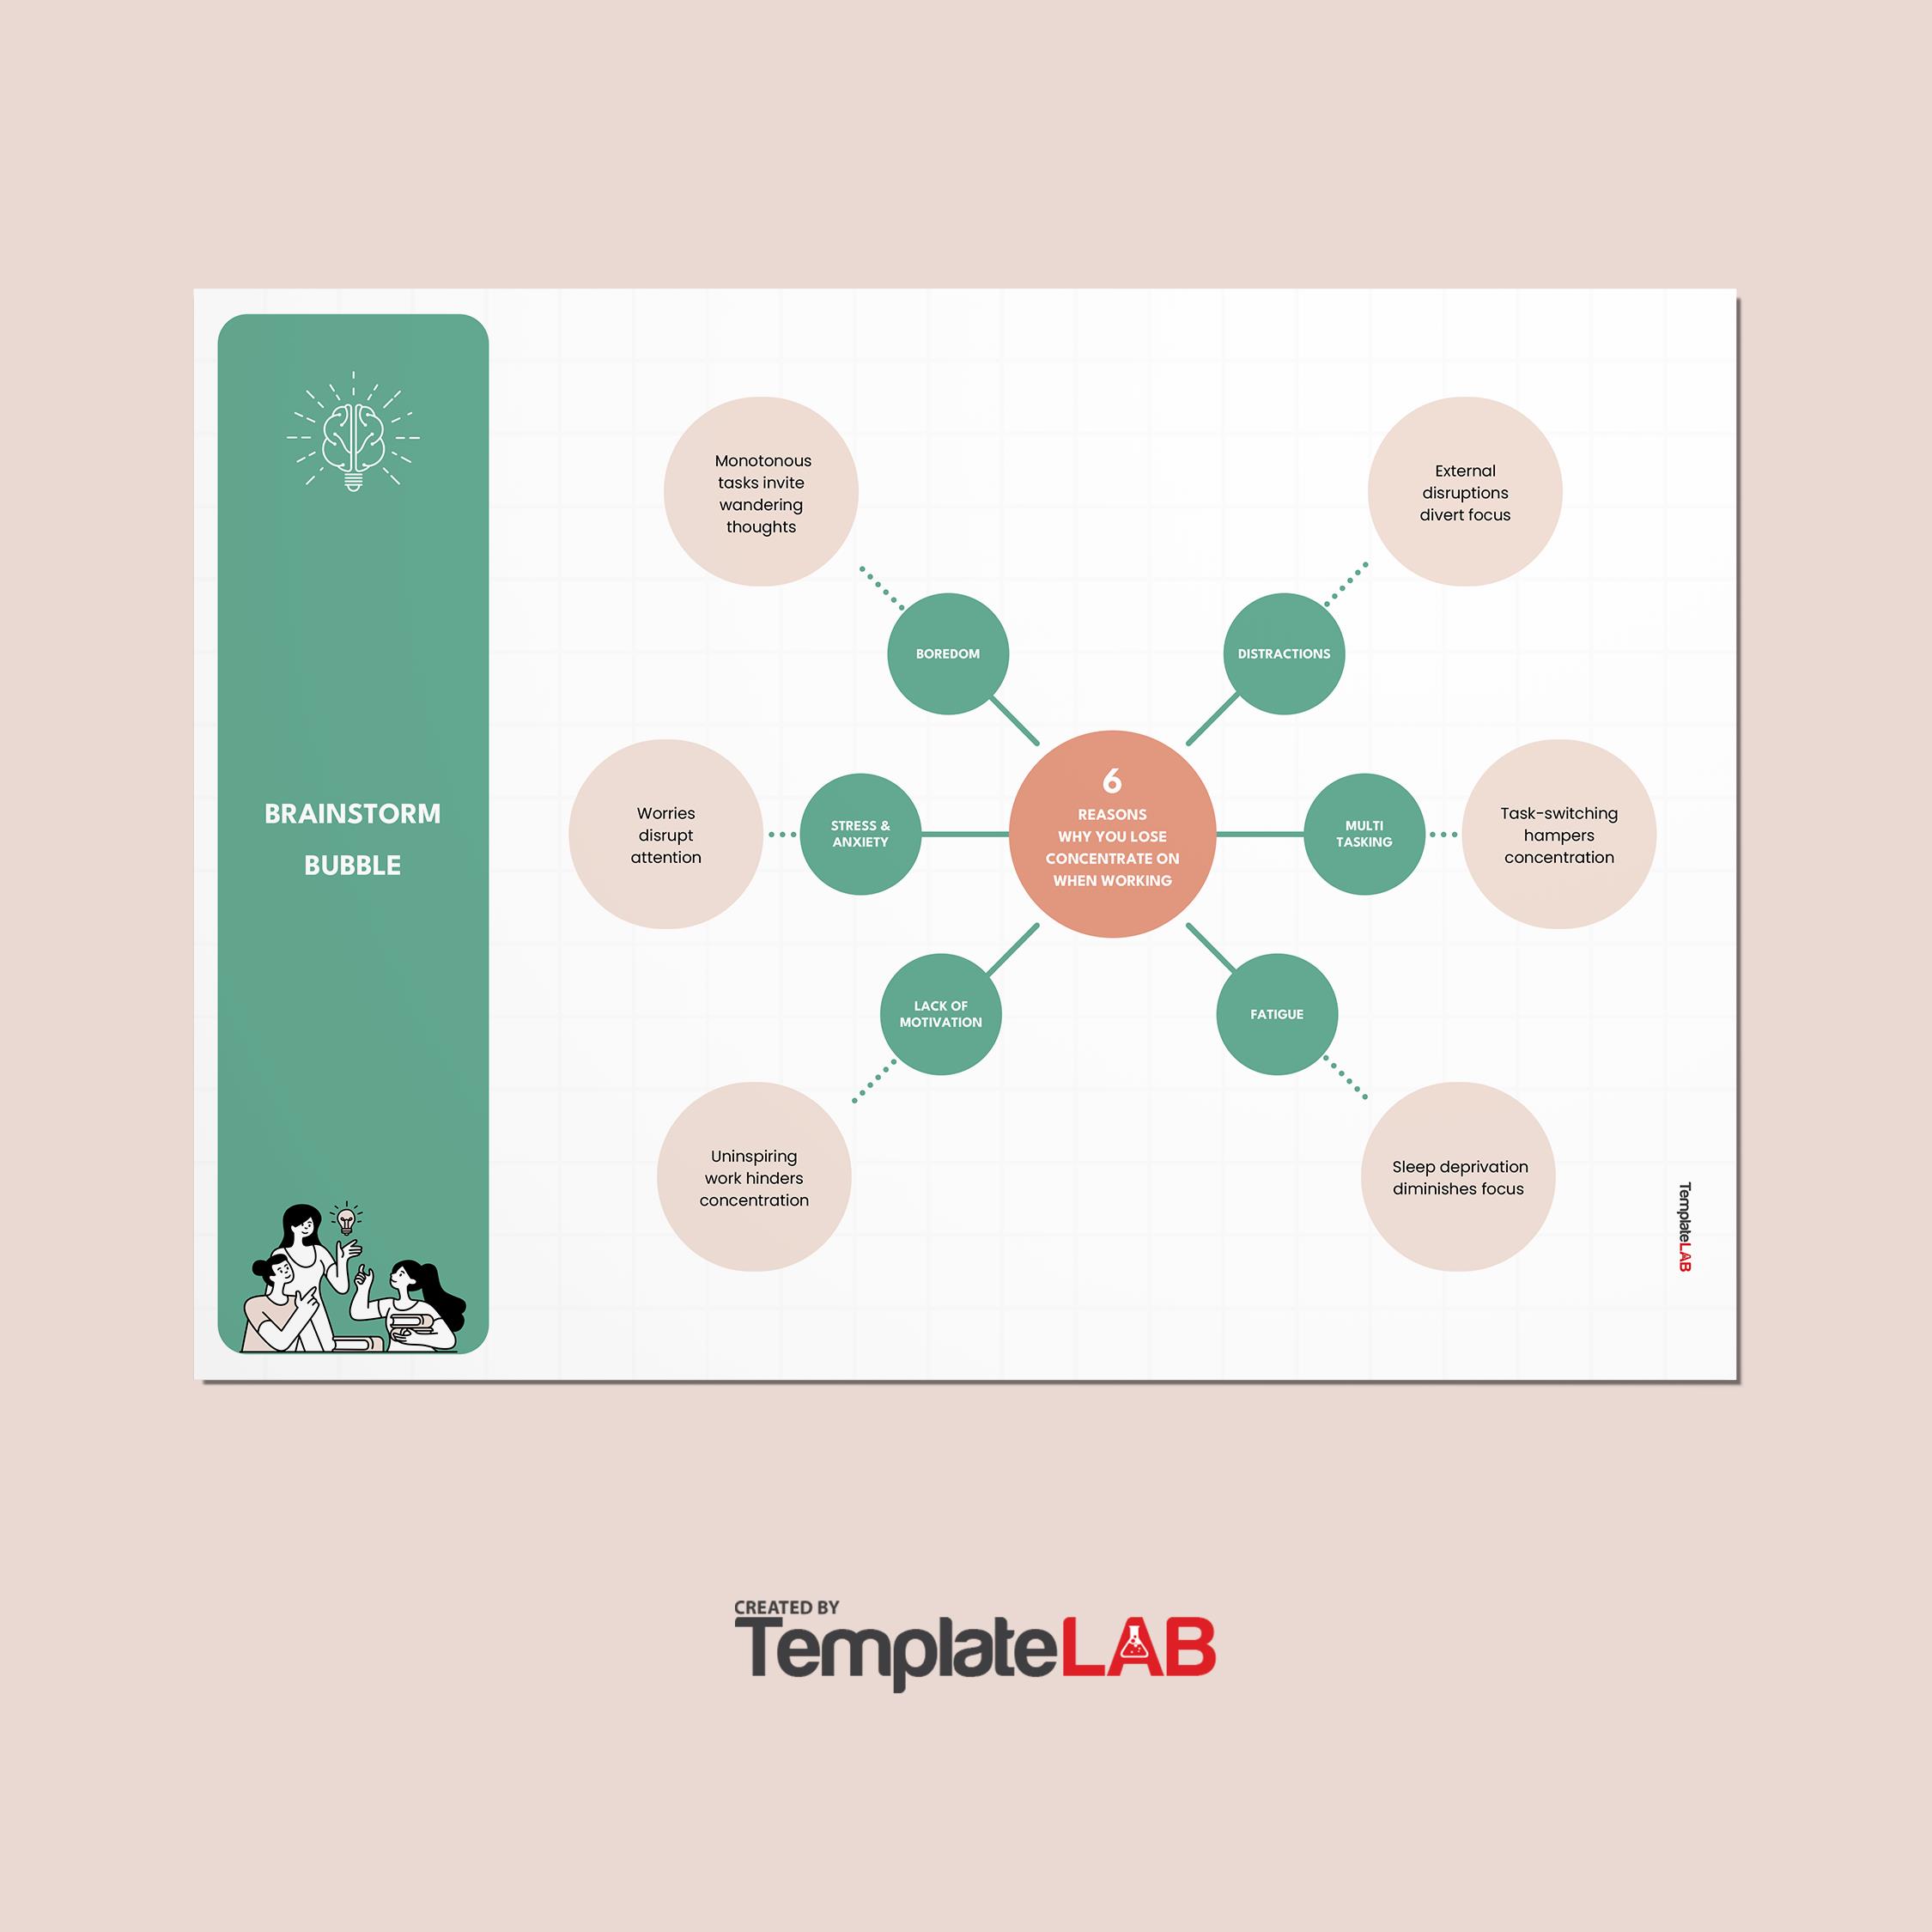
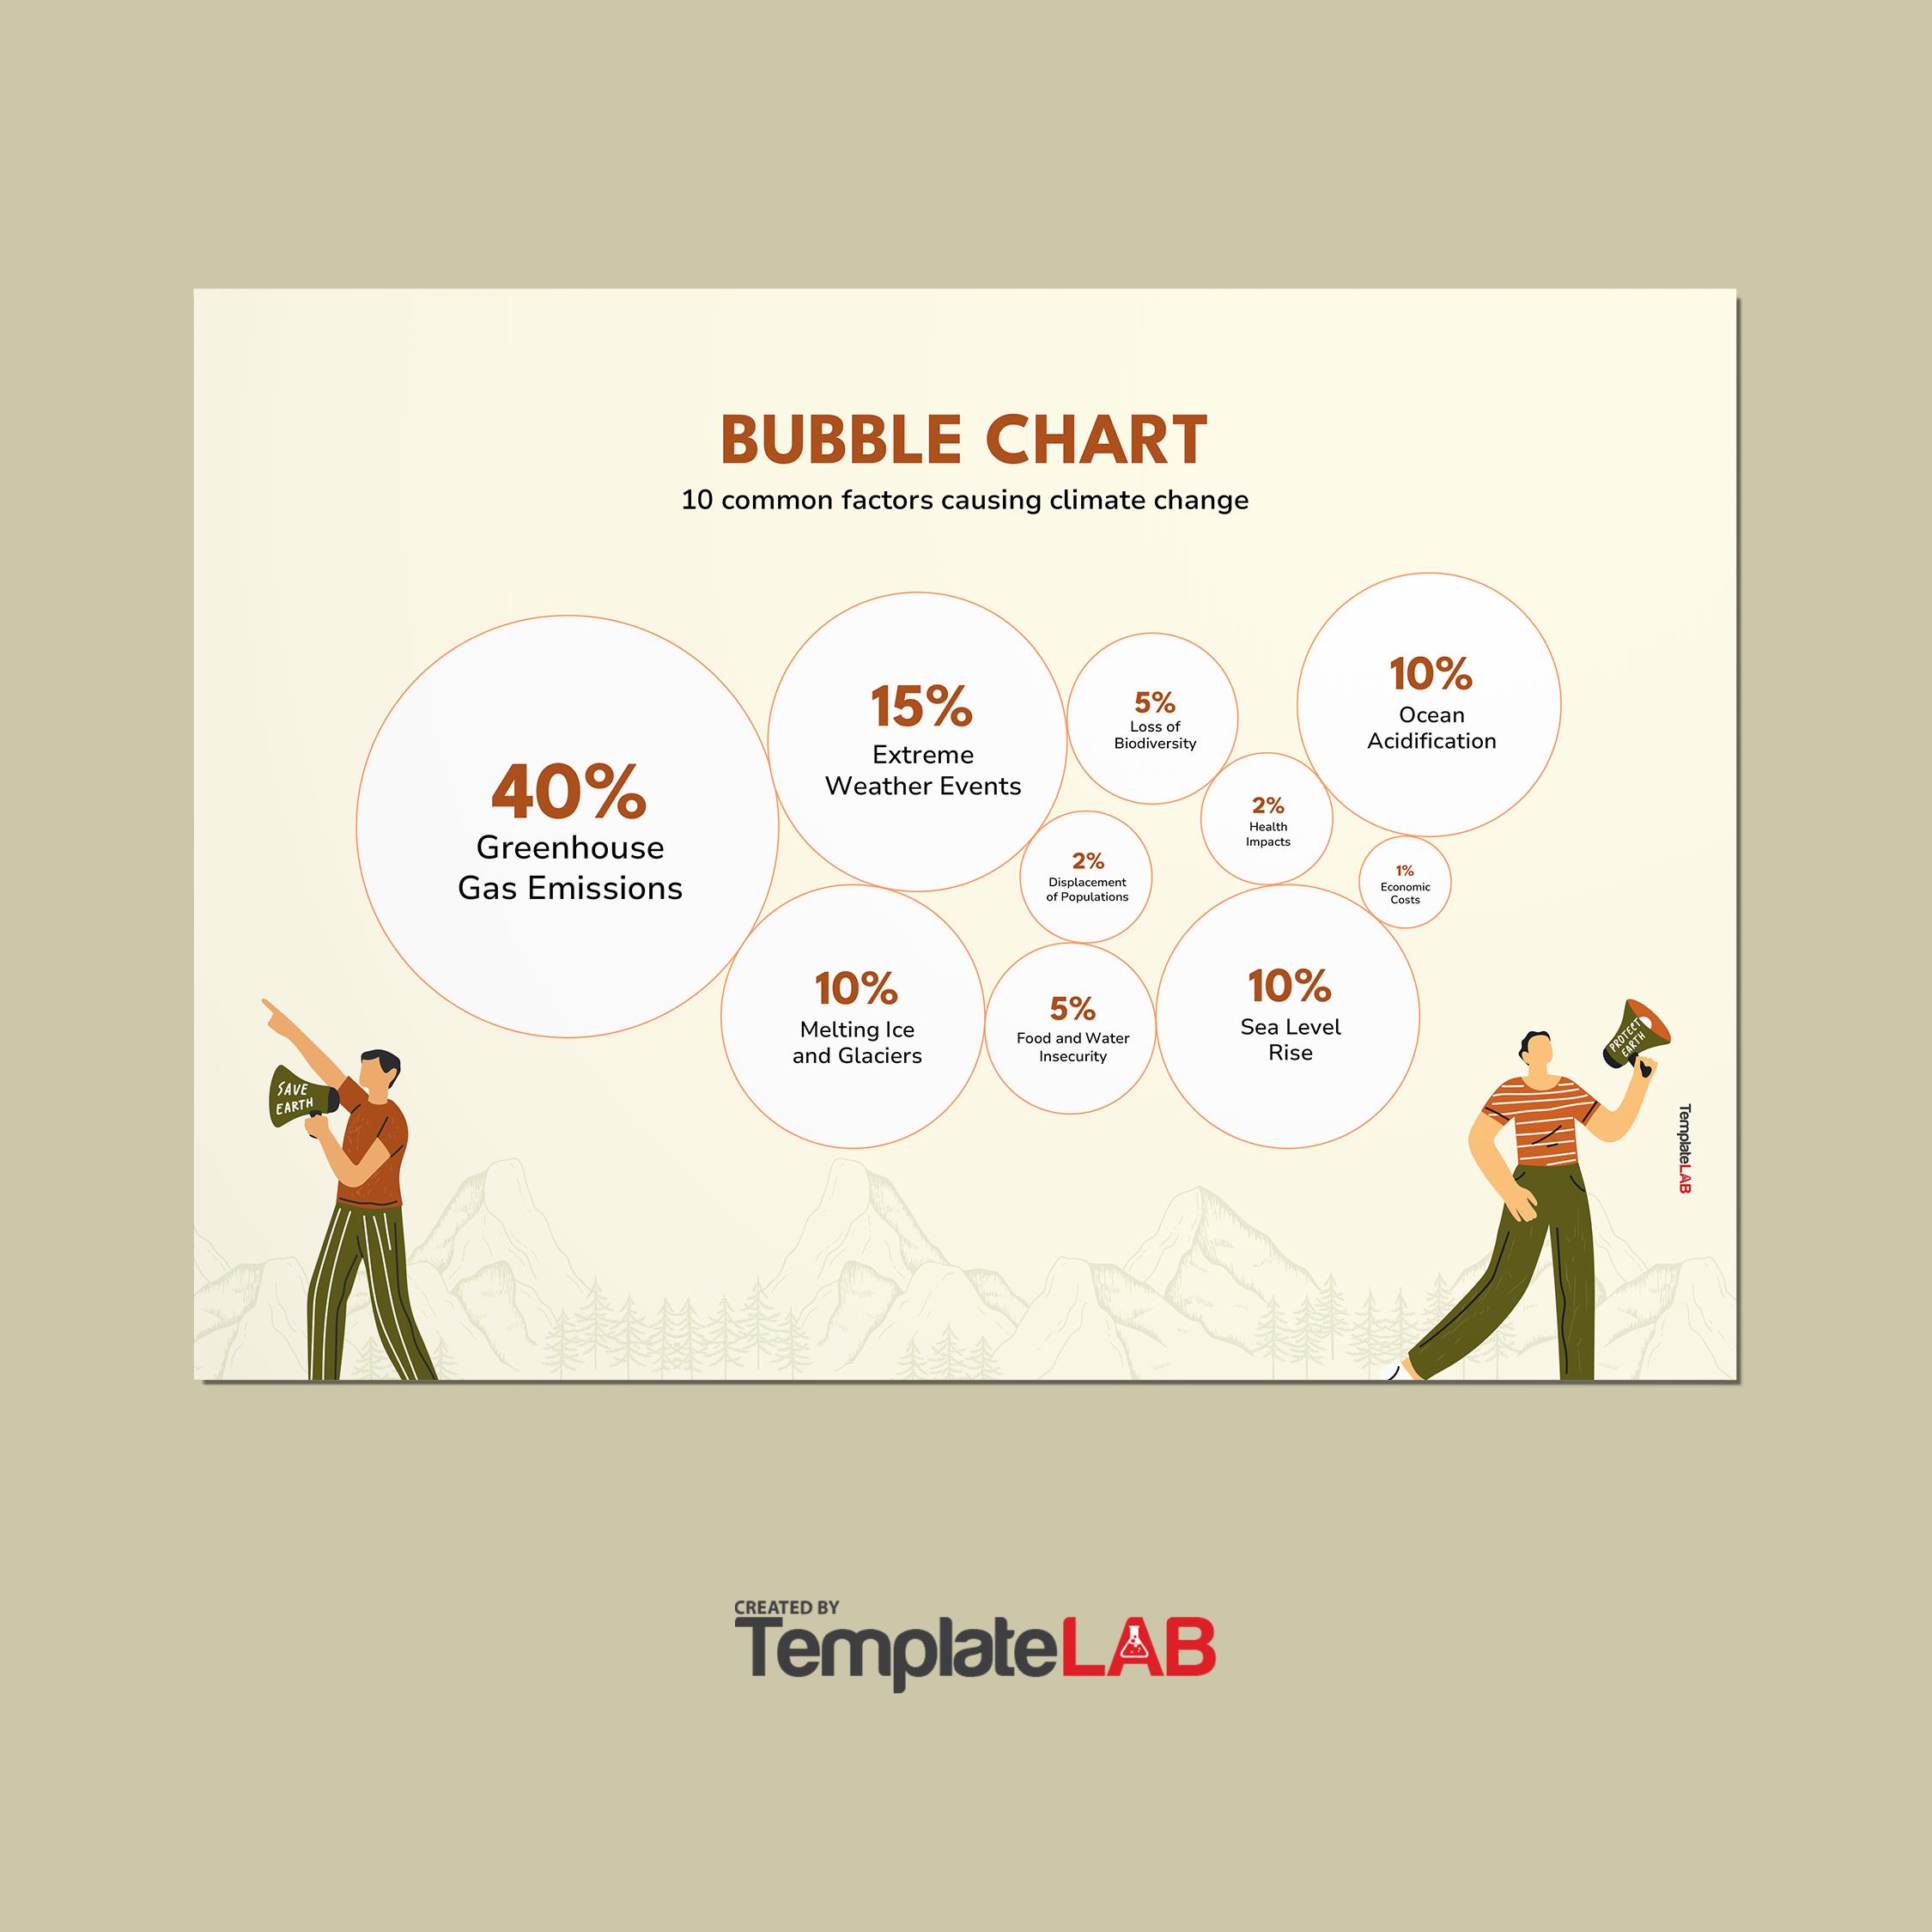
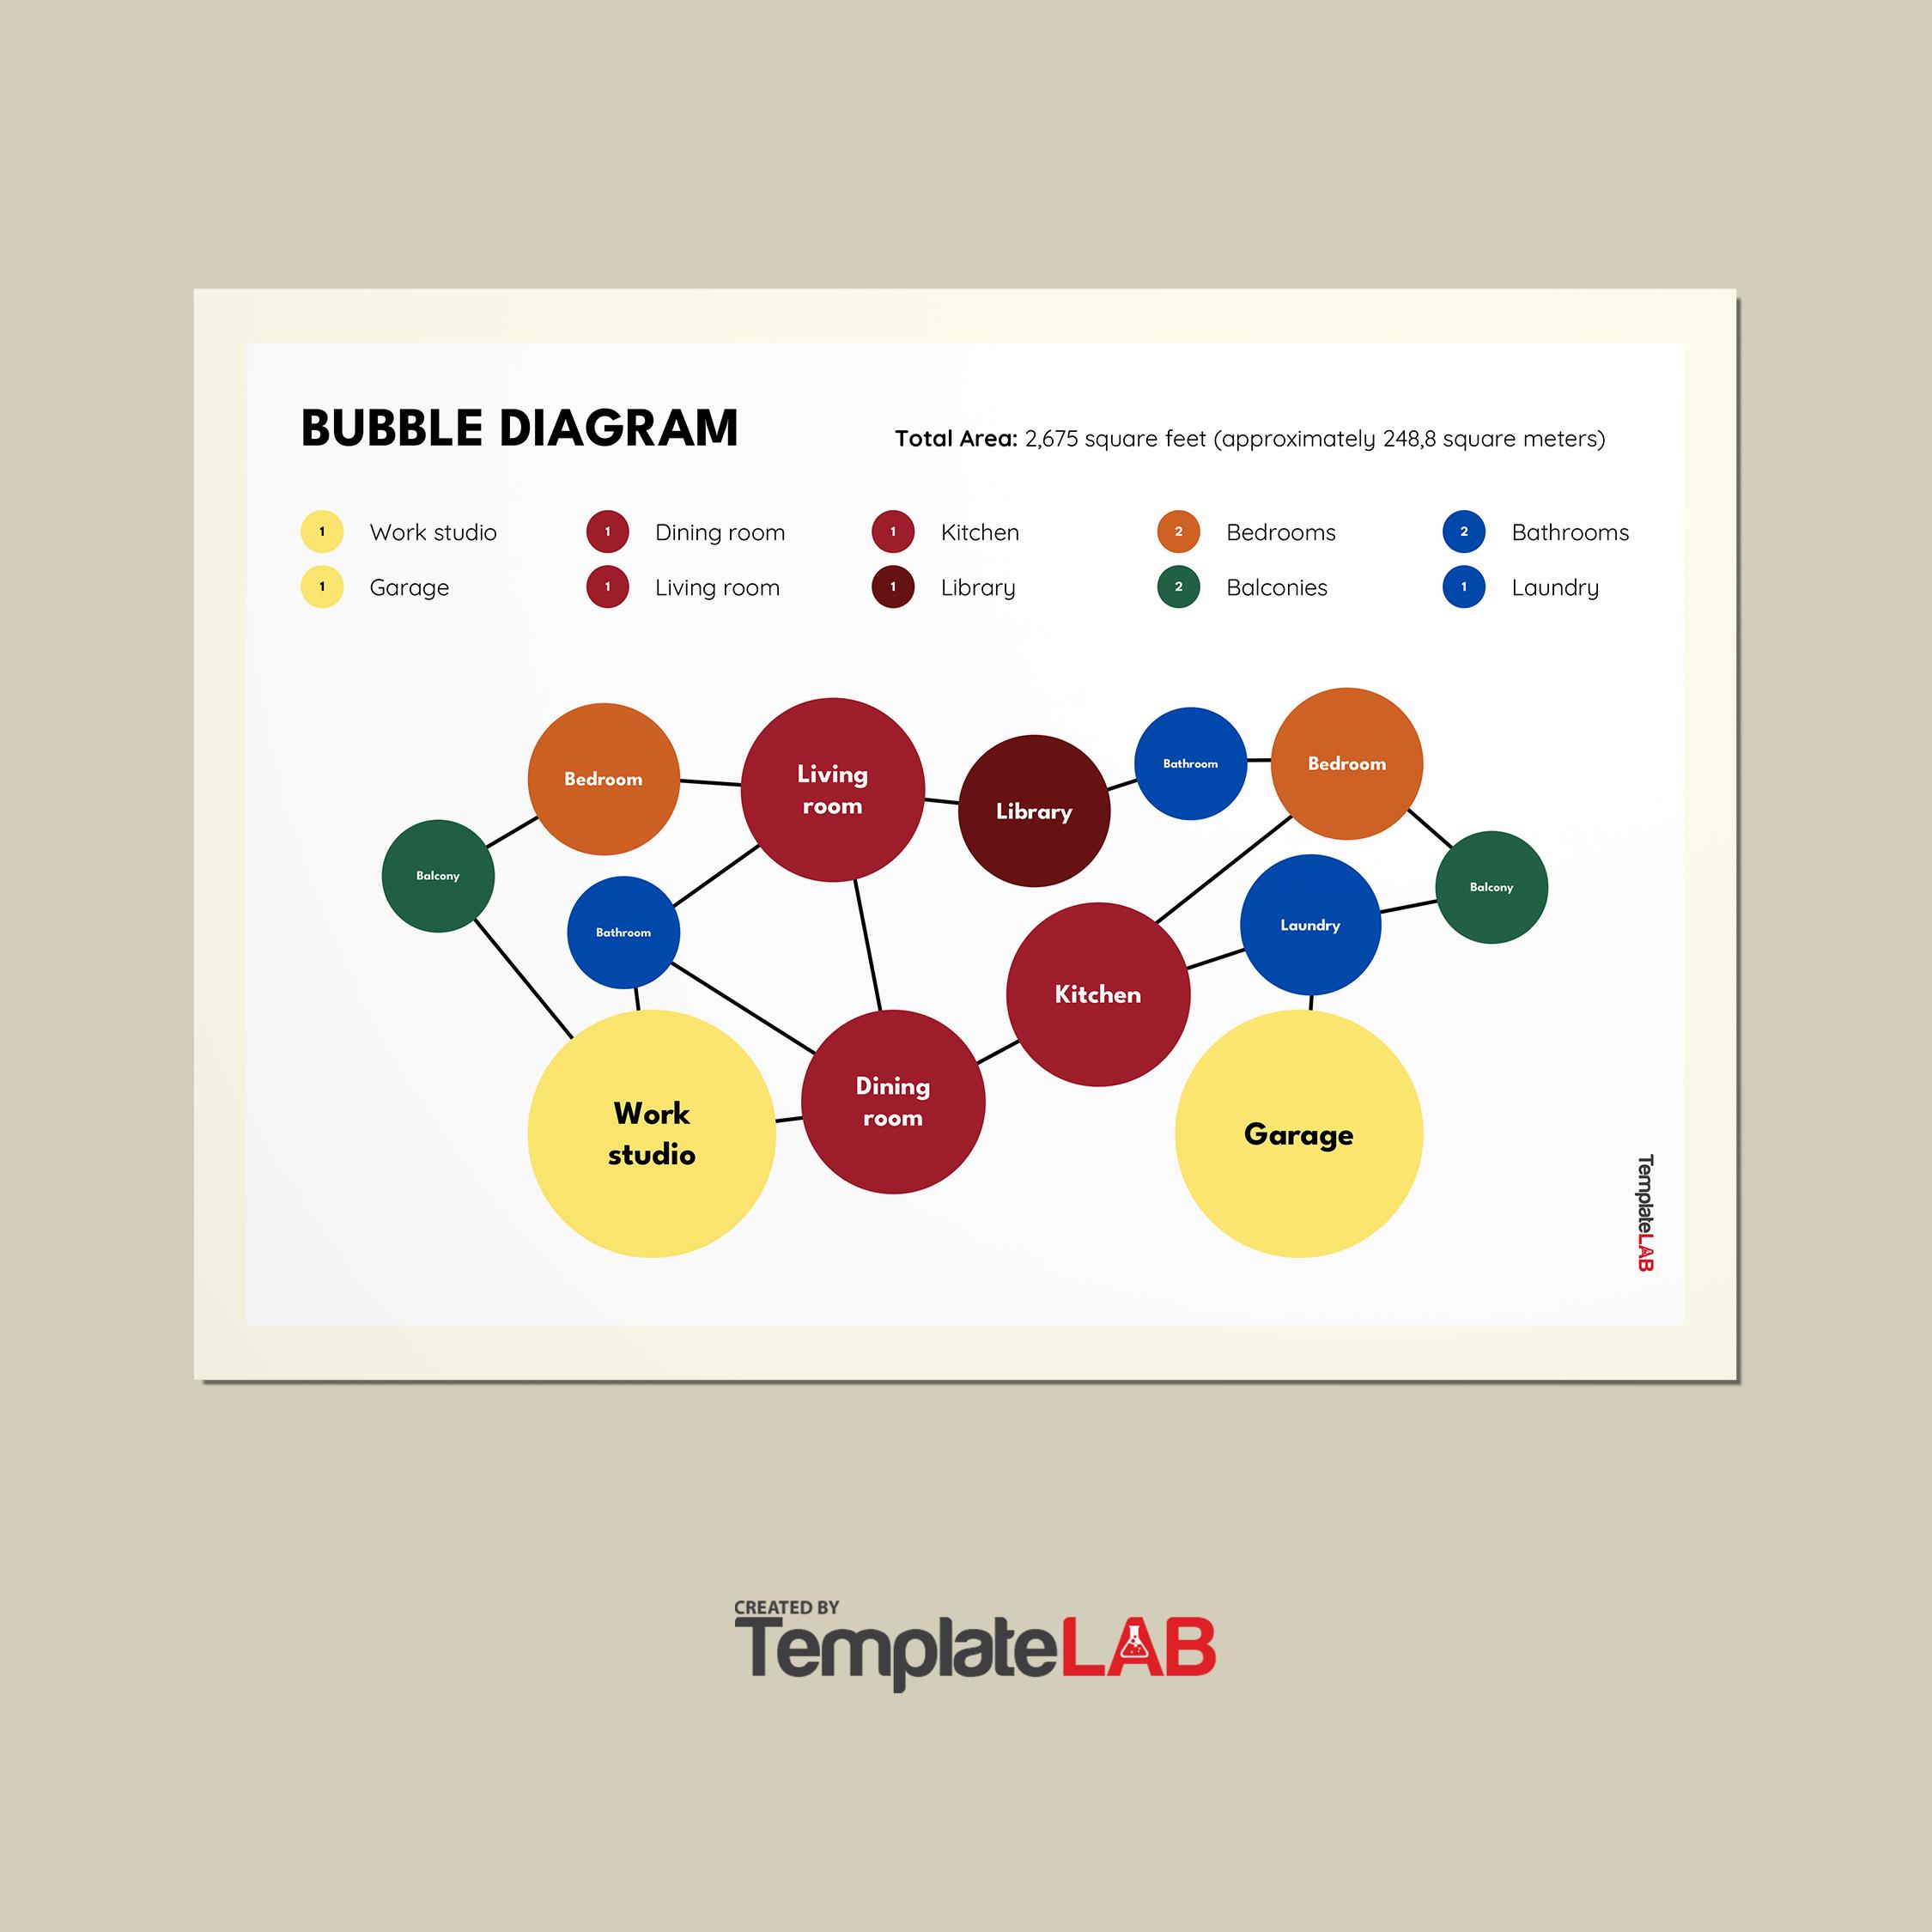
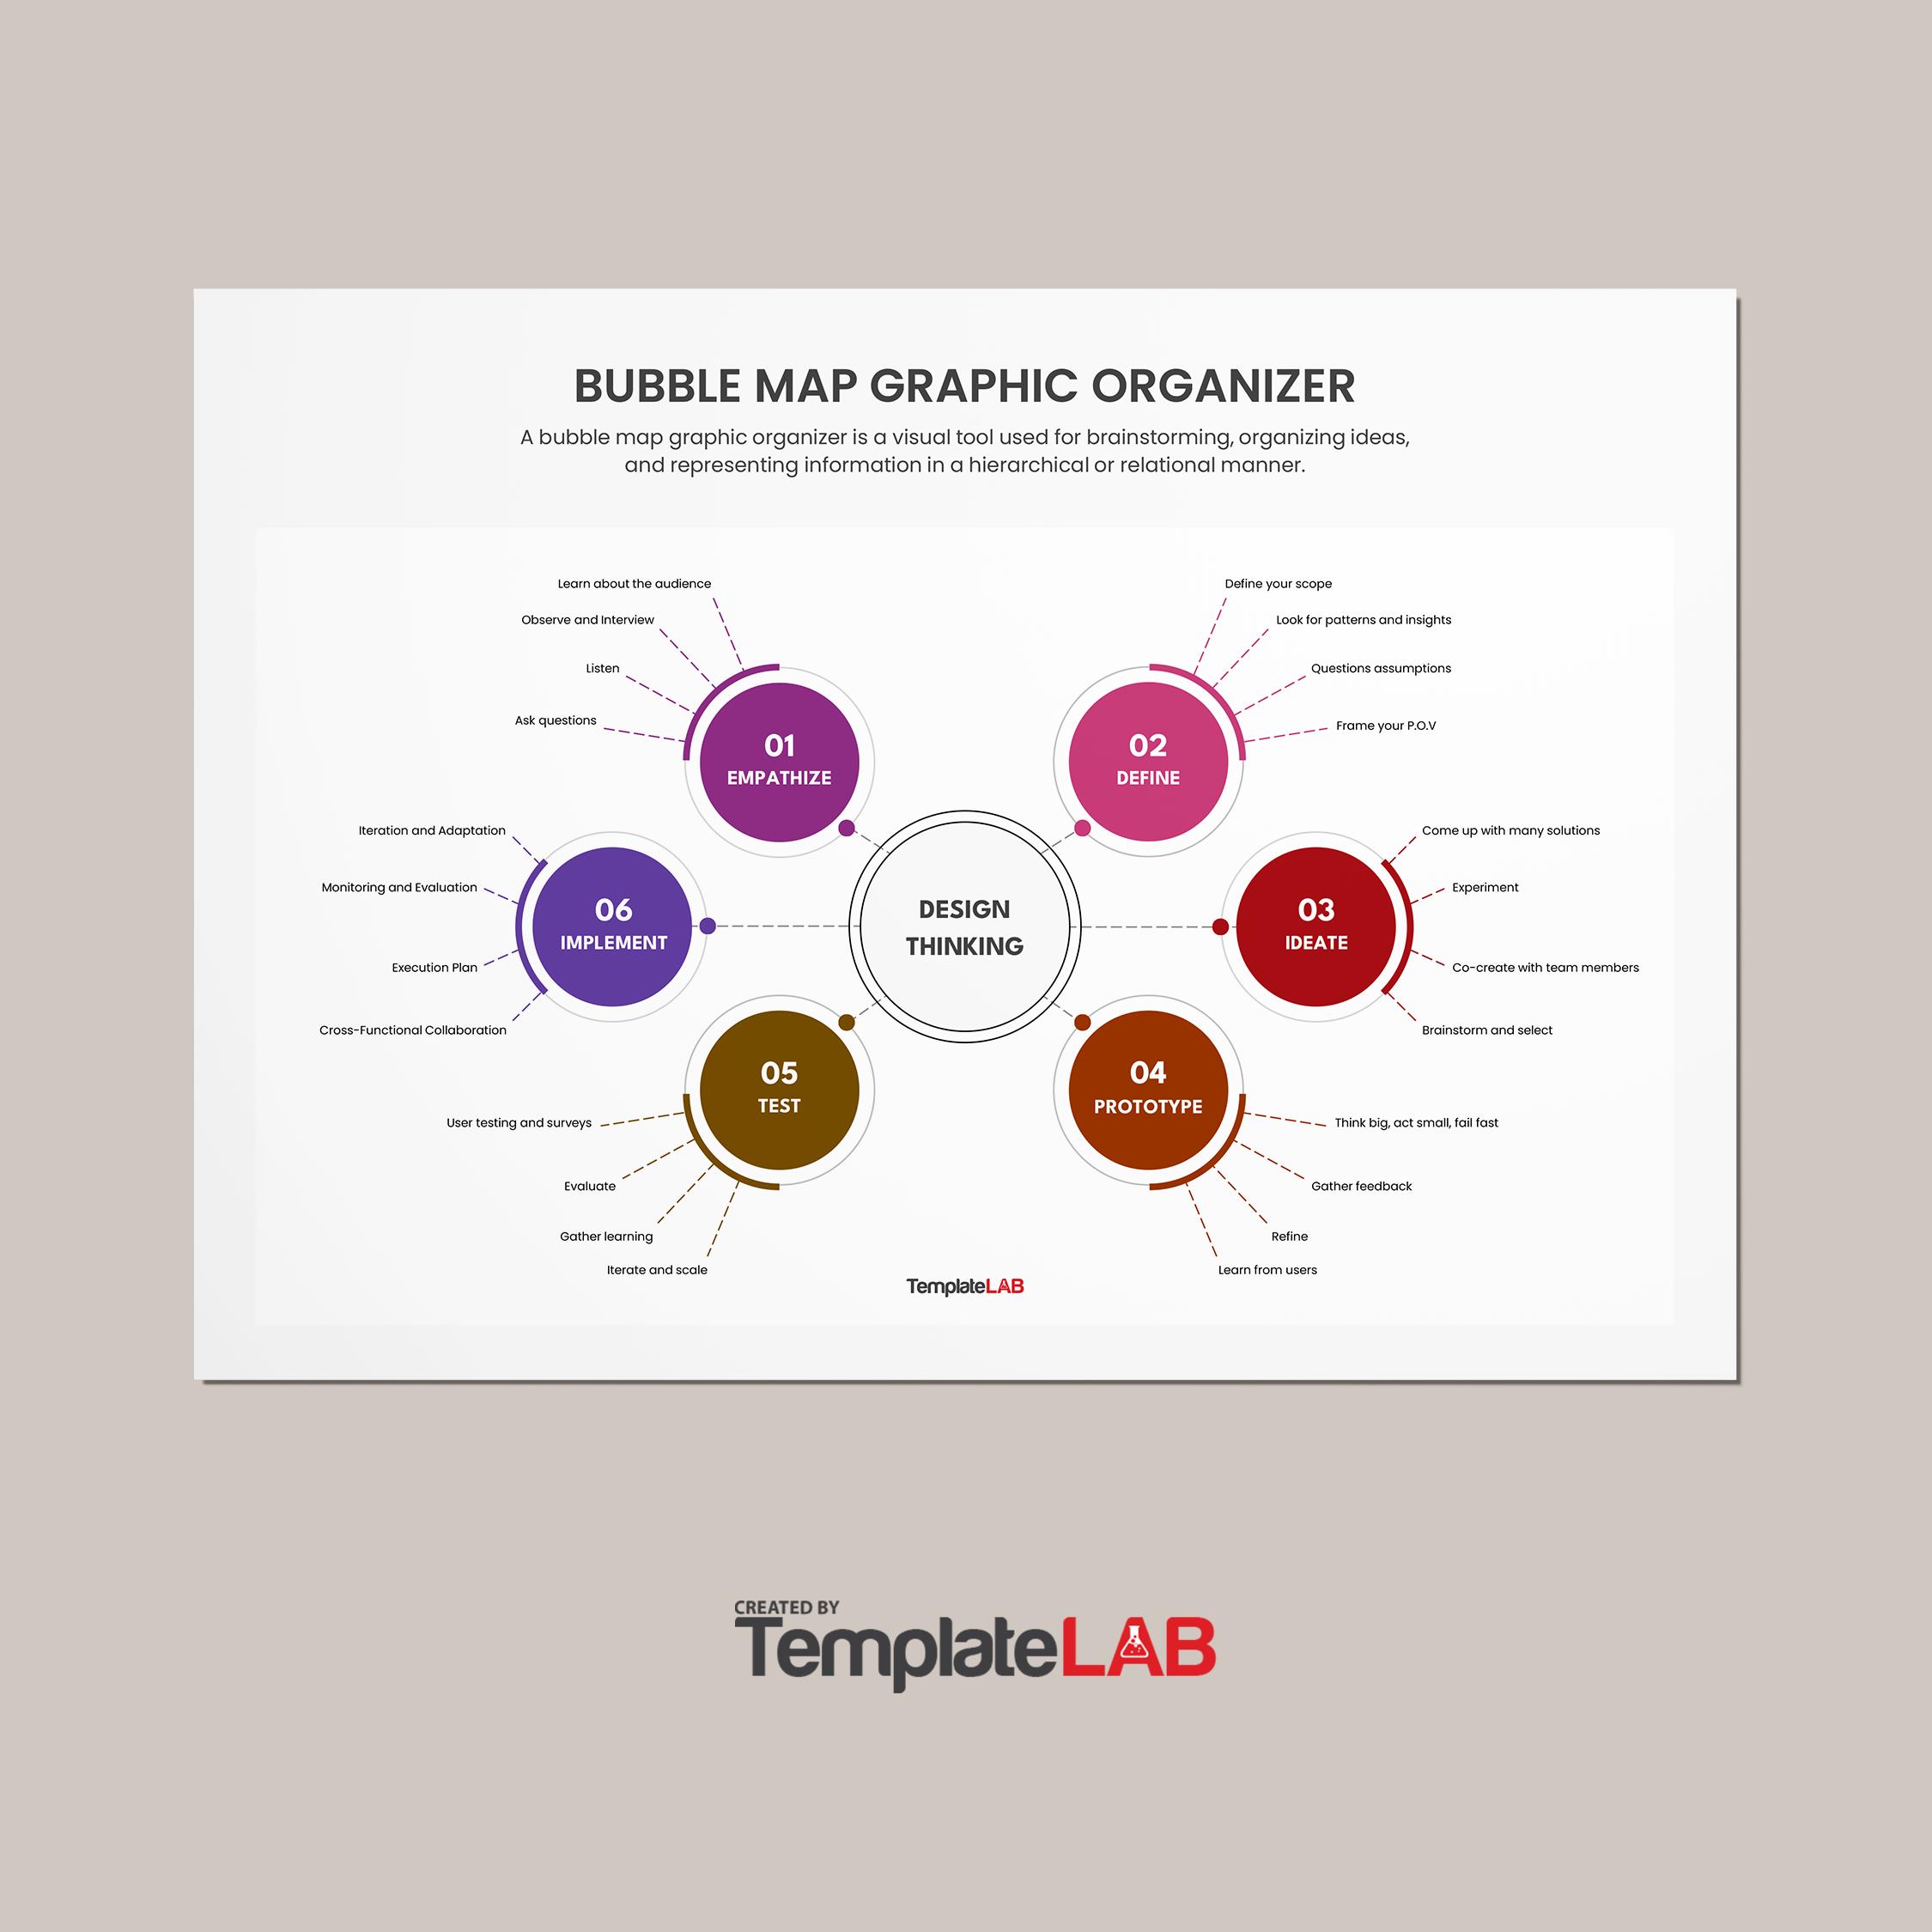
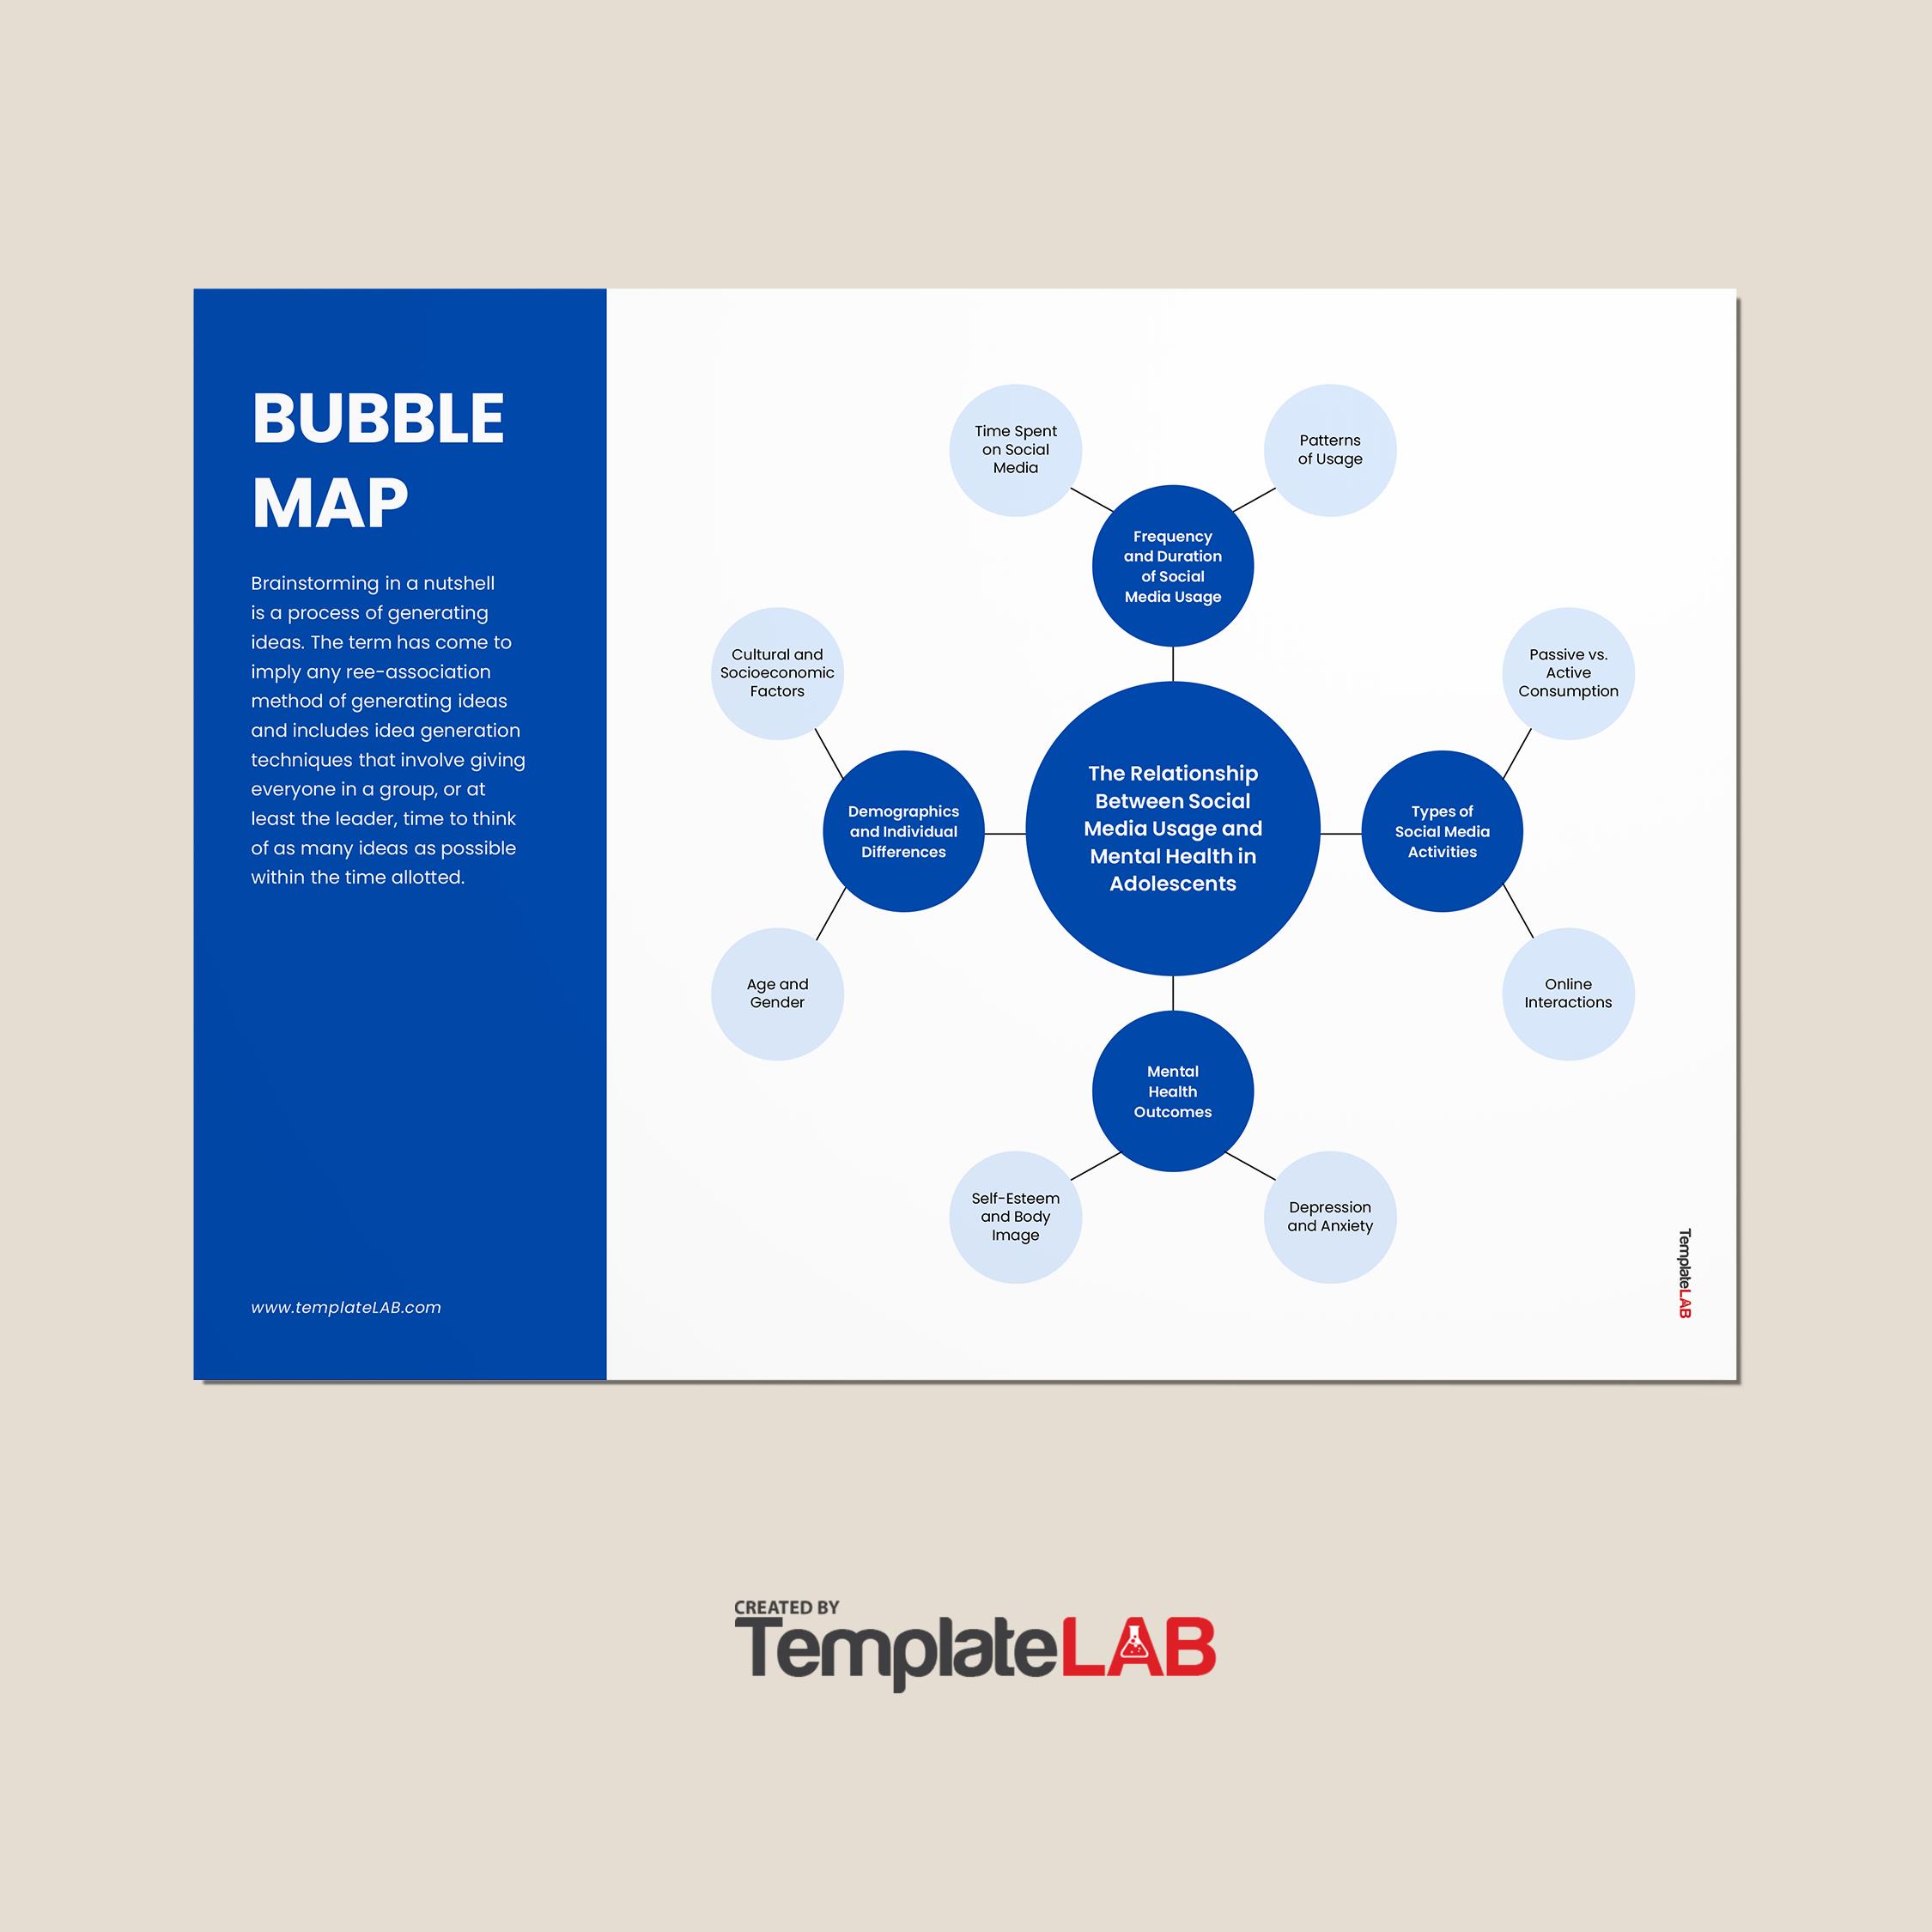
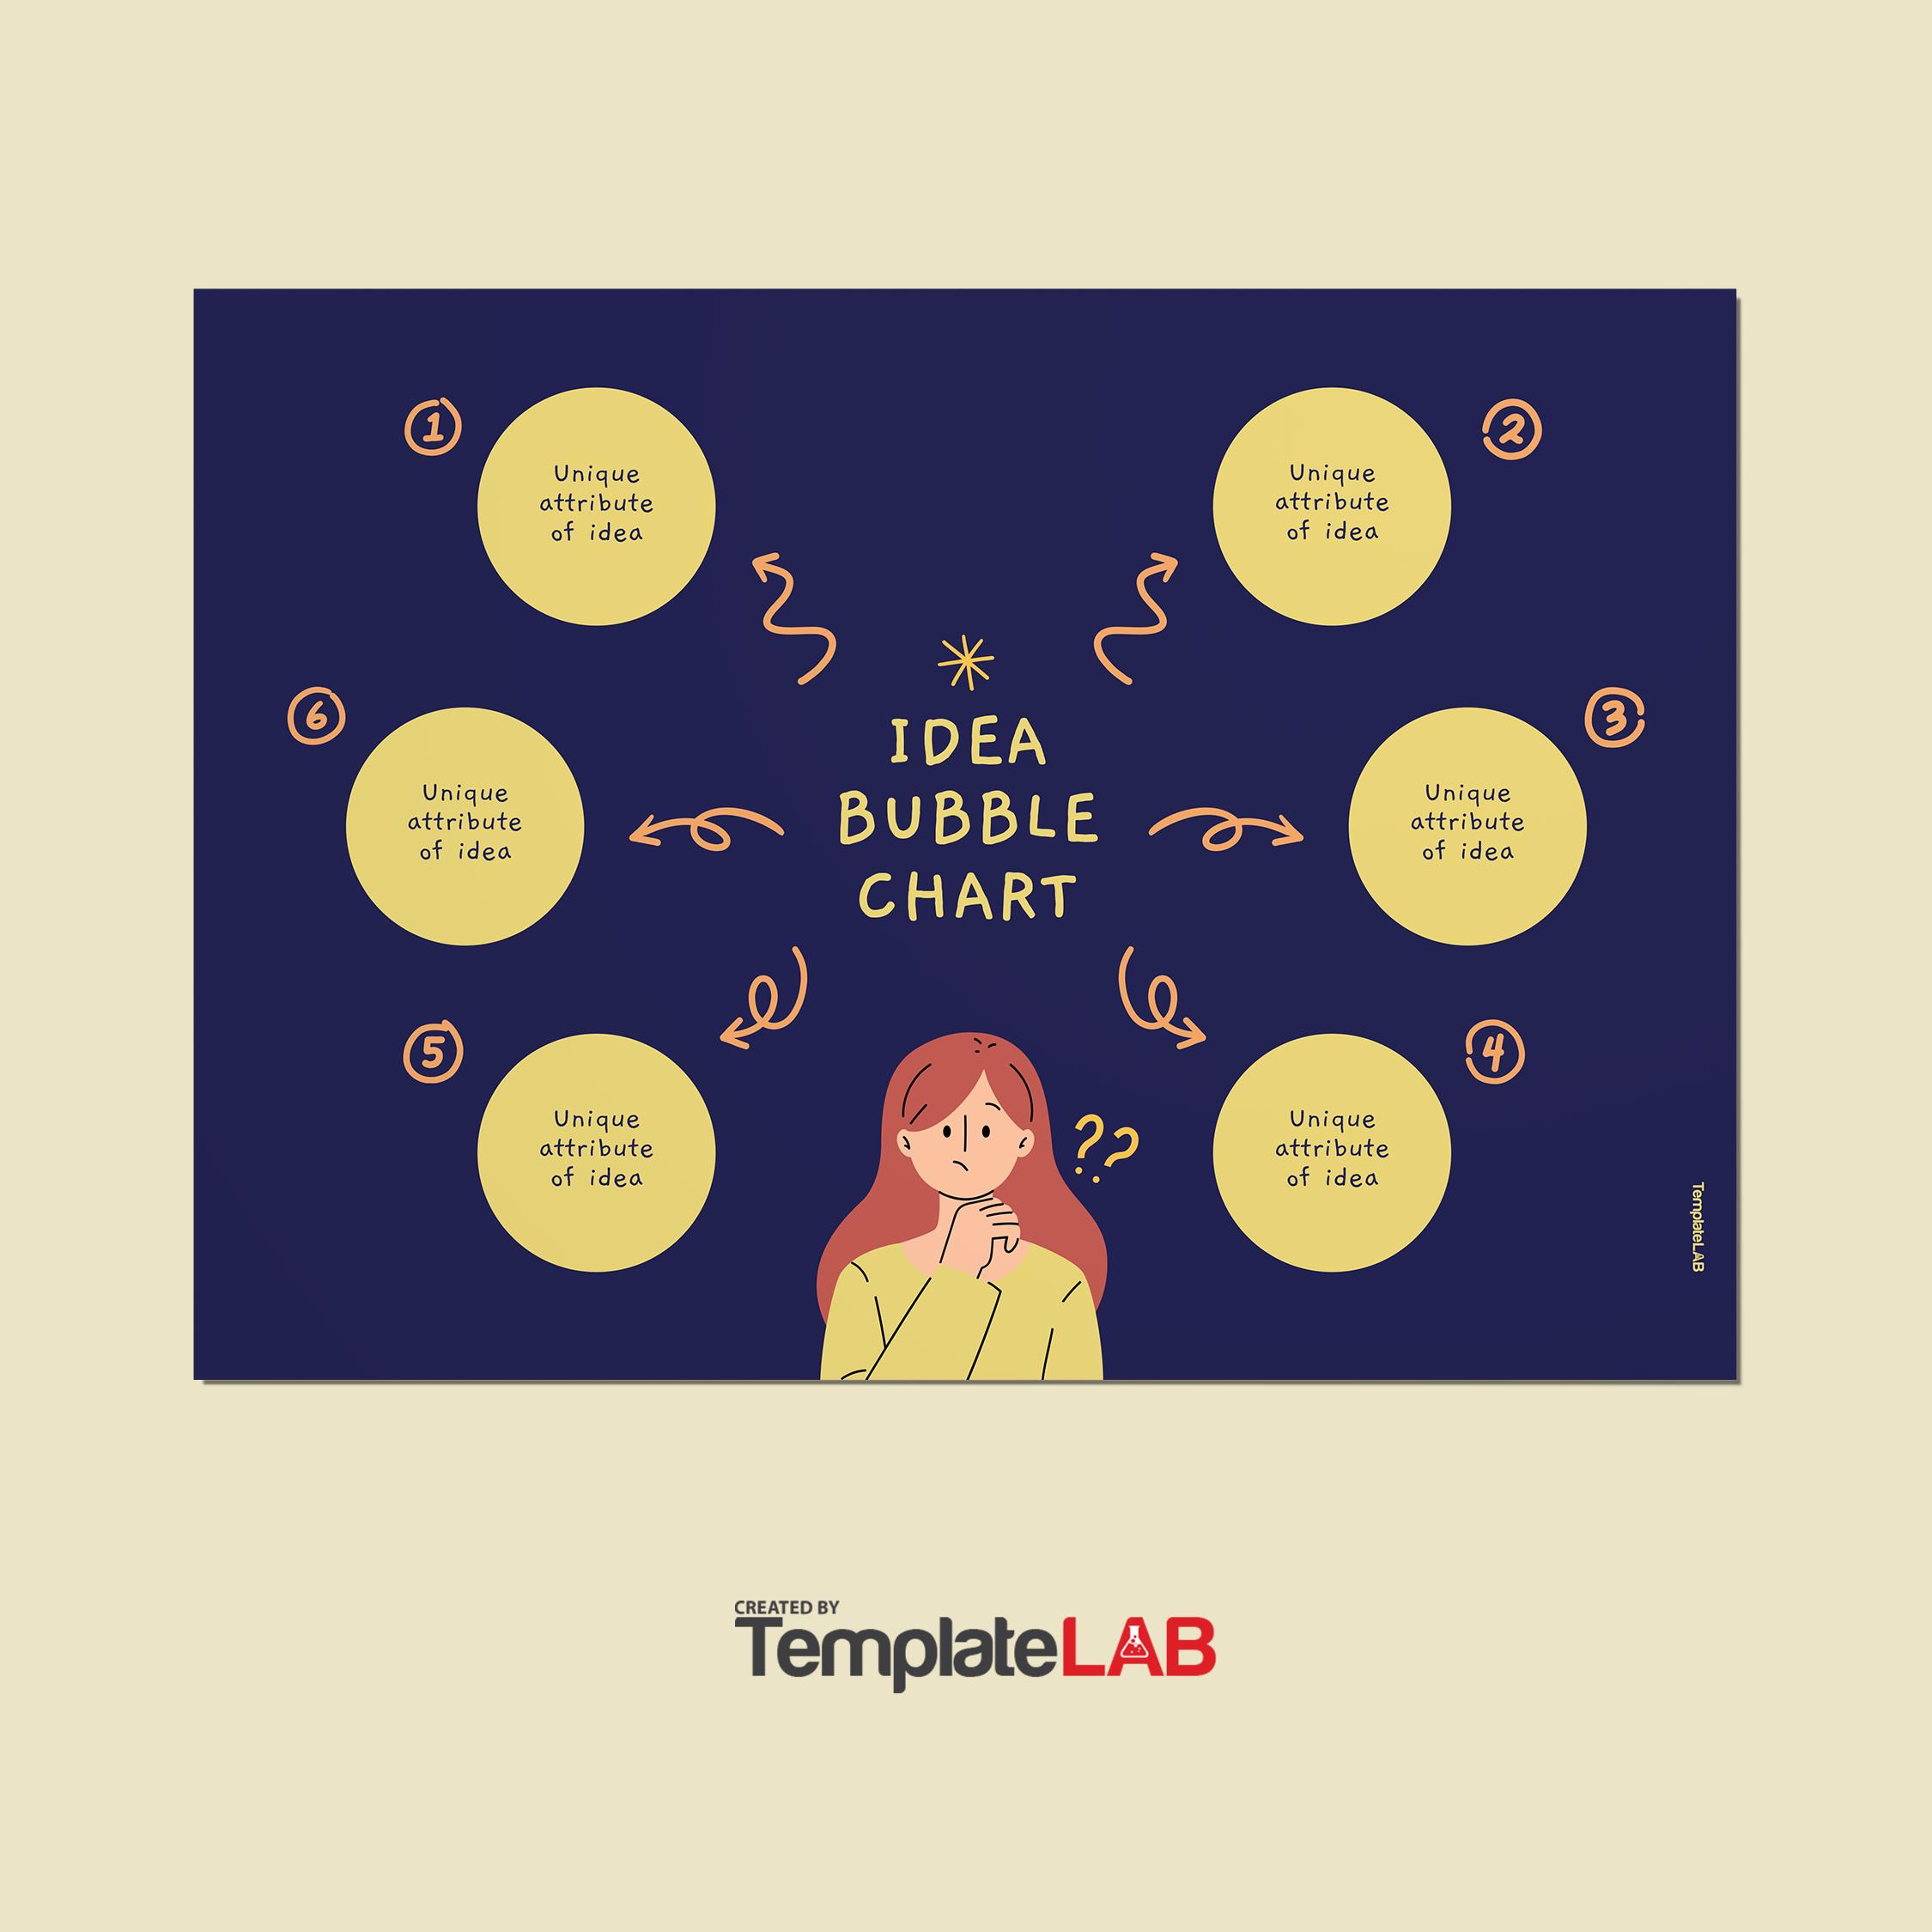
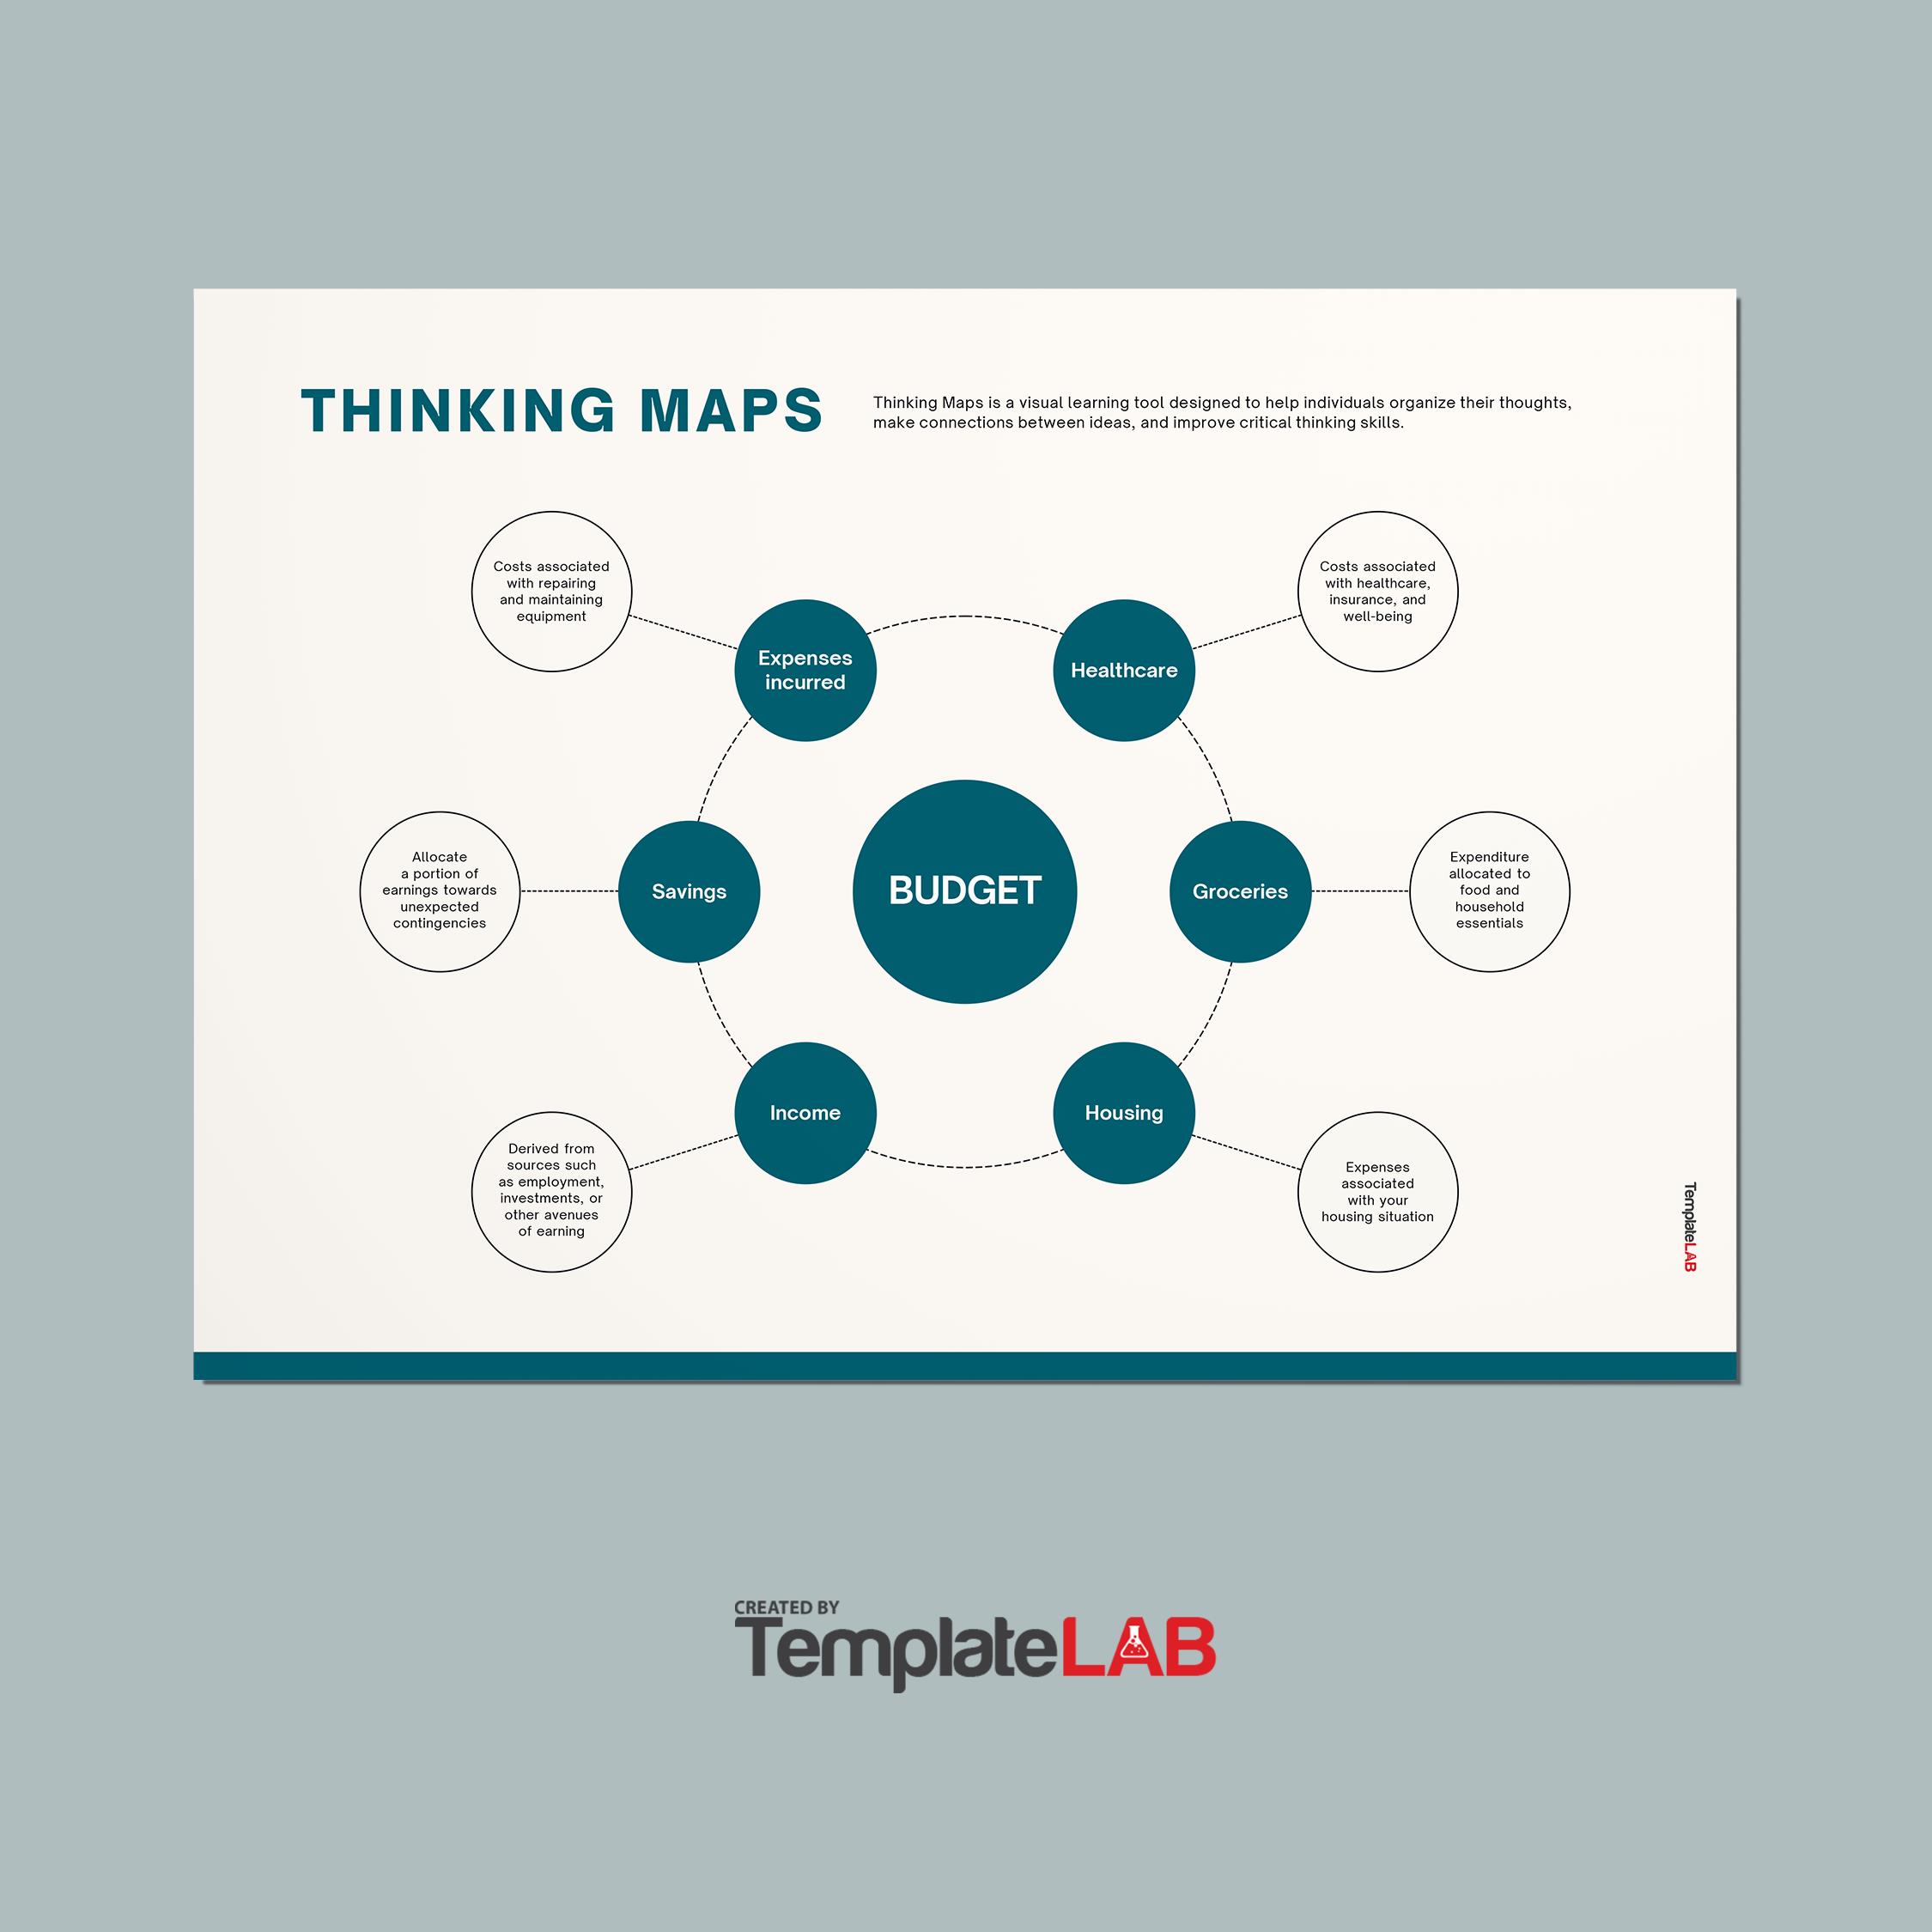
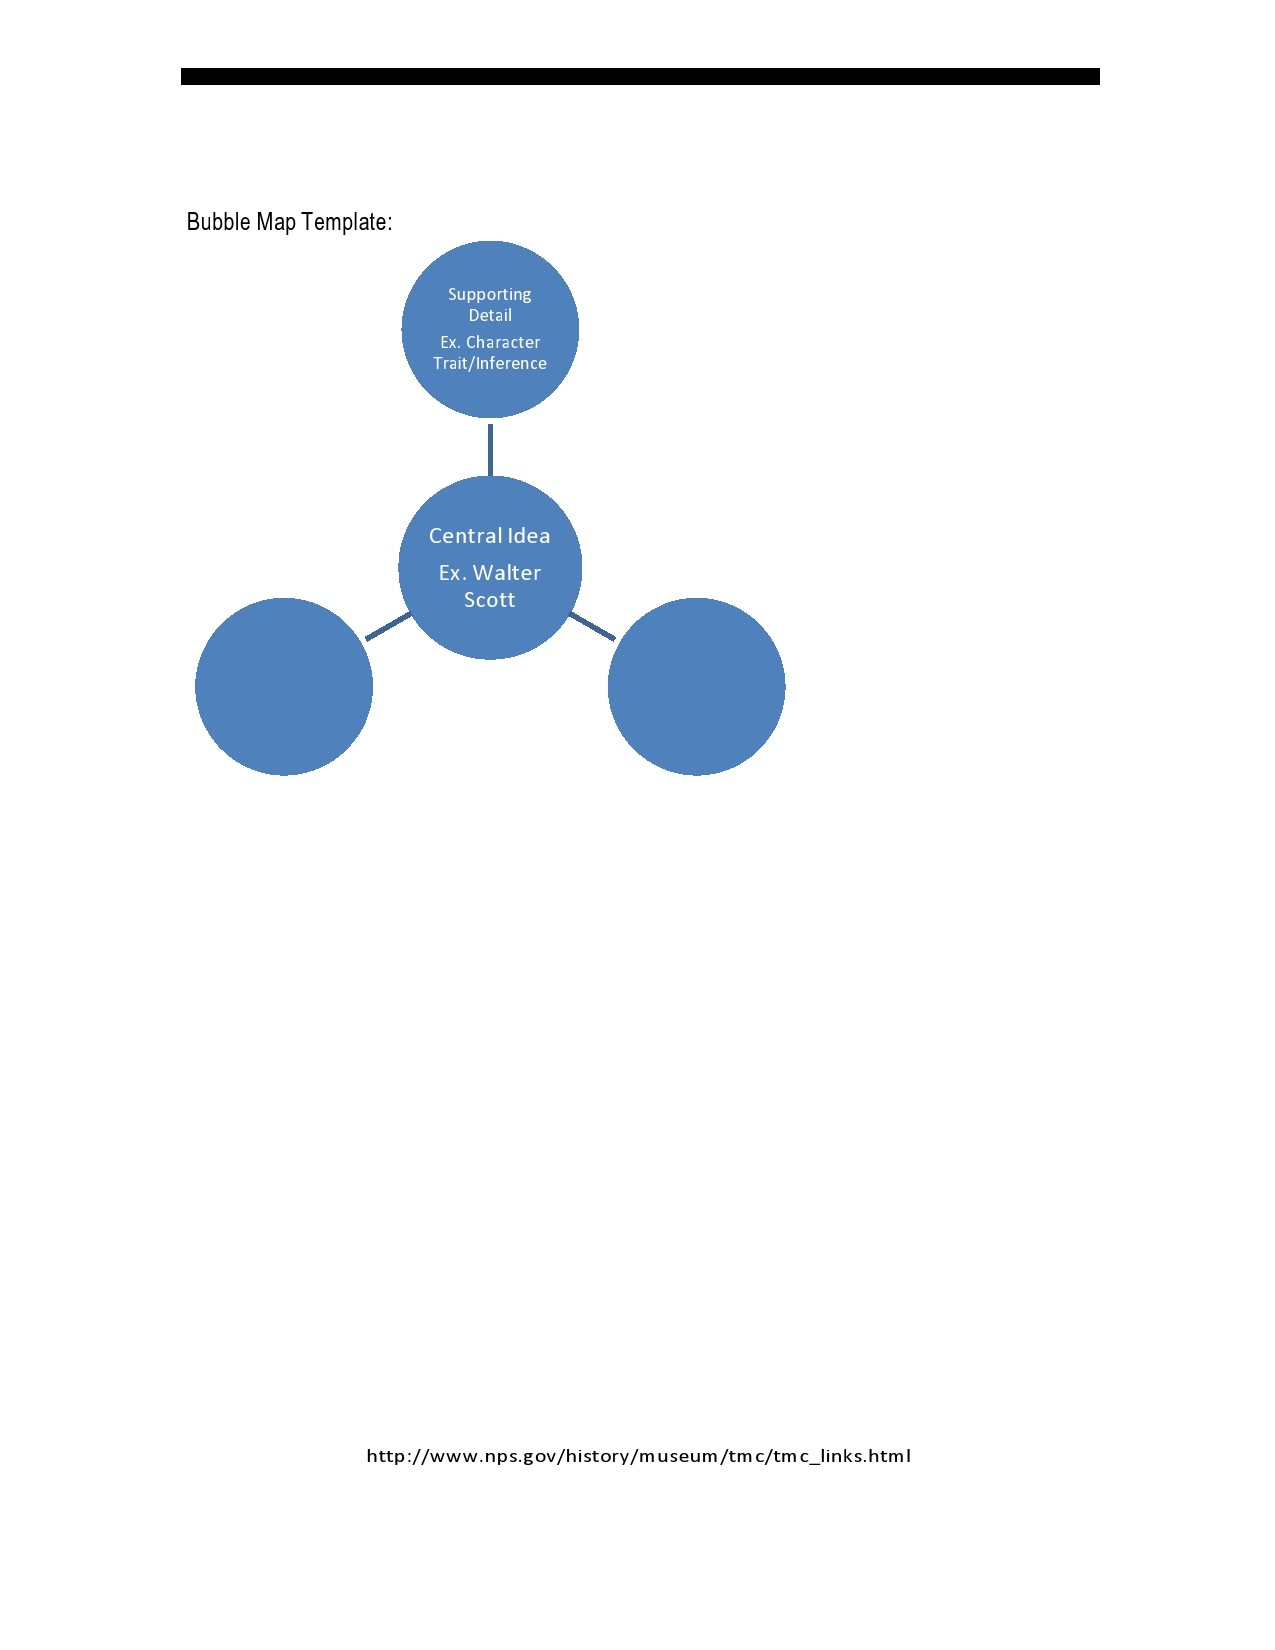
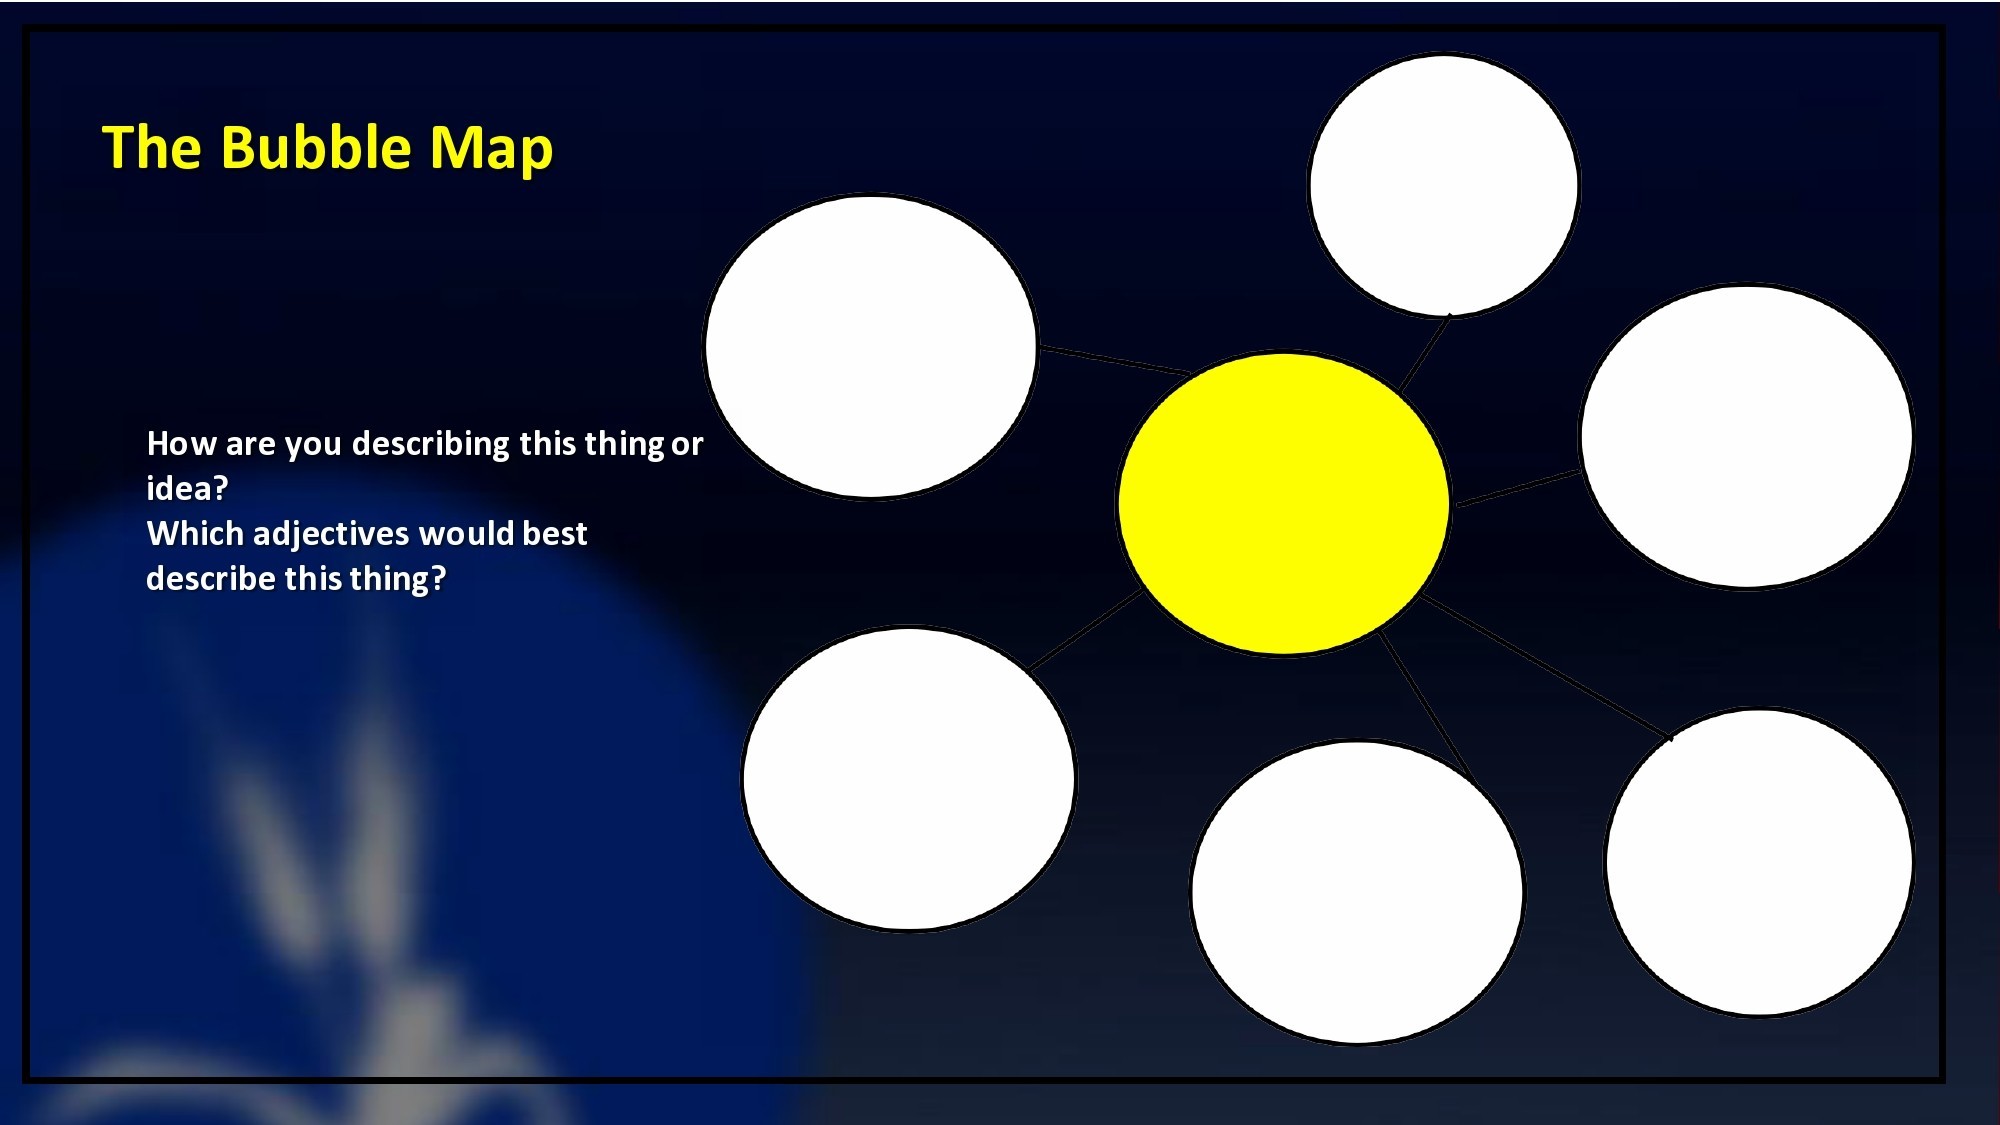
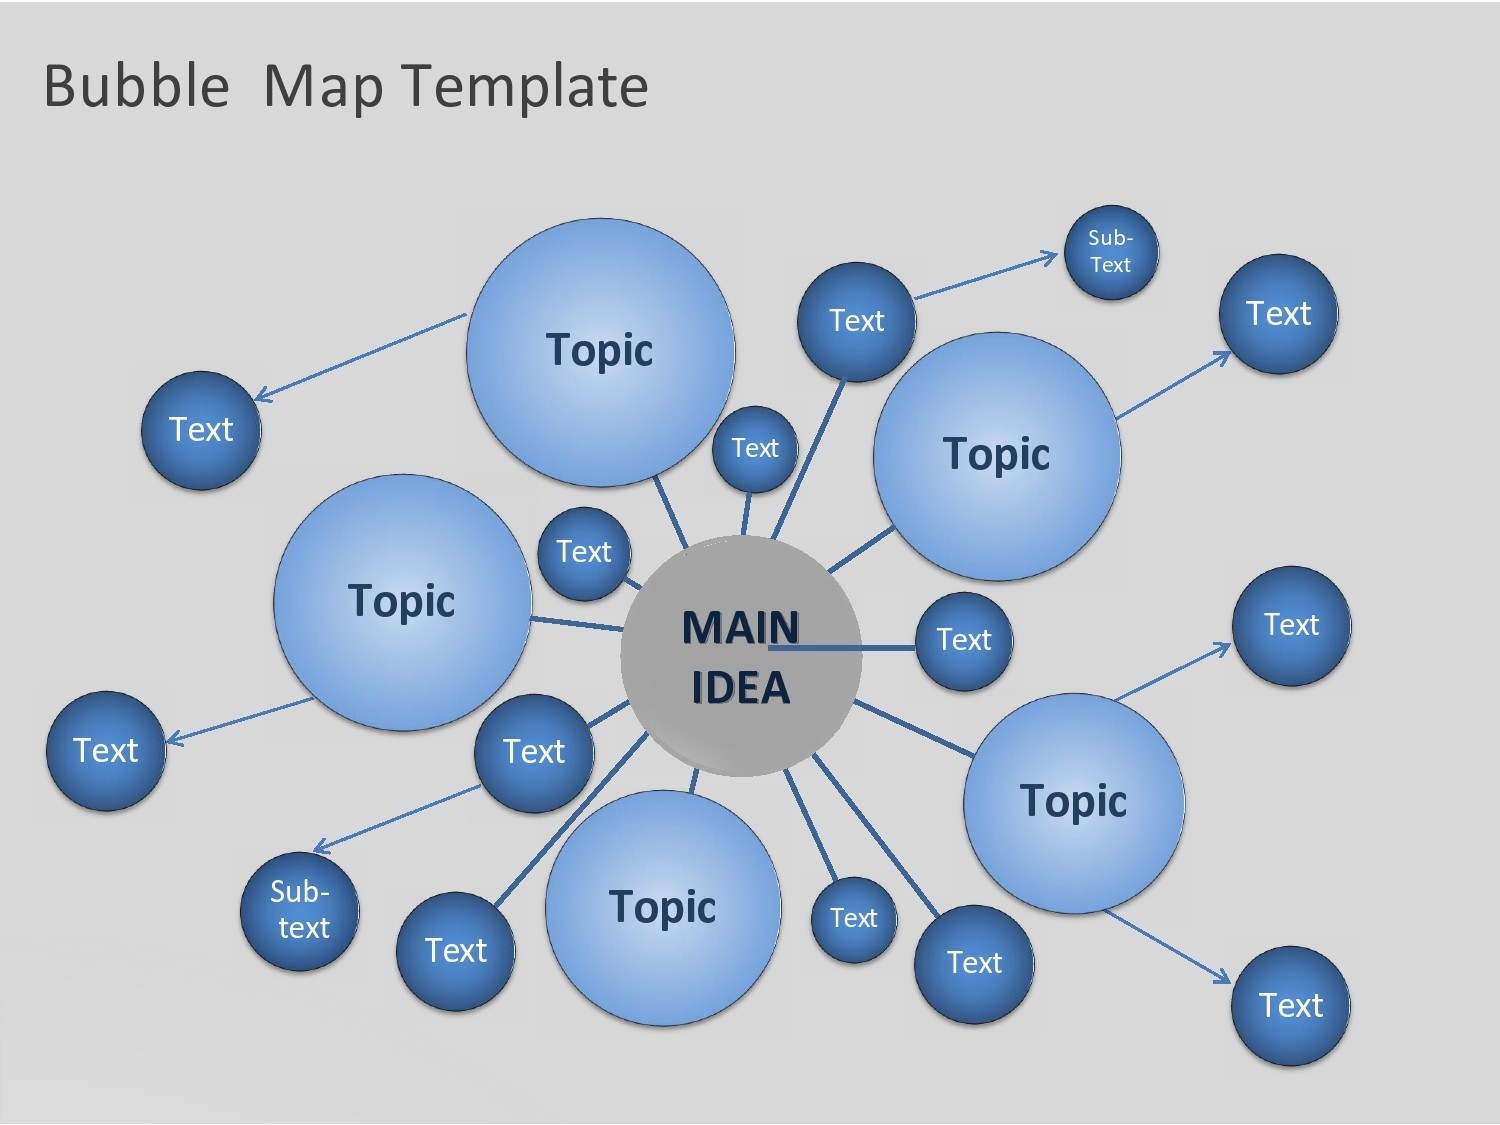
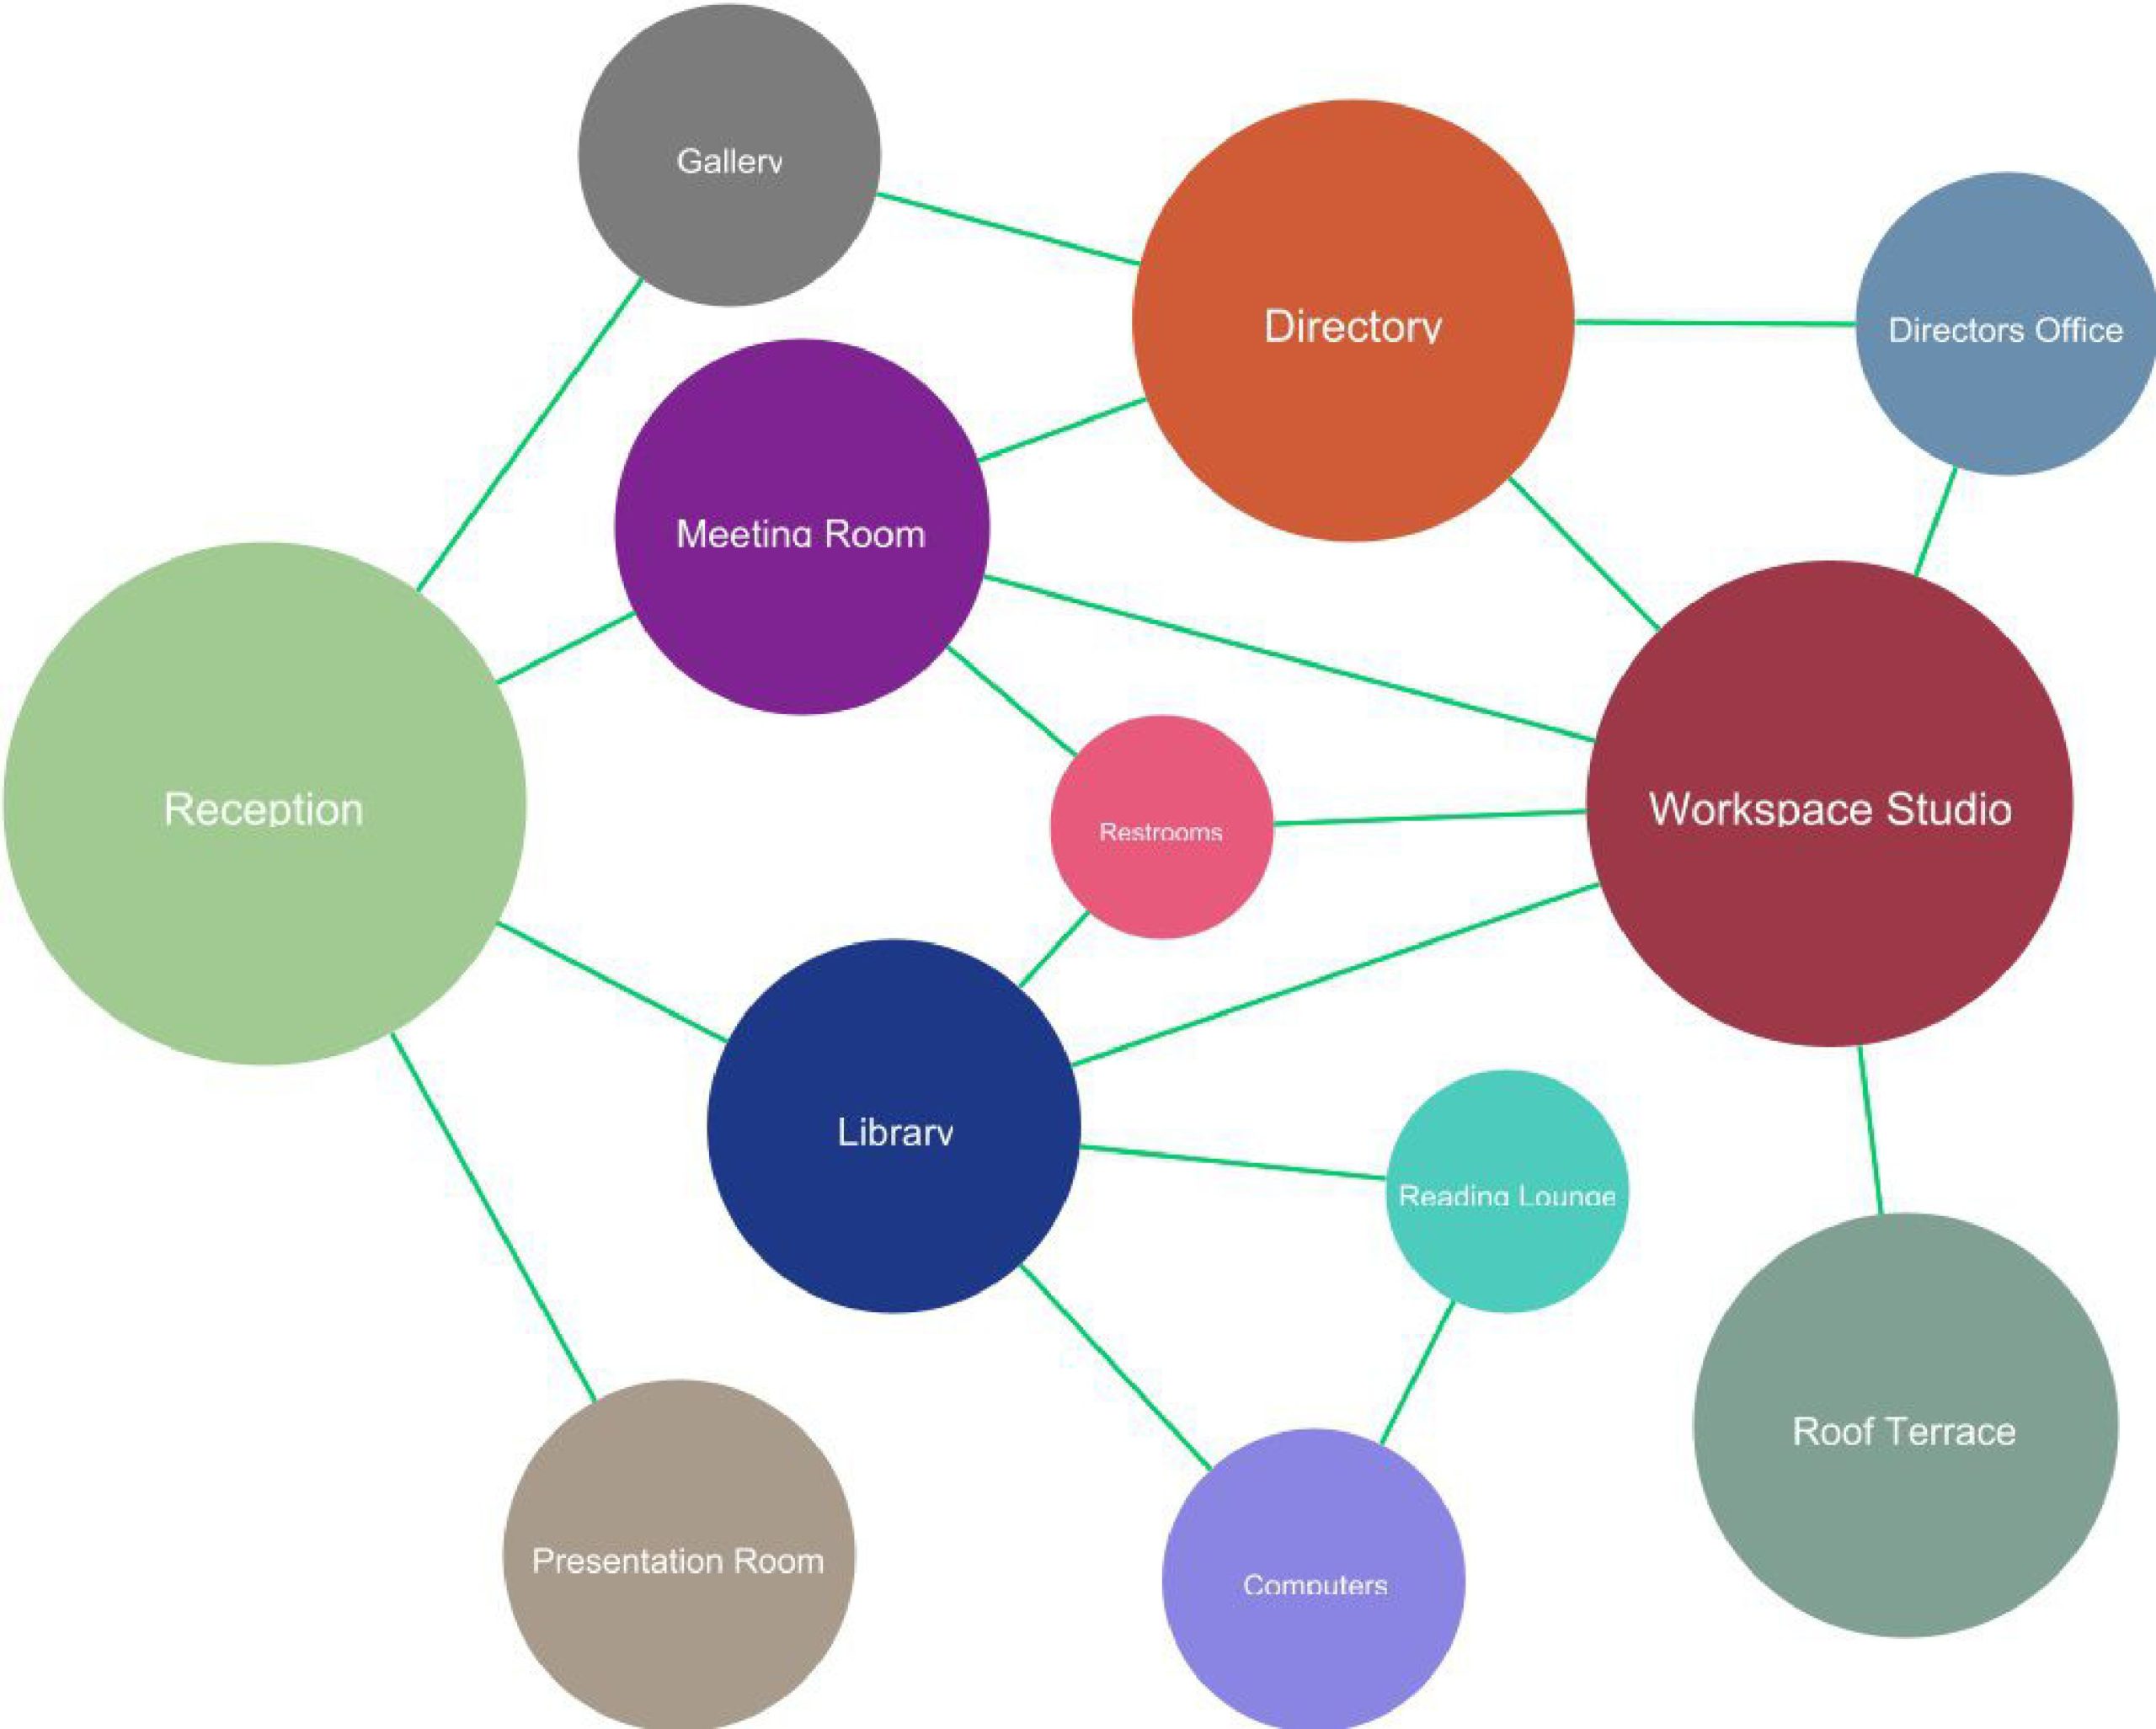
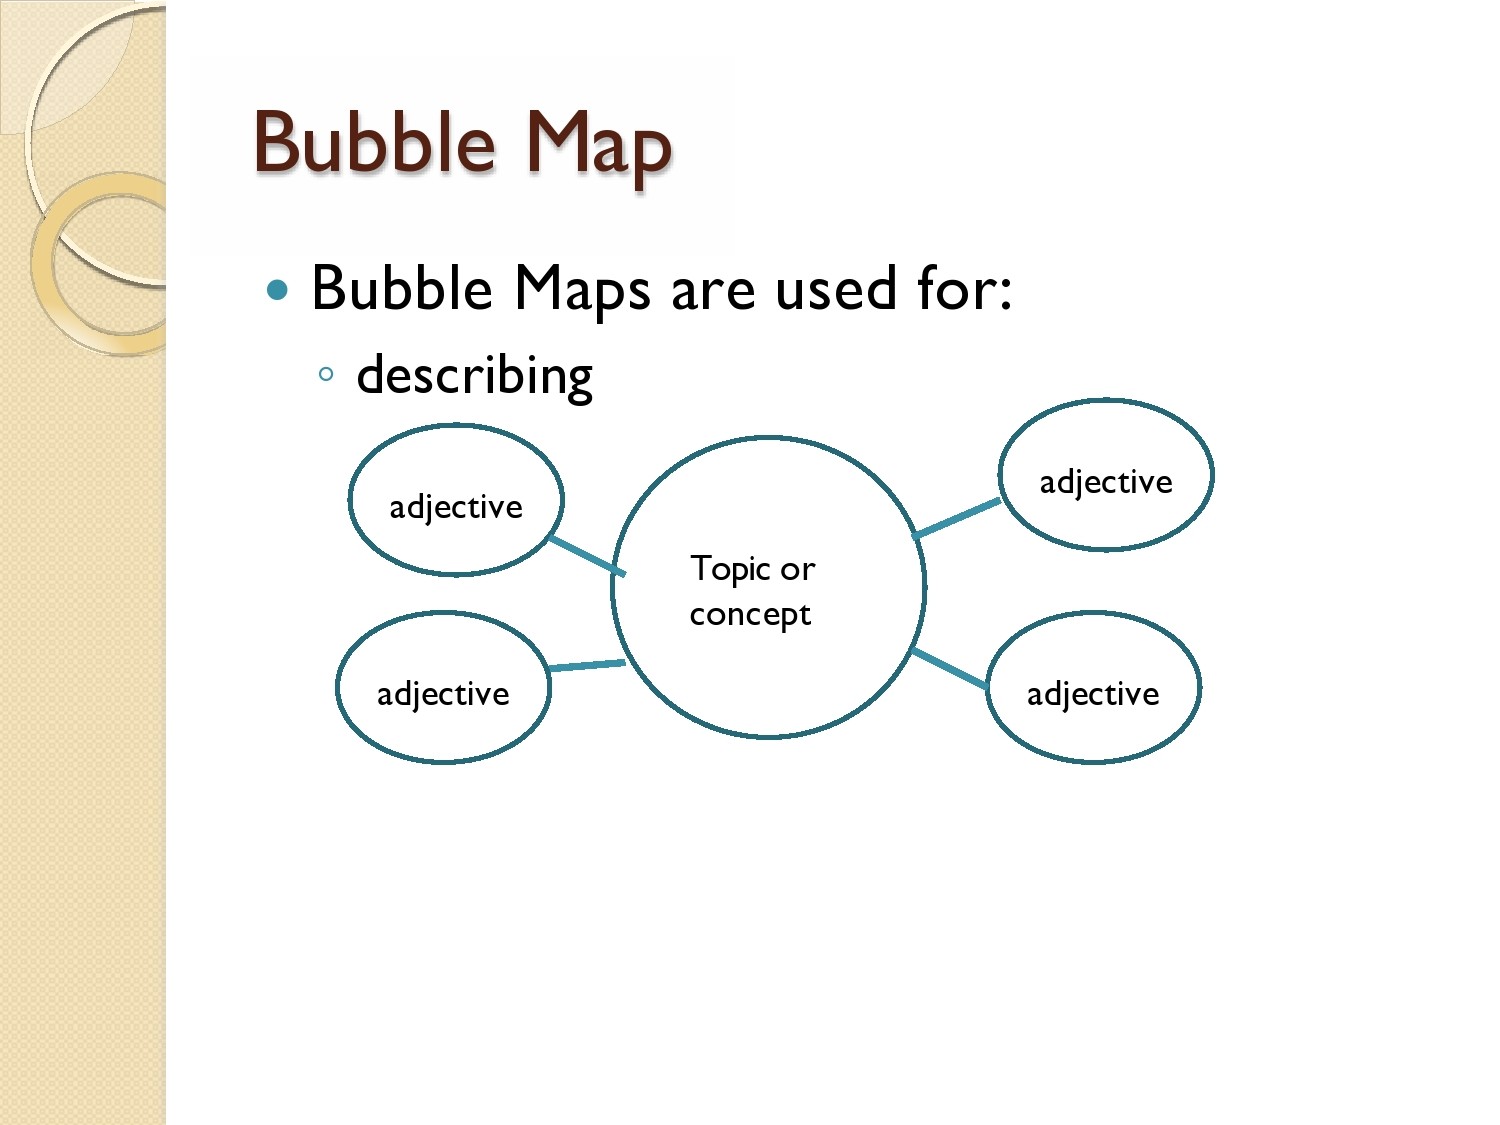
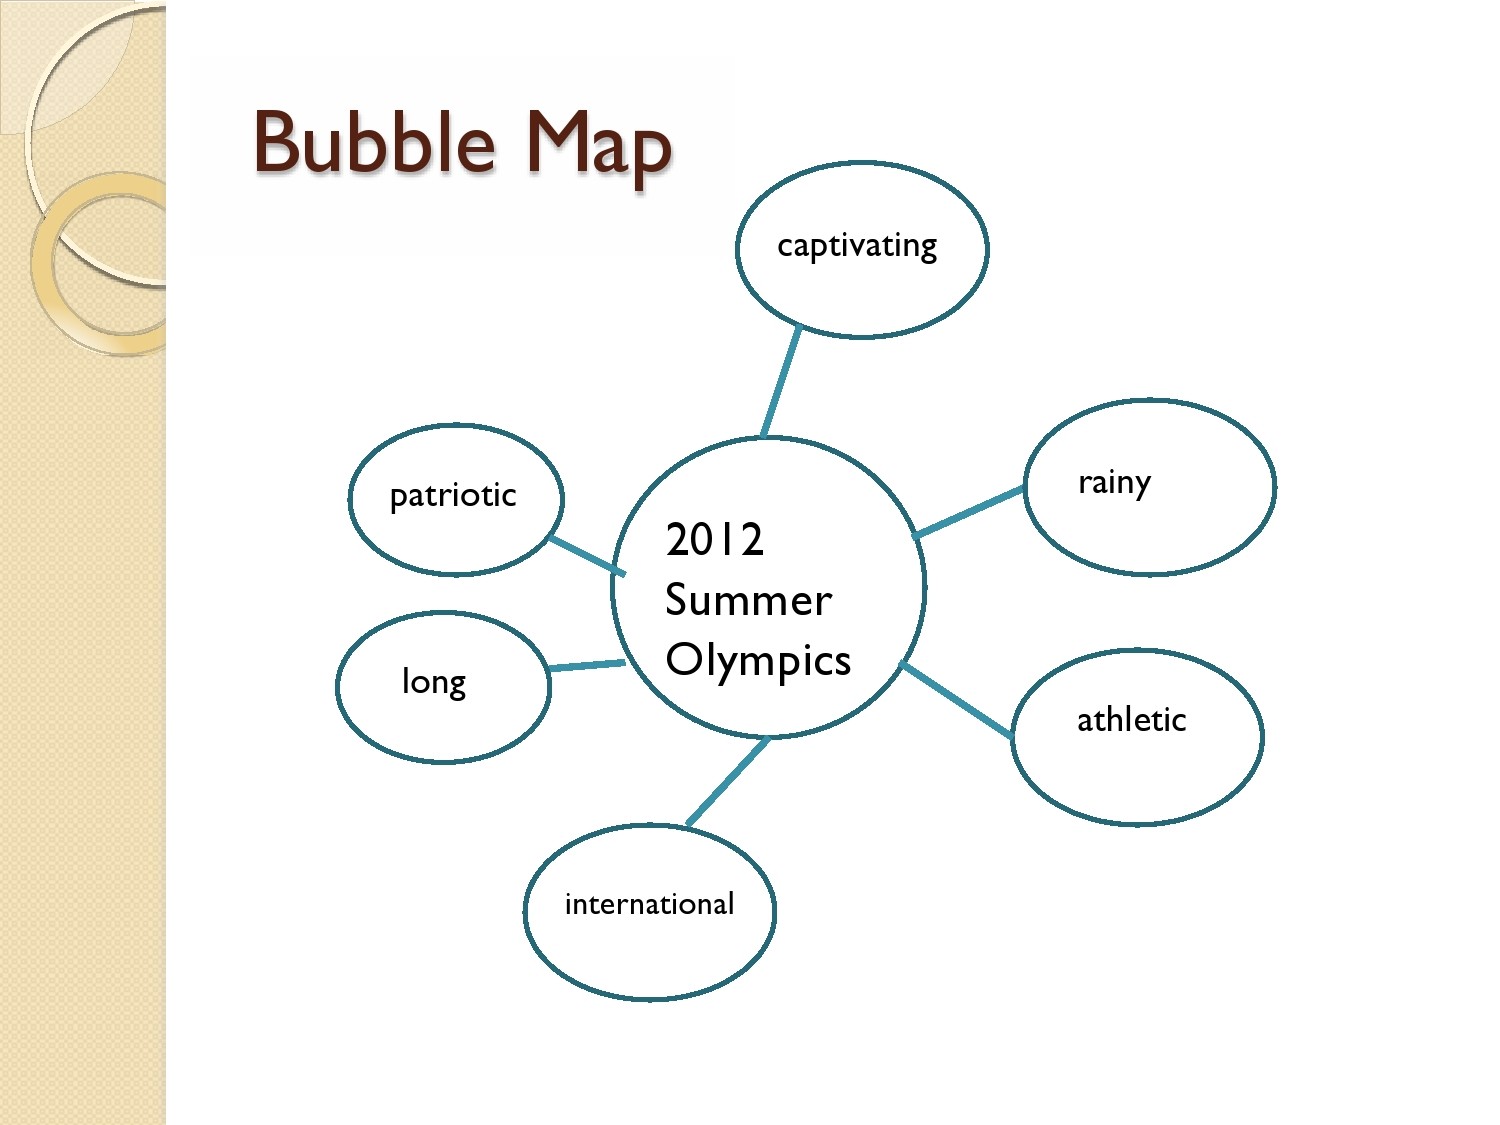
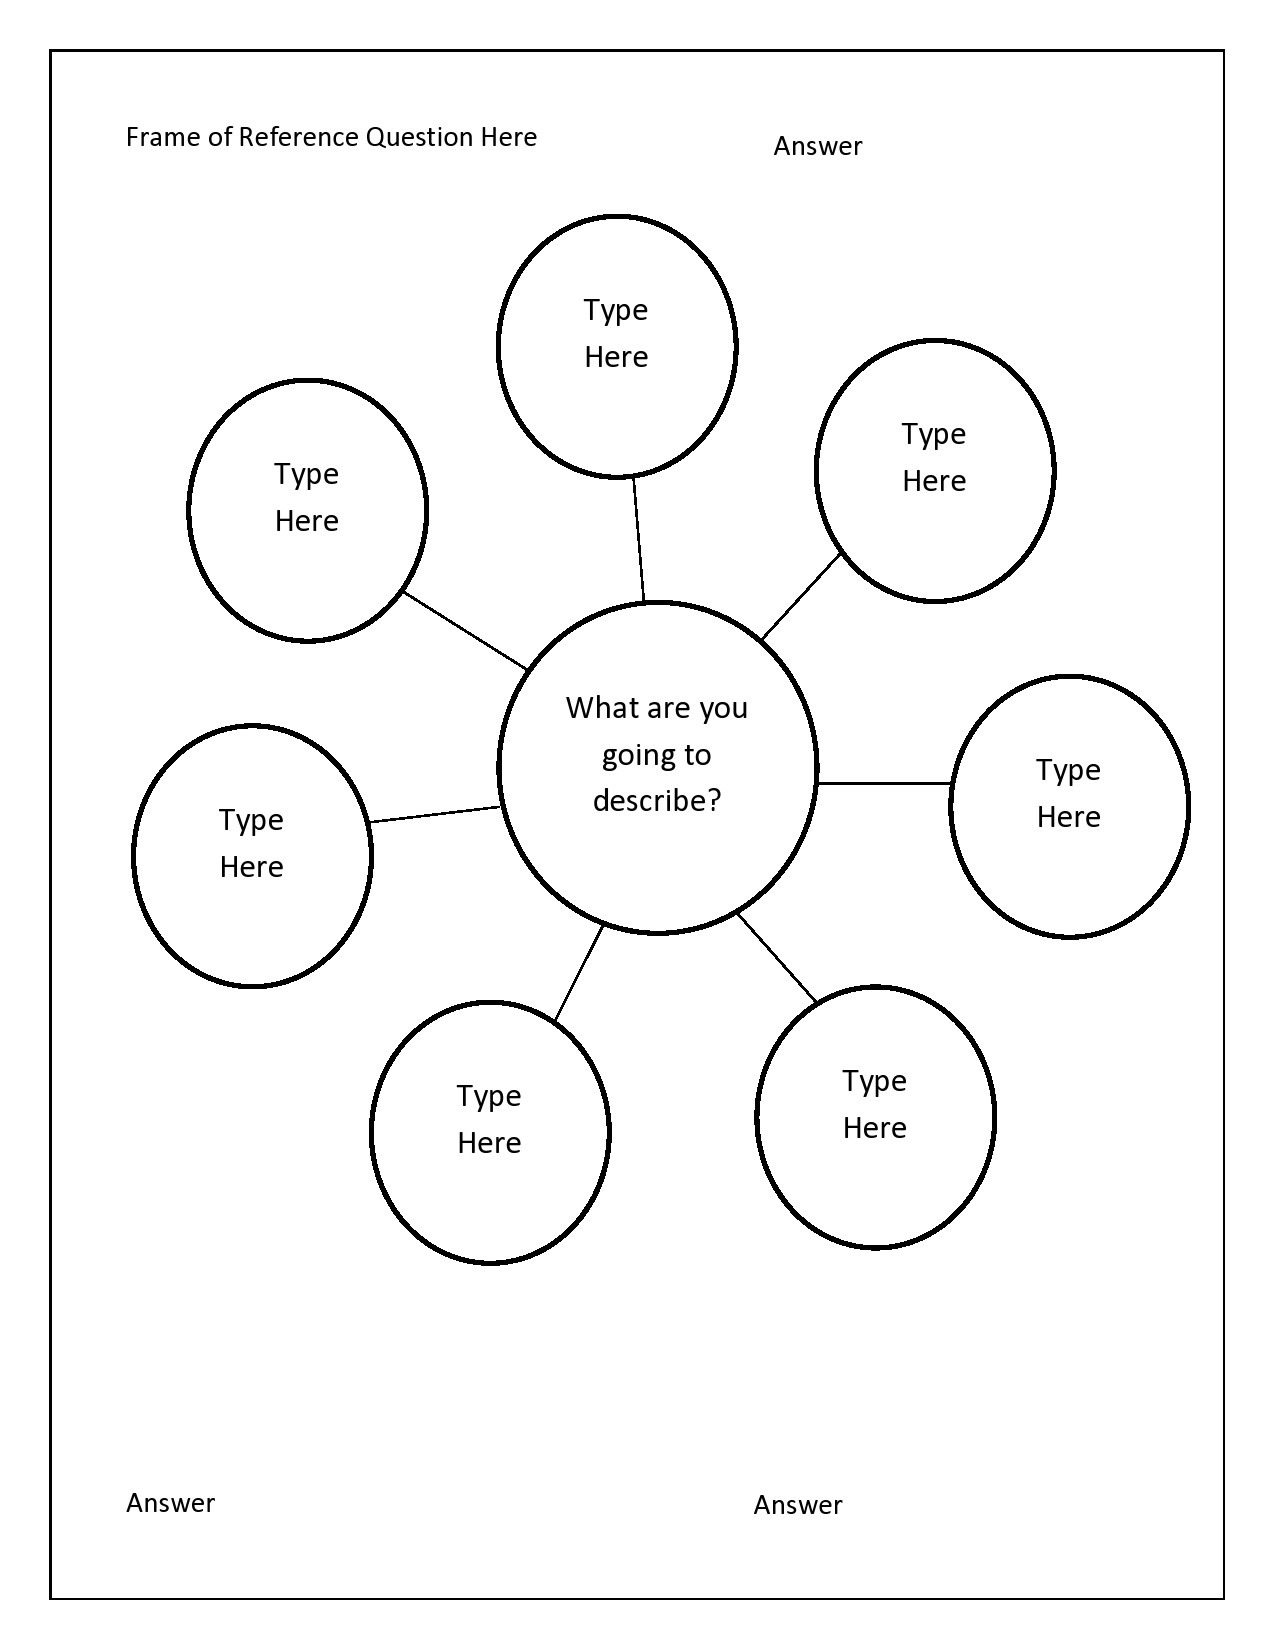
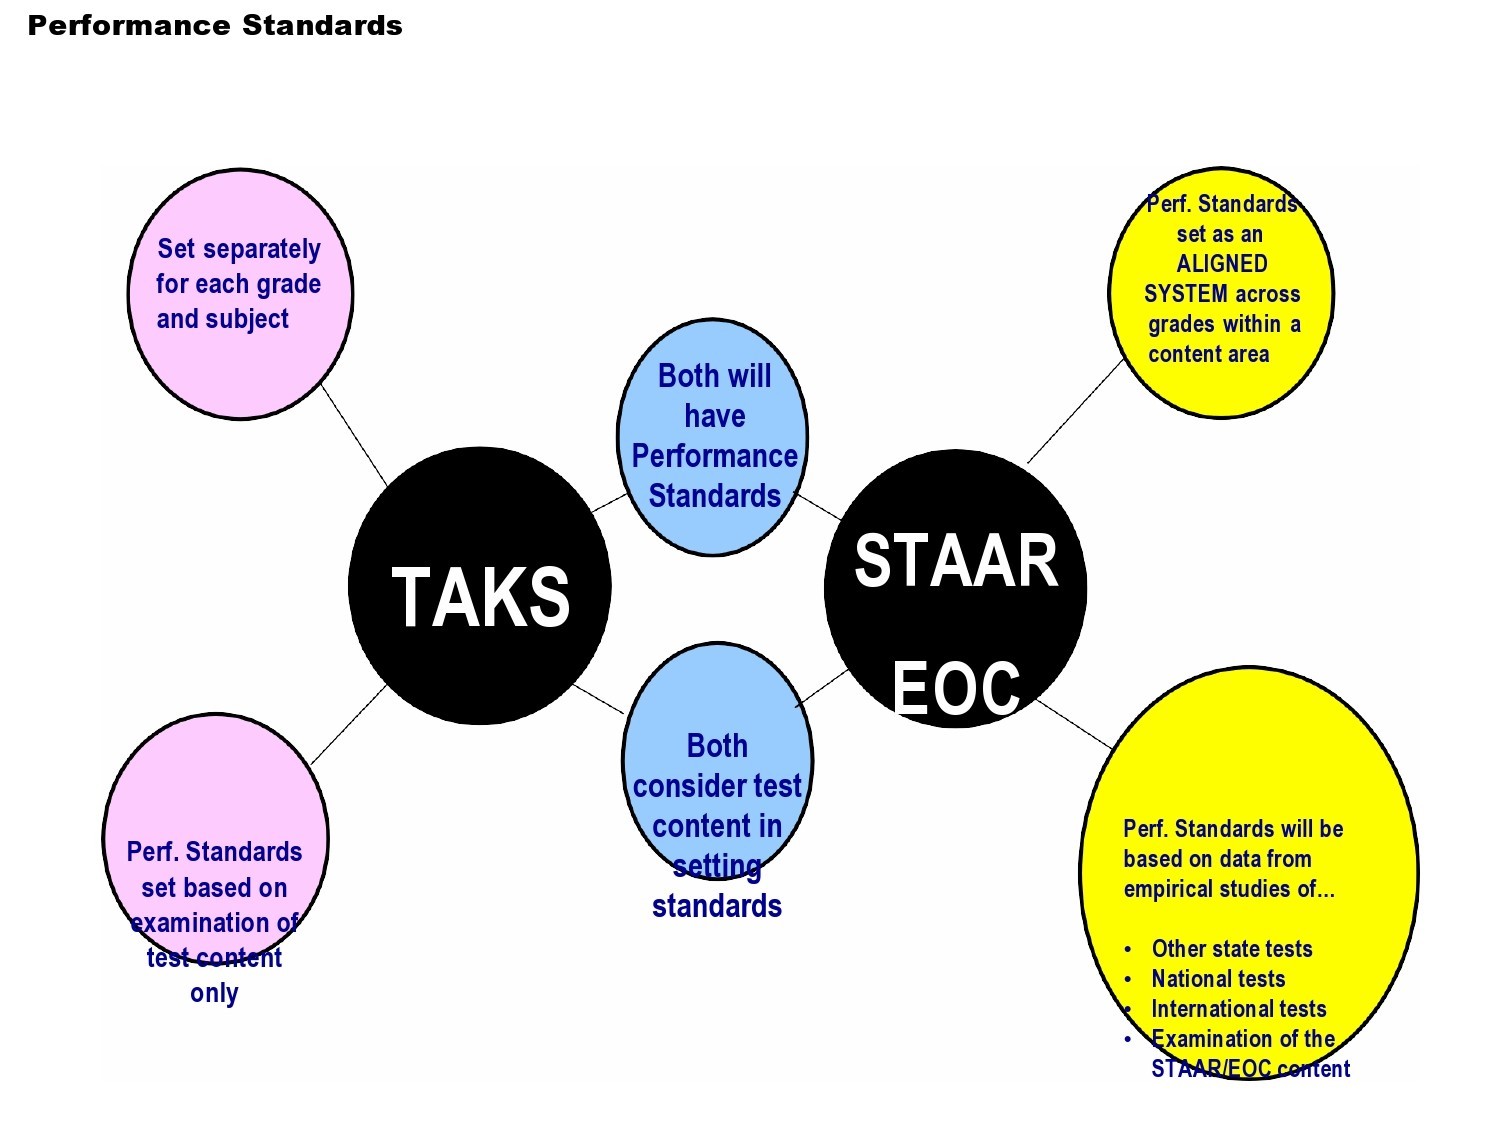
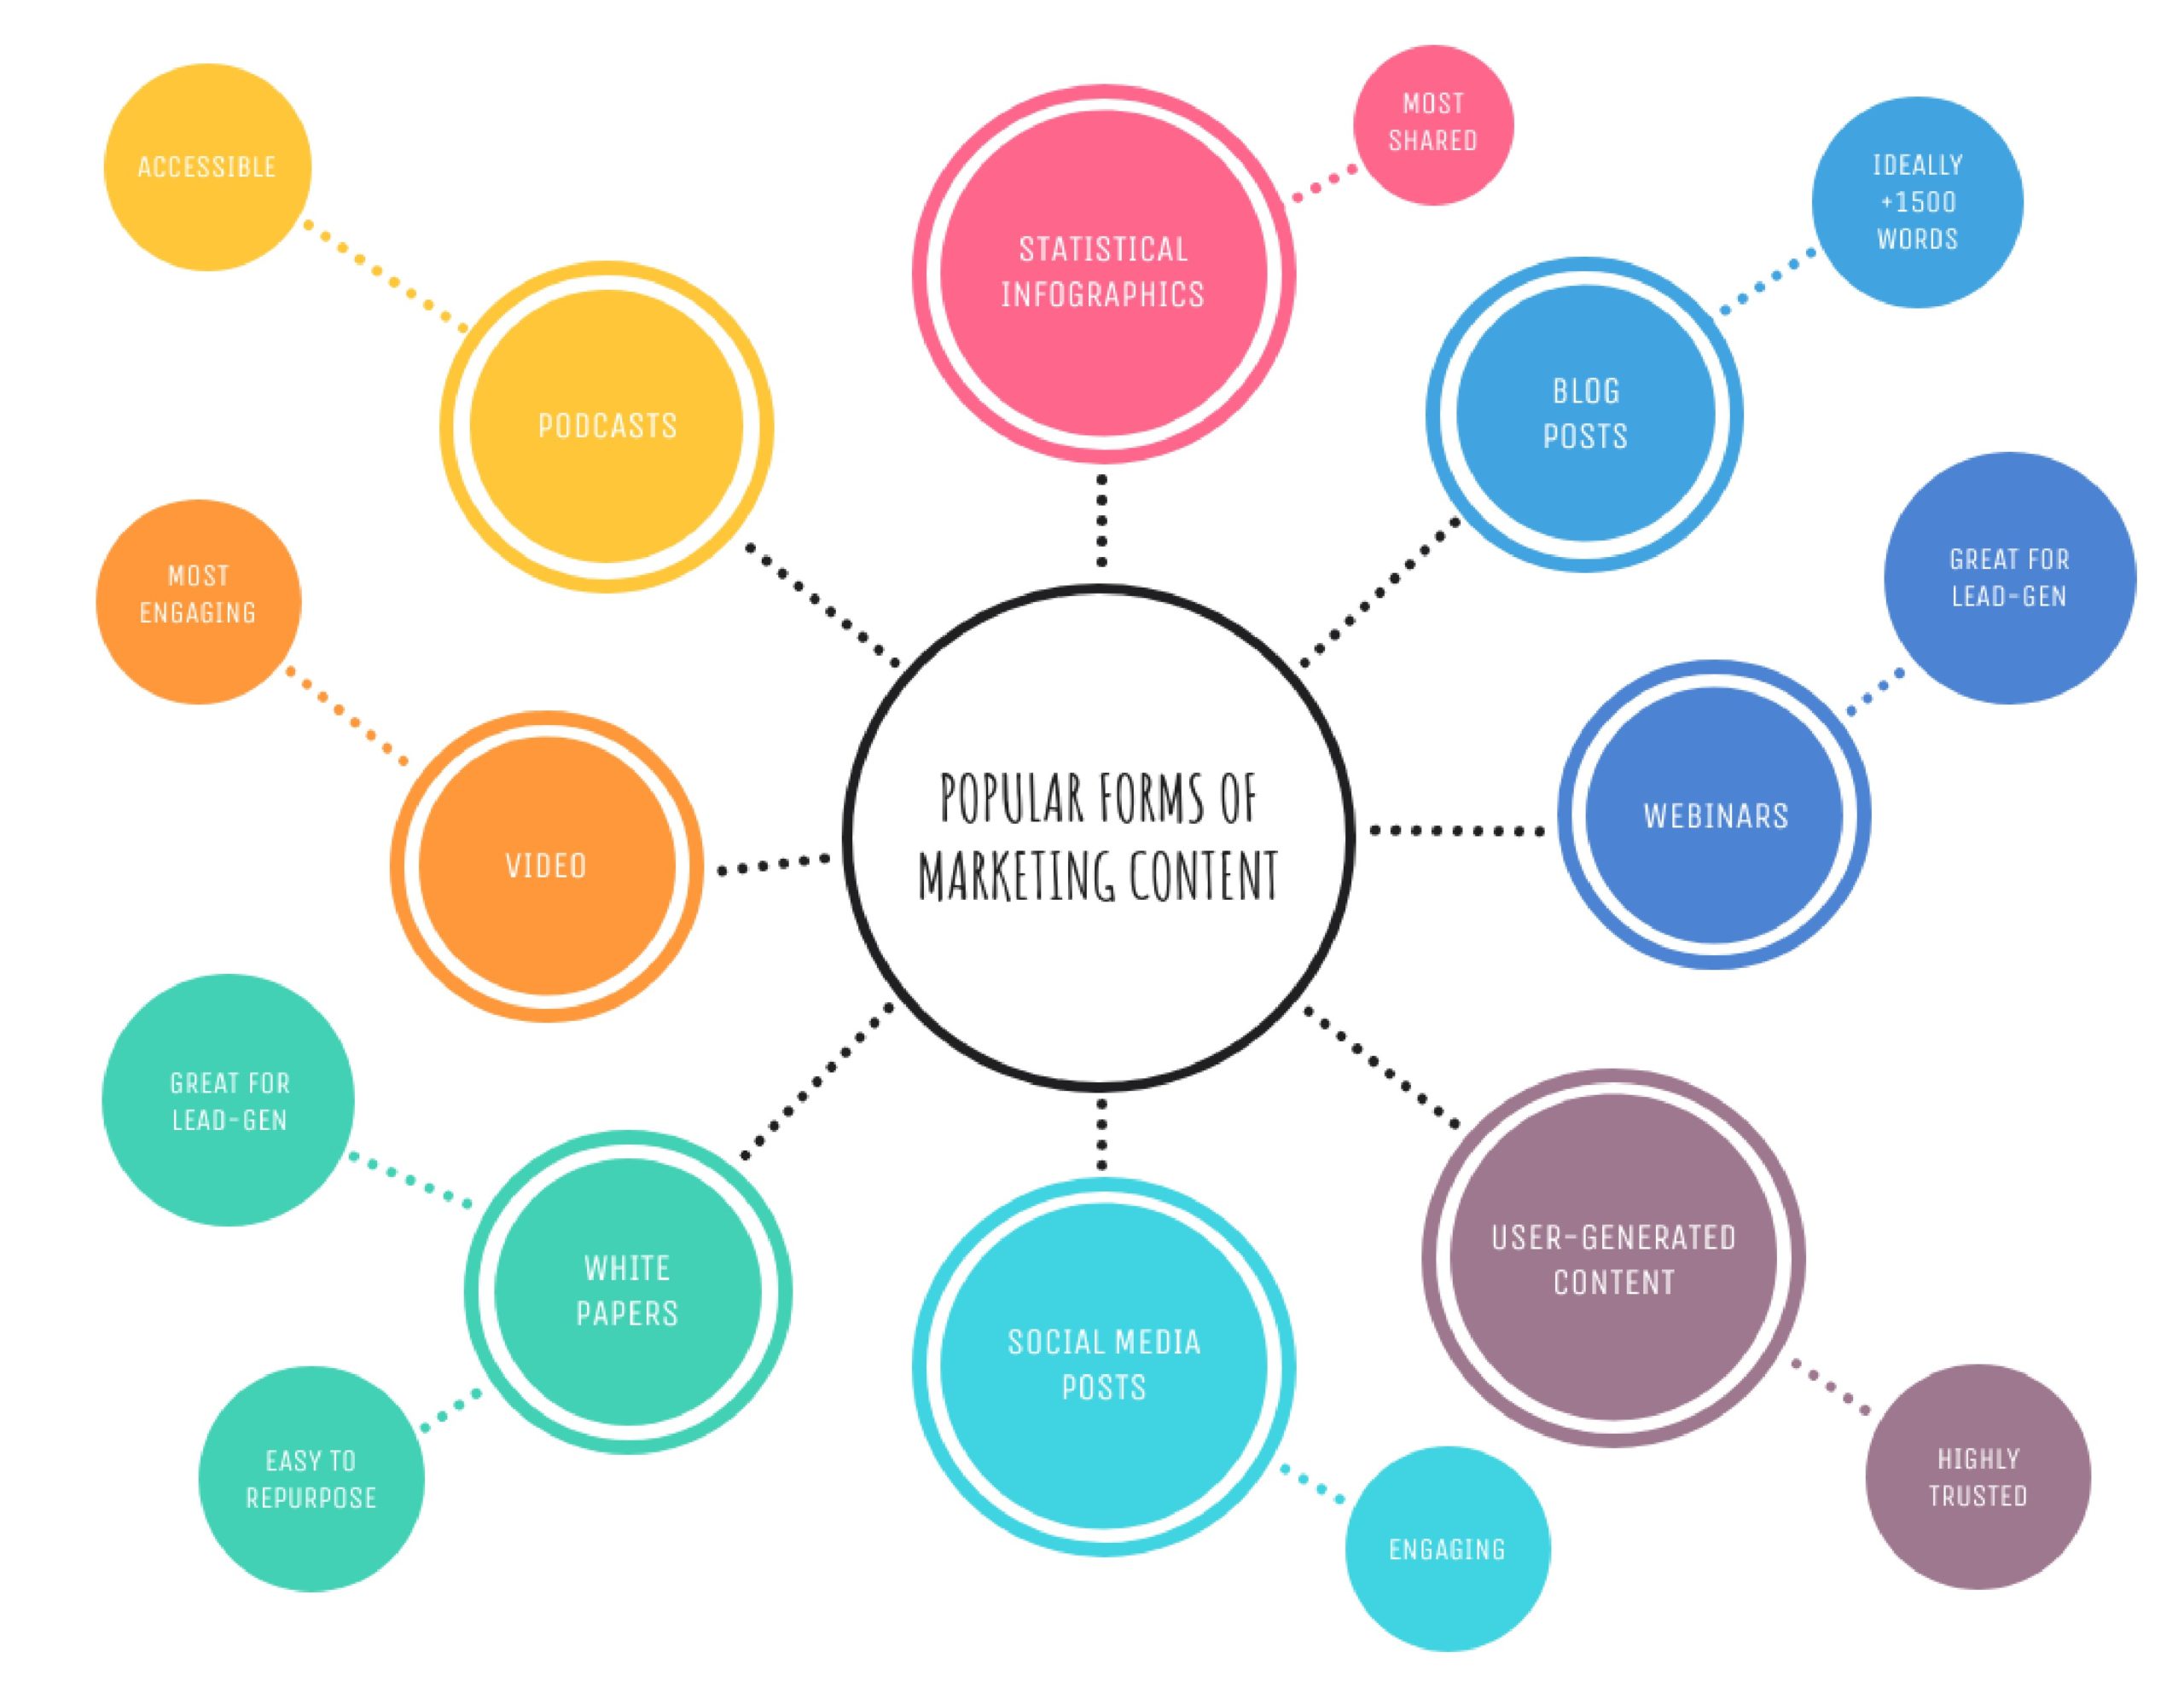
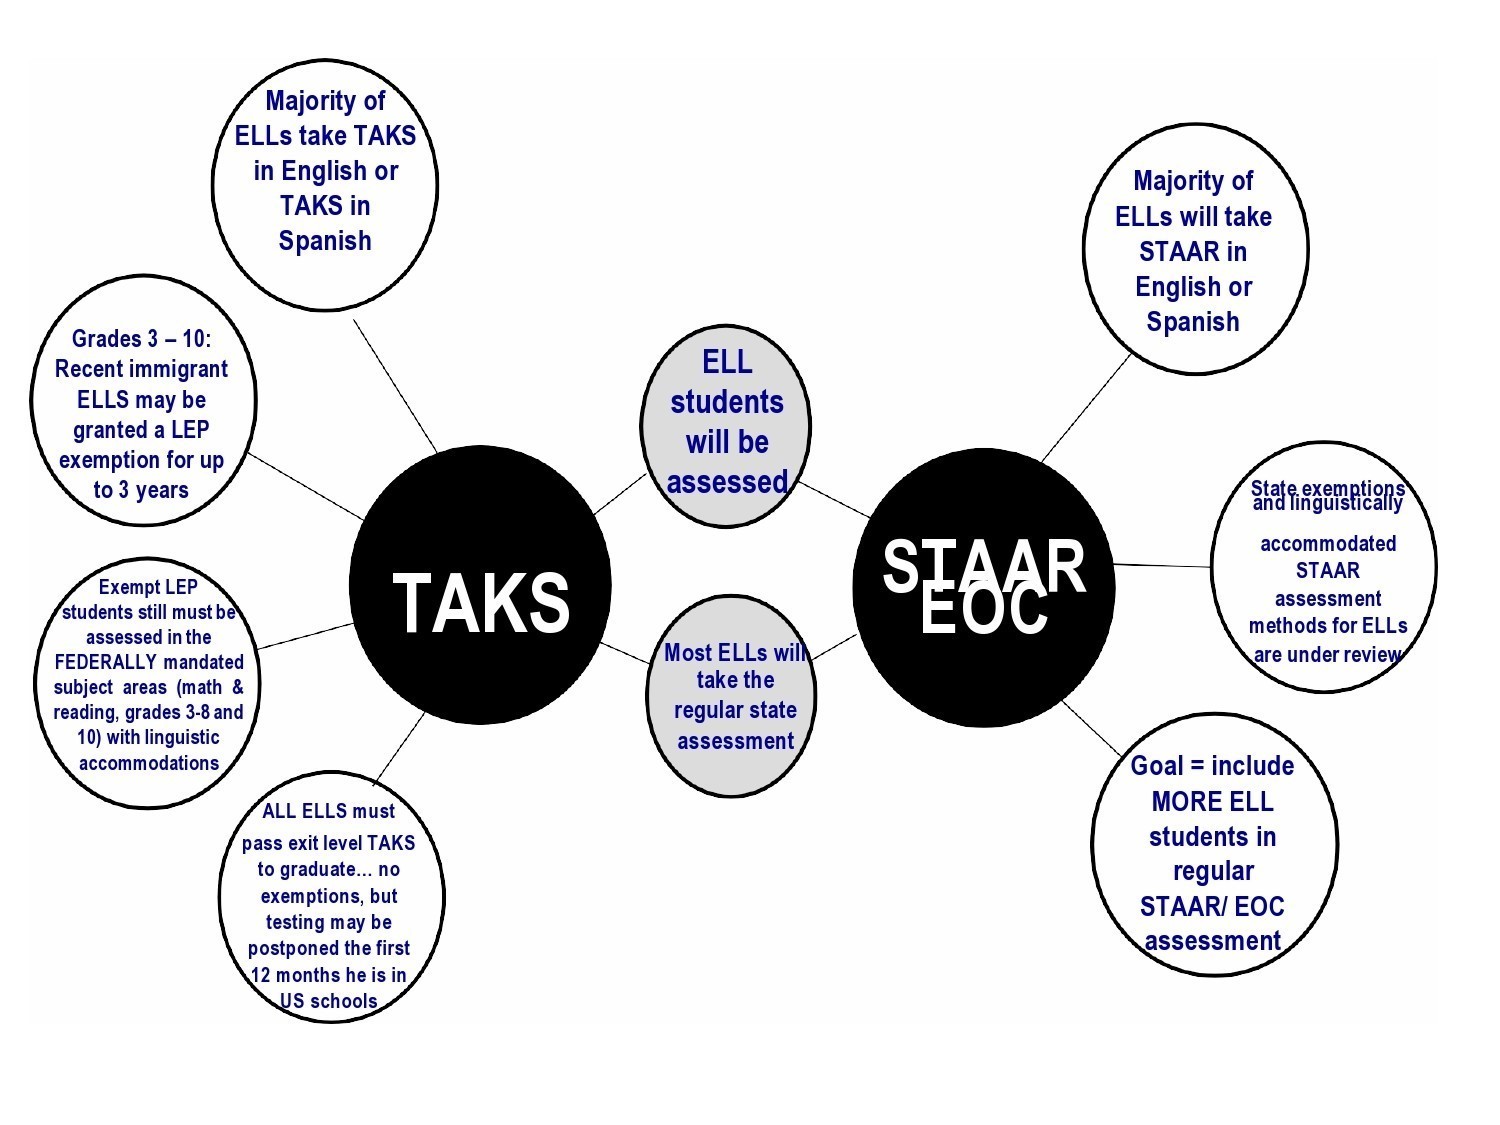
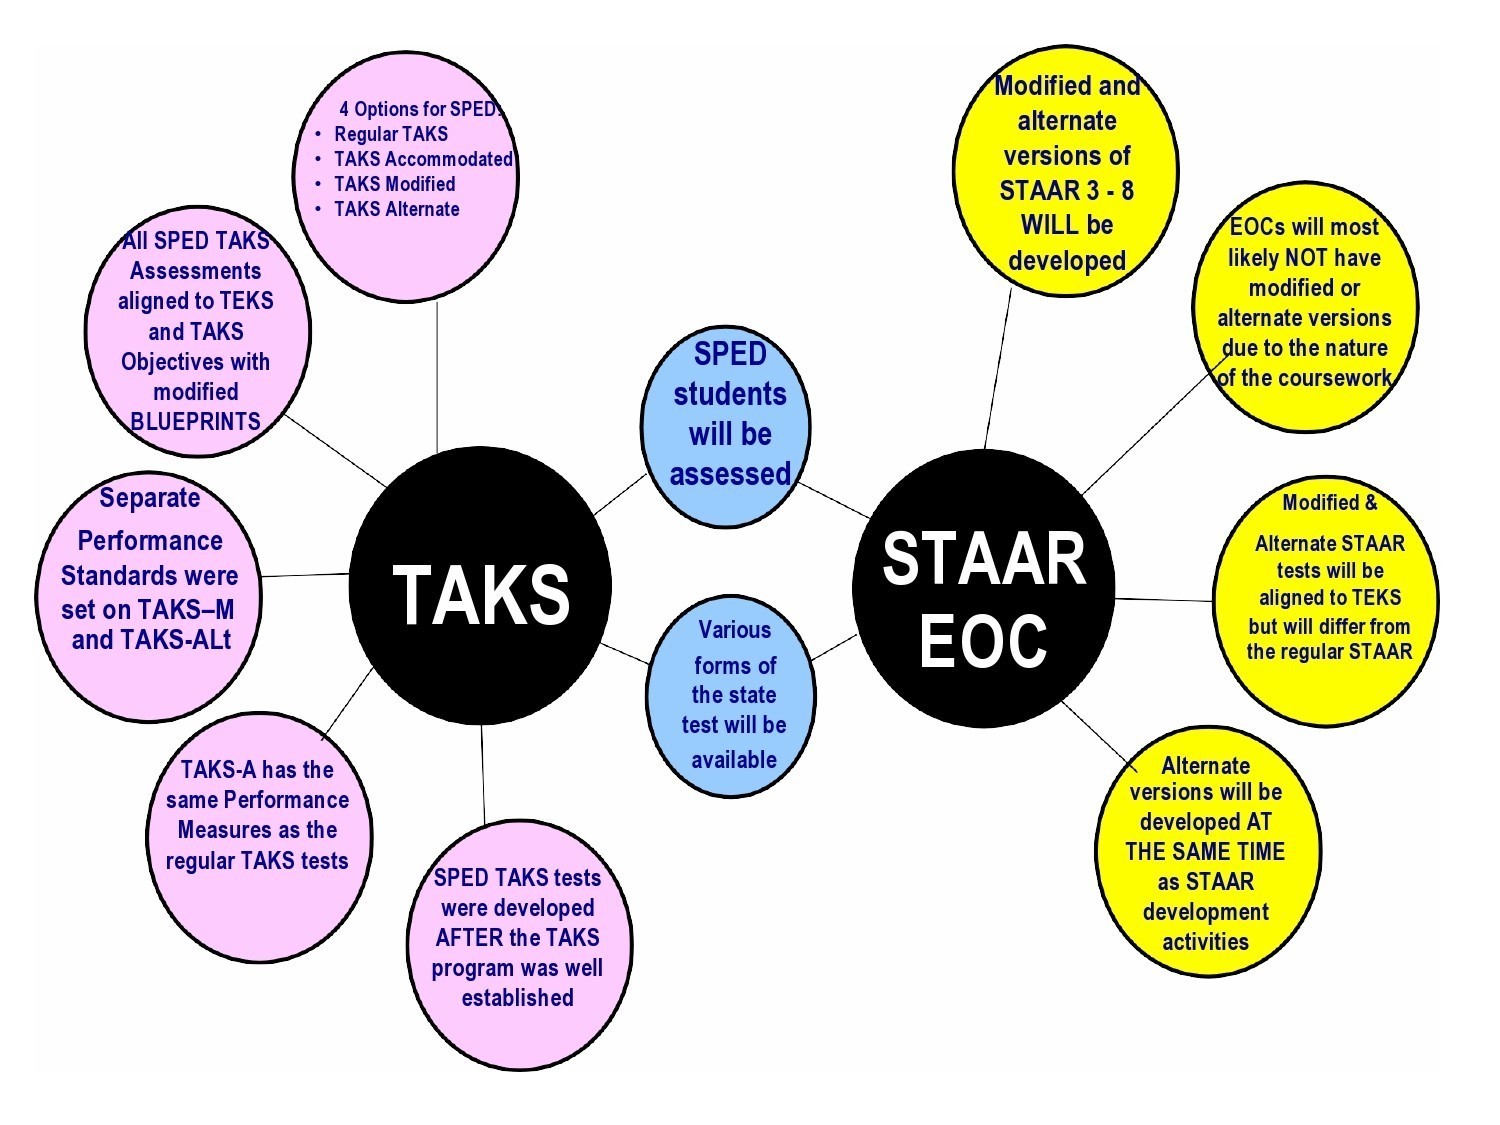
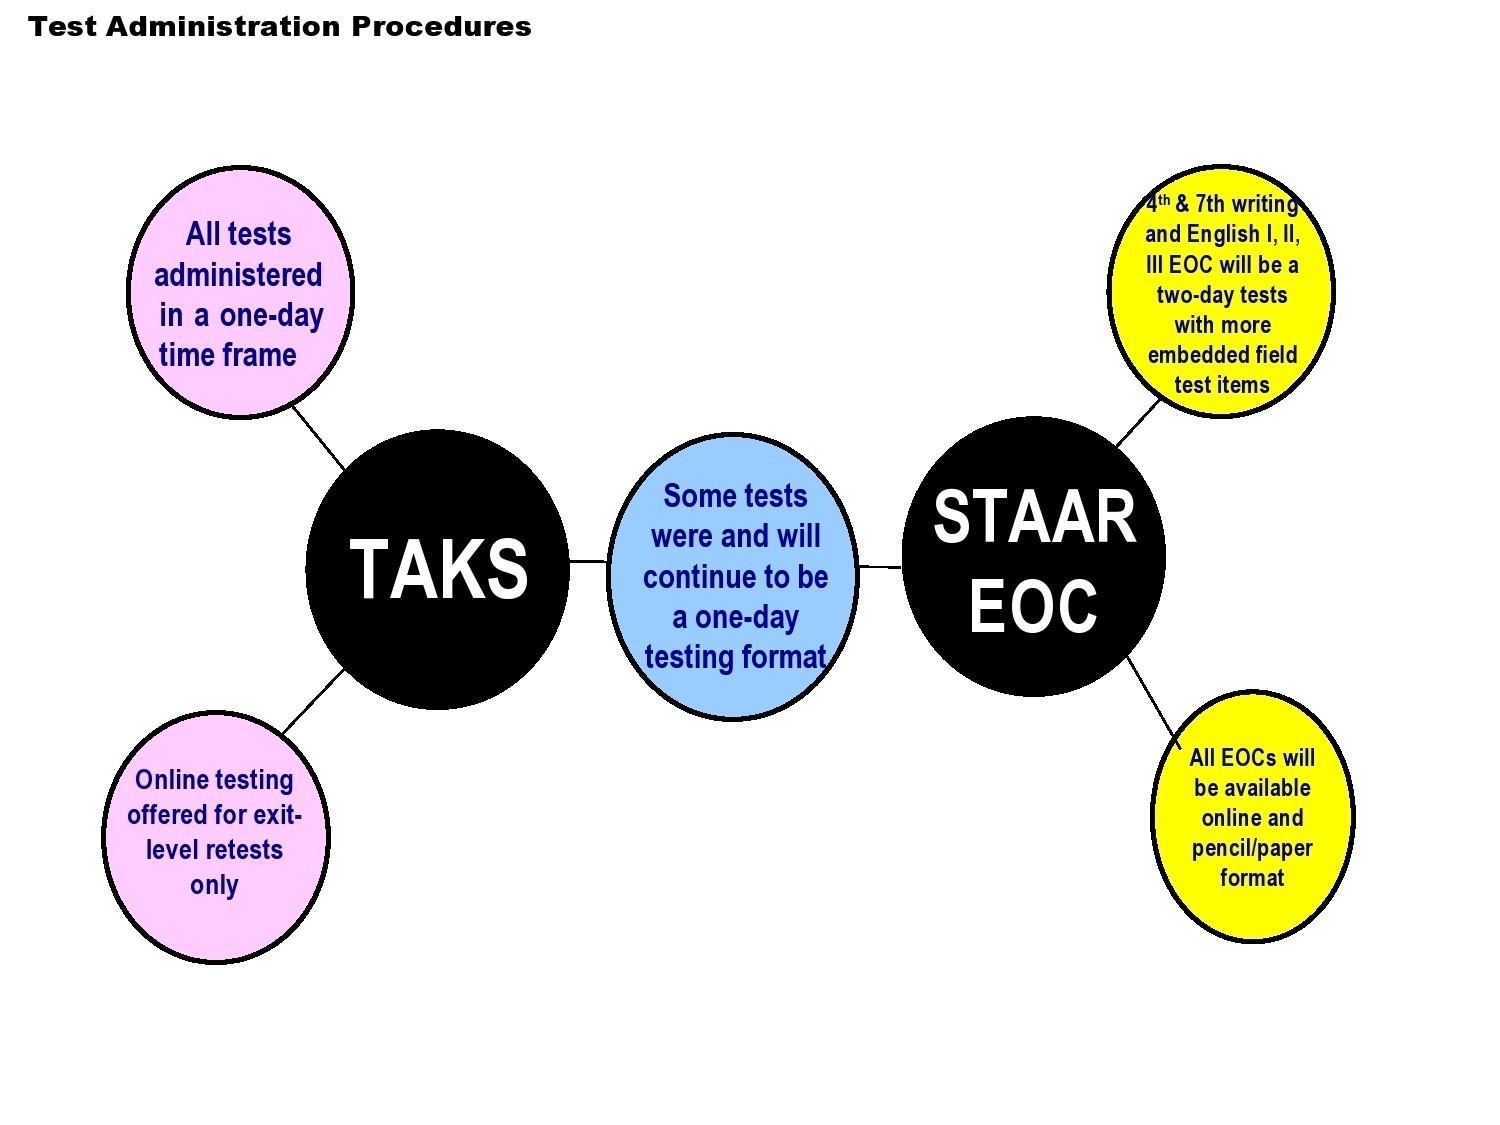
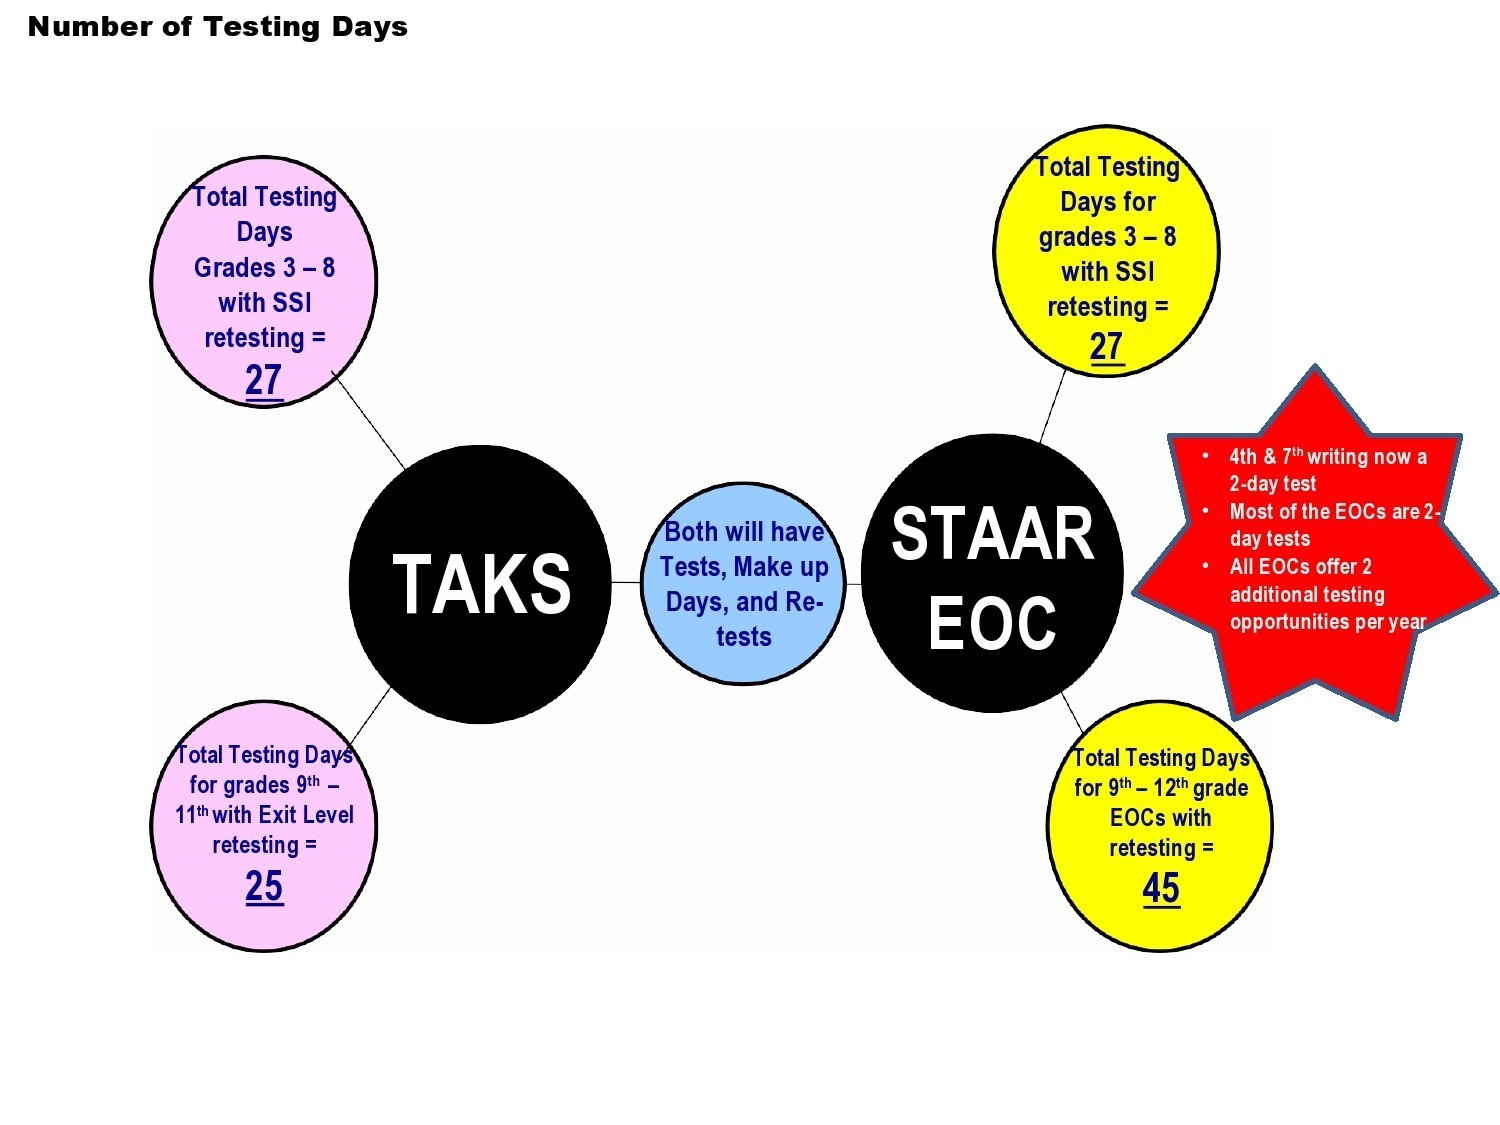
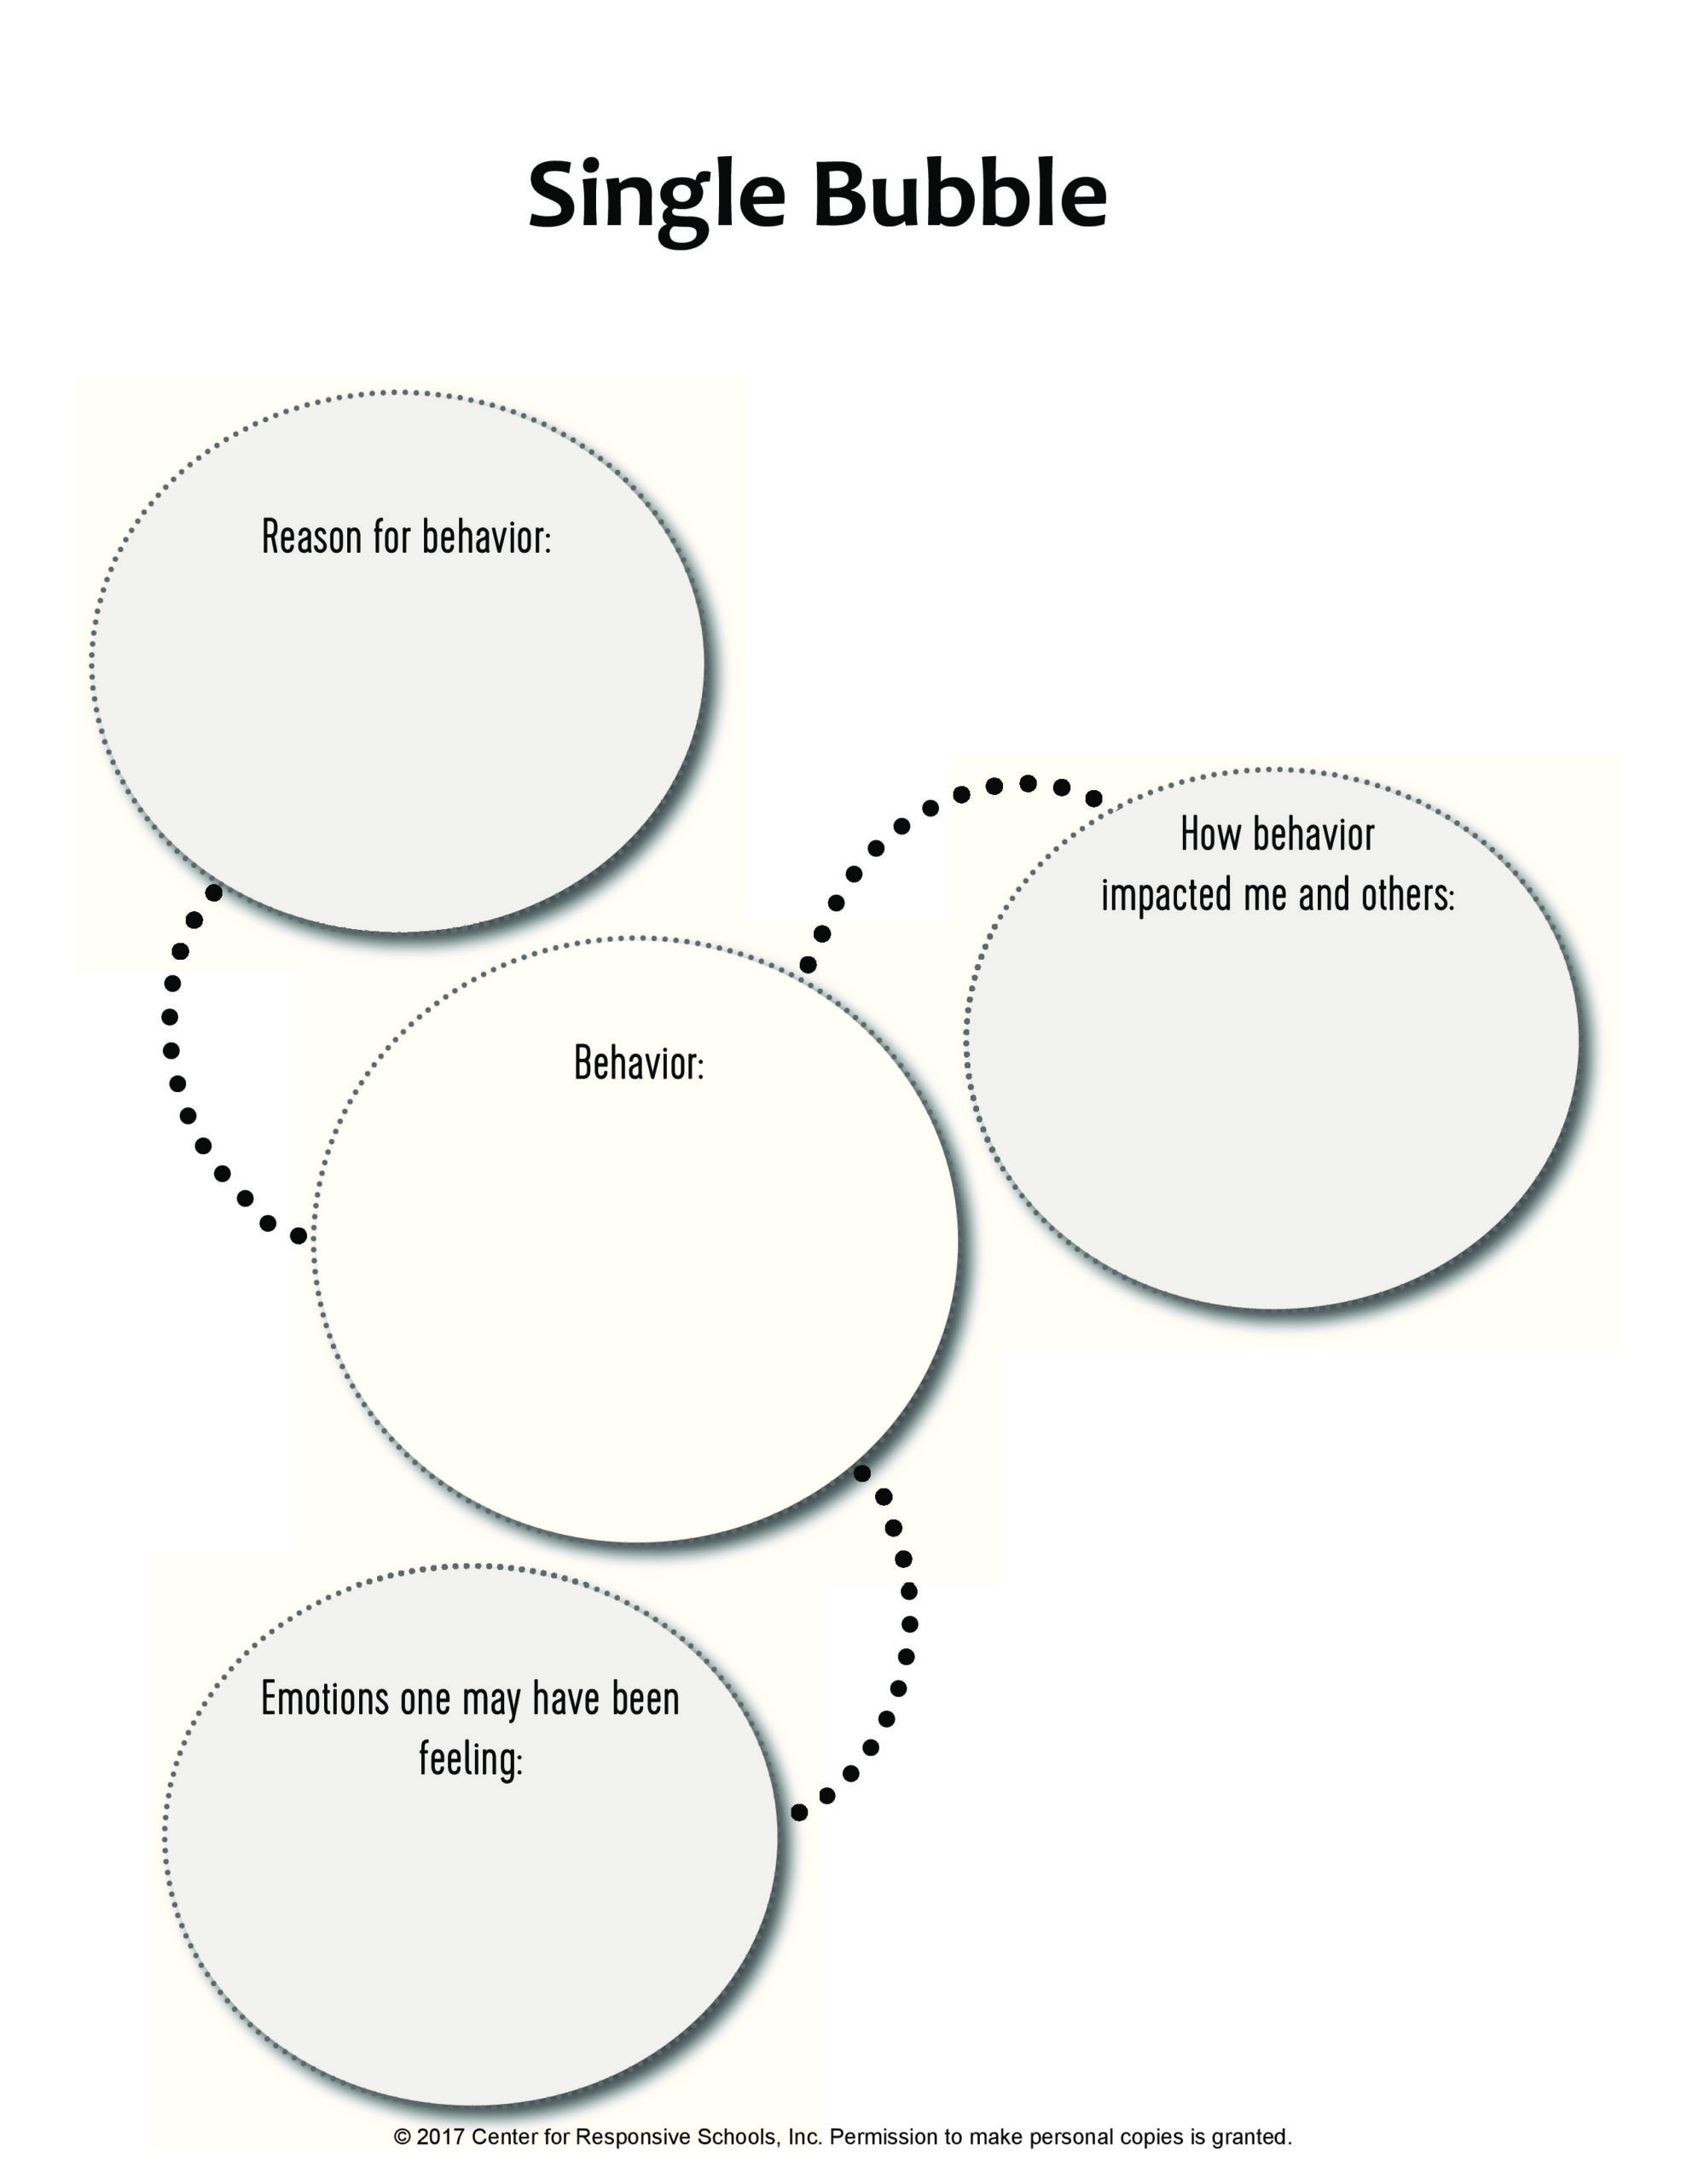
You can use a bubble map template to describe the main term or idea using adjectives. You use the main circle for the main idea and smaller circles surrounding it and connected with lines. You can also use this map for coming up with, organizing, and categorizing ideas.
Table of Contents
Blank Bubble Map Templates
Different types of thinking maps
Teachers know the importance of using visuals when it comes to learning and teaching. Thinking maps are a very effective visual medium in the learning process as they simplify things for students to understand a certain concept.
Thinking maps involve methods developed to help you visualize your thinking or representing your abstract thoughts using concrete visuals. Using a bubble map template or other thinking maps help enable meaningful thinking because they help you organize information and ideas to make things easier to understand.
By using a blank bubble map and other thinking maps, you can break down complicated information into easy and simple fragments then discover the interrelations between them. Here are the various types of thinking maps you can make:
- Circle Map
You use this tool to describe something or convey your understanding of a certain topic. It proves useful for both group and individual brainstorming activities. - Bubble Map
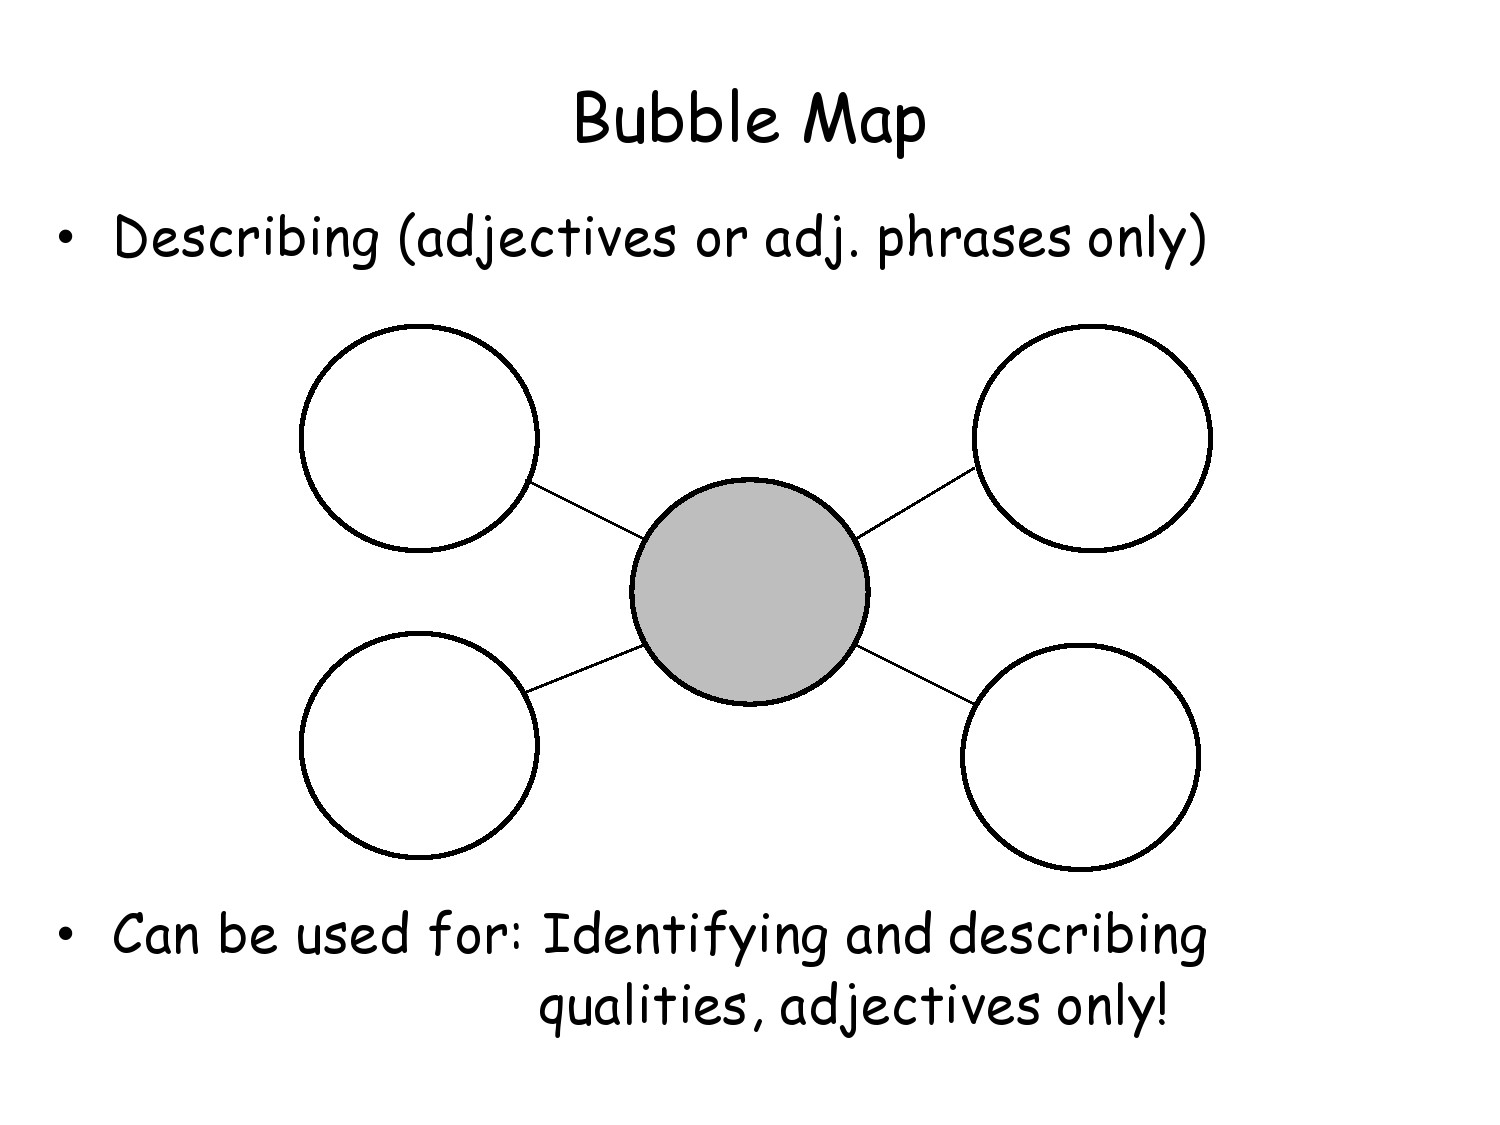
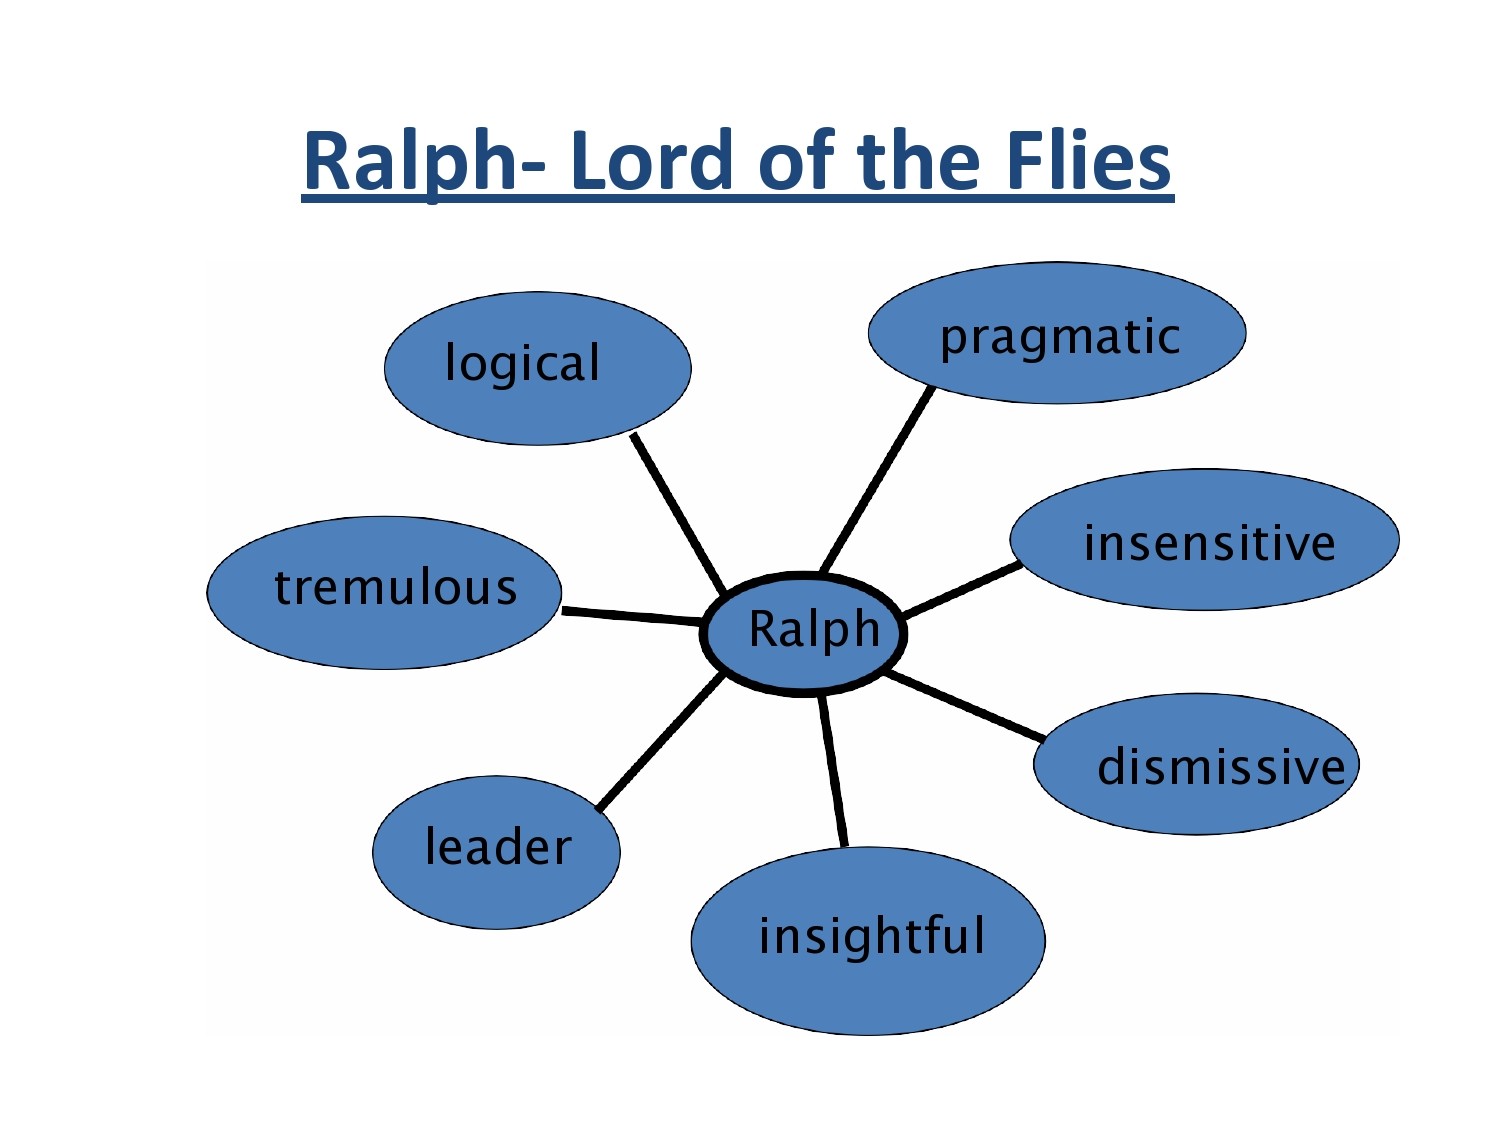
You use this tool to describe a specific topic using adjectives. For example, you can use a printable bubble map to analyze a character from a story or novel. - Flow Map
You can use this tool to demonstrate the flow of something. It can be very helpful in organizing information logically, sequencing steps, and identifying patterns. The map uses a series of boxes linked together using arrows. You can also use images to show the sequence. - Brace Map
You can use this tool to illustrate the parts of a concrete event or object. Logically, this only applies to a concrete concept as abstract ideas and concepts cannot be physically broken down. - Tree Map
You can use this tool to organize and categorize information. You can also use it in subjects like mathematics to show the various equations. - Double Bubble Map
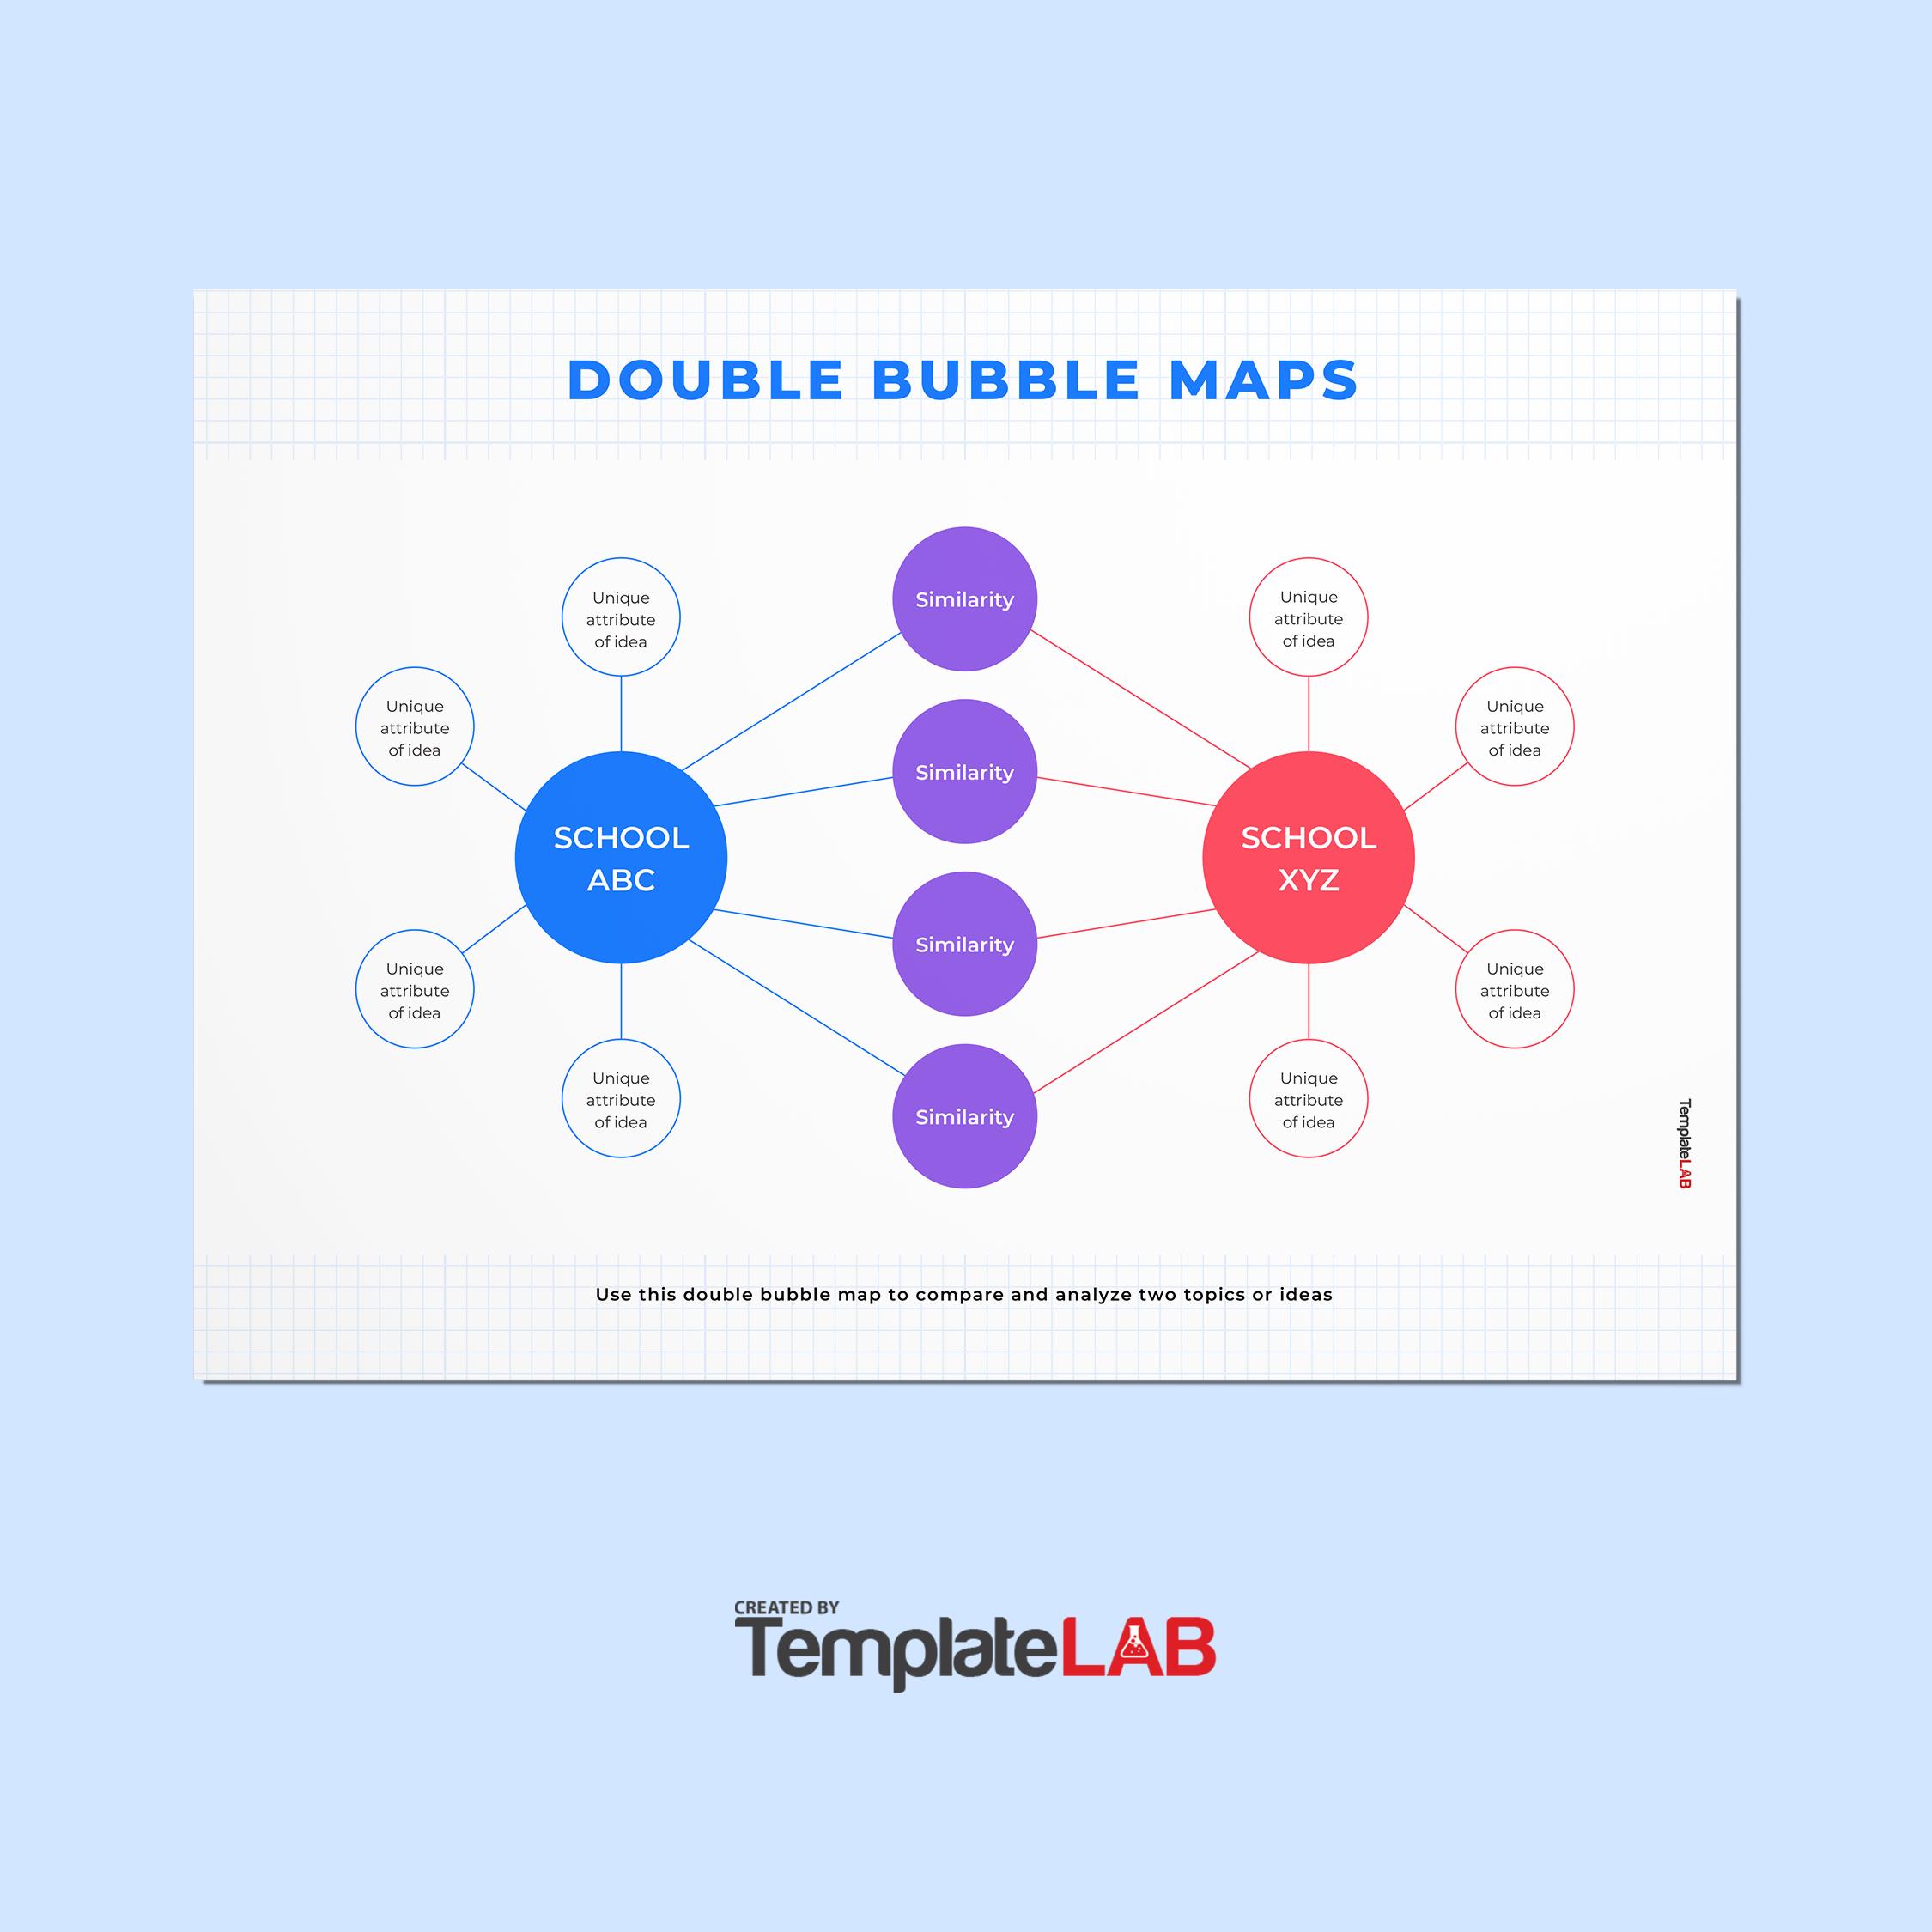
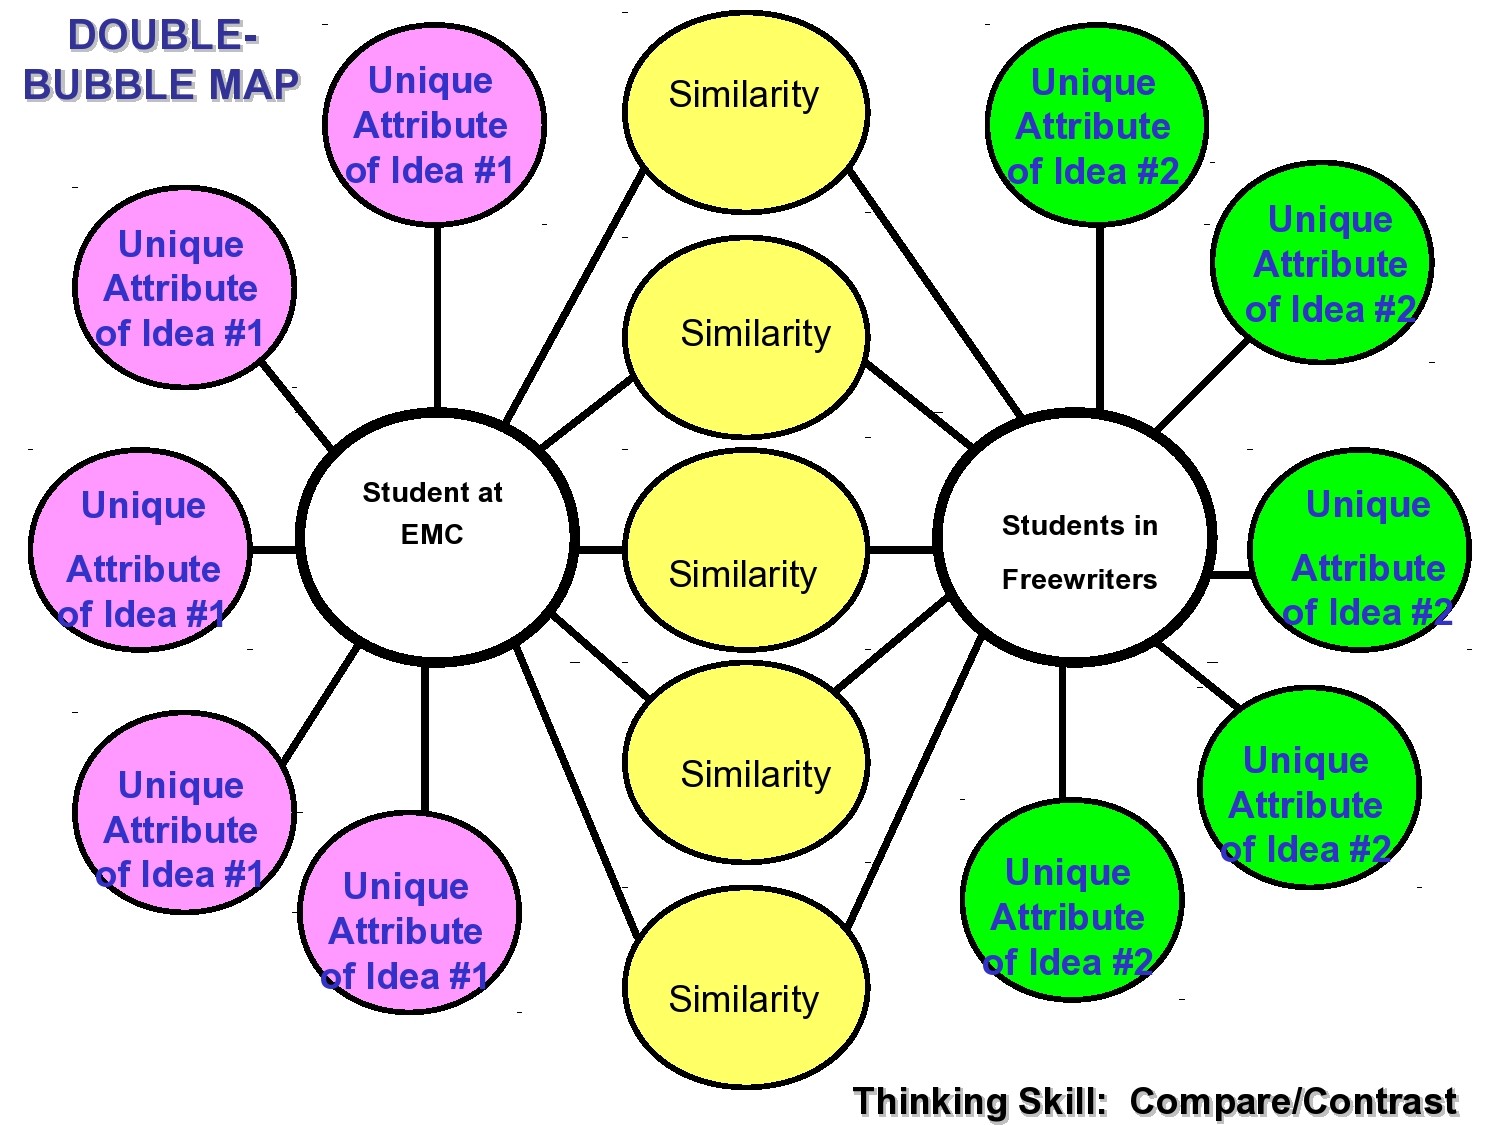
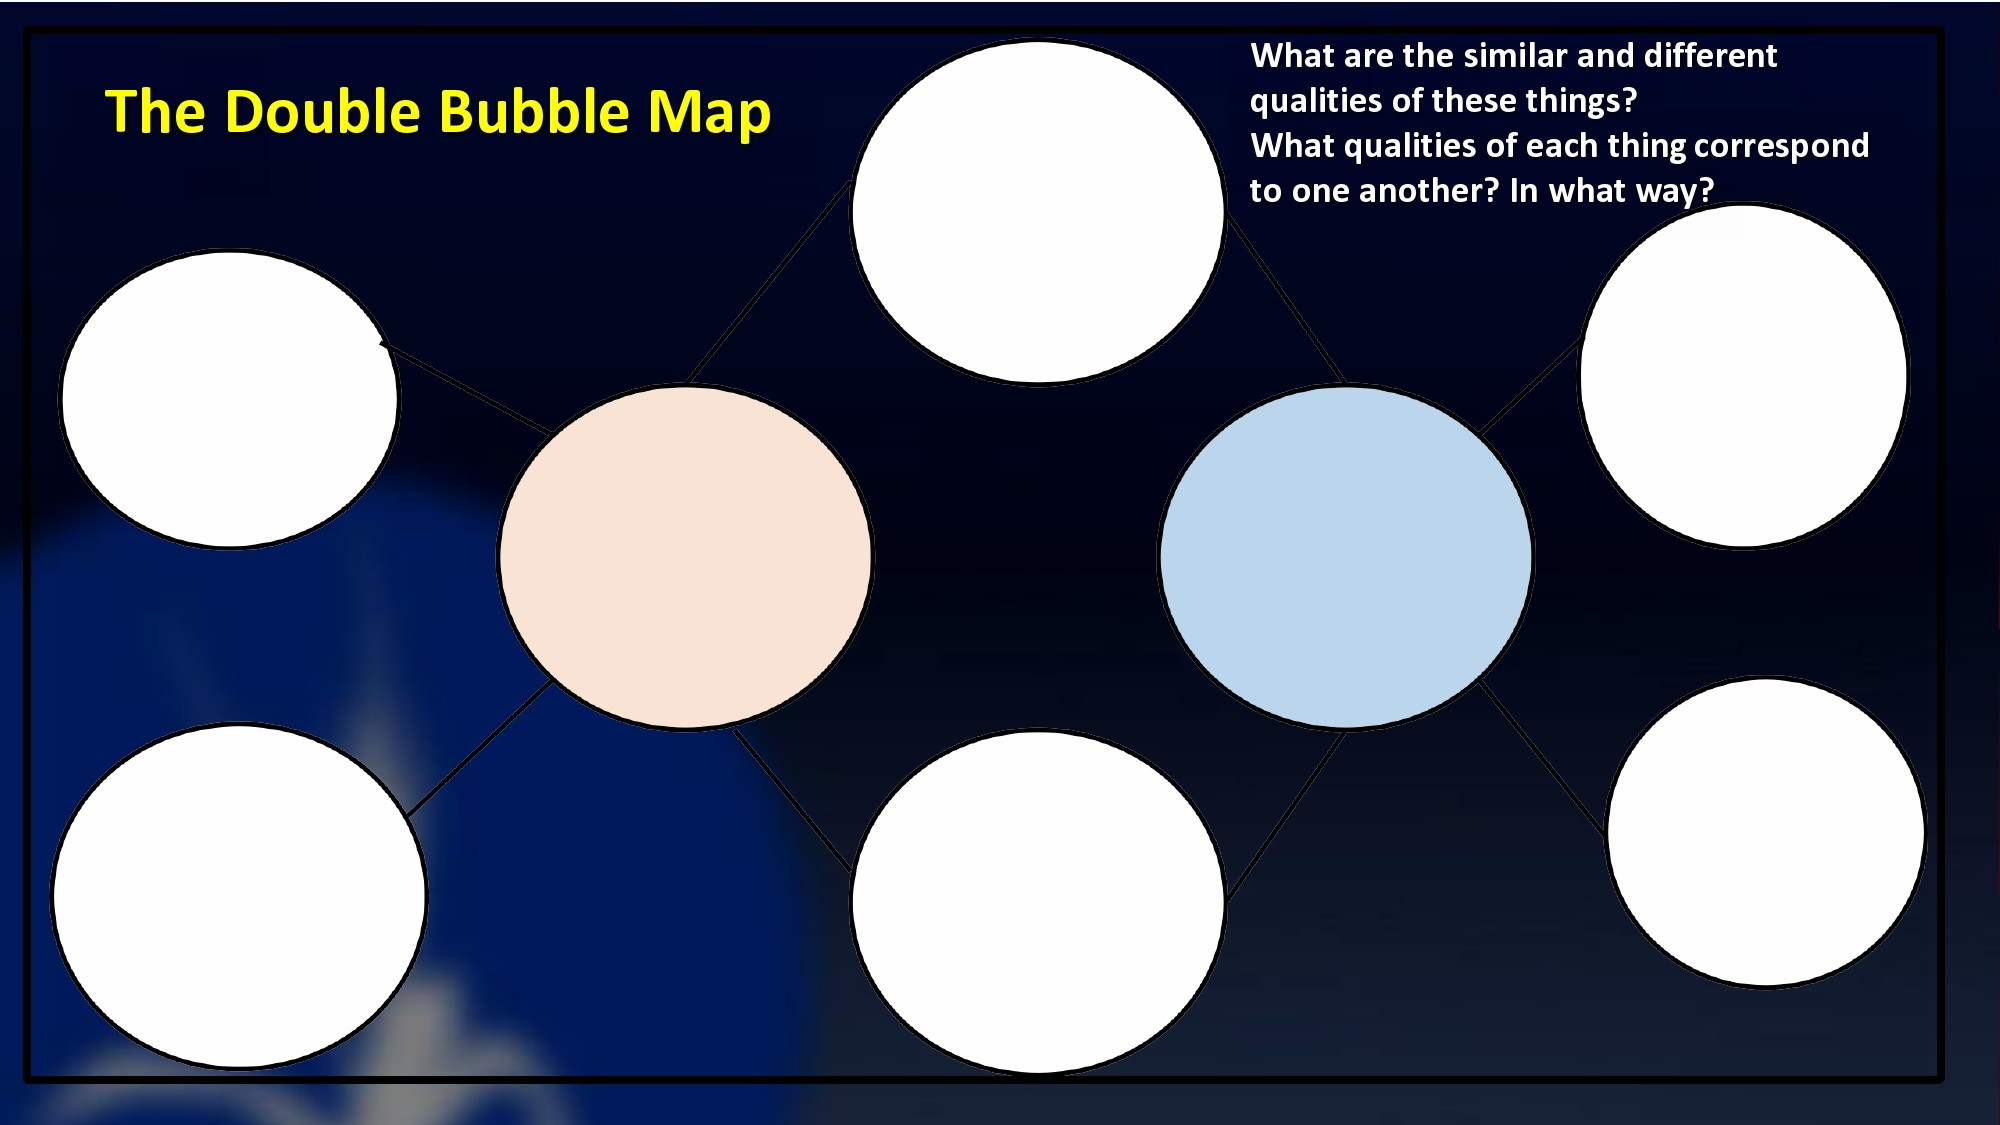
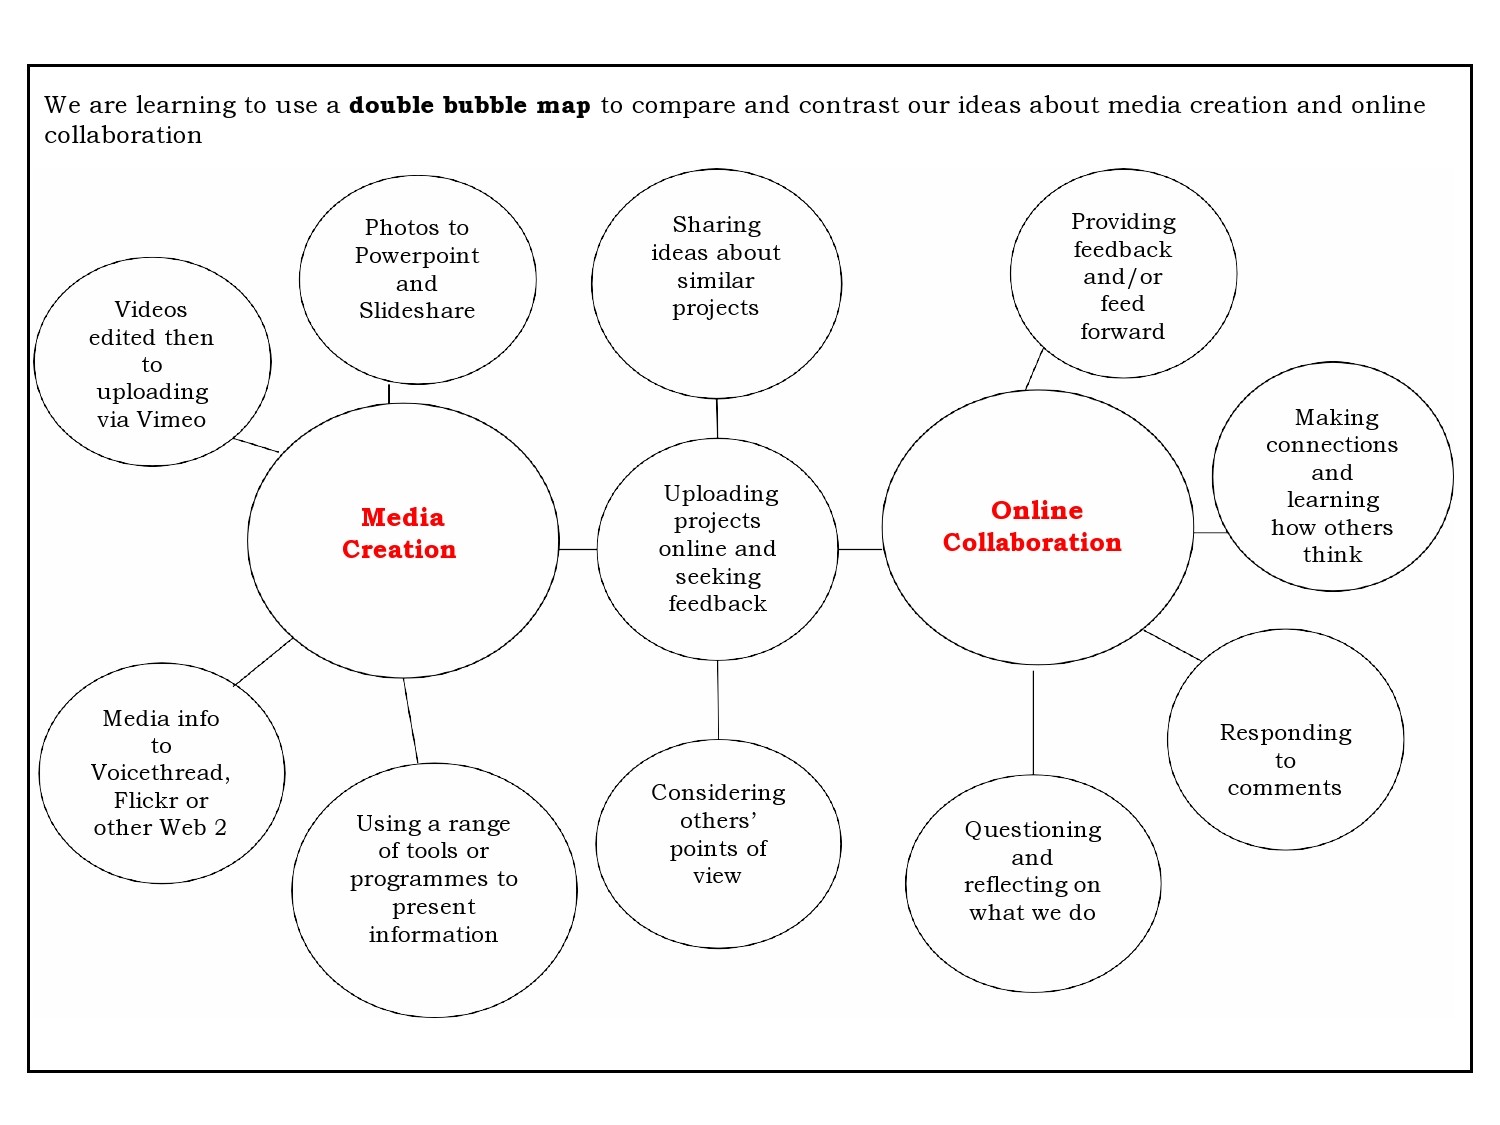
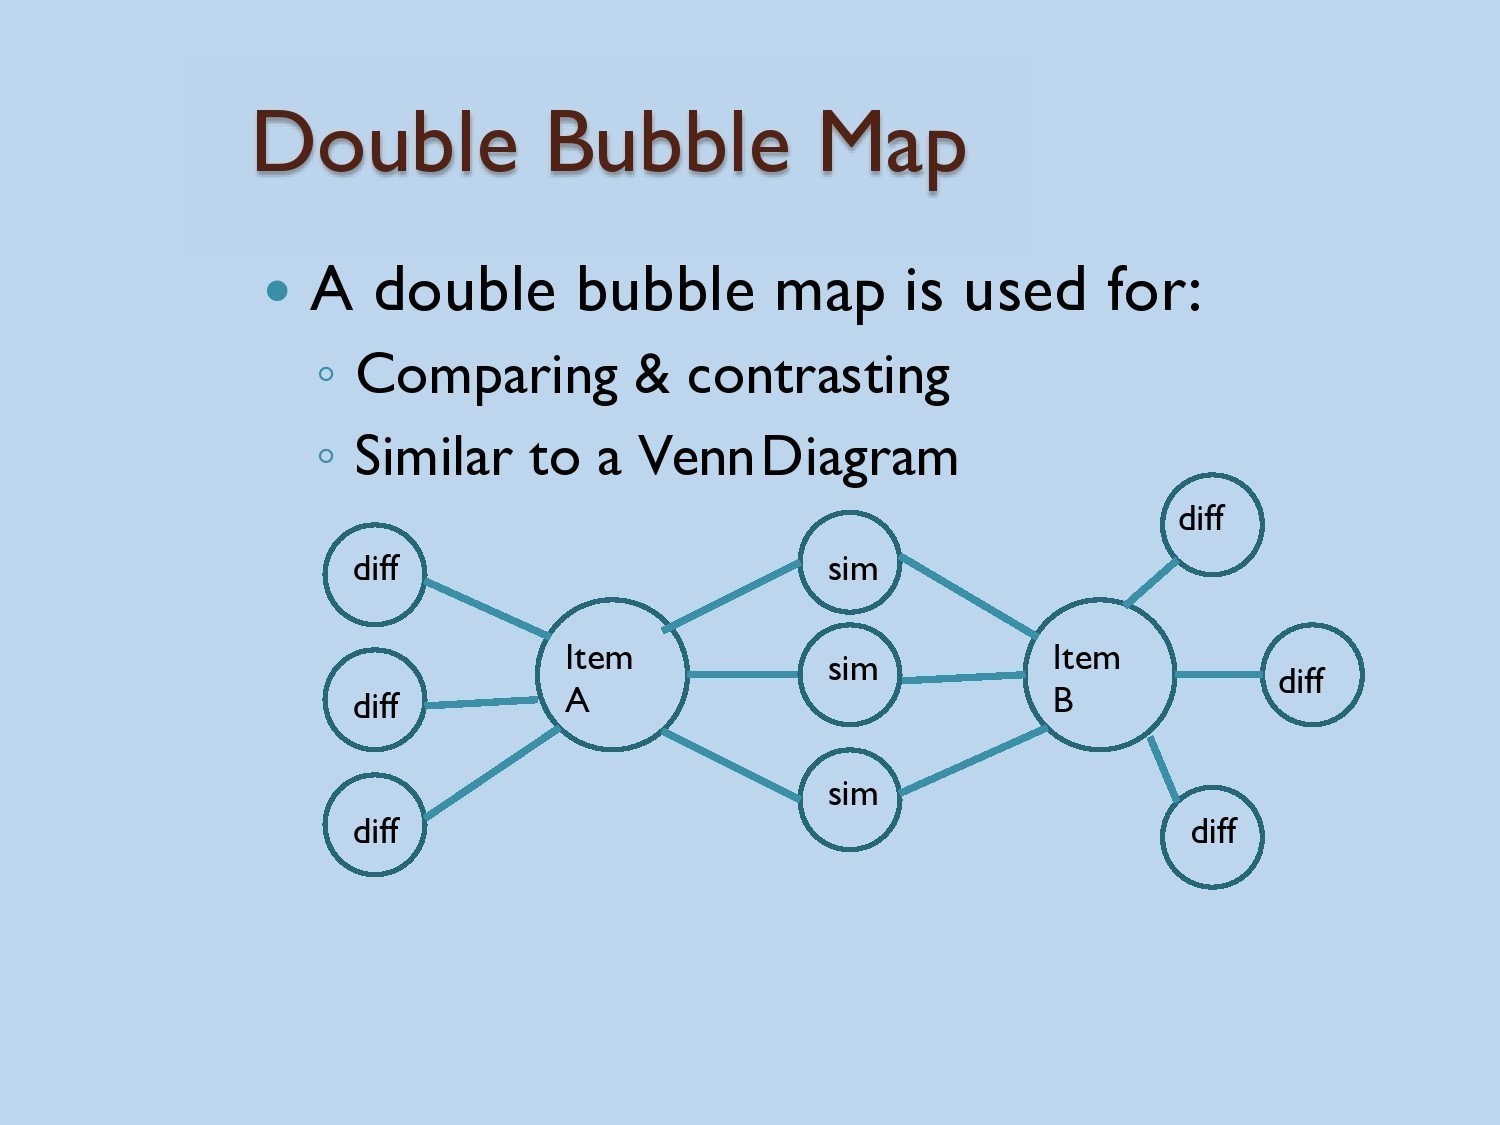
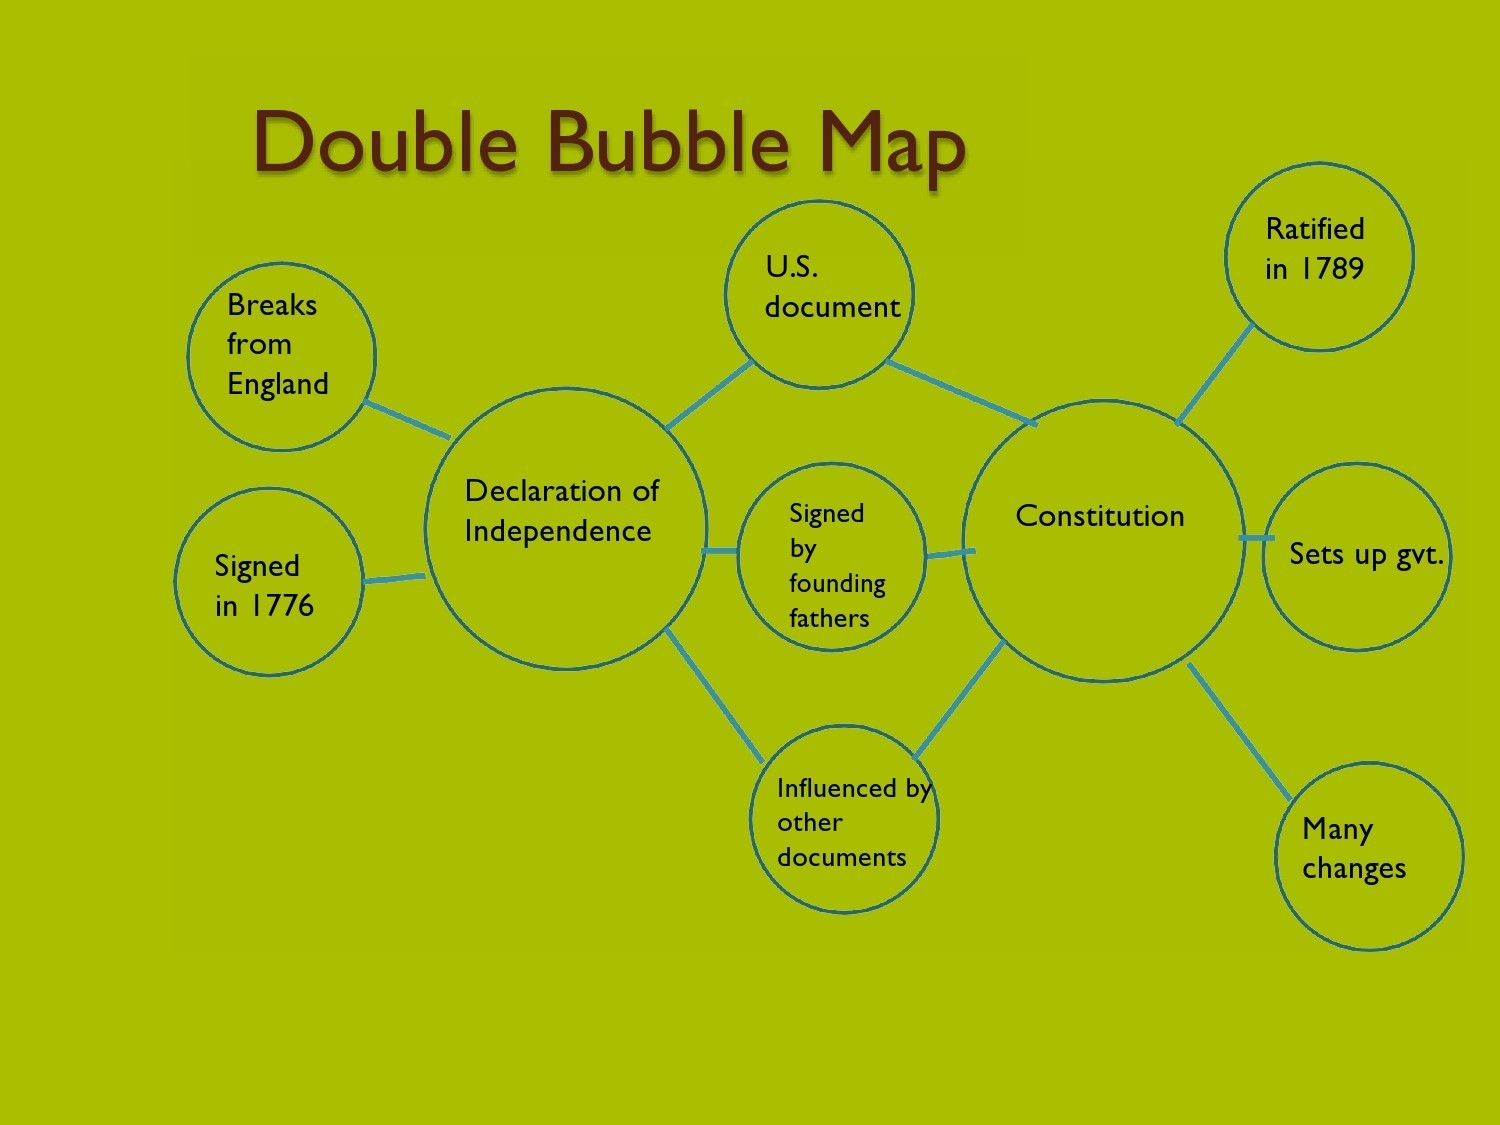
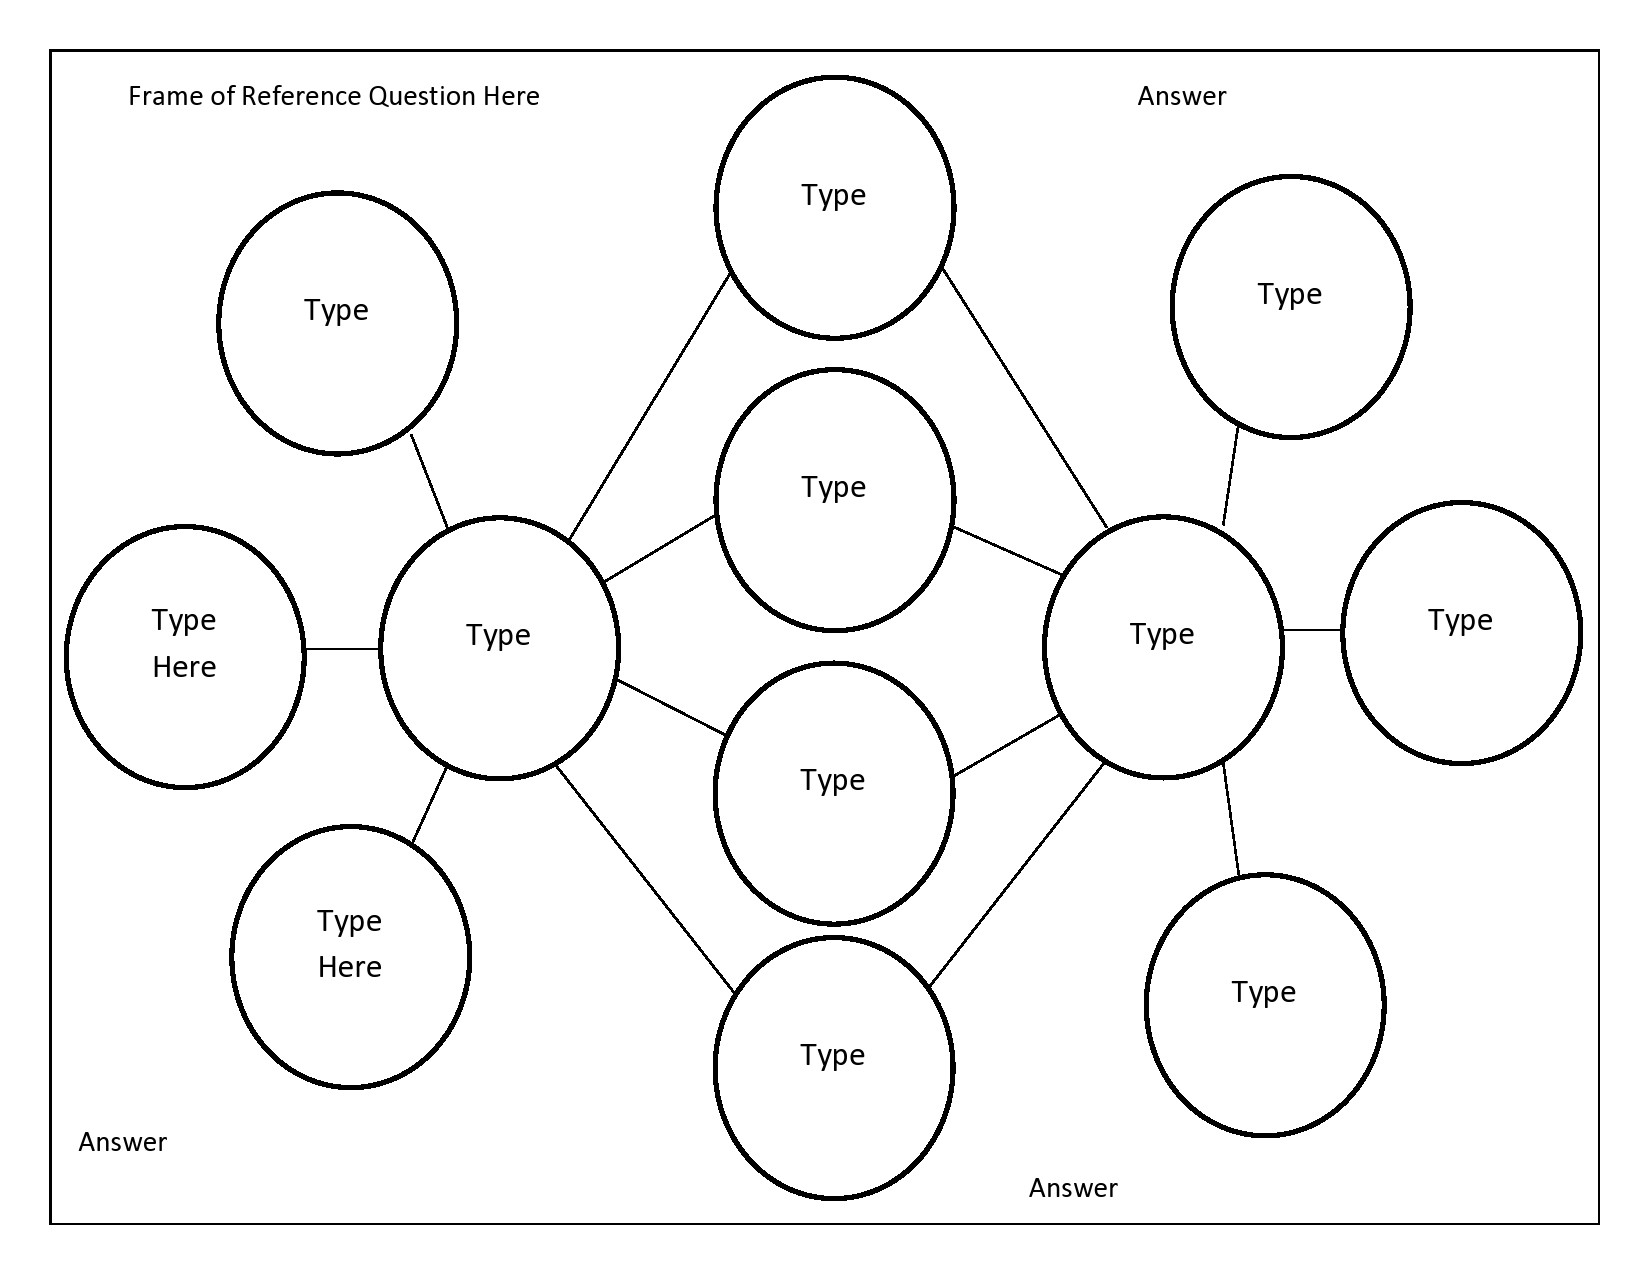
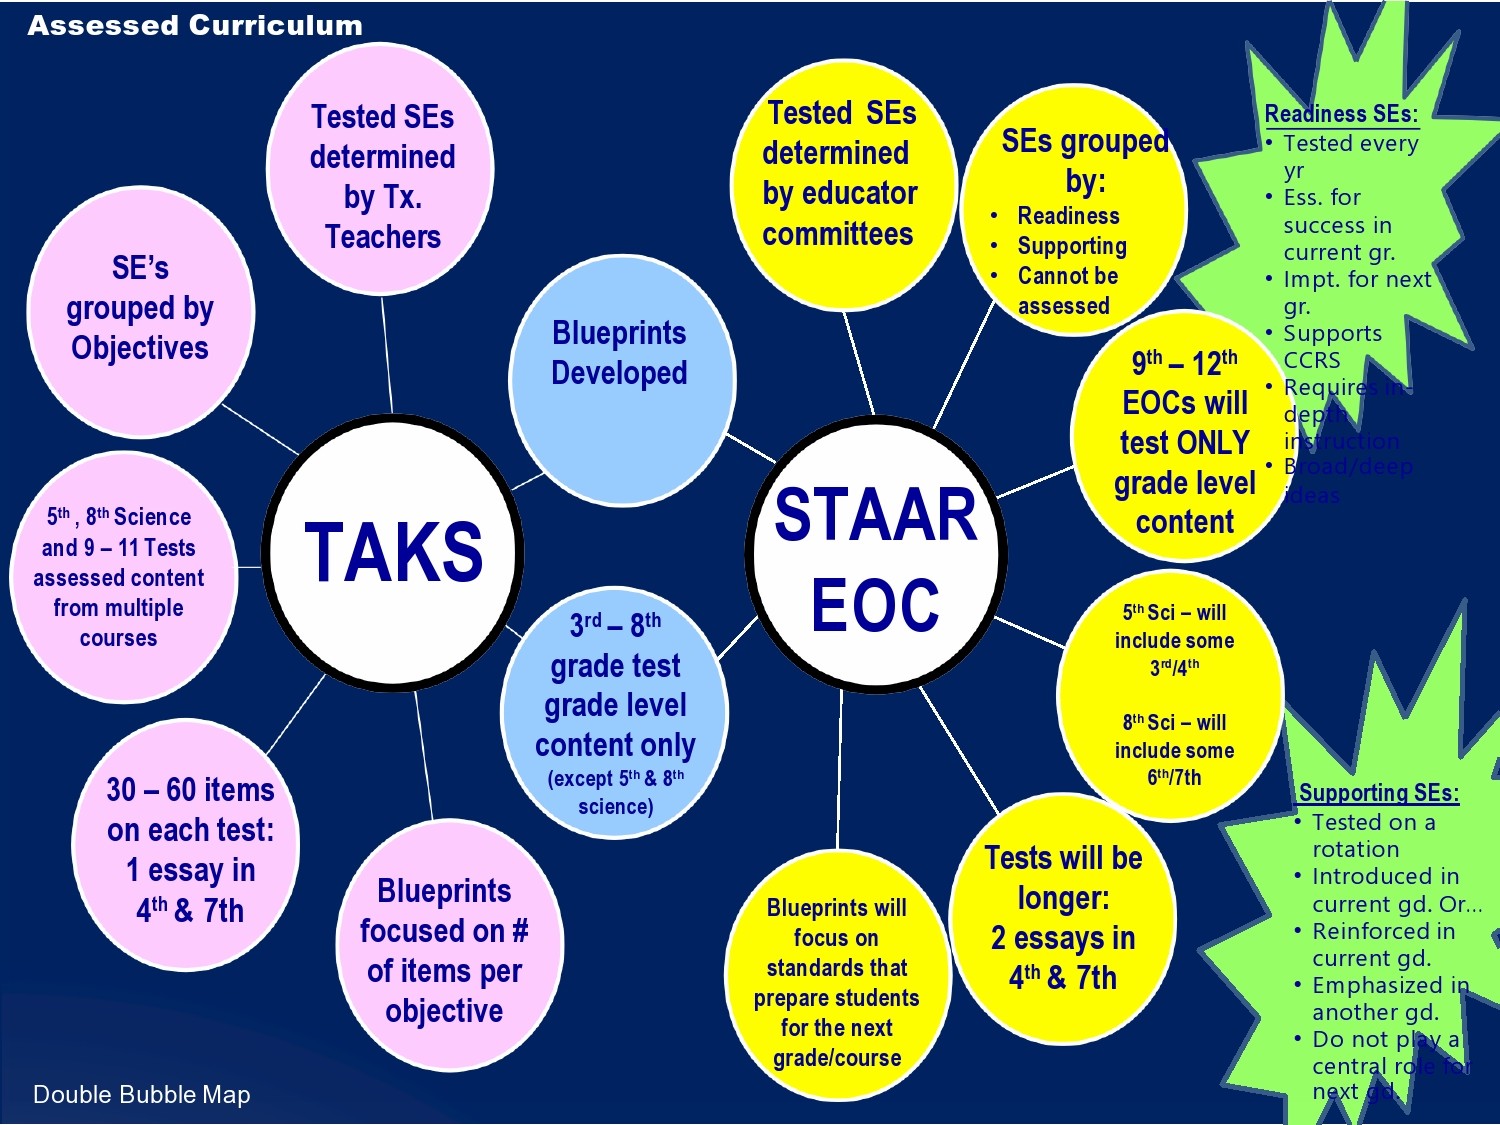
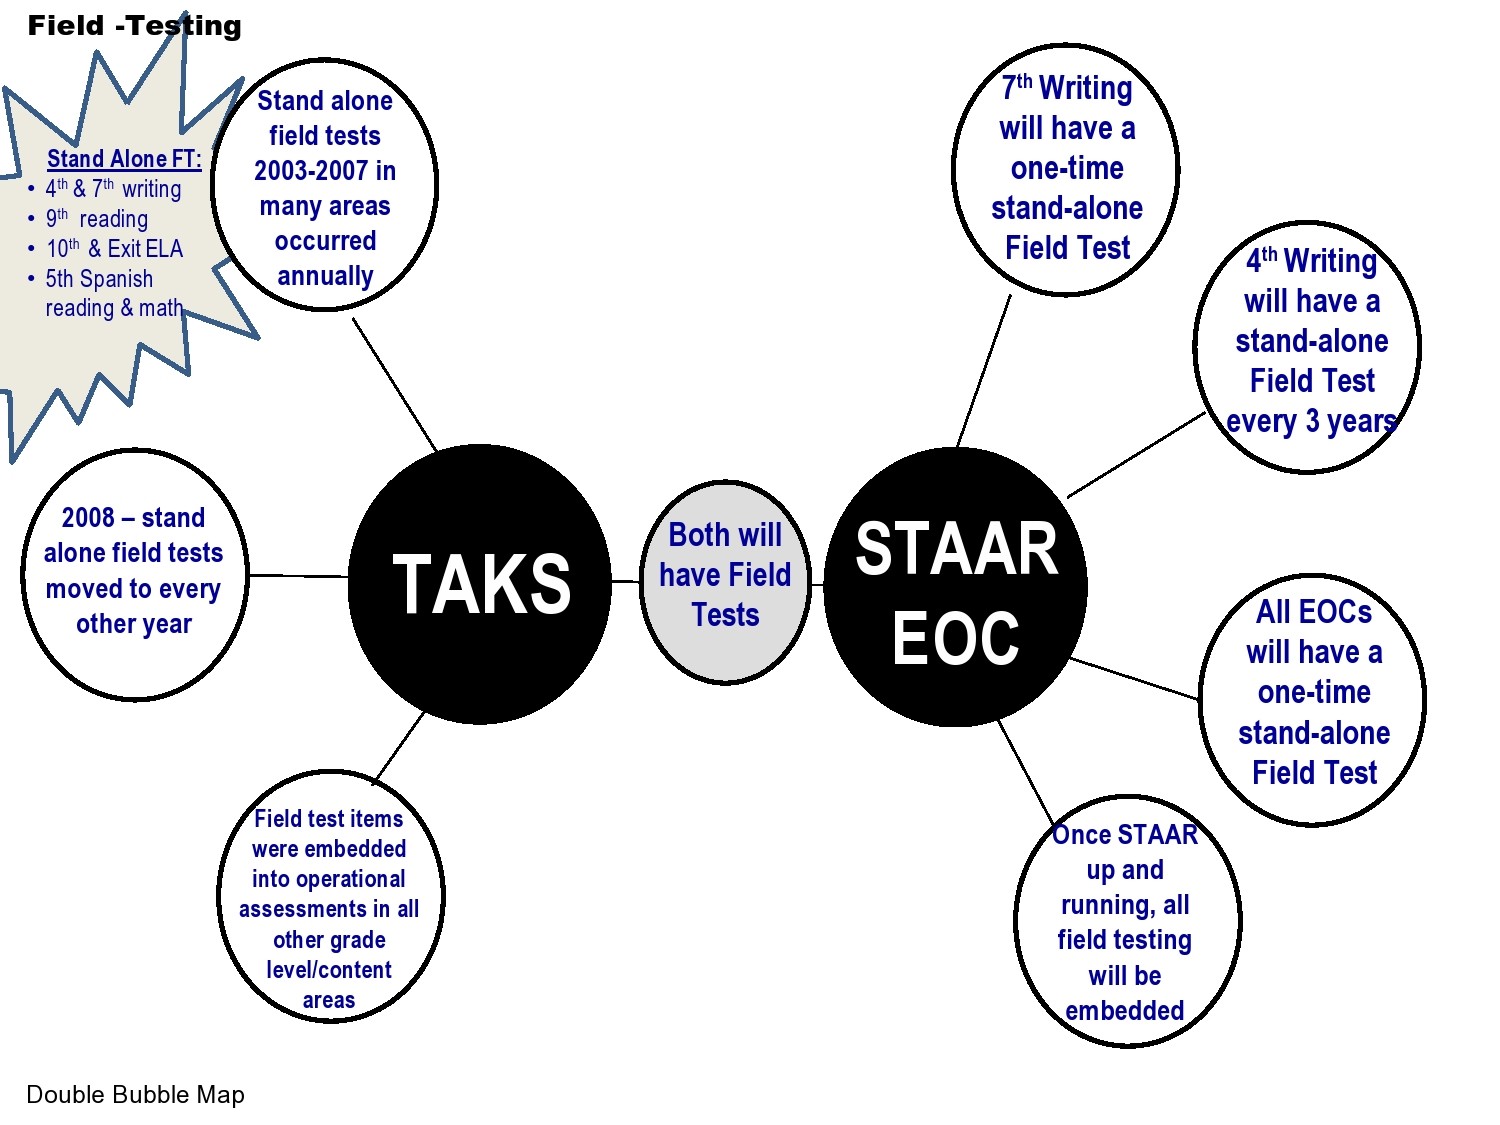
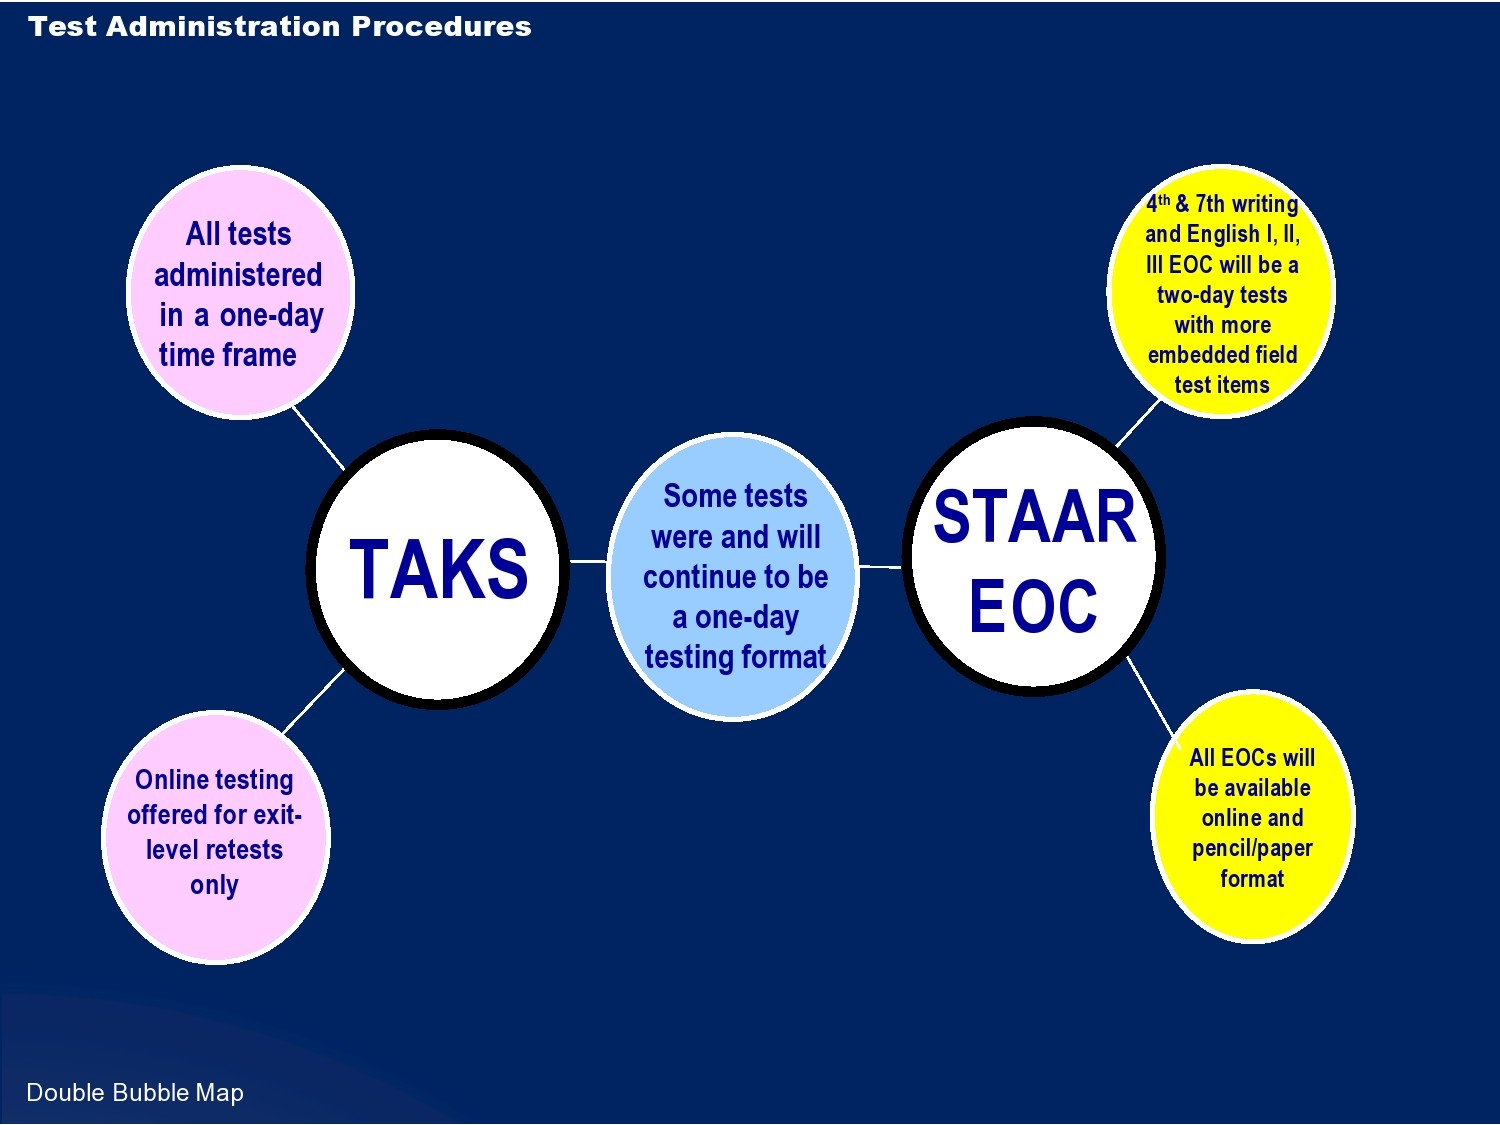
You can use this tool to identify similar and different qualities between two things like books, characters, cultures, and so on. The two main circles represent the subjects you’re analyzing. The circles common to both subjects will contain their similarities while others represent their differences. - Multi-Flow Map
You can use this tool to identify causes that don’t correspond with effects – but the situation does. You can also use this map to represent only effects or only causes as necessary. - Bridge Map
You can use this tool to understand more clearly the relationships between words or present analogies between objects and ideas. They are commonly used in assessing prior knowledge or performing fill-in-the-blank exercises.
Blank Bubble Maps
How do you make a bubble map?
A bubble map template is a layout made up of bubbles and circles linked with one another. The middle circle contains the main subject and all the other bubbles or circles linked to it contain adjectives to describe it.
Bubble maps can be very useful tools when composing a story as they allow you to brainstorm ideas visually to describe your subject. Moreover, the layout helps you organize your thoughts then develop descriptions for your subject. Here are the basic steps to make a bubble map.
- Draw a circle in the middle. Write the name of your main subject inside the circle.
- Draw another circle then draw a line to connect this circle to the middle circle. Jot down an adjective that describes the main subject in the second circle.
- Draw as many circles and write down as many adjectives that you can think of about the main subject. Draw lines to connect the circles to the middle circle.
Printable Bubble Maps
How do I create a bubble map in Word?
When it comes to creating a bubble map graphic organizer using Microsoft Word, you can make things easier. This application comes with built-in shapes to help you present data in a graphical way.
For instance, if you wanted to create a bubble map, you can easily accomplish this by first learning how to draw circles and then connect these with lines. If you need to use Word as your bubble diagram maker, here are the steps:
- Draw the circles
Start drawing your bubble map template by first creating a new document in Word. Click on Insert, Shapes, then click the oval icon.
Click on a location on the page, hold down the left mouse button, and drag the mouse to create your central circle.
Add more circles around the main circle as needed by following these steps. - Add text and lines
All of these circles will need text inside them. You also need to add lines to connect them to the middle circles. You can do these through the following steps. - Right-clicking on one of the circles, click on Add Text.
Input the name of the main subject or an adjective to describe it.
You can connect the circles to the center circle by clicking on Insert, Shapes, then clicking the lines icon.
Click on the edge of one of the circles, hold down the left mouse button, then drag the mouse to draw a line that connects to the middle circle.
You can repeat these steps until you have connected all of the lines to the middle circle.
If you want to make a line longer or shorter, click the end of the line, hold the left mouse button down, and drag the mouse to change the length of the line. - Colorize your map
You can use colors to show the difference between your main idea and the word found inside the middle circle from the adjectives you have inputted into the circles surrounding it.
Right-click on one of the circles, click on Fill, and click on one of the colors.
You can resize any of the circles by clicking on one of the handles around it then dragging the handle to make the circle smaller or bigger. - More tips for you
Rather than clicking on the oval icon then drawing a circle whenever you need one, there is a faster alternative:
Click on one of the circles, press Ctrl-C on your keyboard, then press Ctrl-V repeatedly to create more circles.
Then you can click on the inside of each of the circles then drag it to the proper location on your map.
You can reposition multiple circles by clicking on one circle, holding down the Ctrl key on your keyboard, and clicking additional circles. This selects them.
When you click and drag a circle, all of the circles you have selected will move as a group.
Bubble Map Graphic Organizers
Using a bubble map to write an essay
When writing an essay, you may find a bubble map template useful to help you visualize the main idea and key points in your essay. Using a bubble concept map can help you brainstorm the points you want to emphasize while seeing the connections between them.
A blank bubble map can help you organize your essay and it won’t matter whether you have a short or long essay. The steps involved in creating this map are the same:
- Think of your main idea
The first step is to identify the main idea for your essay. Usually, teachers provide the topic but at times, you might have the choice to think of your own. When you have your main idea, you can begin creating your map. As with any bubble map, you begin with the main idea written inside a circle in the middle. - Add the supporting ideas
All essays need supporting ideas and each middle circle needs supporting circles. These supporting ideas help you develop the whole structure of your main idea. As you think of the supporting ideas, start writing them down around your main circle leaving space between each of the supporting points. - Add subpoints too
Aside from the supporting ideas, it also is most likely you will need subpoints which you can write down in rows then draw circles and connecting lines to show how they relate with one another. - Create your outline
As soon as you have completed your brainstorming and identified all of the points you want to emphasize in your essay, you can now start the process of outlining.
First on the line will be an introductory paragraph where you introduce your topic and your essay’s main idea.
The body of your essay comes next. It is here where you will list down the supporting ideas that directly connect to your main topic on the bubble map. You can denote these by the row of circles nearest to the middle circle.
The next step is to take the supporting ideas individually and write down the subpoints related to them.
The last part of your outline will be the concluding paragraph that usually gives a summary of the information you have provided in your essay. You will also tie everything up with your main idea.
With this outline serving as your guide, you can start composing the initial draft of your essay.

