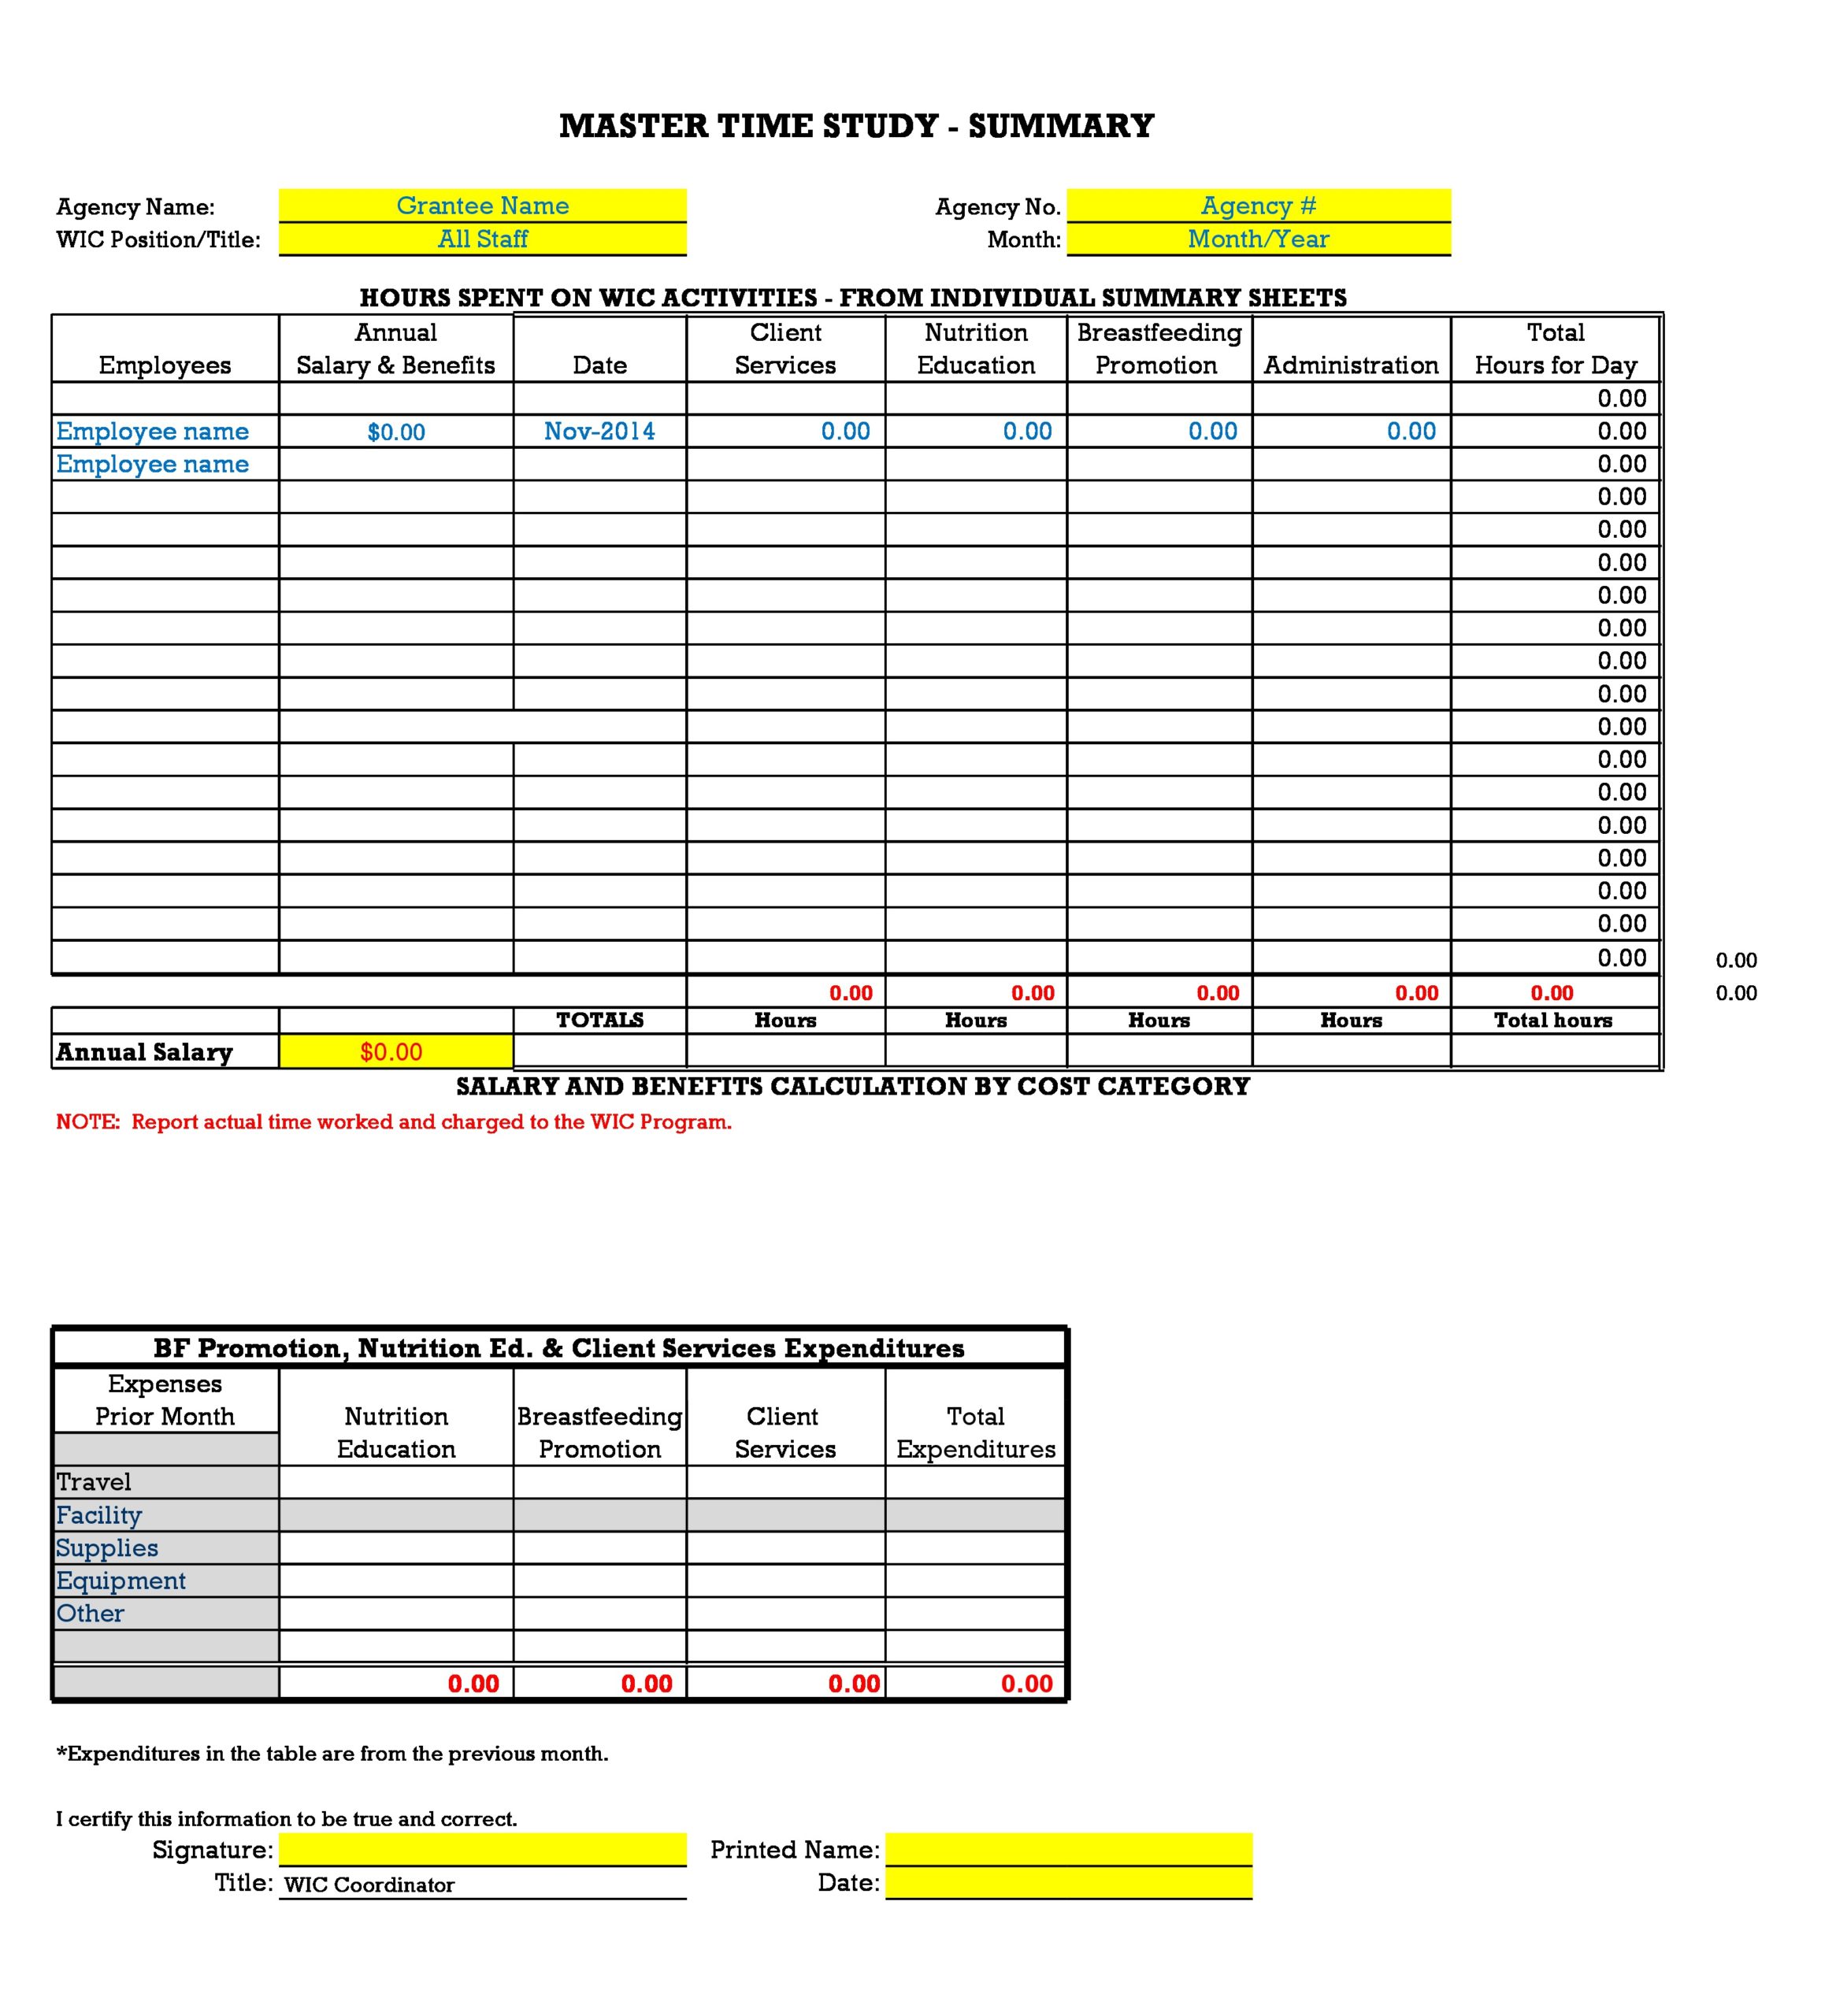
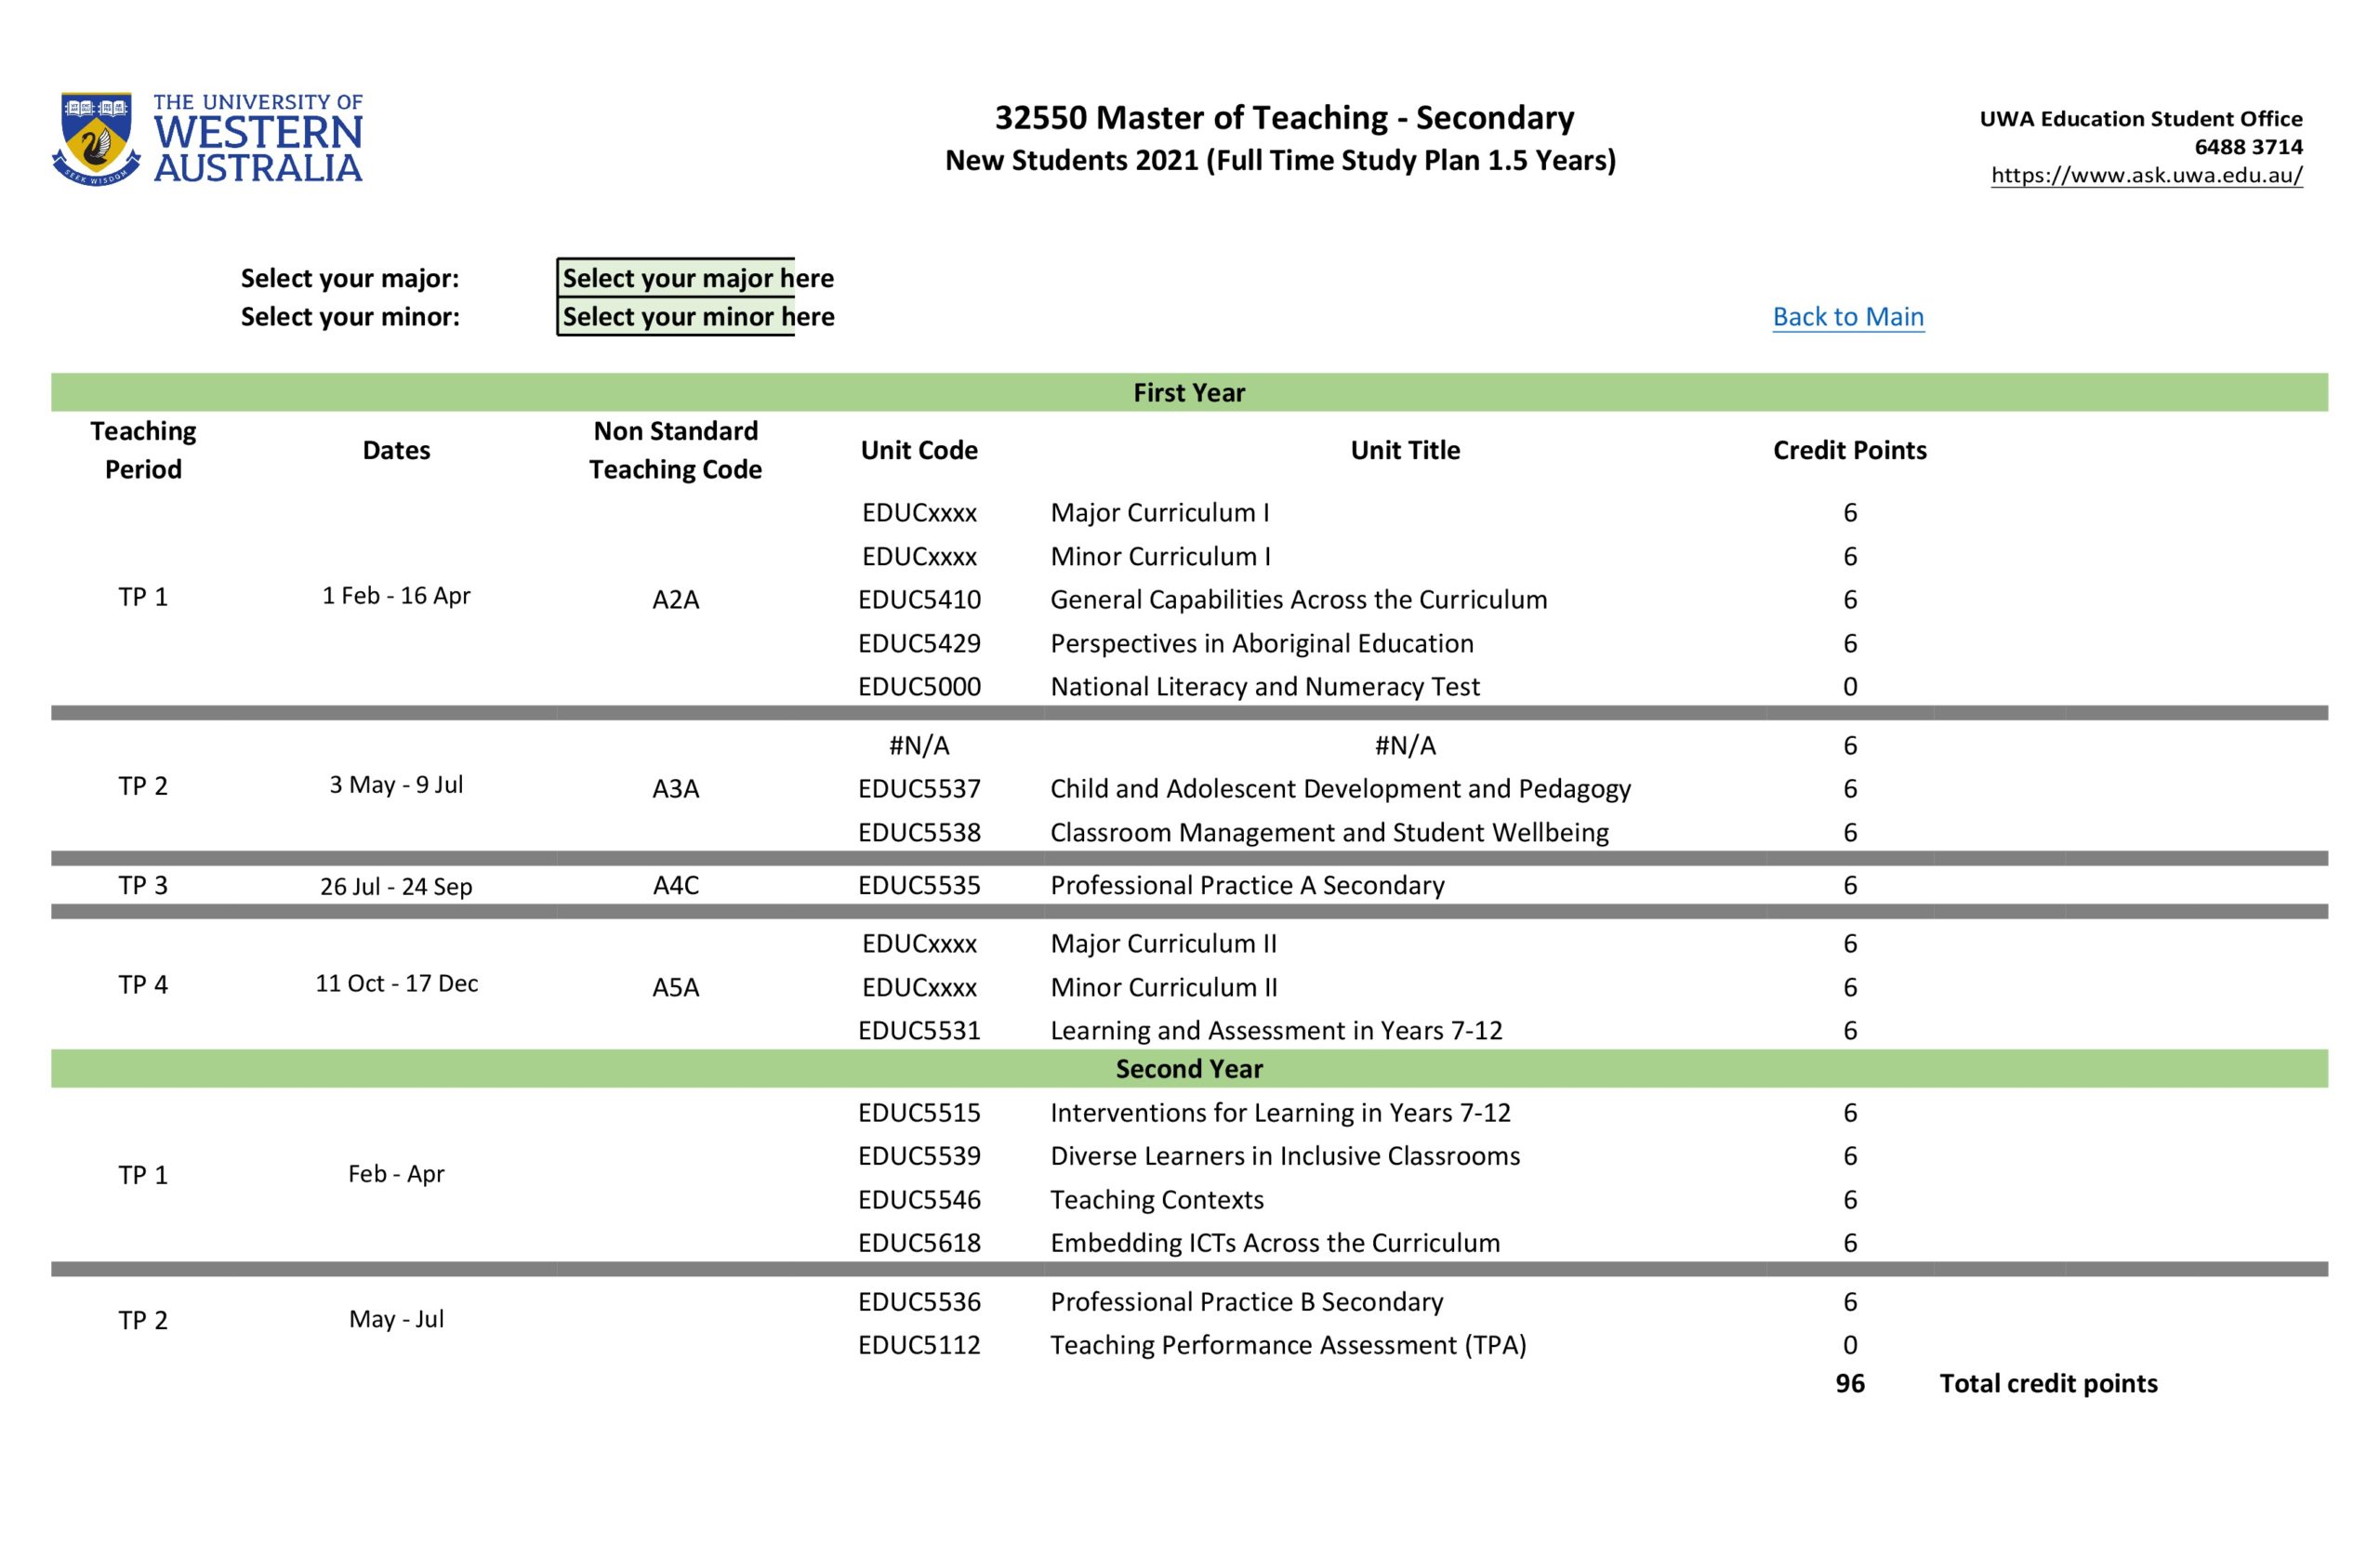
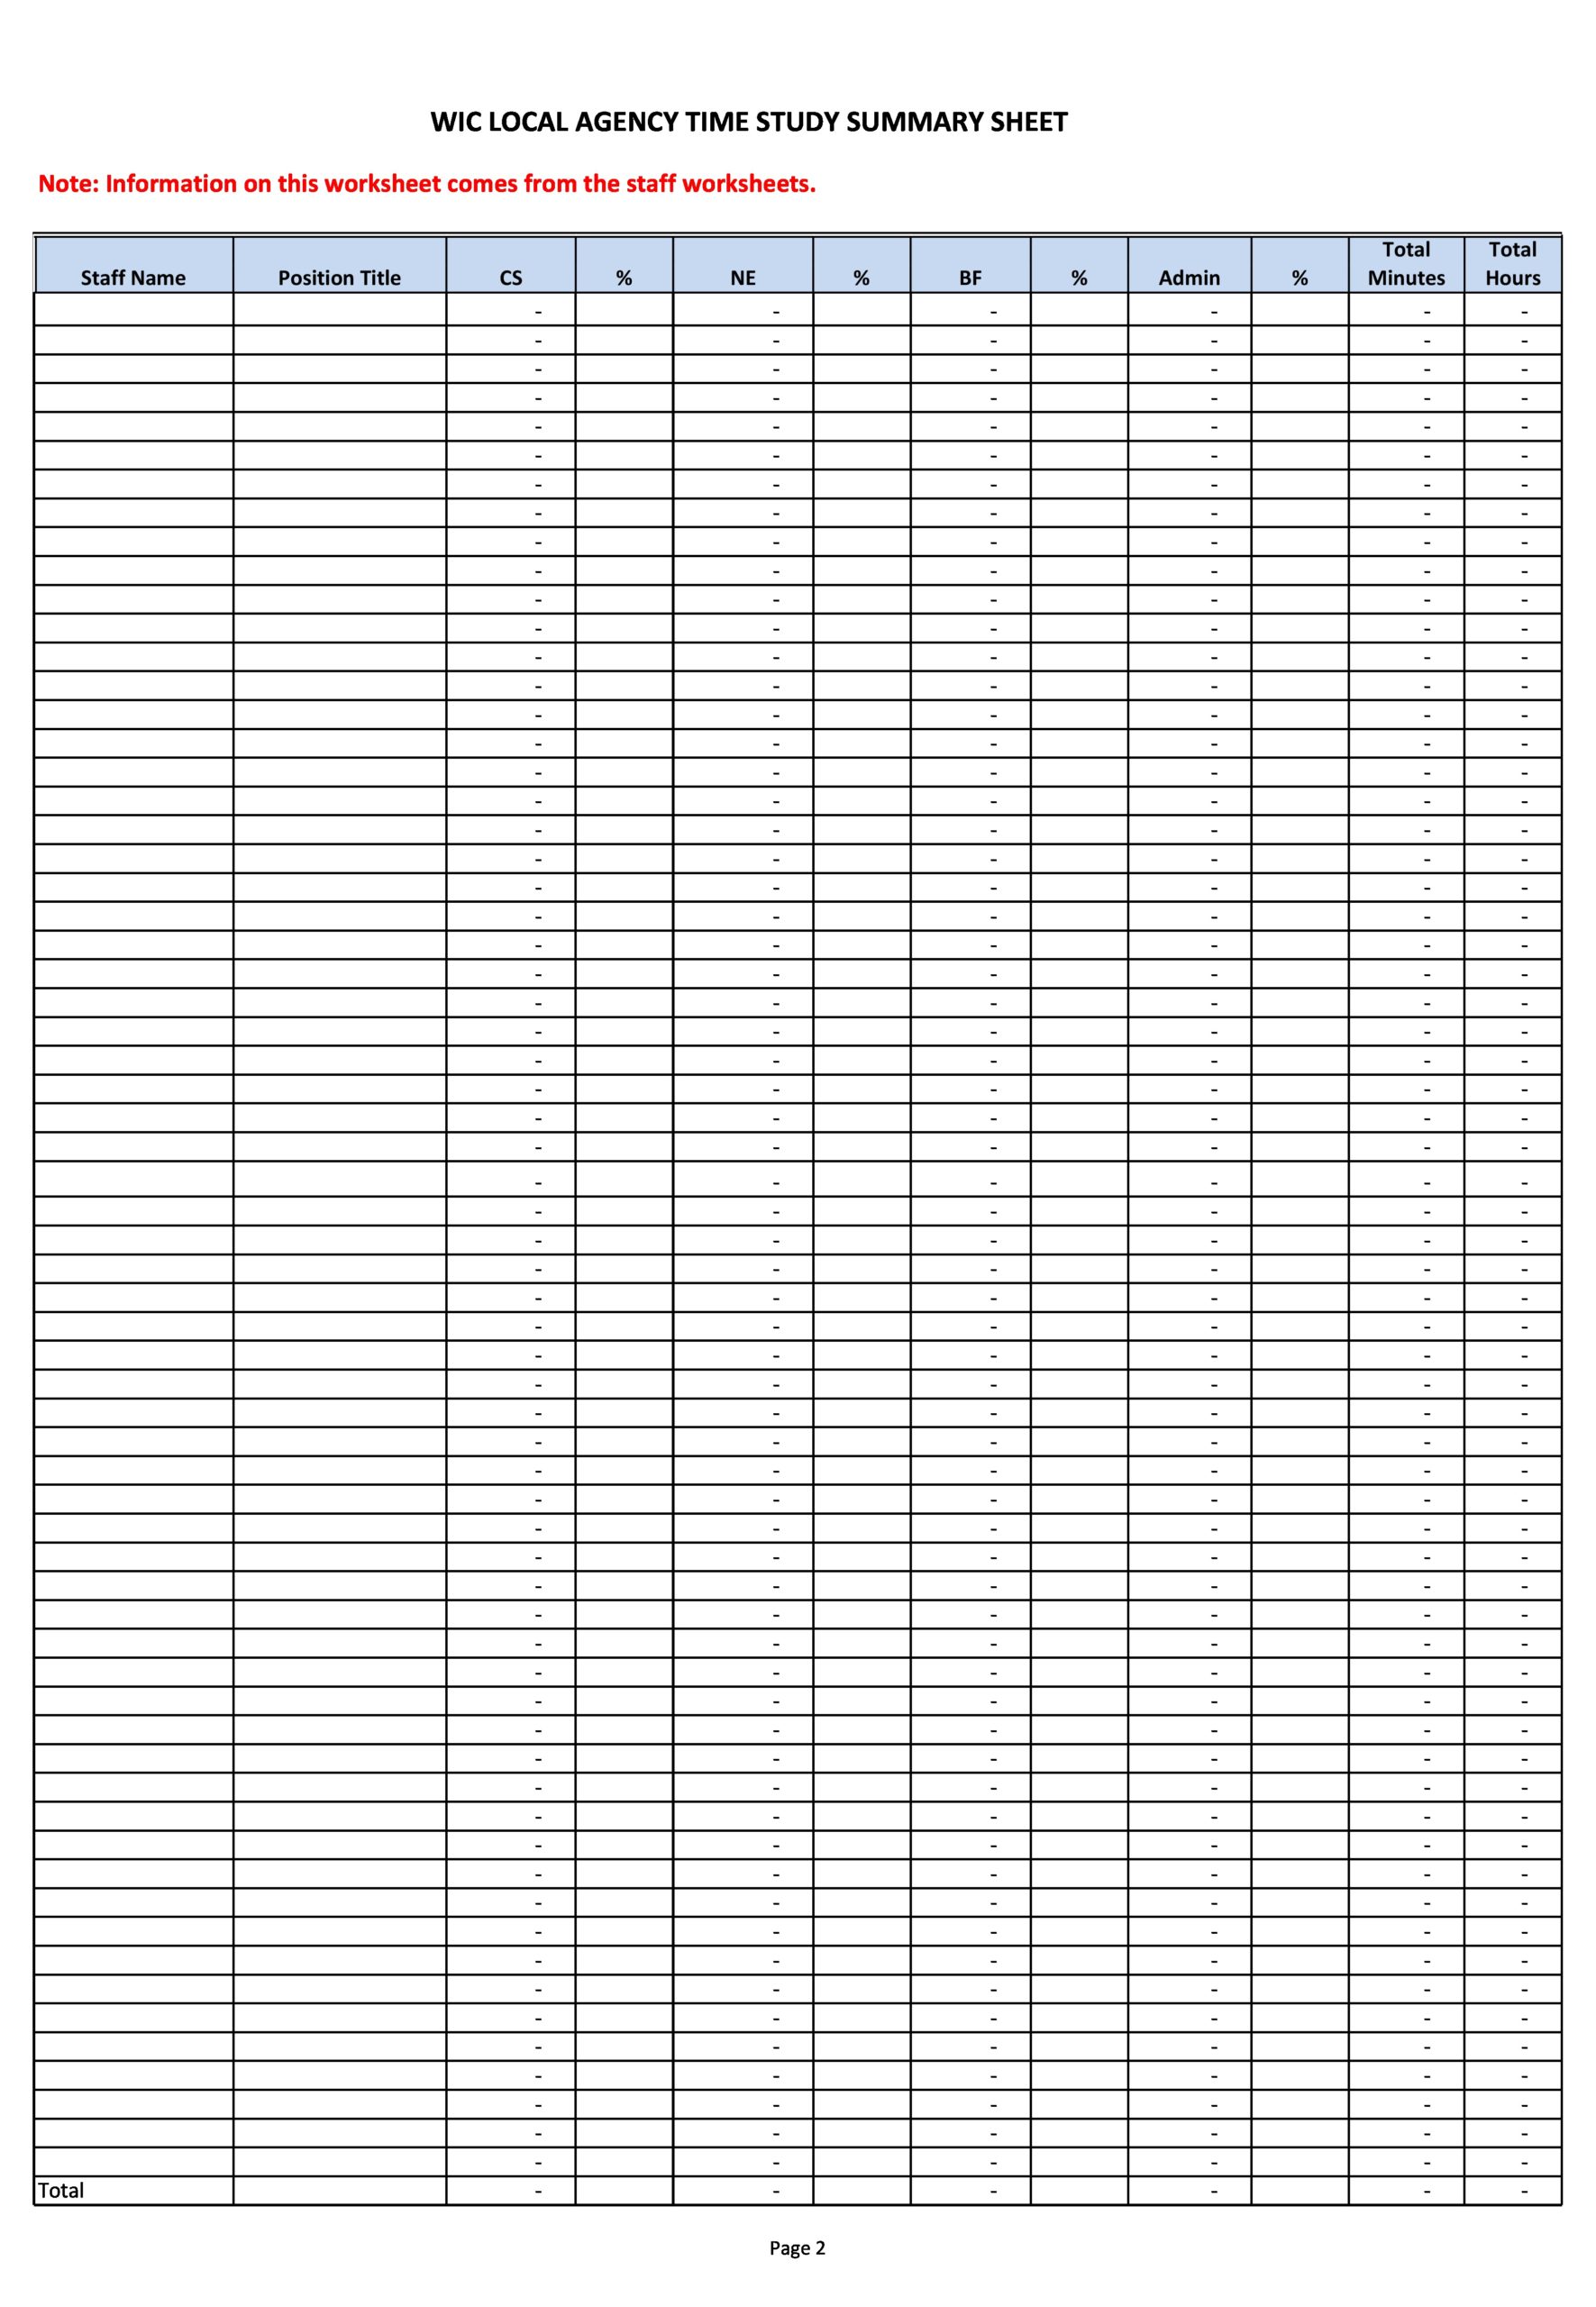
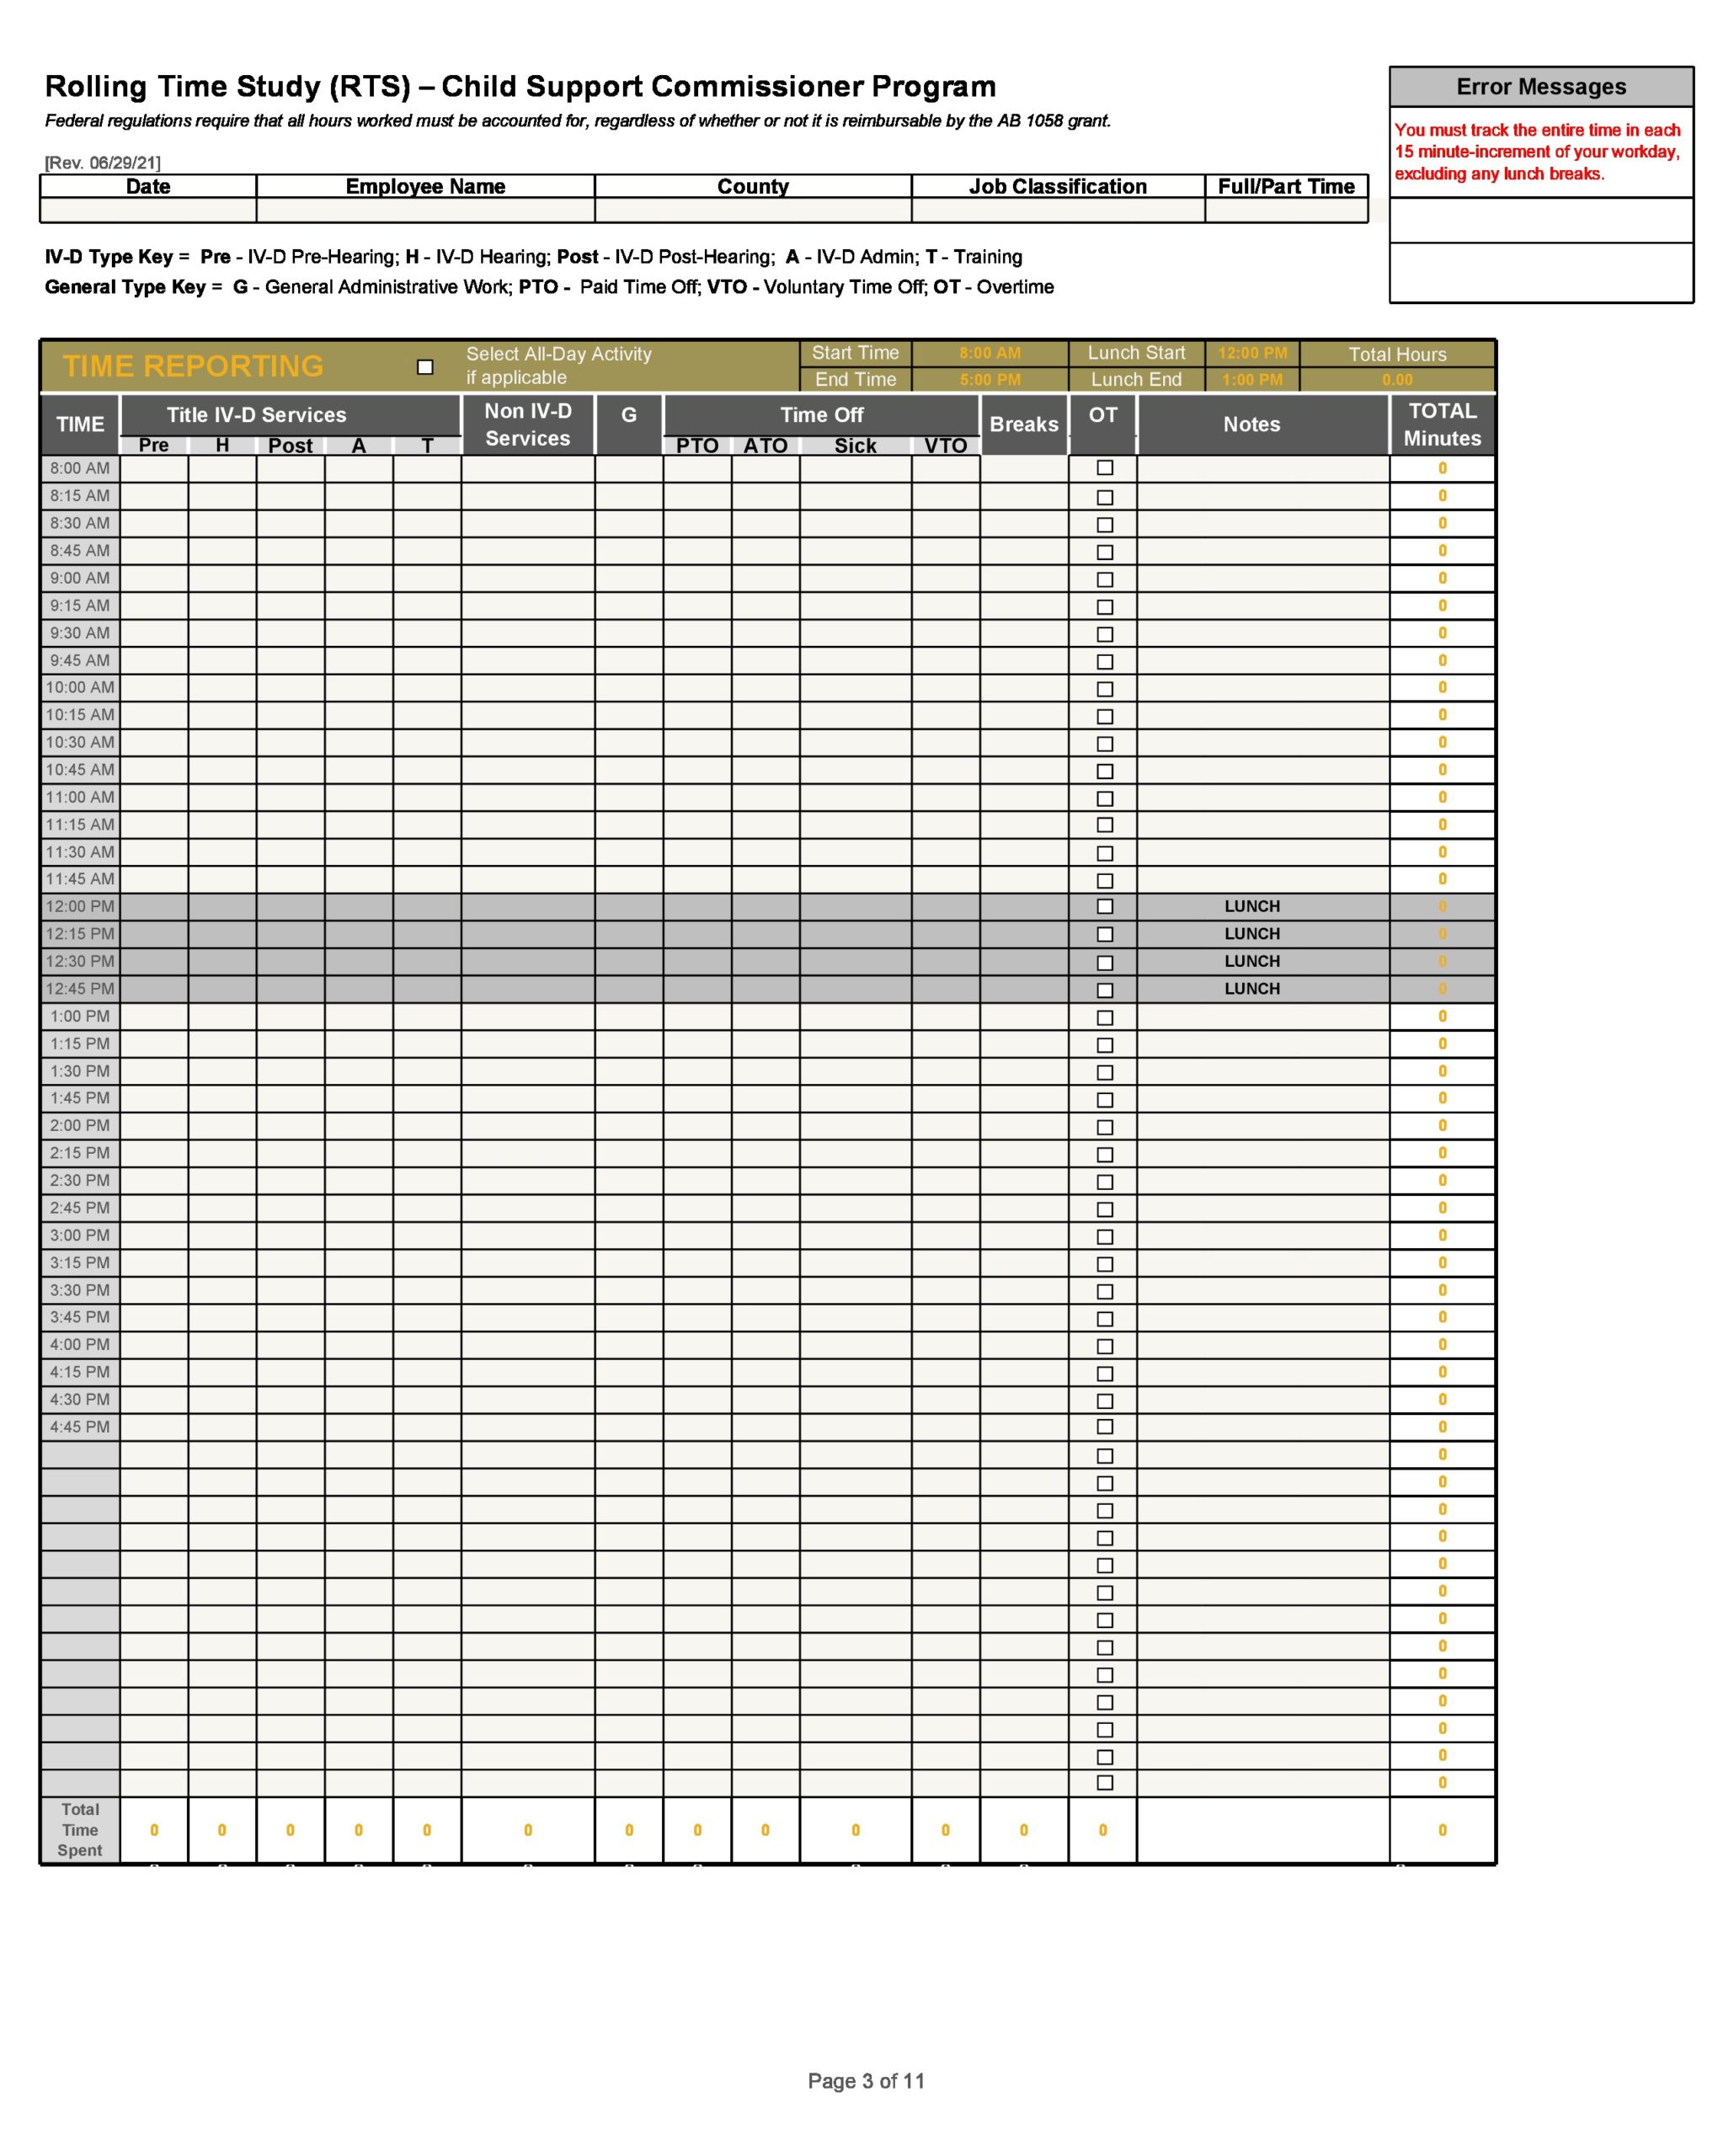
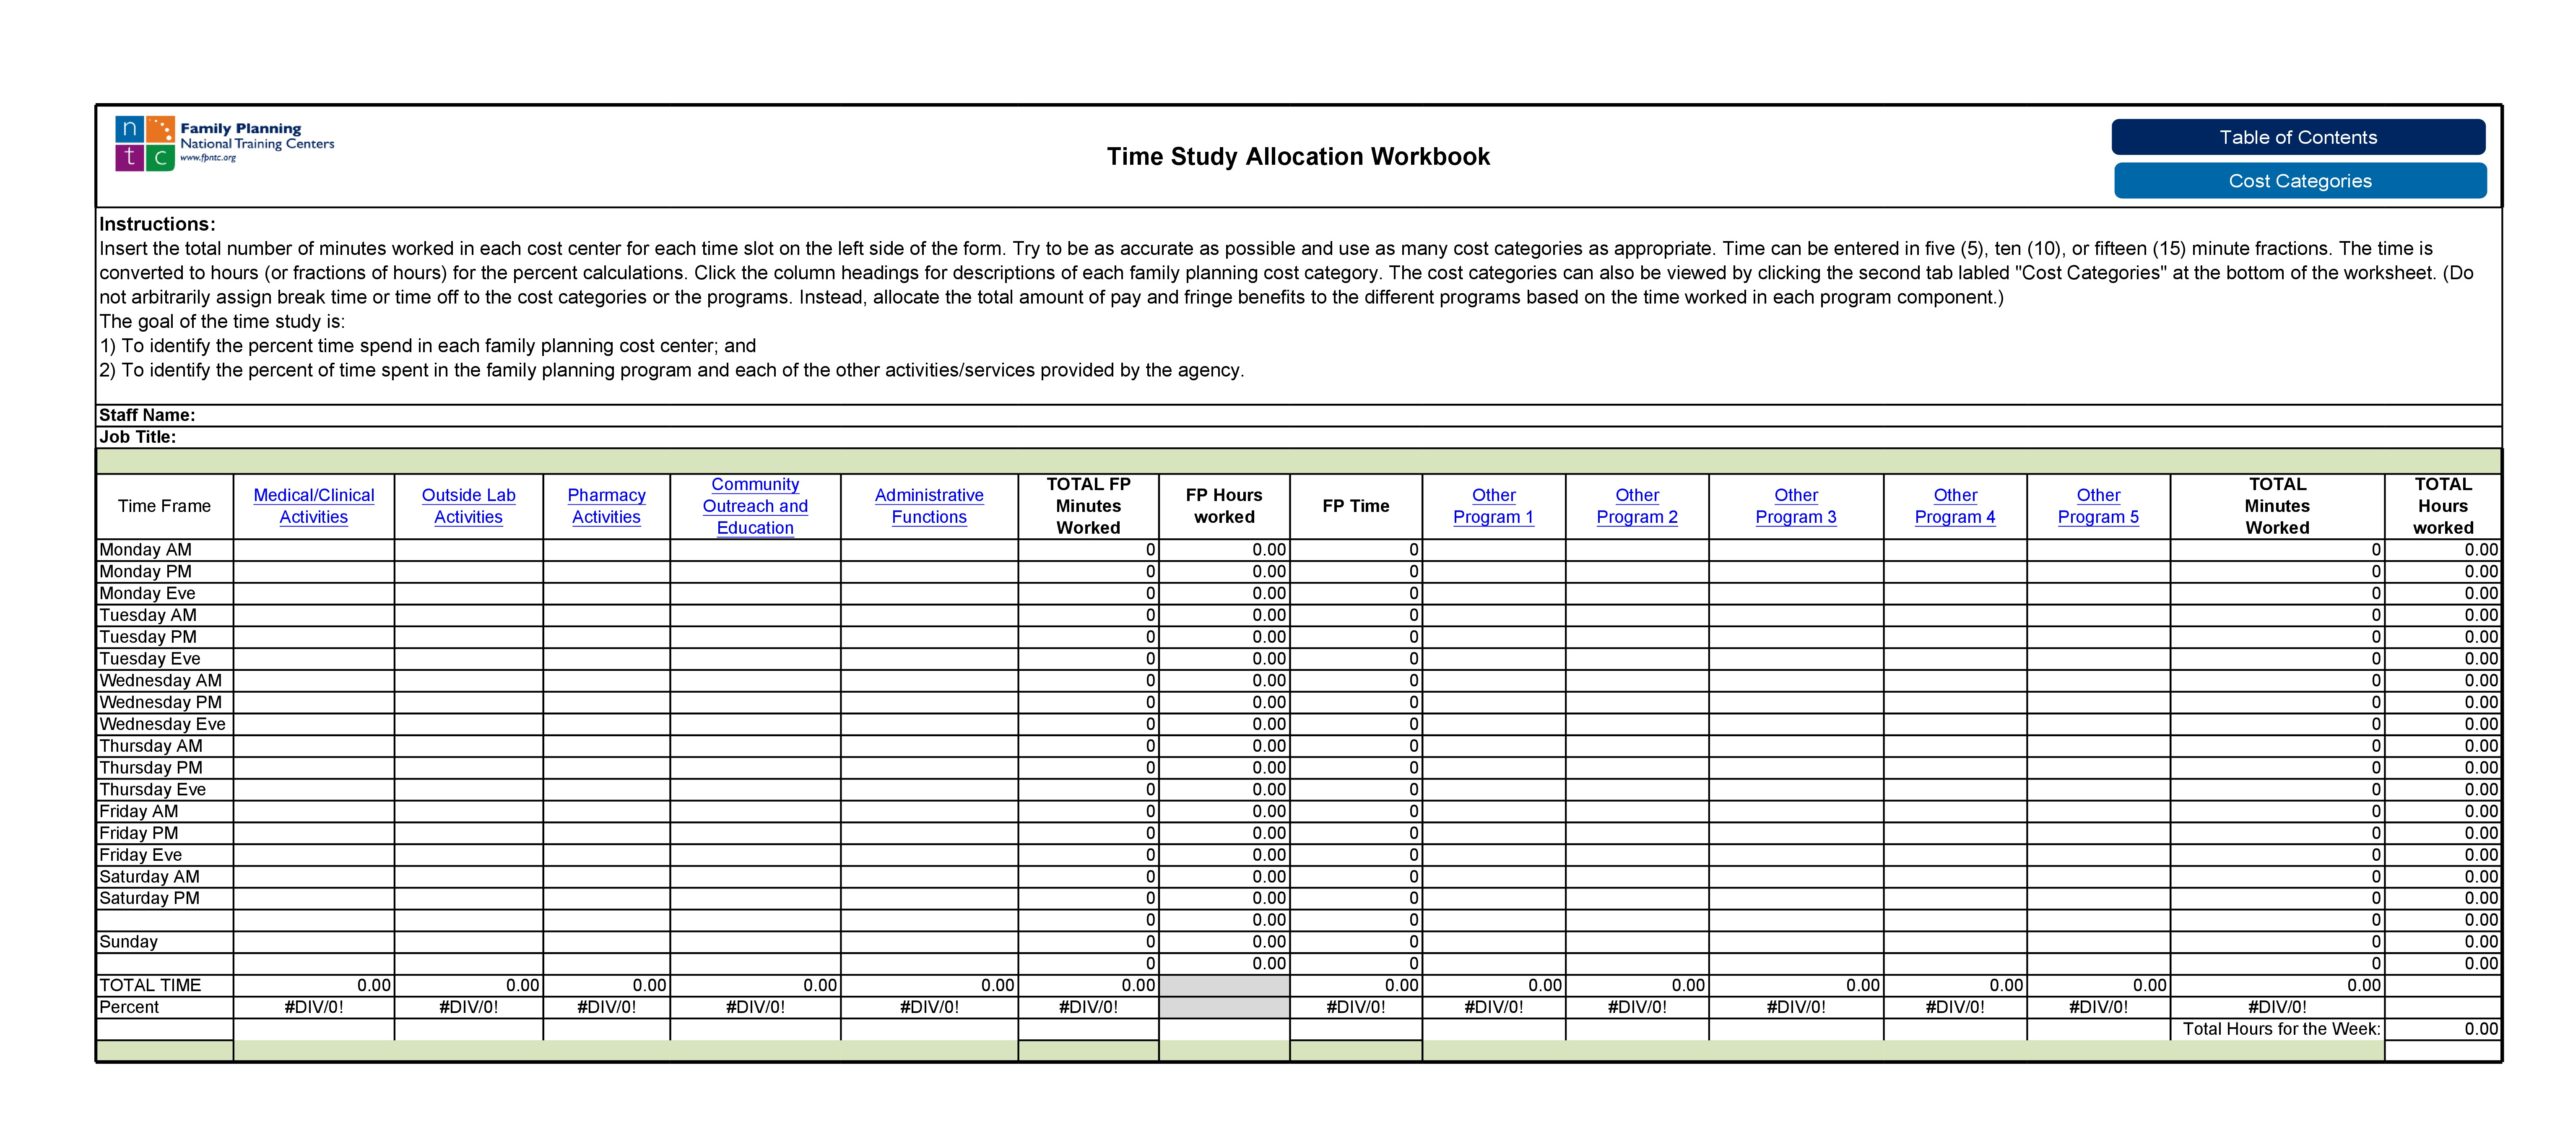
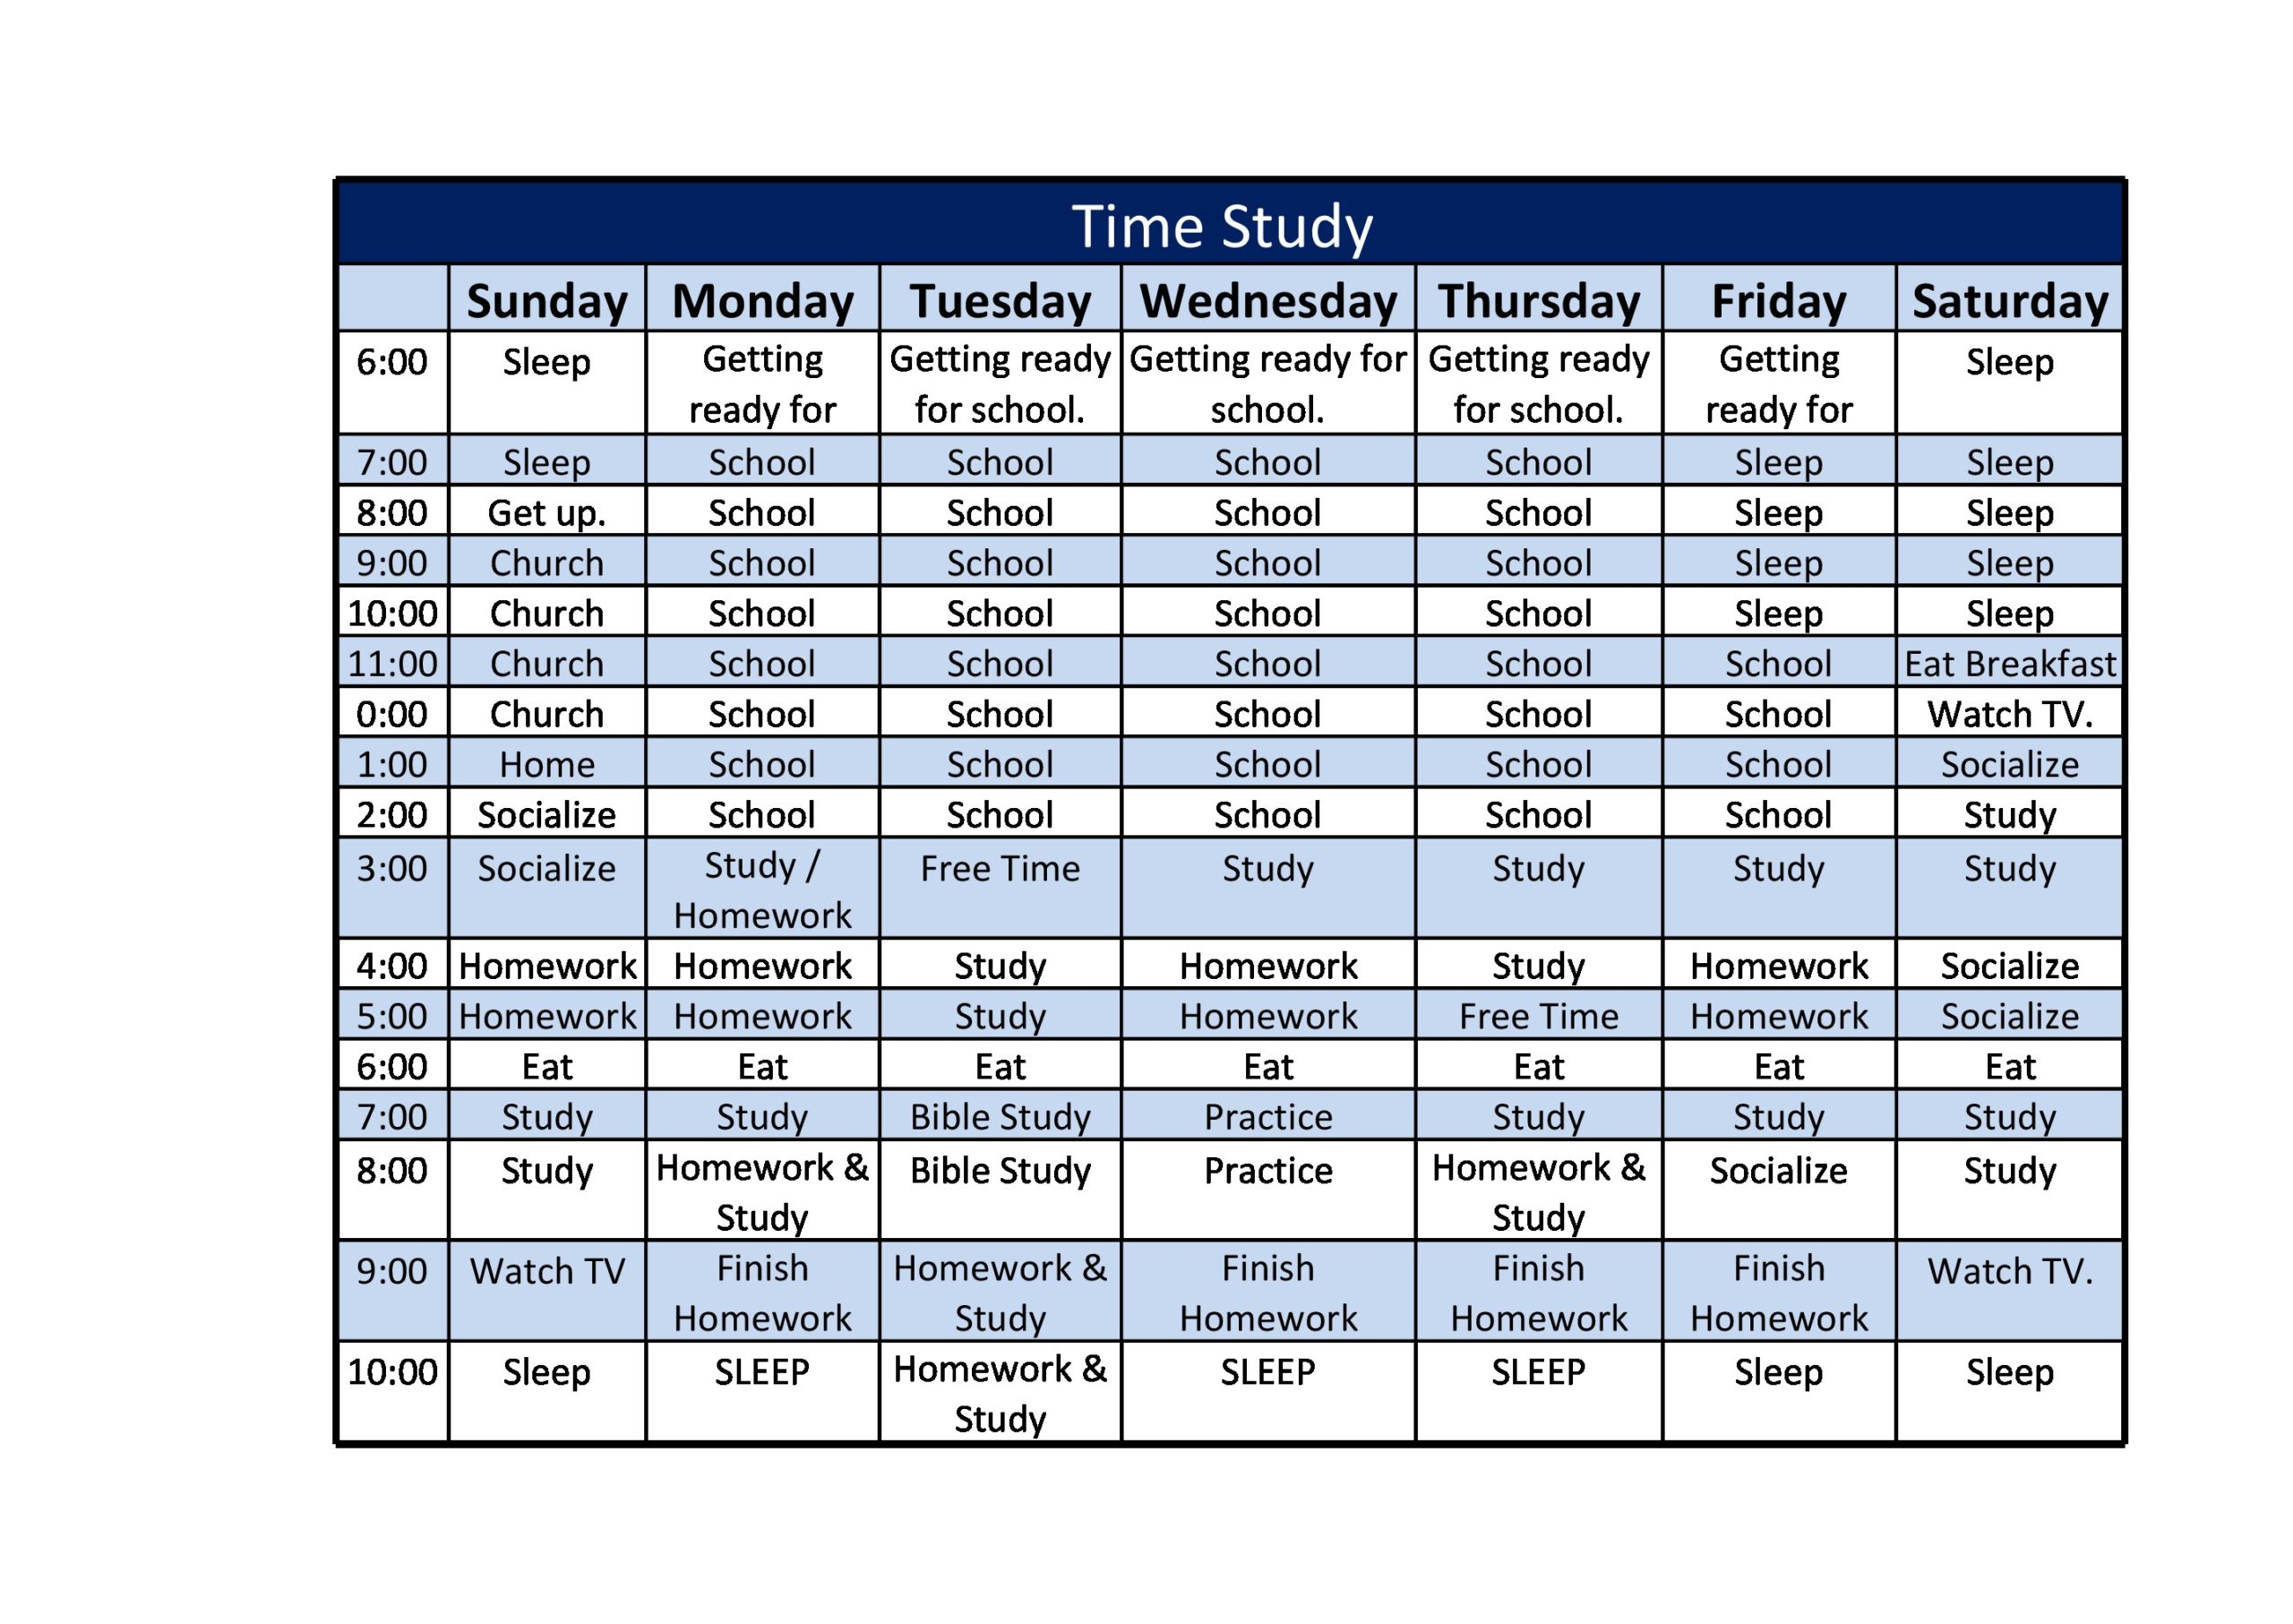
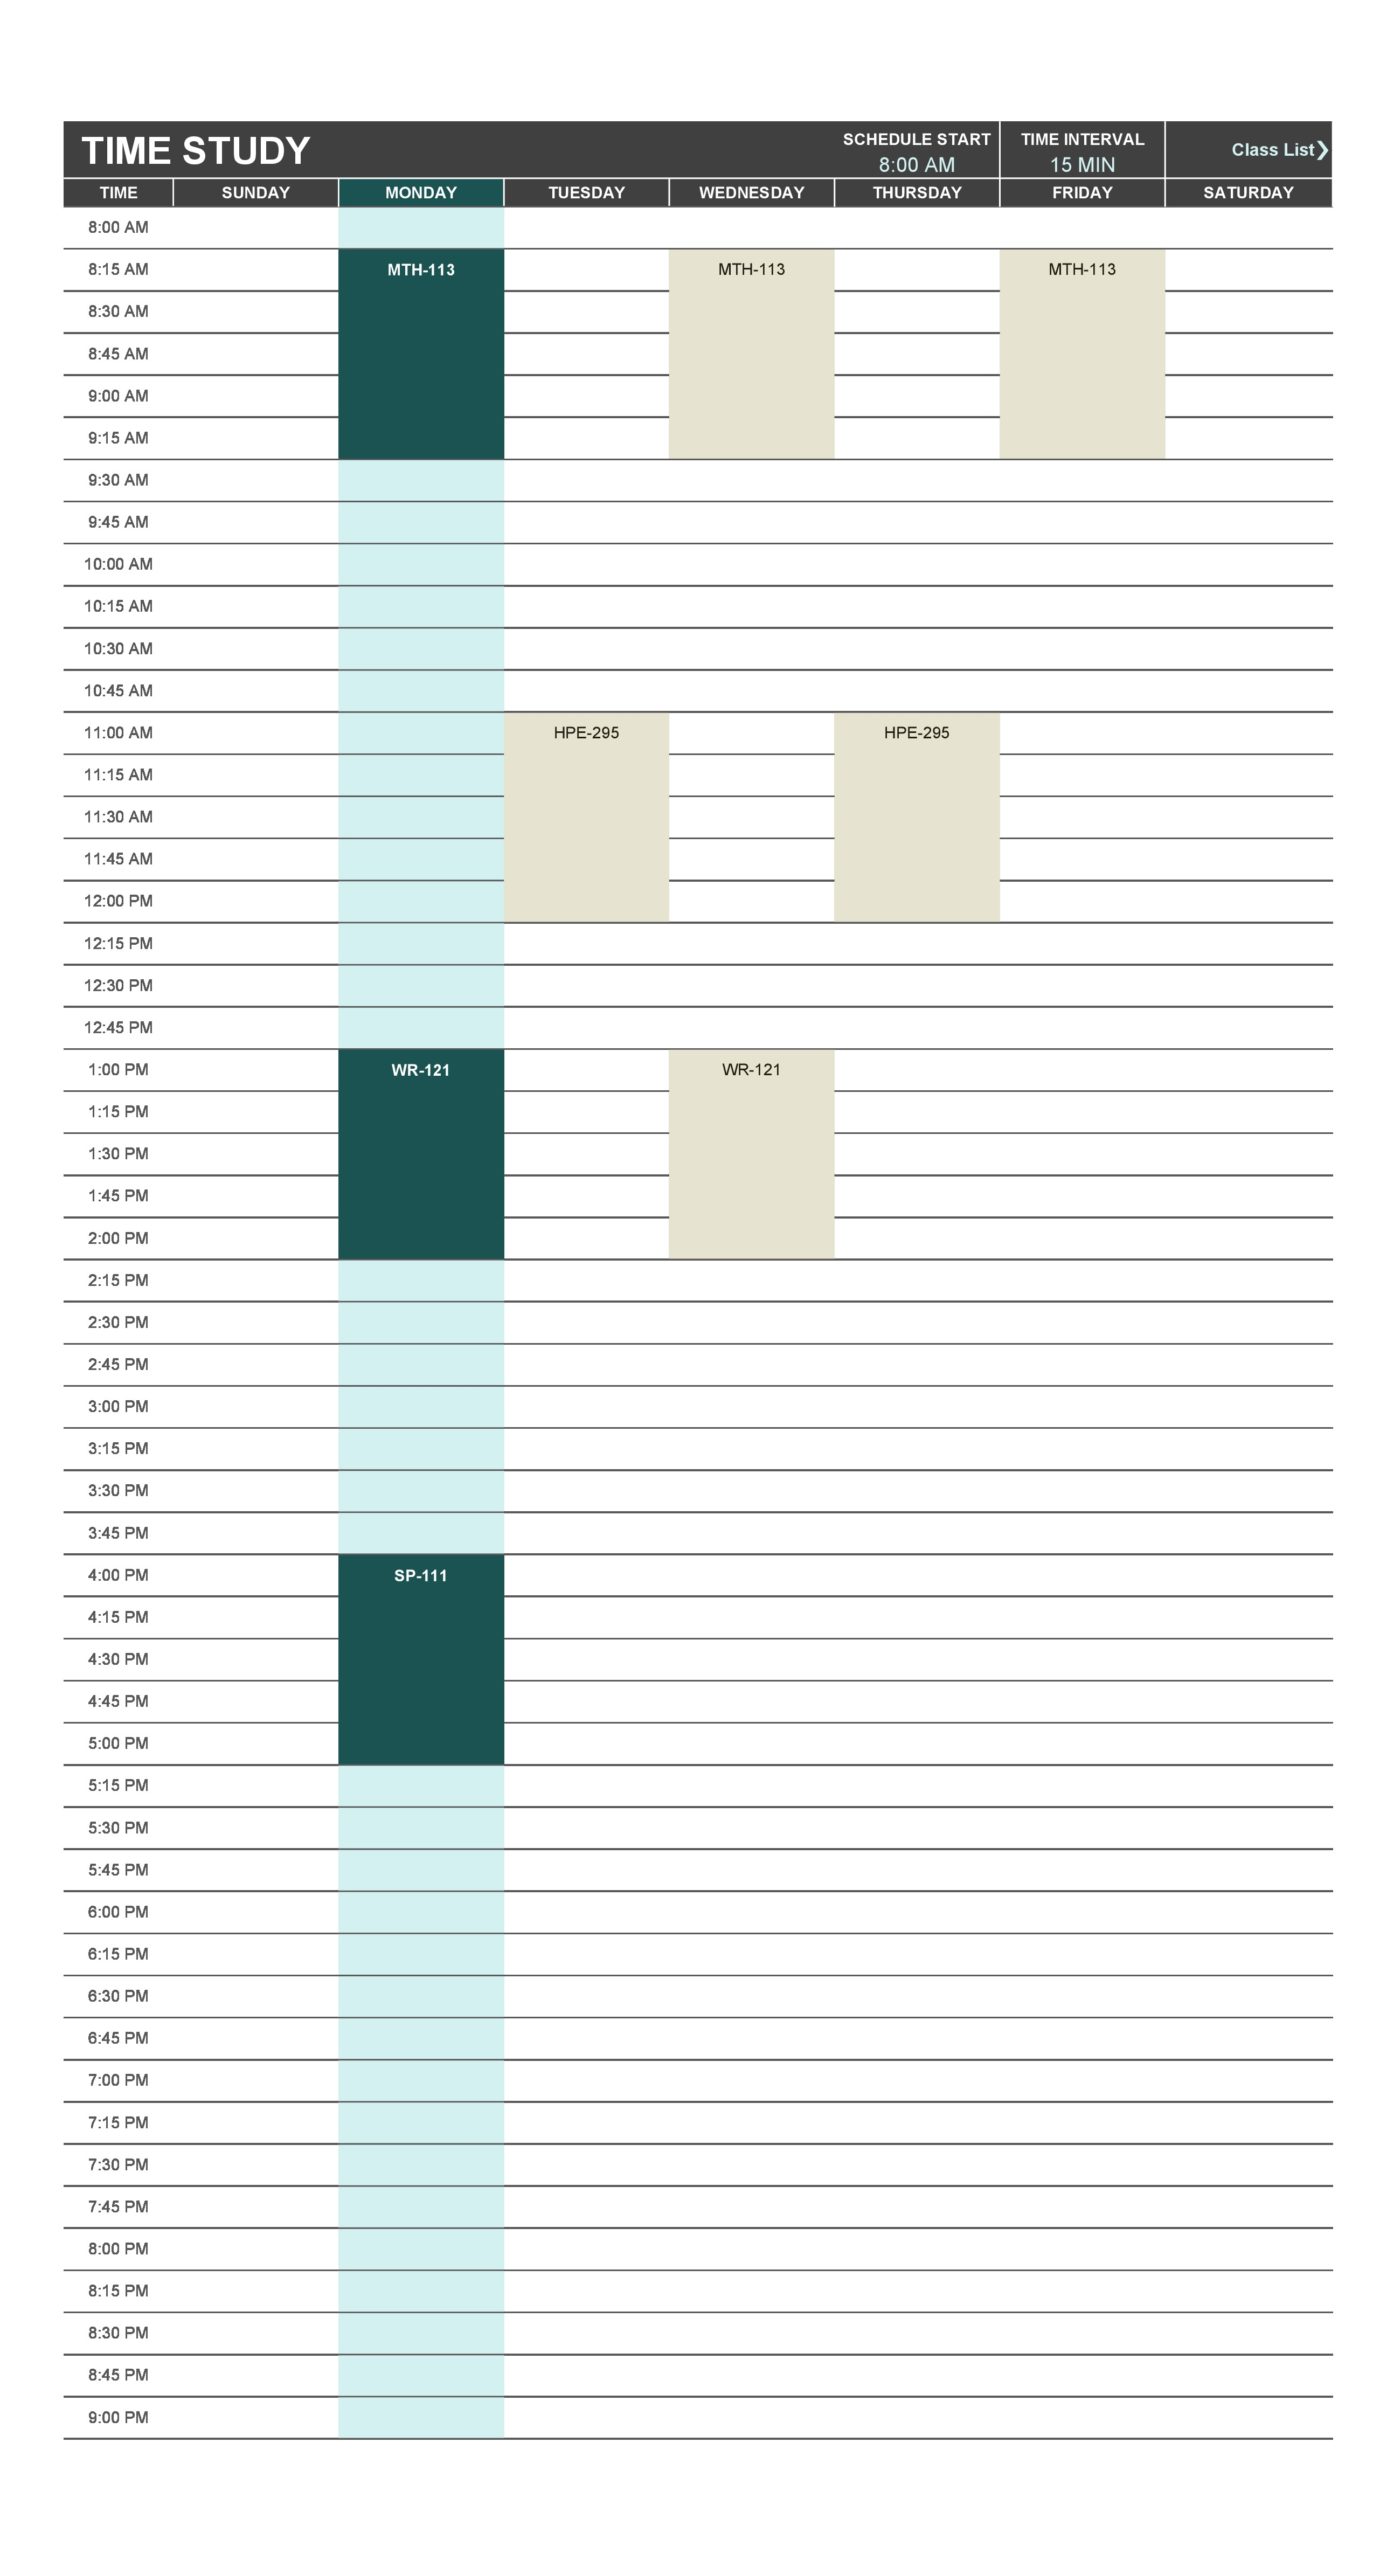
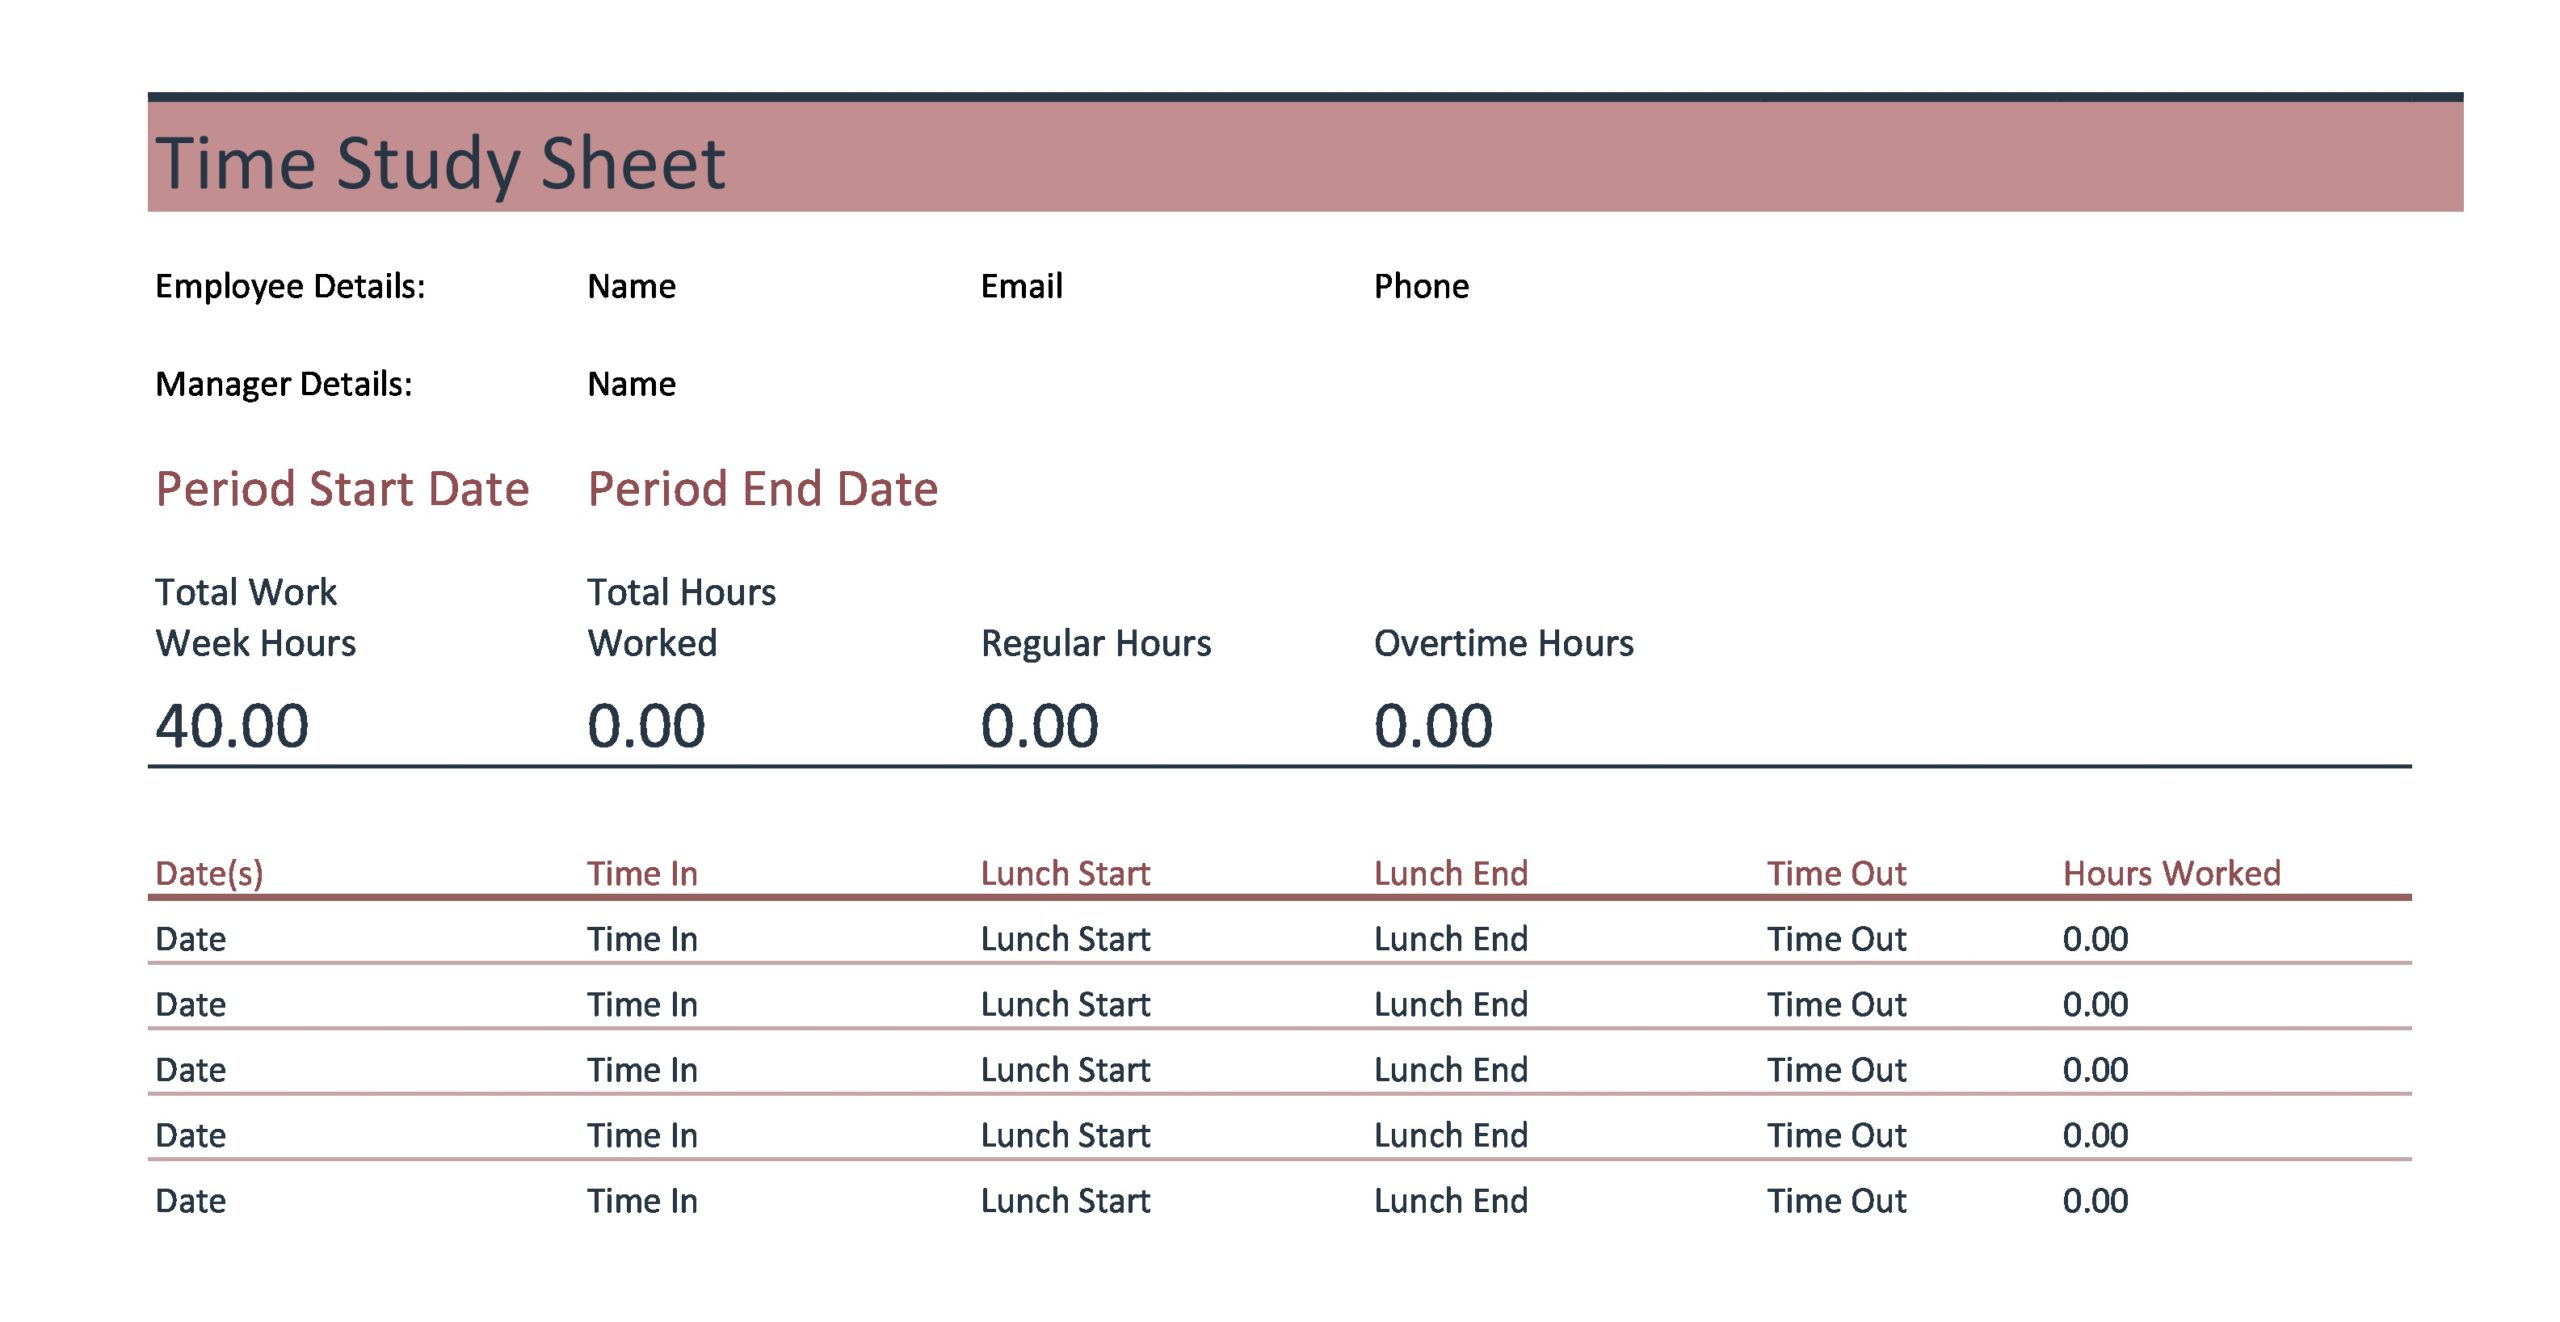
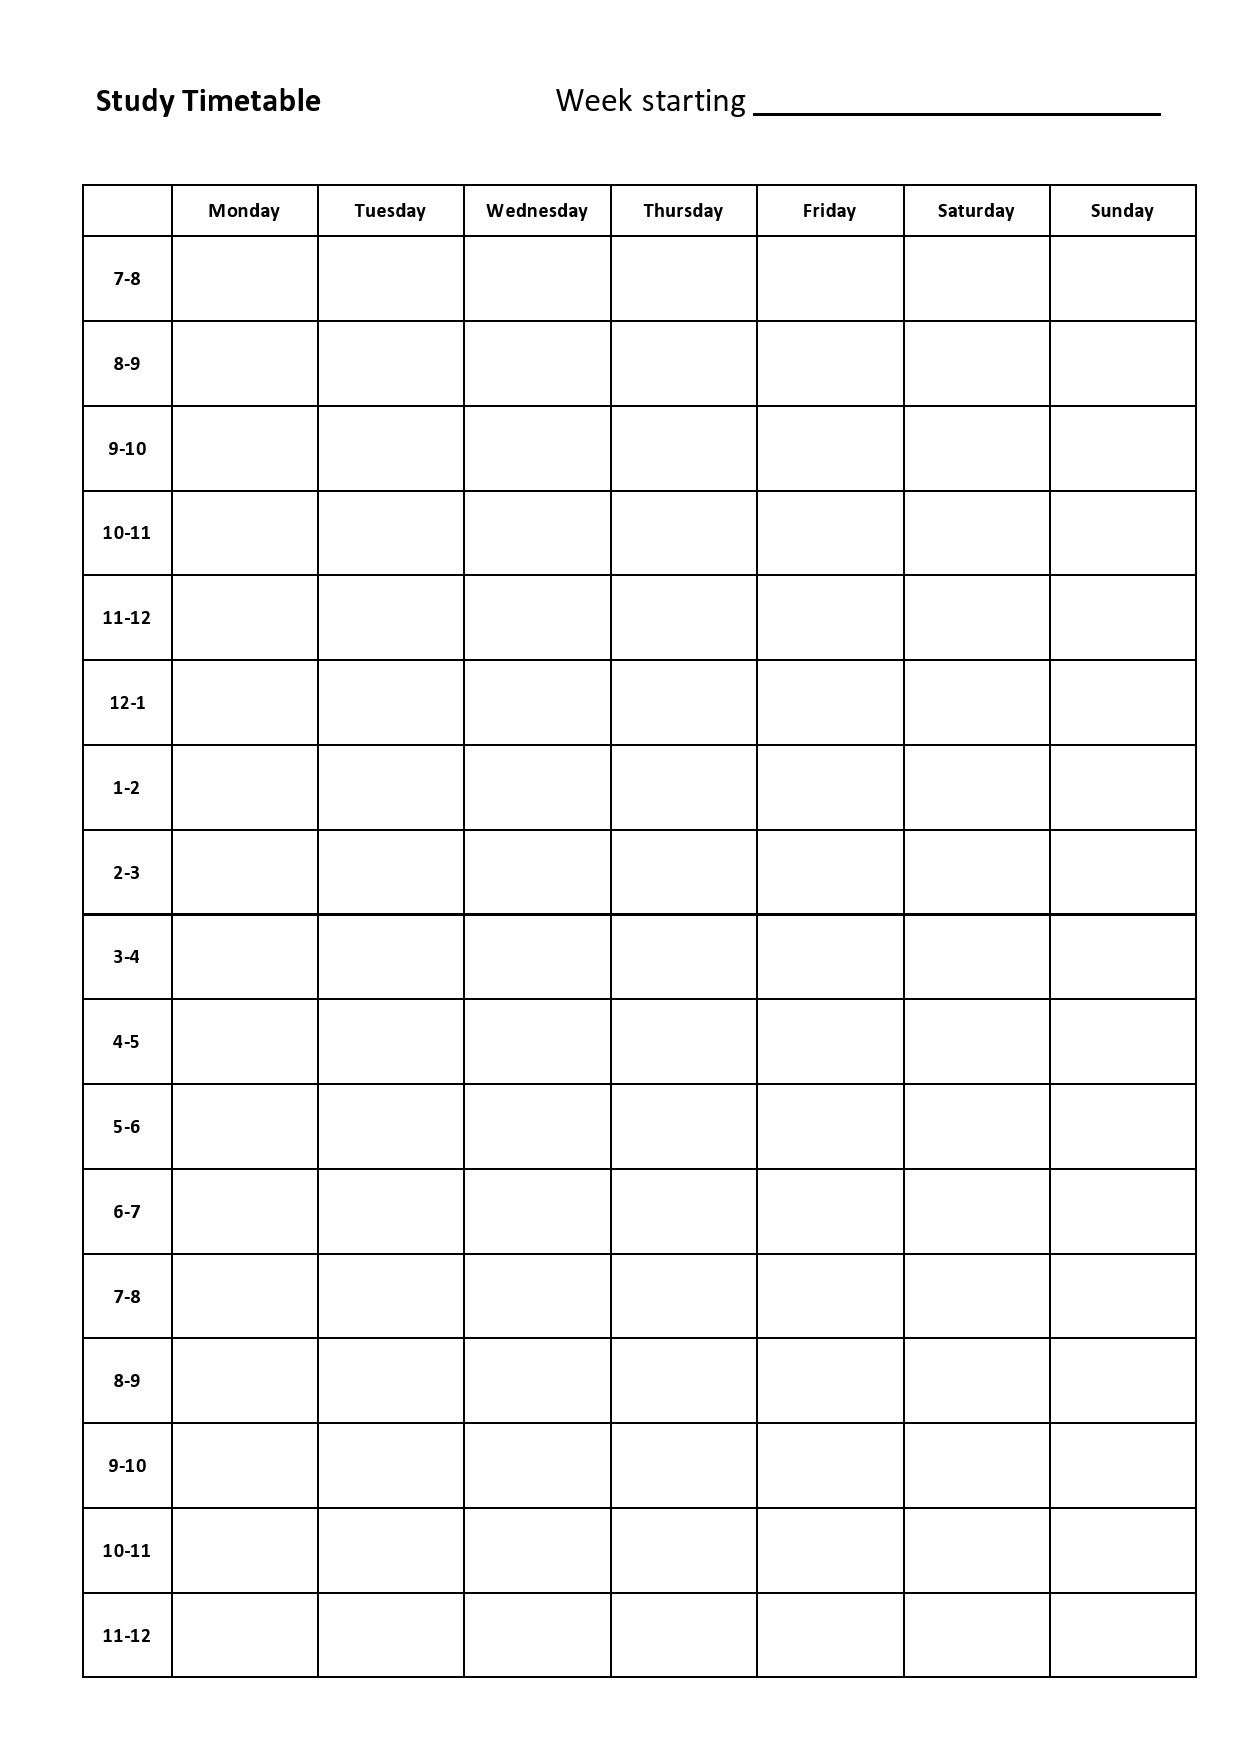
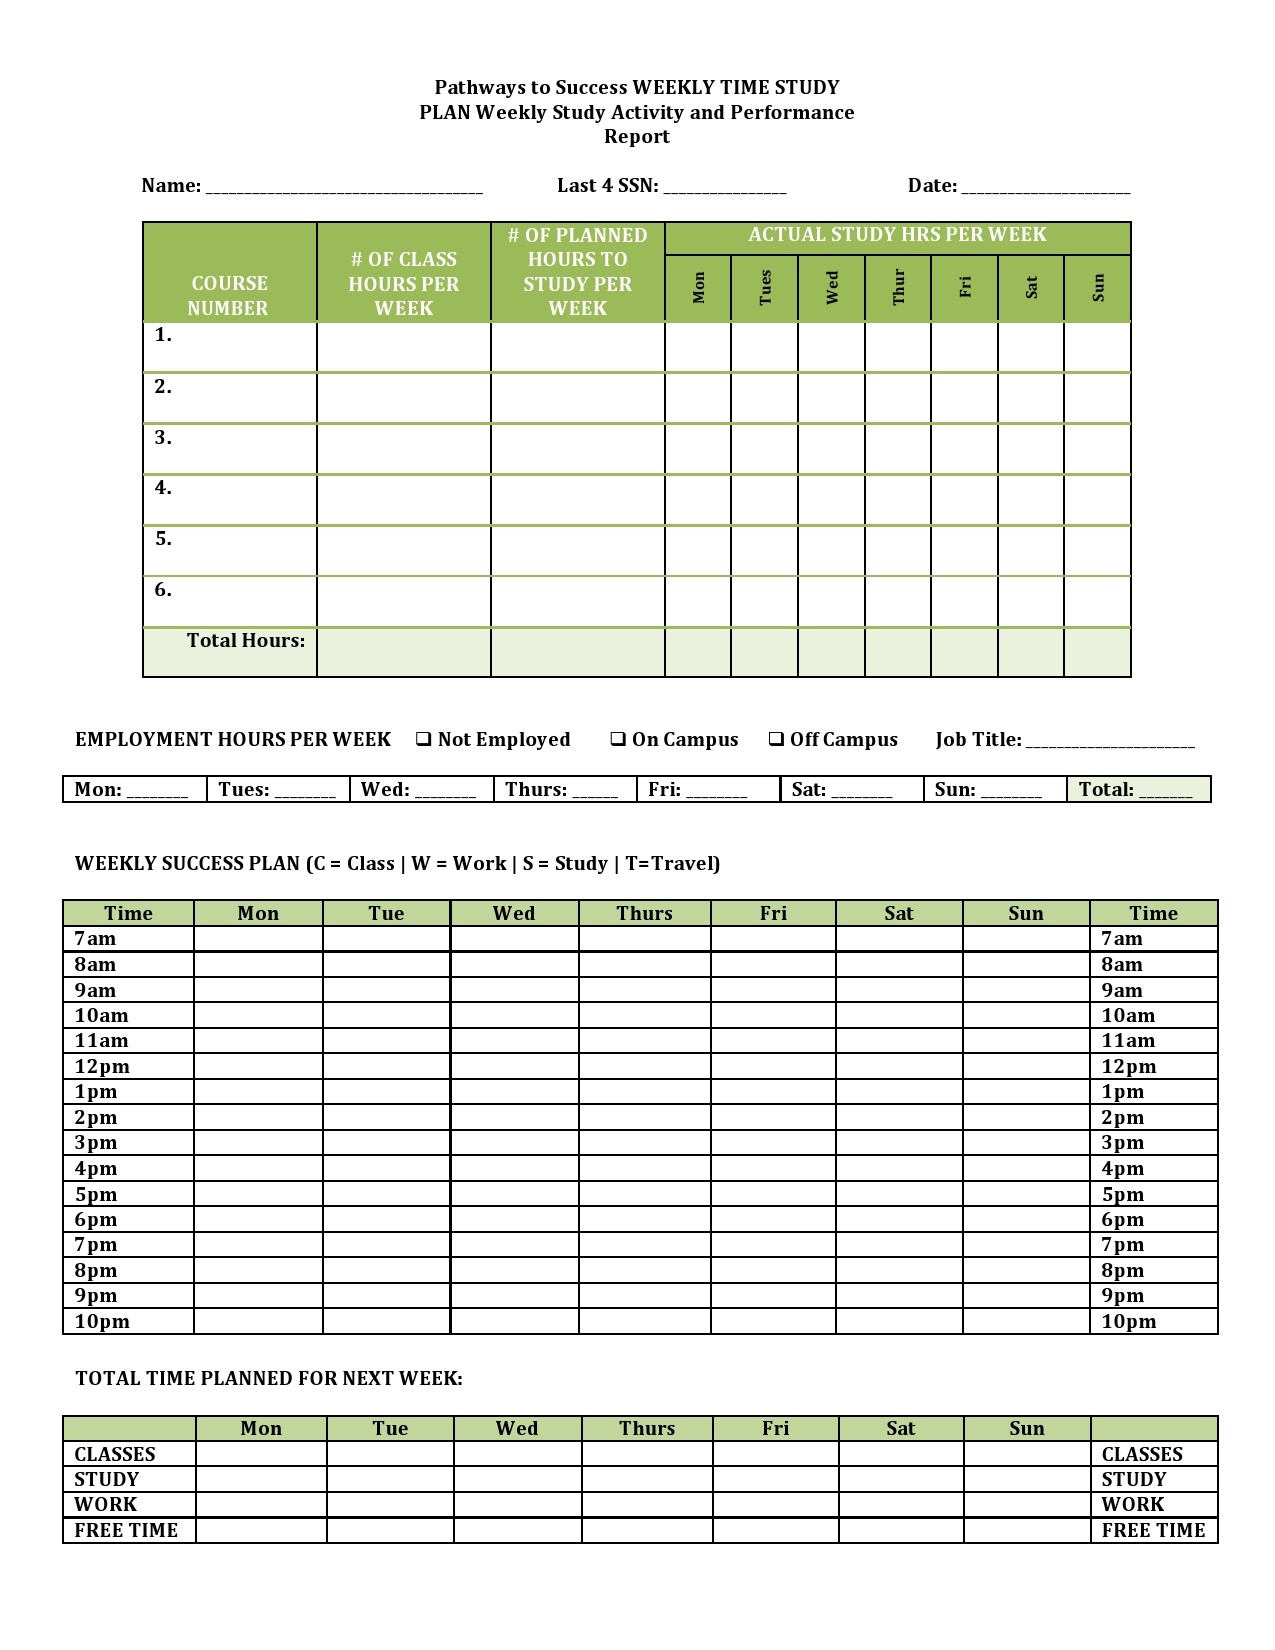
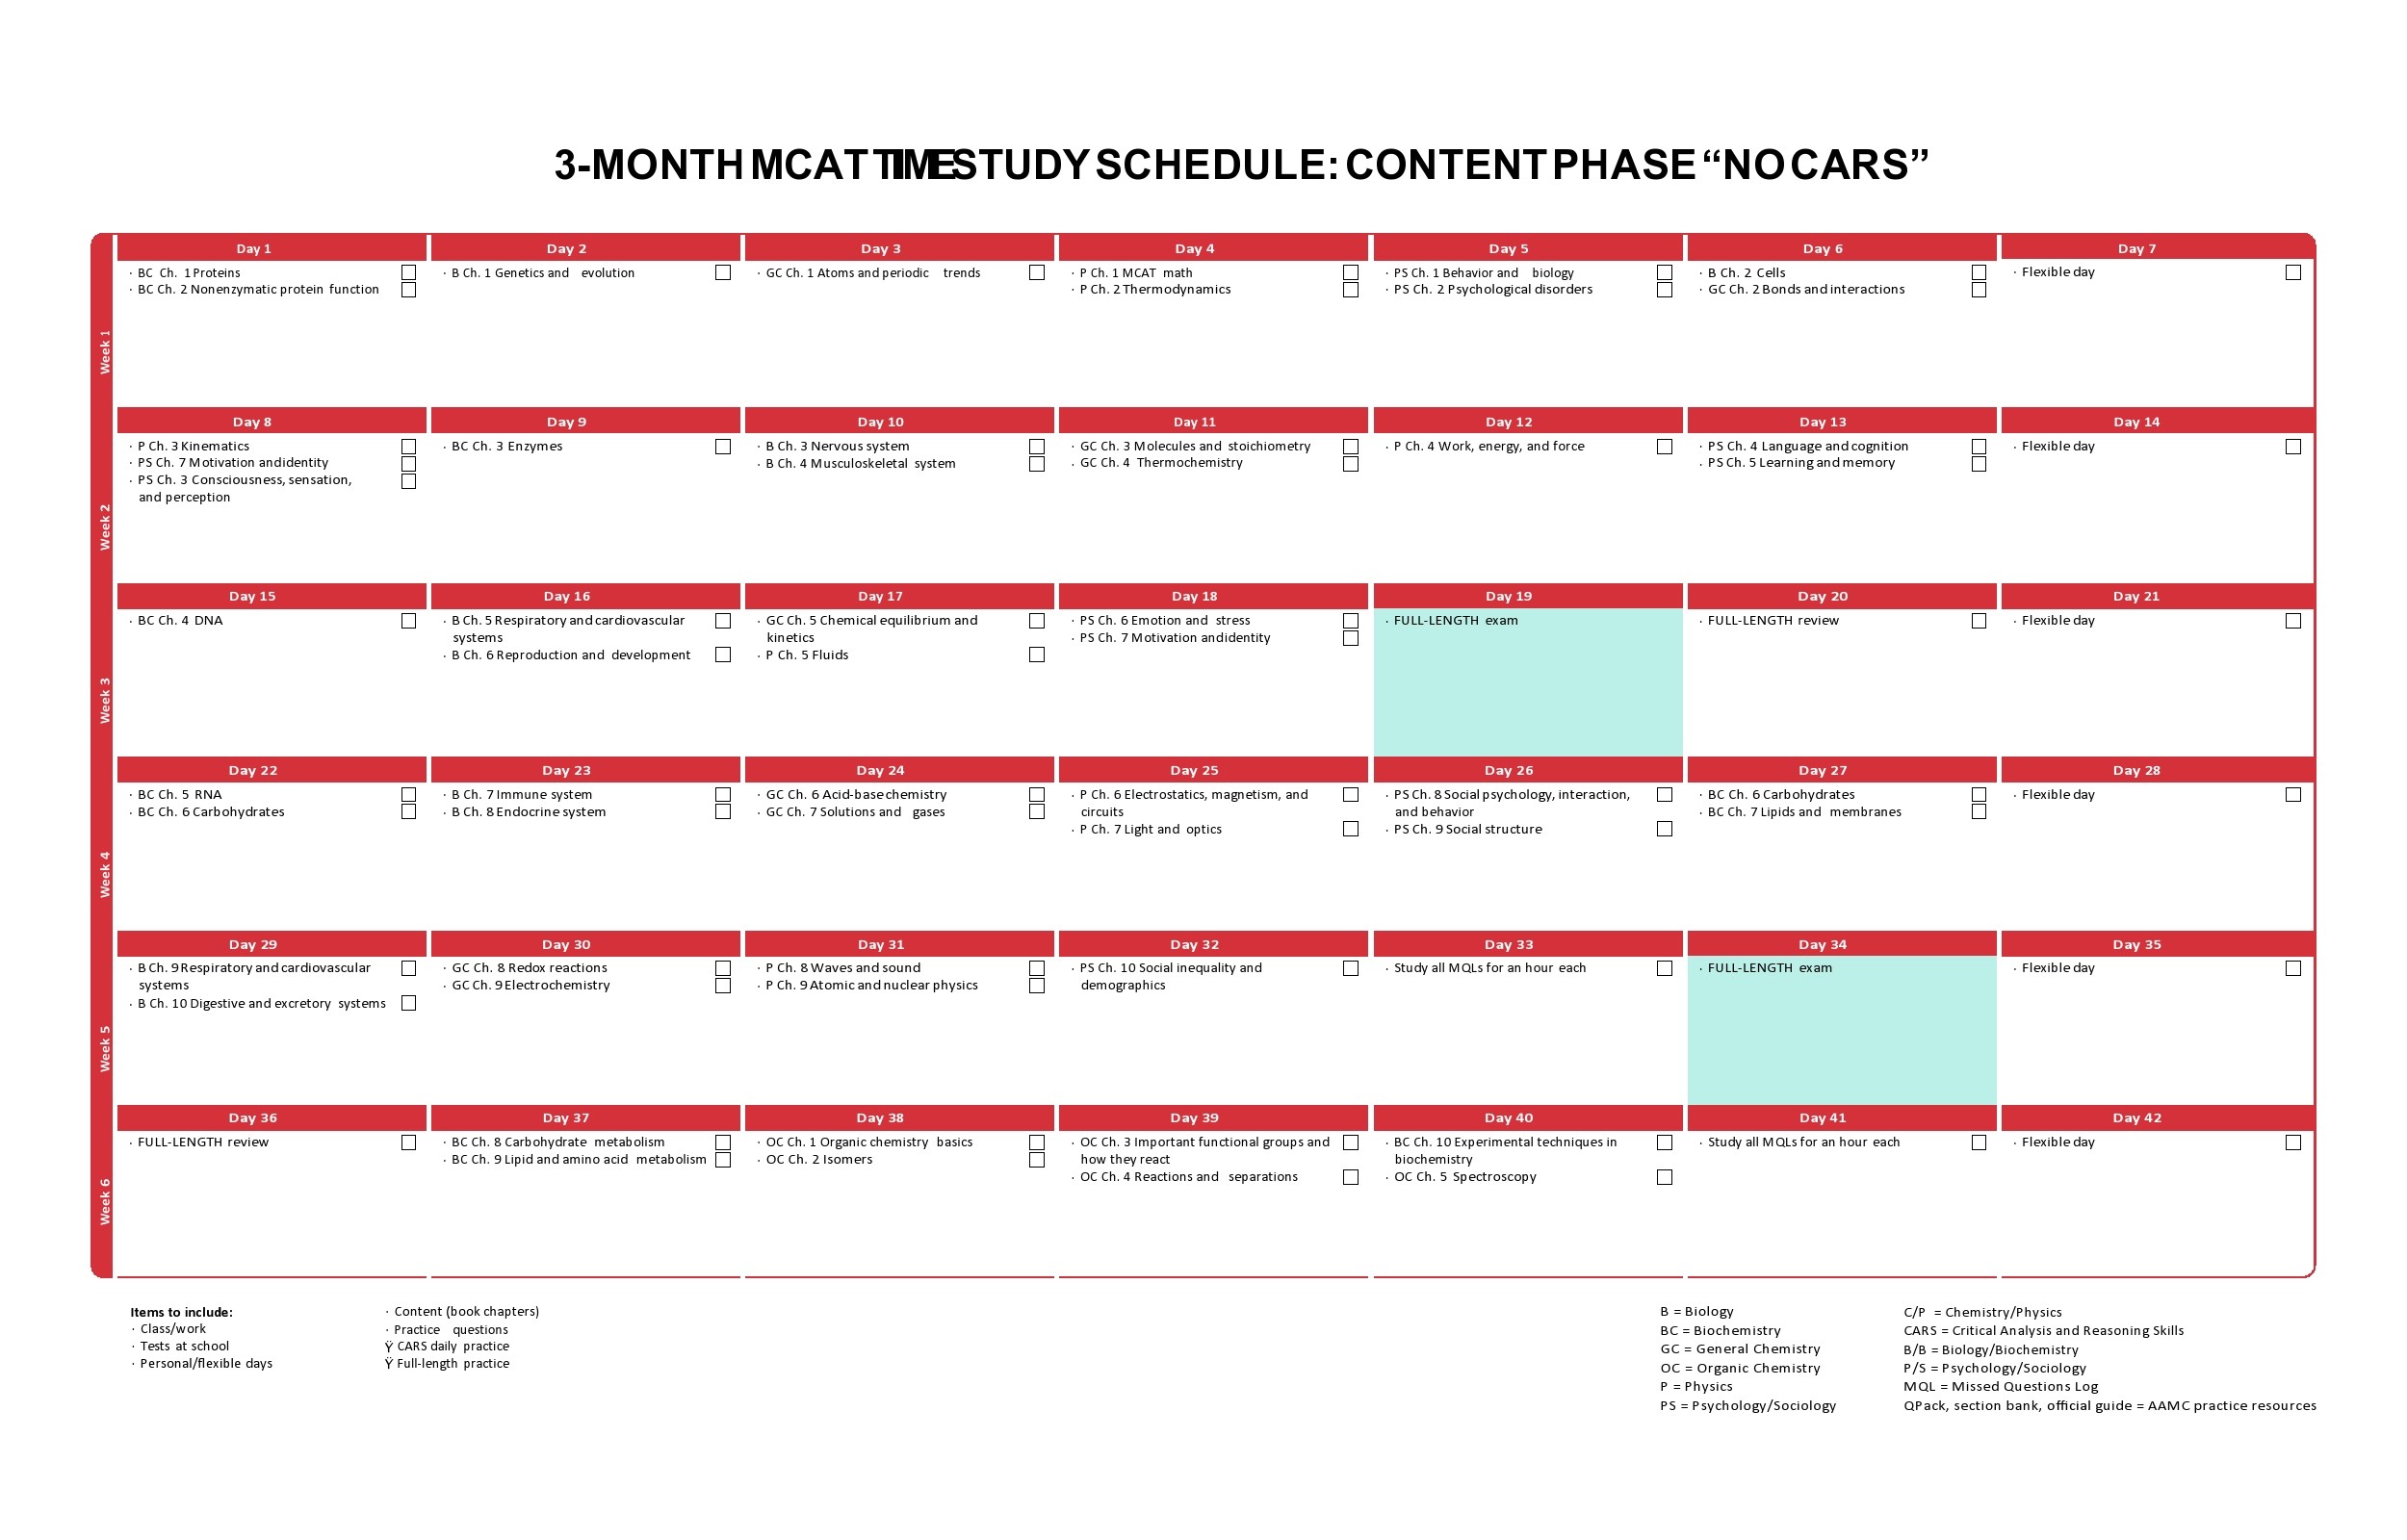
Business owners and manufacturers who can manage their study time efficiently will be more successful compared to those who cannot. For this, you would use a very important element of the work-study technique a time study spreadsheet or time management template. These days, it’s easy to develop a spreadsheet template using spreadsheet software like Excel. The time study method consists of two main parts: method study and method measurement. You would use this technique to improve the productivity of a certain process by getting rid of the non-value adding or waste operations and by standardizing the method and time for completing a task.
Table of Contents
Time Study Templates
What is the time study method?
In the world of commerce, customers who want to purchase a product often compare the price to similar ones that come from other manufacturers. This is a very common practice. Before you can provide competitive quotations, you should make an estimation of accurate labor costs first as will impact the price of the product. Prices that are too high can adversely your business affect as you won’t get a lot of orders. But prices that are too may result in losses. This is the reason why you need to come up with a time estimation for accurate pricing. Labor costs also play a significant role in pricing. Since labor costs depend on time estimation, you must estimate the time as accurately as possible.
When you have a customer who orders certain products and want those products delivered at a specific date. As a business owner or manufacturer, you can only do this if you know how much time the product will take to manufacture. To determine the accurate manufacturing time for a product, you can perform a time study. A time study refers to the art of observing and recording the time needed to perform each element of a specific industrial operation. In this case, the term “industrial operation” includes mental, machine process, and manual operations where:
- The mental time includes the time you and your workers have taken to think about various operations.
- Machine process time includes the time your machines take to perform their work.
- You divide manual time into 3 types of operations, which are tool handling, machine handling, and material handling.
What time study will do is to standardize the average time taken by workers to perform the required operations. You can also call this work measurement and define it as the application of techniques meant to establish the time for a worker to carry out a specific task at a definite performance level.
Time Management Templates
The methods of time study
The main objective of conducting a time study is to analyze a specific job done by an average worker. From this, you can determine the most efficient method in terms of effort and time. Time study measures the time needed to complete a specific job or task using the most effective method. There are also processes like methods engineering and methods analysis that involve the systematic recording and comprehensive analysis of the way workers complete jobs for the purpose of making improvements.
Methods analysis is mainly focused on the reduction of a specific job’s work content whereas work measurement is usually focused on any ineffective time that’s associated with the method and the establishment of time standards for a specific operation. The of such processes are:
- To improve procedures and processes.
- To improve the layout of an office, service area, or plan.
- Economy in terms of human effort along with reducing unnecessary fatigue.
- To improve the use of machines, manpower, and materials.
- To develop a better working environment.
Excel Time Study Templates
How do you do time study?
When you gain a deeper understanding of what you would like your study to include and how comprehensive you want it to be, including how you will interpret your data in an Excel time study template, you can say that you’re ready to start your study. Here are the steps to help you get started:
Observe the process of manufacturing
This might seem tedious but your study will begin by observing the process that already exists. Observe how the workers do their jobs. Observe how your products take shape, observe how the workers transition from one phase to the next, and how all of the aspects of production work together to create the entire manufacturing process. Continue observing until you gain a firm grasp of how your product progresses into completion.
Determine a set starting and ending point
Deciding these aspects of your study is essential. For you to gather any useful data, you must first determine the precise points at which the assembly or manufacturing process starts and ends. This isn’t a simple or generic step. It should be the exact point where you will decide when the product is officially complete and you will stop the timer.
There should be no ambiguity. For instance, will you consider your product complete when a worker will attach the last piece to it? Or will you consider it completed when a worker places the product in its packaging? Or will you only consider a product completely when a worker places it down on an assembly line?
This process might sound too critical but it is very important for you to be very clear with this point. Leaving any ambiguities open might cause your data to vary wildly. When this happens, you might get inaccurate results. Consider the difference between stopping your timer when a worker attaches the final piece versus when the product is in its packaging. This seemingly insignificant difference can already mess up all of your data.
Break the process of manufacturing down Into specific steps to determine each starting and ending points
After determining an overall starting and ending point for the whole manufacturing process, the next thing to do is to do this step over and over again until you have the whole process organized and accounted for. A good way to start is by breaking down the whole process into steps that will work toward its completion.
At this stage, you can be as in-depth or as surface-level as you wish. For instance, you could decide that the whole process will only require 6 steps or you might think it would take 30. Whatever you decide, make sure to stick with the number you arrive at.
The next step is to determine the exact starting and ending points for each of the steps. Always remember the significance of fixed ending points as they will provide your data with reliability and clarity later on. If you fail to set these ending points, your data might end up insubstantial. After writing all of this information on your time study template, it’s time to prepare your recording tools to gather more data.
Start recording your data
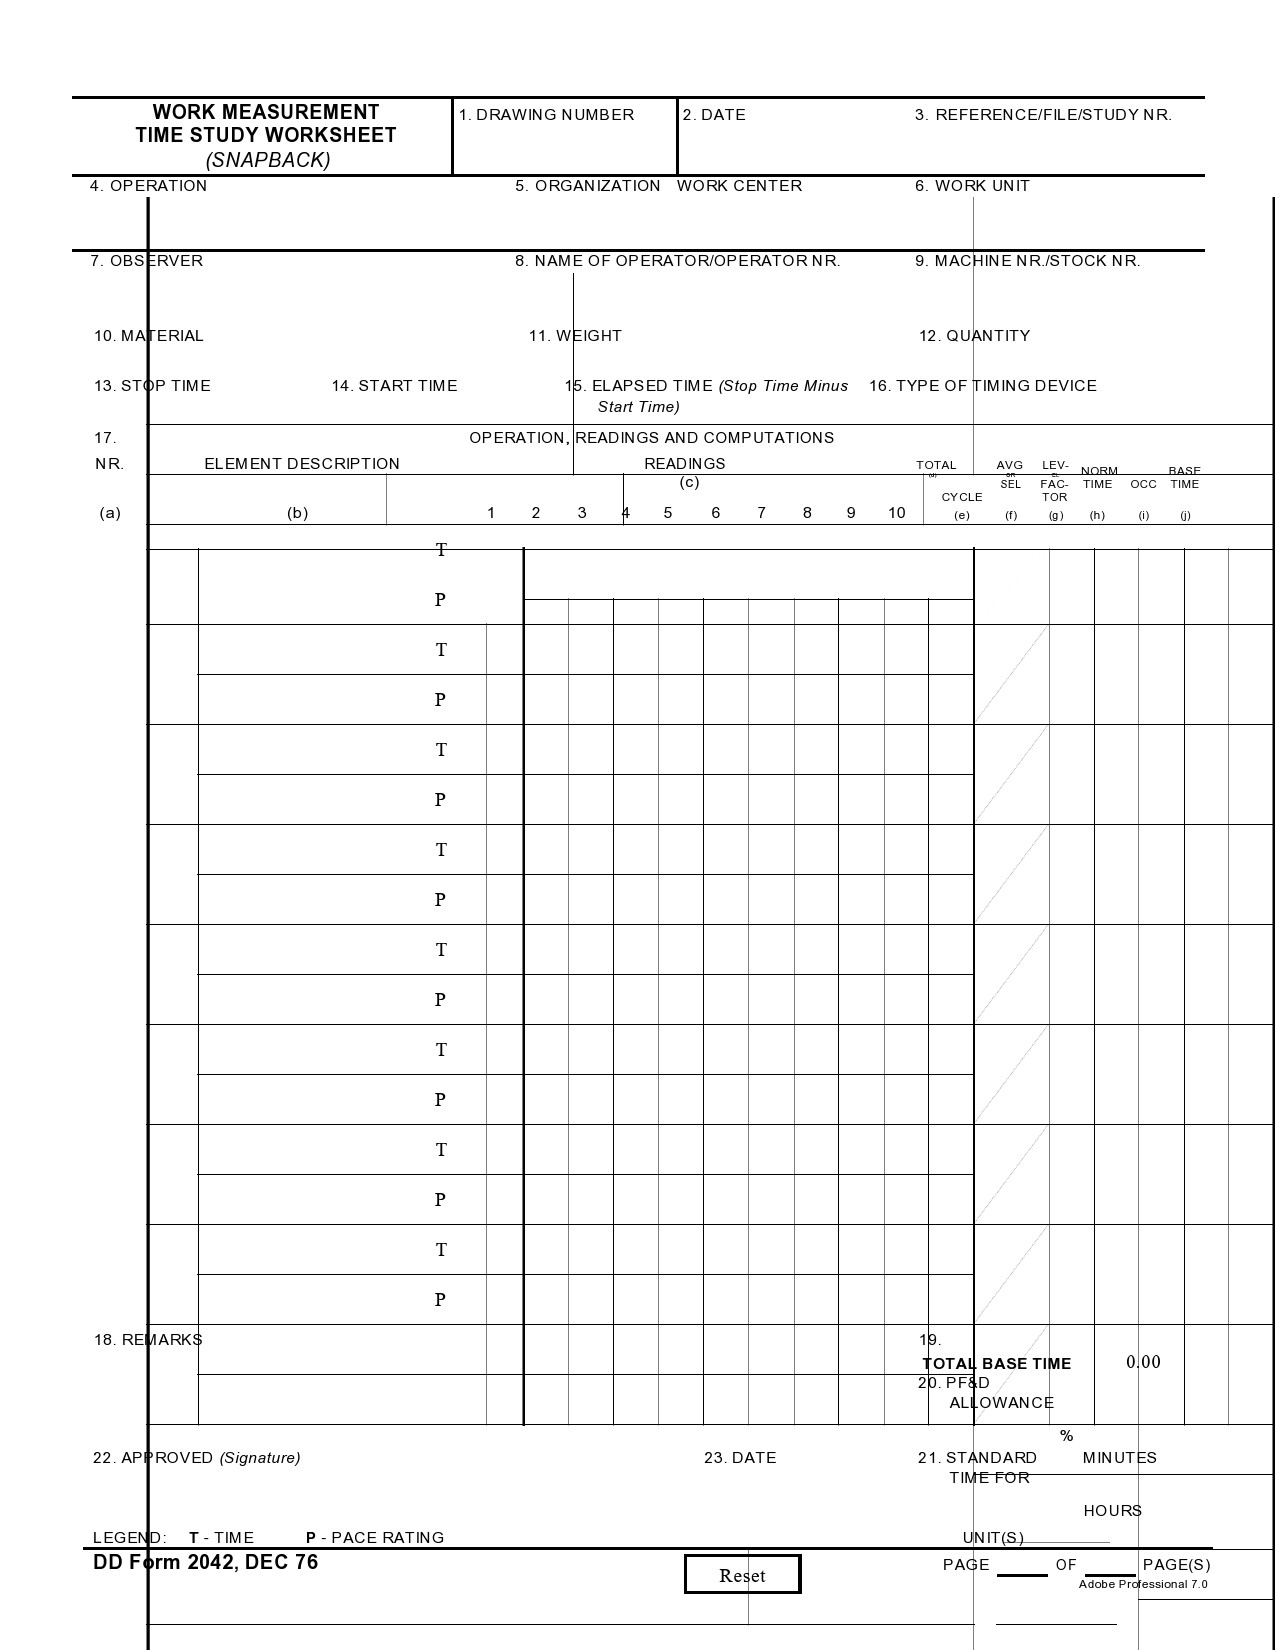
Once again, perform observations on the whole process. When the assembly reaches the starting point you have set, start your stopwatch. Pause the stopwatch when the assembly reaches the endpoint you have set. Perform this time recording a couple of times until you have collected a significant sample size. Repeat this procedure for all of the steps you have written down until you get a huge pool of sample times for each of the manufacturing steps.
As you record the timing, you make to take a note of the ratings for each of the steps of the process. This may include the performances of the employees, whether they work at an average speed or if you think they’re working going faster or slower than normal. For instance, you can record a 100% rating for an employee who works regularly while recording 110% for one who works faster than the others.
Analyze the data you have recorded.
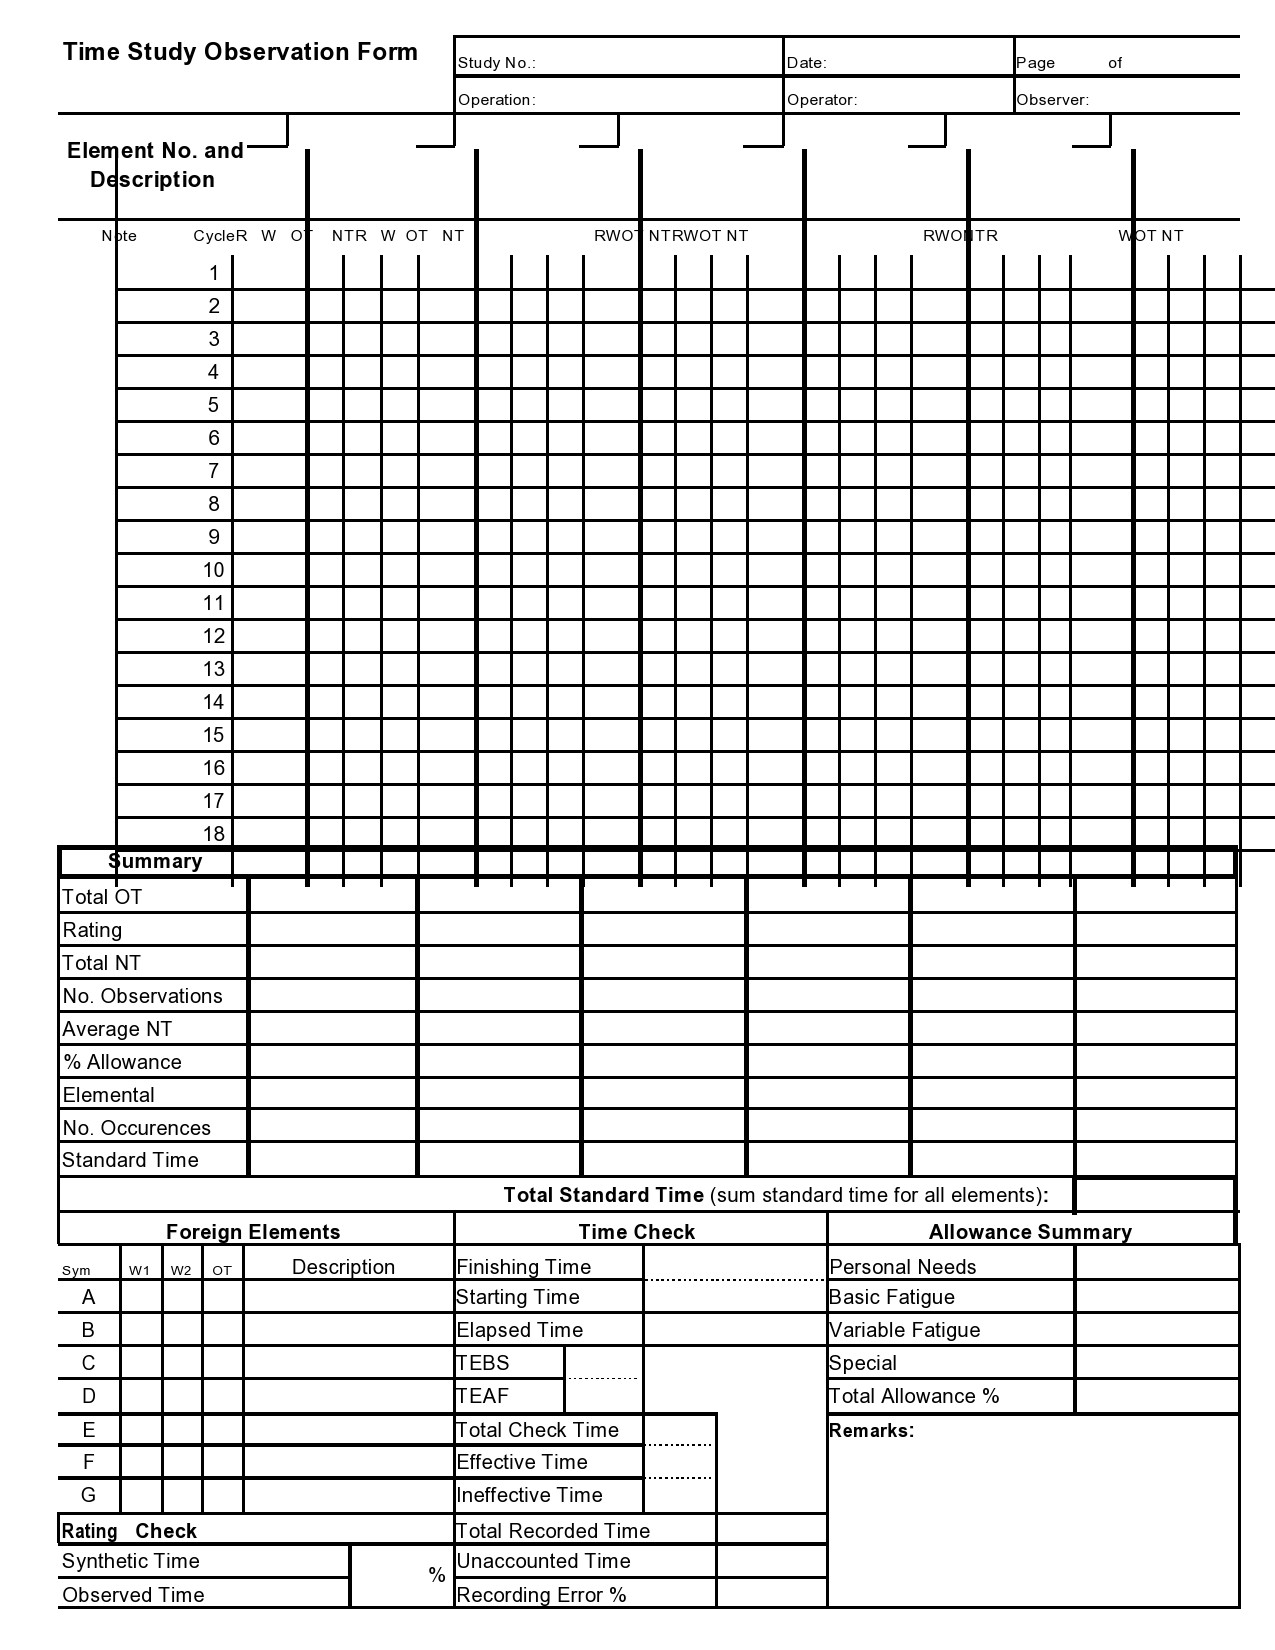
After you finish recording all of the times, the next step is to analyze your data. This requires some calculations to arrive at an estimate of the average time for each of the steps. Here are the steps to do this:
- Take the length of time you have observed, then multiply this number by your rating of the employee’s speed. Doing this gives you the average time for each of the steps.
- Add the value of the average times for each step together to get the average time for the whole assembly.
- Next, sum up the base time you have observed without including the ratings of the employees.
- Divide the total average time. The first value that includes the rating of the employee by the base total of observed time.
- Divide the number you get (the total average time) by how many cycles you have observed. This will give you the average normal time.
- Finally, factor in the number of breaks and allowances the employees have taken. The final value will give you the average amount of time it takes to complete the whole assembly.
Time Management Sheets
How to make a time study template?
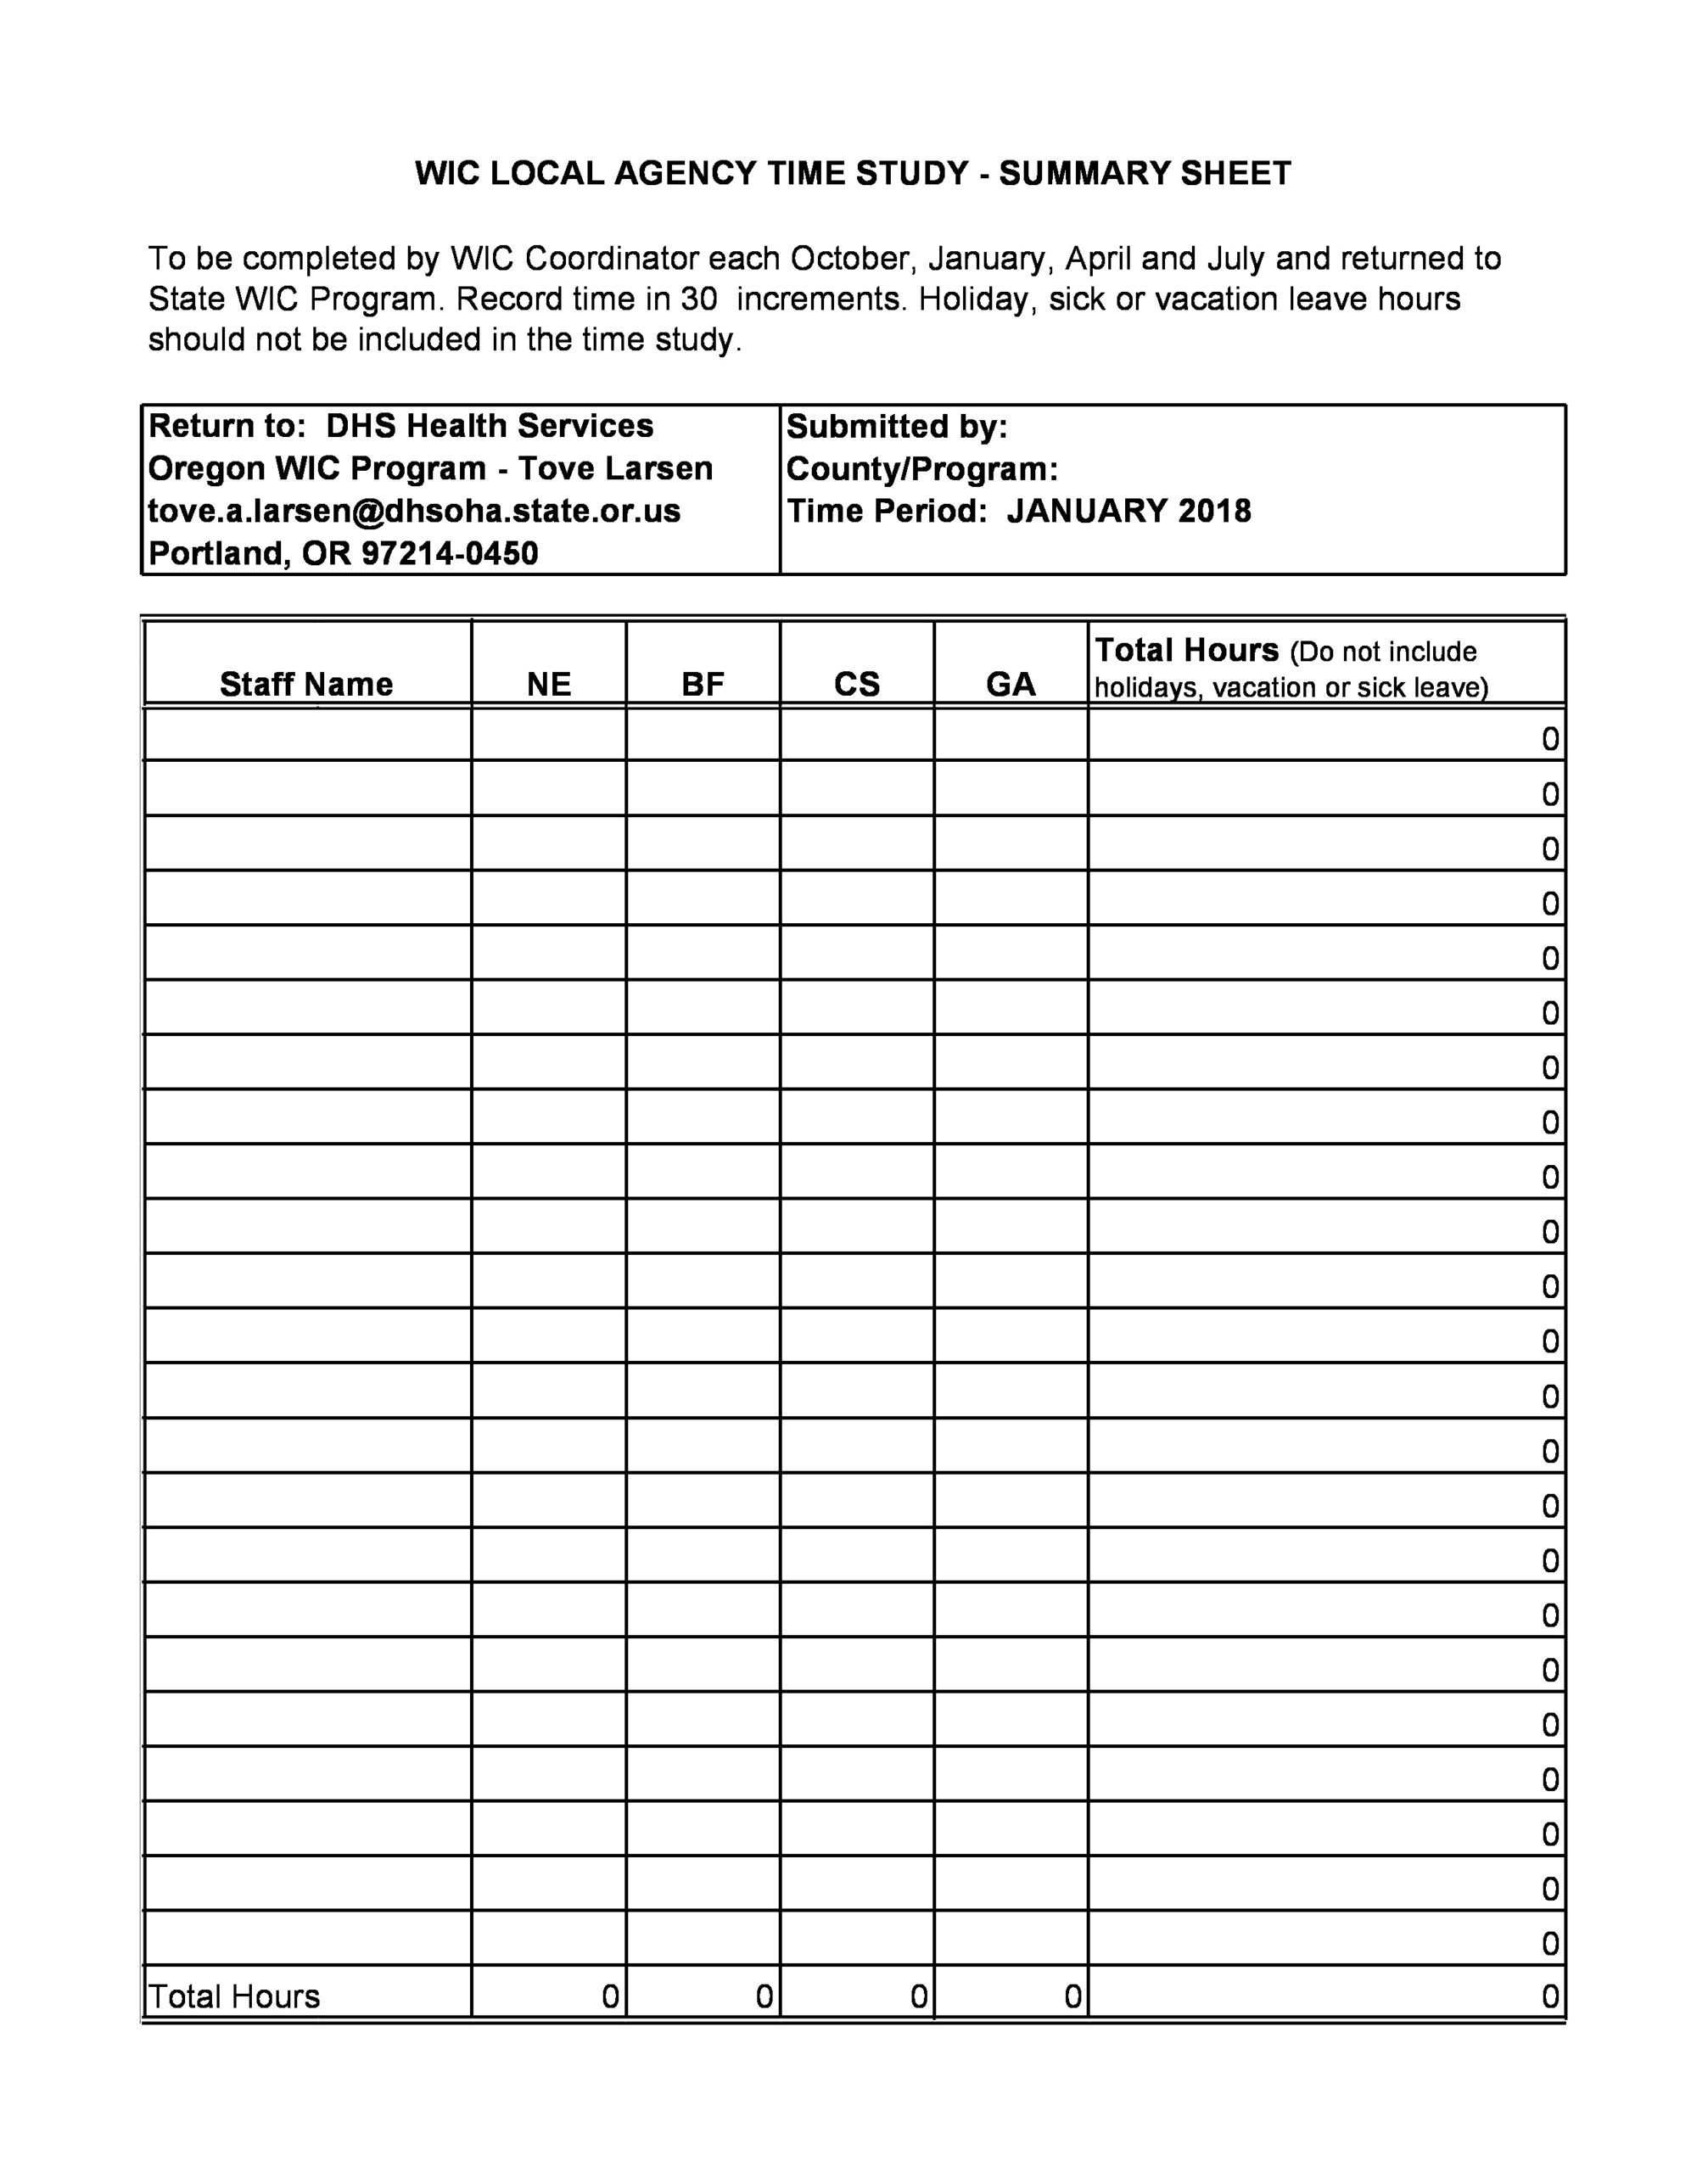
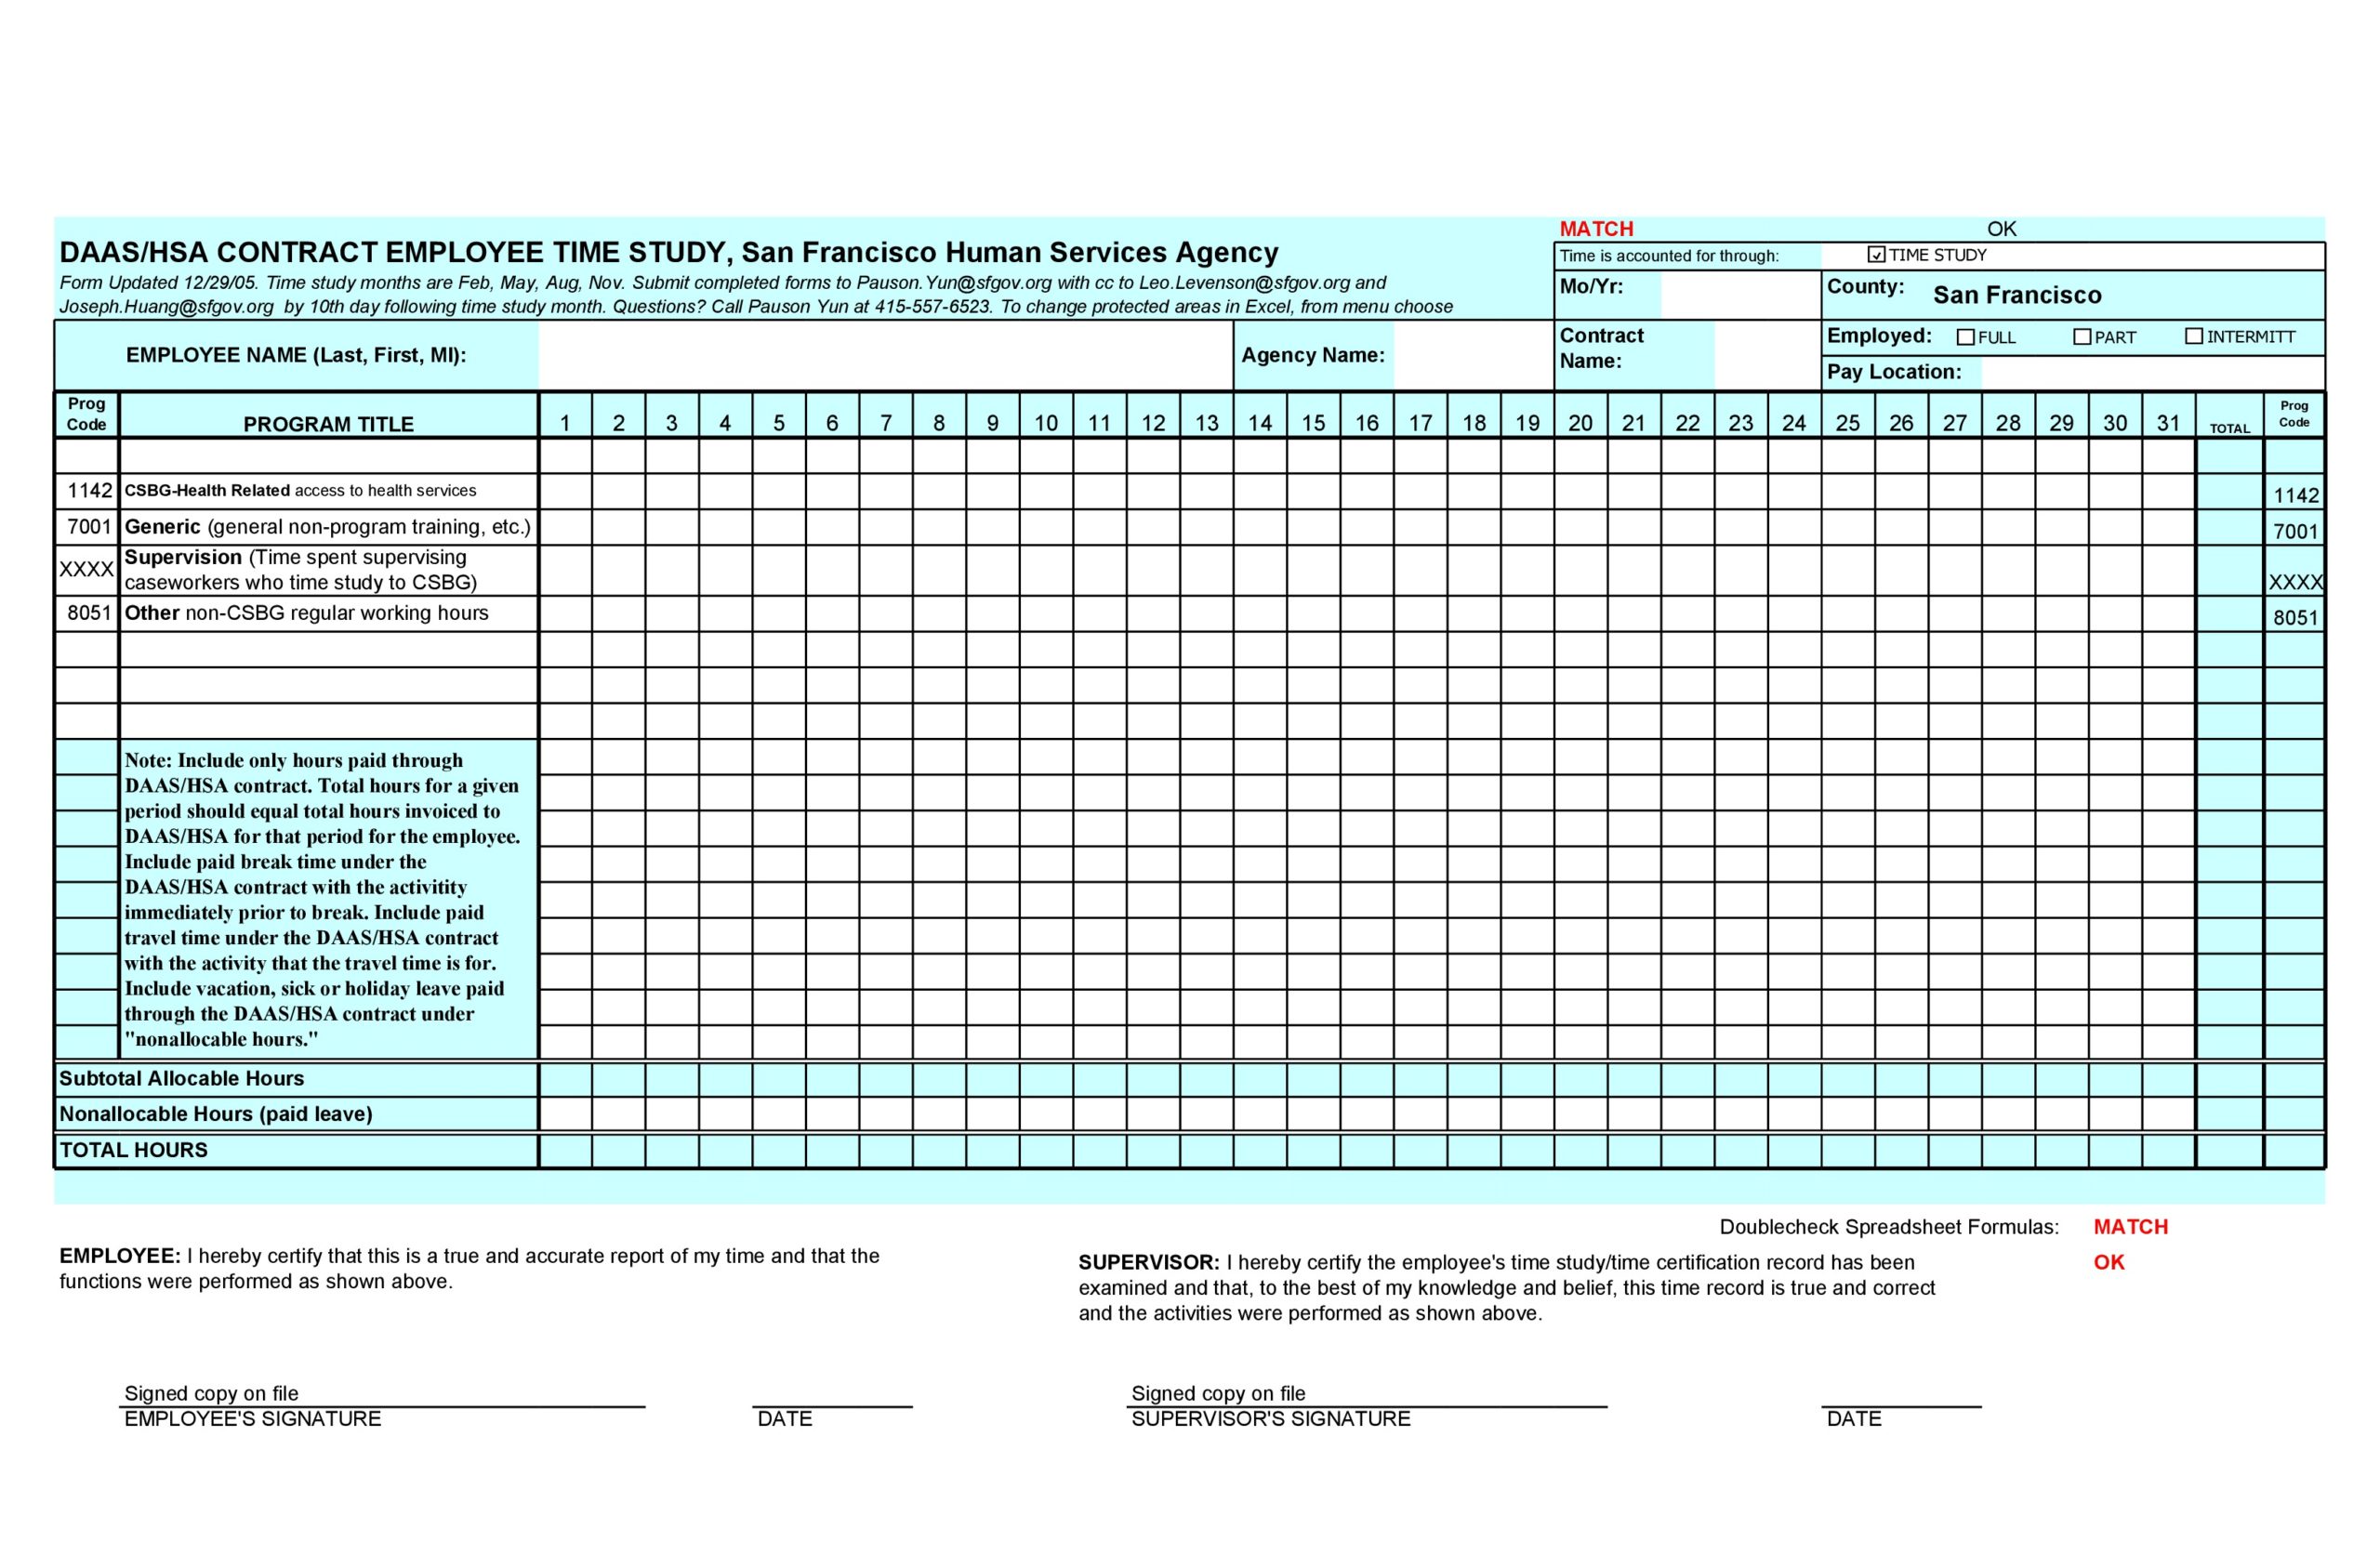
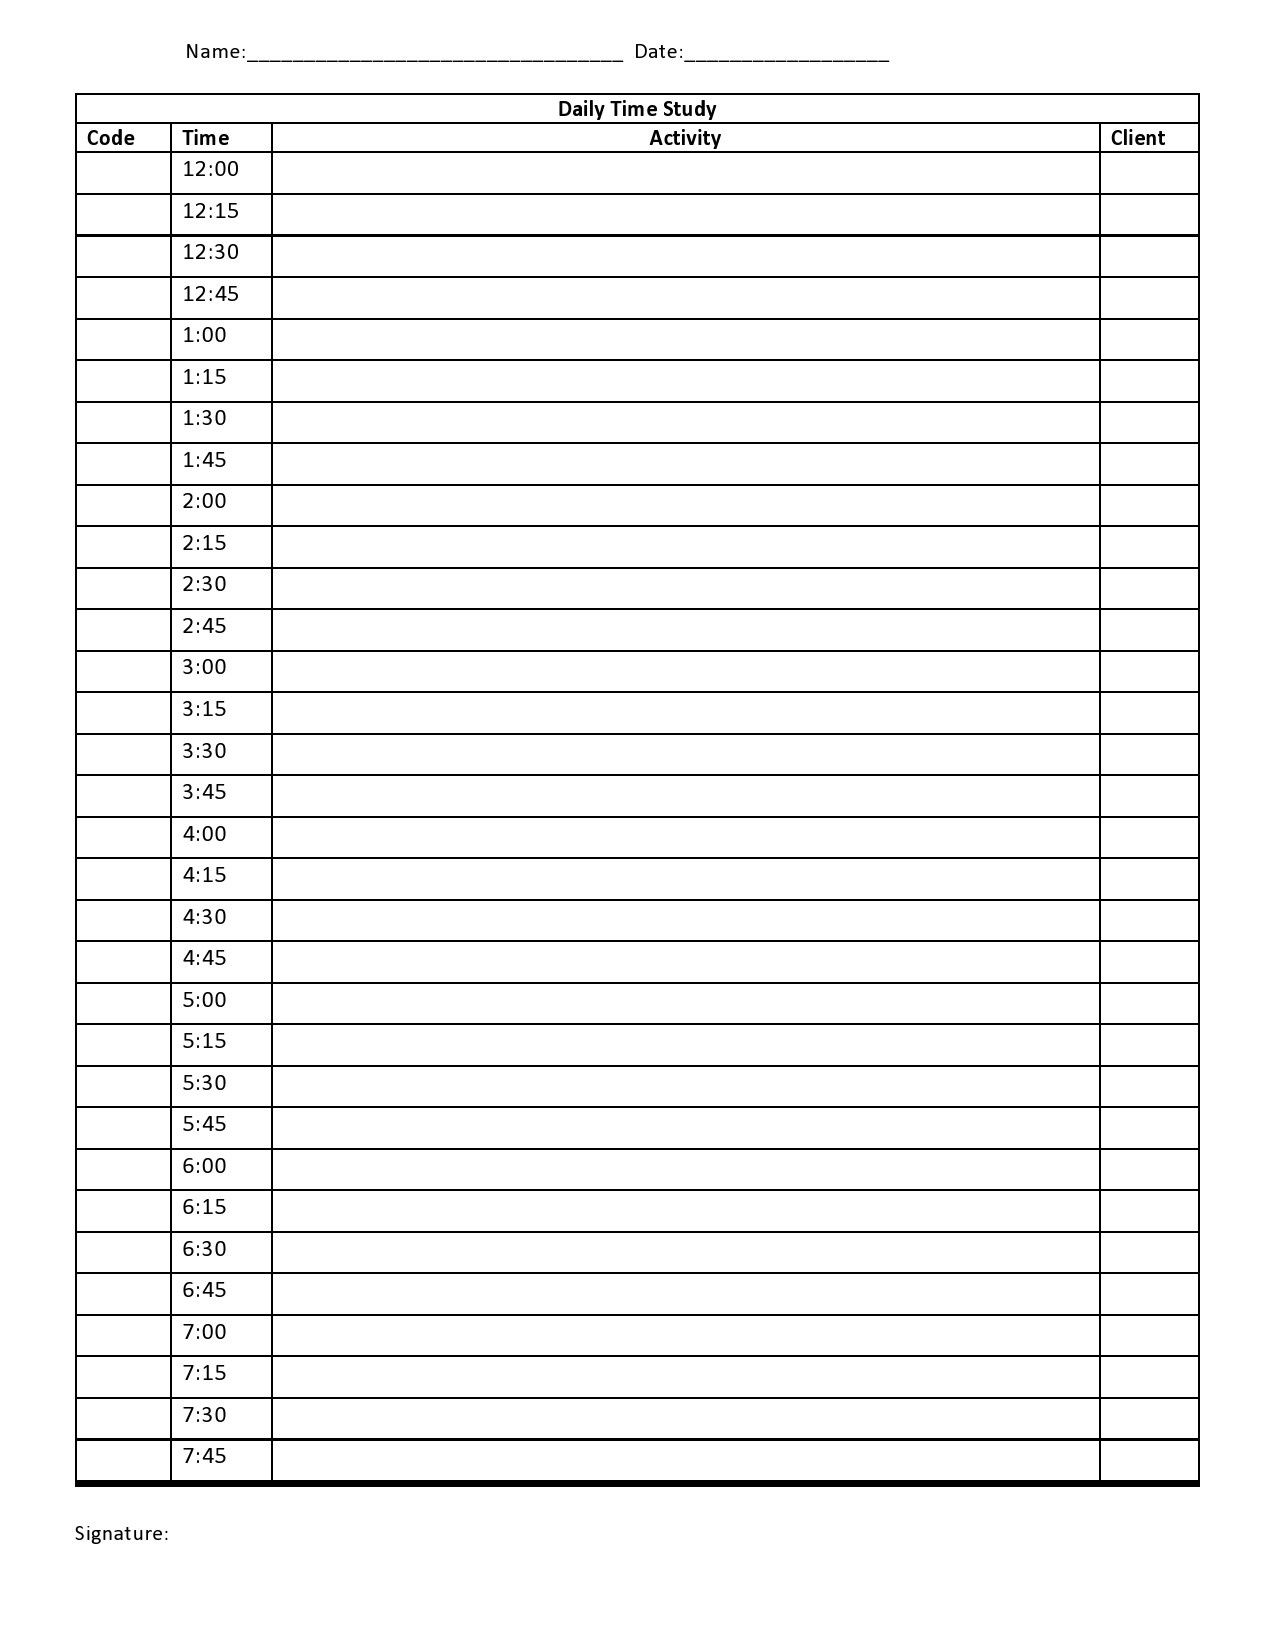
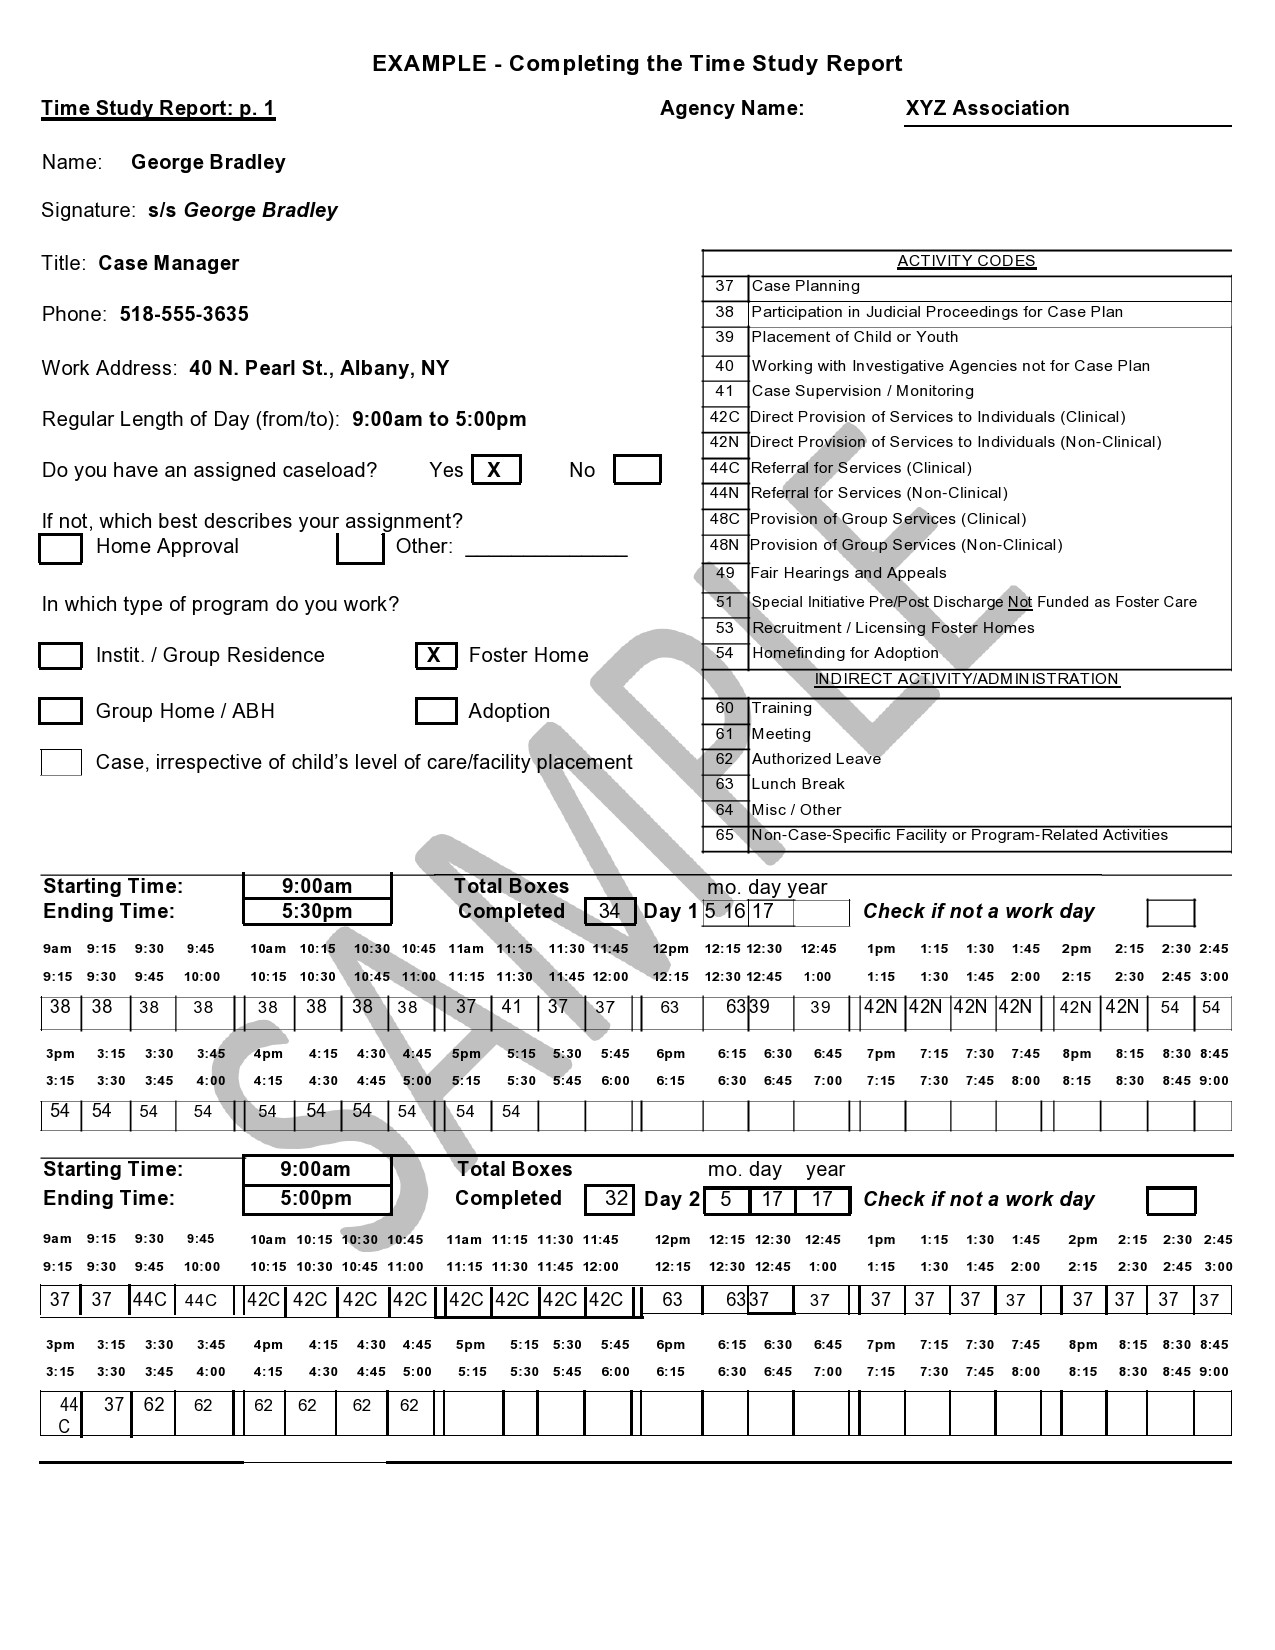
A time study is an organized process that involves direct observation and measurement of work using a time device. Then you would record your observations on time management sheets or time study templates. Its purpose is to establish the time needed for the completion of a task by a worker while working at a specified performance level. Before filling out a time budget template, you should know that this method follows the basic procedure of the systematic work measurement of:
- The analysis of work into smaller elements or components that are easily-measurable
- The measurement of all the components.
- The synthesis from the measured components to determine the time for the job to get completed.
When you perform a time study, you must first conduct an initial observation of the work so that you can identify the elements to record and the best length of measurement to use. Then you would perform succeeding studies wherein you would time each occurrence for each of the elements using a timing device. At the same time, you will also assess the rate by which the workers work based on a rating scale.
One of the main reasons for measuring the elements of work rather instead of the work in its entirety is to facilitate the entire rating process. Although the rate at which workers perform varies, this component should remain consistent throughout the short duration of observation if you select the elements carefully. Later, you will use the results of your assessments to convert the time for the element you have observed into an average time. It’s very important for a time study for you to is to be properly trained in this method, especially when it comes to rating.
If you perform a time study properly, it will involve using specific control mechanisms to make sure that any timing errors you make are within acceptable limits. These days, more people use electronic devices instead of mechanical stopwatches to record time. Some of these devices also help with the subsequent stages by converting the observed times into average times.
The number of working cycles that you should observe in the process will depend on the variability in the work and the accuracy level you need. Because a time study is a sampling technique where you would base the value of the time needed for the job on the observed times for the sample observations you have made.
Therefore, you may use statistical techniques to come up with an estimation of the number of observations needed under specific conditions. The total number of observations to make should be over different conditions and if possible, over a range of workers too. When you have determined the average time for each of the elements, you will add allowances to come up with a standard time.
Time study is very flexible. You can use it for a wide range of work done under various conditions. However, it can be a challenge to apply time study to jobs that have very short working cycle times. Also, since it’s a technique that involves direct observation, it requires special and specific conditions. But if implemented properly, this method can produce consistent results. Moreover, the use of devices that capture electronic data and other digital devices for analysis has made more cost-effective than before.

