A phone tree is a system that allows customers to call your main office or line of business with their questions or comments while using an automated voice menu.
This means they can select their desired option without speaking directly with someone on your office staff. It’s an efficient way for businesses to manage incoming phone calls without hiring additional customer service staff.
Table of Contents
- 1 Phone Tree Templates
- 2 What Is a Phone Tree and What Are Its Benefits?
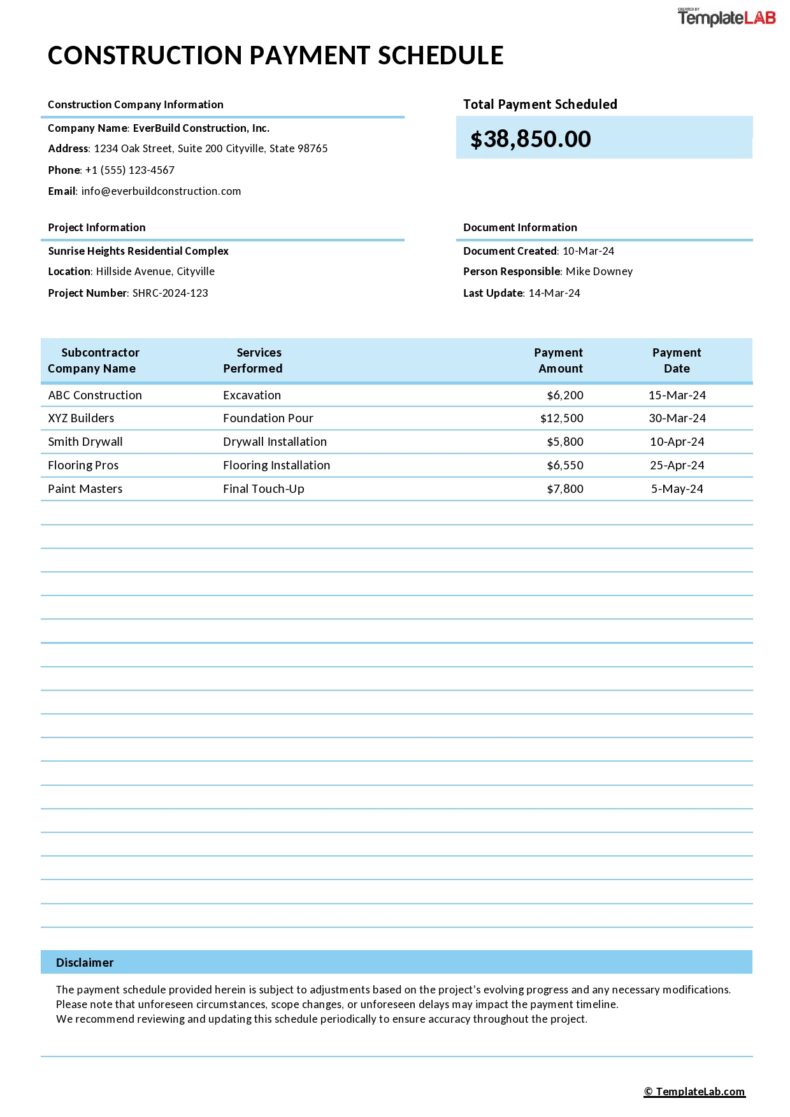
- 3 Call Tree Templates
- 4 How to Create a Phone Tree Template
- 5 Tips to Use a Phone Tree Effectively
- 6 Contact Tree Templates
- 7 Advantages of Using a Phone Tree
- 8 How to Maintain Your Phone Tree Template
- 9 Common Mistakes to Avoid
- 10 Other Recommendations
- 11 Conclusion
At the same time, phone tree templates are documents that help you create a phone tree for your business quickly and easily. They provide you with a structure of crucial call routing rules, routing options, and potential scenarios, so all you need to do is fill in the necessary information.
We will discuss everything you need to know about the phone system and how templates can help you create an effective plan for your business.
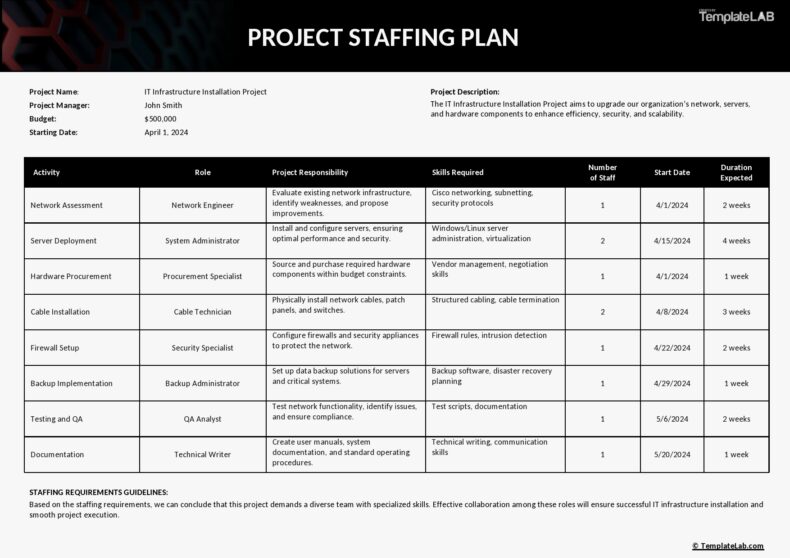
Phone Tree Templates


What Is a Phone Tree and What Are Its Benefits?
A phone tree, an automated phone system or calling tree, is a telecommunications tool for calling and broadcasting one-way messages. This tool is popular in businesses because it allows them to reach a large group of people simultaneously and send messages with pre-recorded voice messages.
Phone trees have various business benefits, such as reducing customer service costs and increasing customer satisfaction. For example, if a customer has a simple query about store hours or discounts, they can find the answer without having to talk to a customer service representative. This means businesses can save money on staffing and time spent on phone calls.
Phone trees also help businesses provide a better user experience. If customers are given options to choose from when they call, they are more likely to find what they are looking for quickly and easily. This can lead to repeat customers and positive reviews, benefiting your business.
Finally, phone call trees allow businesses to stay organized and keep track of all customer inquiries. As customers select their option from the telephone tree or the automated voice menu and leave messages, businesses can quickly review the messages and prioritize tasks for incoming callers accordingly.
Overall, business phone trees provide businesses with many advantages. In the next section, we’ll look at creating a business phone tree and how templates can help your business move.
The benefits of phone tree templates are many. They are:
- Economical – By cutting down on labor and telephone costs associated with traditional human-powered message delivery systems, automated calling trees can make things run much more smoothly and effectively.
- Convenient – A phone tree template streamlines the process of sending out notifications or reminders by automatically delivering pre-recorded messages to multiple recipients in one go.
- Trackable – Phone trees enable businesses to track information such as message delivery times and recipient responses, allowing them to make adjustments to improve their communication strategies.
Call Tree Templates


How to Create a Phone Tree Template
Creating a phone tree template can be helpful for businesses looking to streamline customer service. A phone tree template outlines how customers should reach the right person or department when calling your business.
A well-crafted phone tree template can help:
- Improve customer experience
- Increase employee productivity
- Provide consistent messaging
- Optimize communication processes
Your template should contain precise instructions that are easy to understand, including what questions or steps customers will need to take, who they will connect with, and how long it should take to get there.
Once you have created your phone tree template, it’s time to implement it. Start by testing it on a few customers and colleagues to ensure all the steps and options are clear and easy to understand. You should also review your customer service reports regularly to adjust or add any alternatives to the phone tree templates if needed.
When you are ready to launch your phone call tree template, ensure all your staff members know its existence and how to use it. Train them in all the customer’s options and provide them with all the necessary information. Finally, ensure they know how to explain the phone call tree system in case customers have questions.
Your business can run more efficiently with a suitable phone tree template and improved customer experience. Properly utilized, it can also result in improved productivity, better communication, and more consistent messaging.
By making the most of free phone tree templates, and properly training your staff, you can create a customer service system that meets your company or business’s needs and exceeds customer expectations.
Also, by including additional contact information, such as account FAQs or request forms, you can ensure customers get the most accurate and up-to-date account information as quickly as possible.
Tips to Use a Phone Tree Effectively
Here are some tips for getting the most out of your phone tree template. This way, you can create a successful emergency phone tree template for your business that rivals your competitors.
- Design Your Phone Tree with Intention. Before setting up your phone tree, take the time to consider the specific phone numbers of distinct departments that will be fielding calls and what type of customer inquiries they’re likely to encounter.
- Your phone tree should be designed to make it as easy as possible for customers to find the phone numbers of the right person to handle their questions.
- Use Automation Judiciously. Utilize automation cautiously – too much automation can lead to customer frustration. Ensure that your template offers options that make sense, such as “Press one for customer service” and “Press two for technical support.” Also, link each option to a contact qualified to help the caller in that area.
- Keep It Simple. Your customers should be able to quickly figure out which option they should select when presented with a phone tree. Select concise and straightforward wording, providing only essential information without confusing jargon or long-winded explanations.
Finally, design your template with minimal branching; there should only be a few layers in the call path so customers don’t get lost in an endless loop of automated messages!
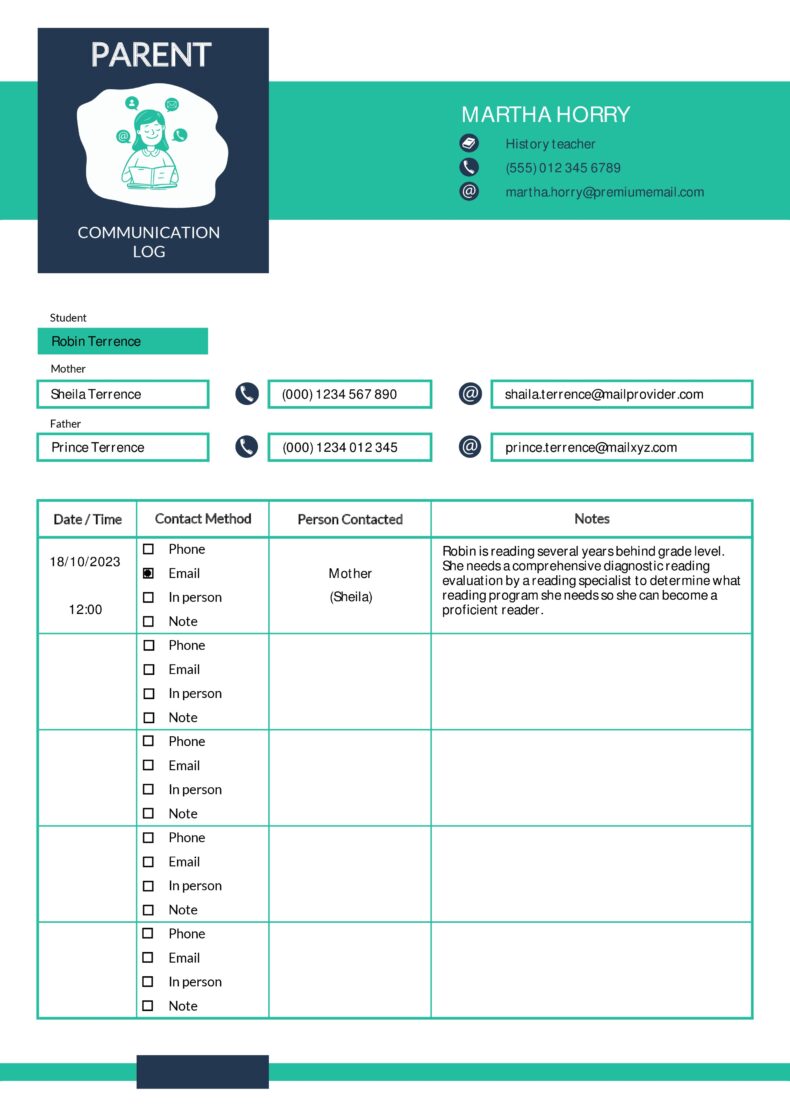
Contact Tree Templates


Advantages of Using a Phone Tree
You’ve heard of a sales phone tree template and know it can be a valuable tool for your business. But do you know why you should use one? A phone tree template can provide several advantages to your organization, such as:
- Enhanced Efficiency. By utilizing a phone tree template, you can quickly route calls to the appropriate individual or department much more efficiently. This can help streamline processes and improve customer service experience by reducing customer wait time.
- Increased Productivity. A phone tree can help employees decrease customer inquiries and order response time. When employees follow the outlined procedures within the template, everyone involved can stay on task and maximize work output.
- Cost-Effectiveness. Using a phone tree template helps reduce overhead costs associated with running a business by helping staff manage resources organizationally. Not only does this help save money on personnel costs, but it also allows the team to spend more time focusing on other vital tasks within the company.
- Increased Customer Satisfaction. A free phone tree template ensures customers get the help they need as quickly as possible, leading to an overall better customer experience. An effective phone tree template lets customers easily and quickly navigate to the desired contact or department.
This will help them find answers and solutions in an expedited manner. This enhanced customer experience can then lead to increased customer satisfaction and loyalty.
Furthermore, an organized phone tree template can ensure customers’ inquiries and concerns are promptly addressed, increasing their trust and faith in your organization.
A readily available and understandable telephone tree template can help customers feel comfortable and confident that their concerns will be addressed. This leads to happier and more satisfied customers.
How to Maintain Your Phone Tree Template
Maintaining your phone tree template is essential for ensuring your business runs smoothly. A few tips to help you keep your various phone numbers and tree templates up-to-date and effective include:
- Keeping an eye on customer trends: If customers can only fulfill their requests after several steps, consider changing the template accordingly.
- Monitoring customer feedback: Listening to customer feedback can help identify areas for improvement in the phone tree structure, allowing for quick changes when needed.
- Updating regularly: When it comes time to add a new employee or department, make sure your template reflects the new personnel or department accurately and clearly. This will prevent confusion and help keep your phone tree up-to-date and efficient.
By following these simple steps, you can ensure that your company’s phone tree template remains current and effective for providing customers with the best experience possible whenever they call in with a request or inquiry.
Common Mistakes to Avoid
As discussed above, creating a sales phone tree template can be a great way to create a customer service system that works for your business. However, it’s essential to consider several elements before deciding on the type of sales phone tree template you want to use.
Here are some tips to help you make sense of phone trees and file templates for your business:
- Not accounting for multiple levels. Organizations often overlook the importance of multiple levels in a call phone system or call tree template. By trying to fit too many options into each level, you can create an overly complex and confusing phone tree system. You can avoid this by dividing complex services and products across multiple levels in your call tree template.
- Having too many options. Too many options often lead to customer confusion and frustration, as they might get lost in the maze of choices or have difficulty deciding which option is right for them. Keep options limited and focused so customers can easily find what they need and save more.
- Failing to label each option clearly. Make sure the options in your phone tree are easy to identify and understand by giving each one a descriptive label. This will allow customers to quickly identify which voice menu option best suits their needs without wasting time deciphering them.
By avoiding these common mistakes, you can create a more effective, efficient, and user-friendly phone tree template for your business.
Other Recommendations
There are a few other things you should consider when establishing the overall structure of the main line of your business’s communication system.
- Automation Software. Software such as CRM systems or chatbots allows customers to access information quickly and easily. This reduces the number of calls that need to be fielded by staff and can enable customers to get their questions answered promptly.
- Voicemail System. A voicemail system ensures that no call ever goes unanswered. This is especially critical for a phone company or phone service provider. Not only does this provide a better phone experience for customers, but it also allows staff to focus on calls that require attention.
- Clear Policies & Procedures. It is essential to define clear policies and procedures for all incoming callers handling customer calls and inquiries so everyone on the team is on the same page. Establishing these guidelines will ensure that all calls are handled efficiently and effectively.
Conclusion
When running a successful business, having a reliable phone tree and communication system is essential for satisfying your customers and staff. Phone trees provide a simple and reliable way to communicate with your clients, streamline customer service, and ensure that calls go to the right people first.
In addition, using a template will give you a starting point to build your communication platform. Not only will it help you stay organized, but it will also save you time and resources in the long run. So, make sure you make the most of your phone tree and create a template that best suits the needs of your business.